
All of the following modified hexagon stars were made with a 3/4" hexagon (you will find a 3/4" hexagon template here). So here we go! This is a small red and blue print. I love the way the blue swirl shows up around the center.

When I'm moving my window template around on the fabric I look for landmarks. In this case there was a little yellow circle at the edge of the inside hexagon. I lined up my template on that and at the point was a bit of a green leaf. That was my second landmark.

I think this star has a Steampunk look about it!

Again I used the flower center at the inside edge as a landmark. I made sure that the flower at the point was inside the template. The opening almost looks circular rather than a hexagon.

For this one I made sure that the burgundy swags lined up with the points at the corners on the side of the window template.

This fabric has a diamond grid which made lining up the window template super simple!

This striped fabric is interesting. I got it for a song because it had a flaw. The center was not dyed properly (I actually like that part better). It should have been dark red like the bottom half but instead is was almost like a cross hatch pattern in the background. I cut one star from the dark red and one from the flawed red. I changed the directions of the stripes so the result is two very different looking blocks.

With my Frixion pen I drew a line through the center of the stripe and then I placed my window template on the fabric making sure that the side points on my window template matched up on the line. I didn't worry about matching up the print. The result is a swirl design around the center!

With this one I placed my window template on the stripe so that the stripe ran north and south. Again I didn't worry about cutting out the exact print on each template. The stripe does the work.

Here you can see the two of them together! Two very different looks from a single fabric. Stripes and directional prints are out friends!

Plaids are also great to work with because you can use the plaid print to line up your window template. Here are six patches cut out and ready to be stitched.

I used the gold line at the bottom to line up the bottom edge of my window template. I made sure that the side points were in the middle of the tan line and the top point was centered on the vertical gold line right at the black vertical line.

Here it is stitched together and ready to be appliqued to a background!
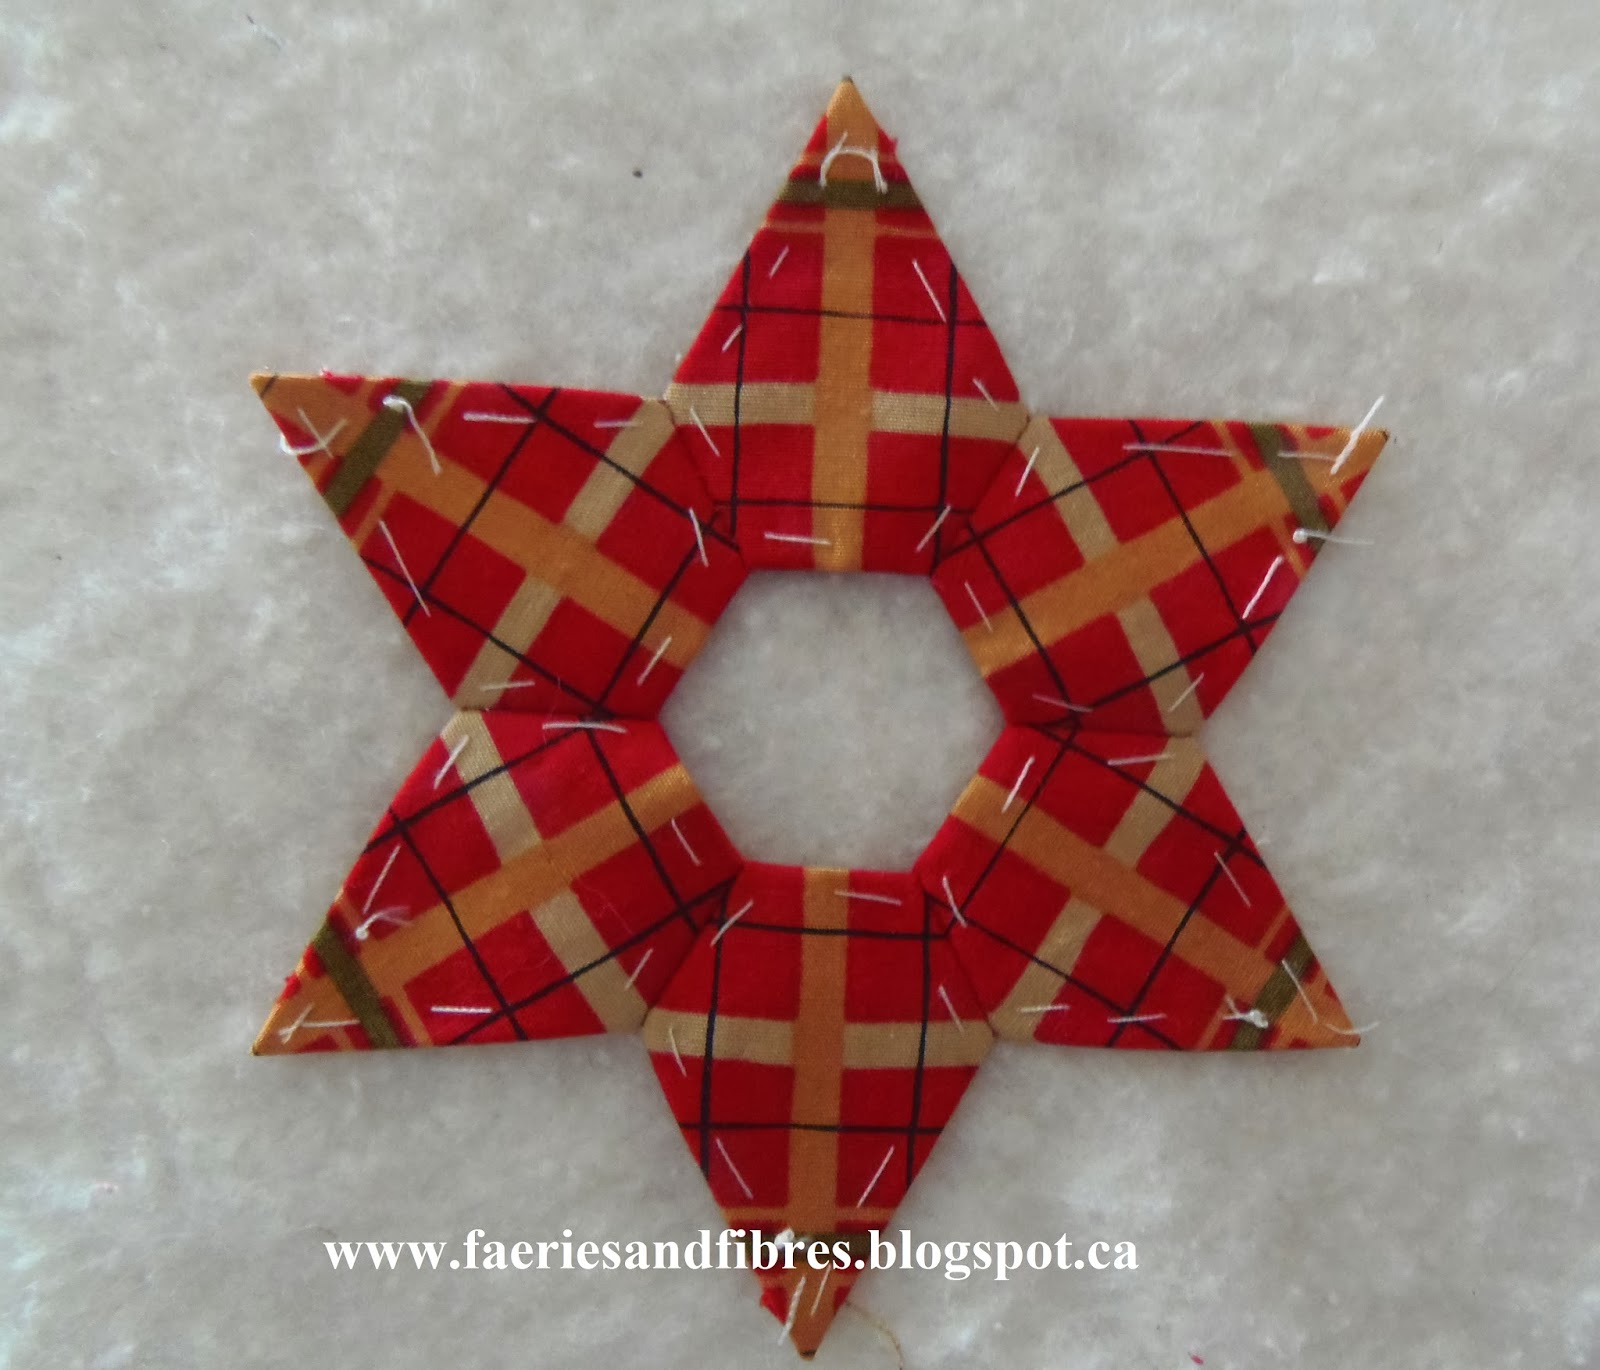
All of these blocks were cut out and stitched using my paperless English paper piecing method! If you missed that post it you will find the tutorial here.
Skootchover has already completed part 1 of her Soupcon quilt and posted a picture on FLICKR! Isn't it stunning?

She is shy about her work but I think she should be extremely proud of it! She tells me she is self taught over the internet (I think she must have had some really good teachers). I love everything about this block but I especially love the swirl of pink posies around the green center. I think that this is an amazing start for what I hope she will think is a masterpiece! I know what I've got planned for Step 2 and this will be a wonderful jumping off point!
We are far too critical of our own work and we shouldn't be! Did you enjoy making whatever it is you made? If so that is a very good thing and so you should smile, give yourself a good pat on the back and say "well done"! So Skootchover, if you aren't ready to do this for yourself please allow me and the readers of this blog to do it for you.....well done!
Until I post again, happy sewing!
Karen H
