Showing posts with label challenge. Show all posts

Saturday, September 20, 2014

Quilt show is a go!

I spent Friday afternoon at the quilt show helping with set up. If you are in the Toronto area I hope you will drop by.

The frames are up and ready for the quilts to be hung!


I told you about the ribbons I made. They are for the Challenge quilts. I challenged the Guild members to  make a quilt that is at least 50% half square triangles and has a perimeter measurement of no more than 100". No embellishment of any sort was permitted. Here are the quilts pinned to the scrim with the ribbons attached!


I'll have lots of pictures to share once all of the quilts are hung!

Until I post again, happy sewing!
Karen H

Tuesday, April 23, 2013

Oodles of teasers and machine quilt a big quilt on a domestic machine my way!

And now for some teasers...oodles of teasers! I know what the quilt looks like so when I viewed the following images I thought "they will know for sure" but then again, maybe not! Perhaps I'm too close to the forest to be able to see the trees.....literally!

A melange of challenge fabrics and my own fabrics. These fabrics were not bleached.

A melange of challenge fabrics andmy fabrics bleached.

No challenge fabrics here - there are just my fabrics unbleached!

Just my fabrics with a little bit of blue challenge fabric in the upper left hand corner.

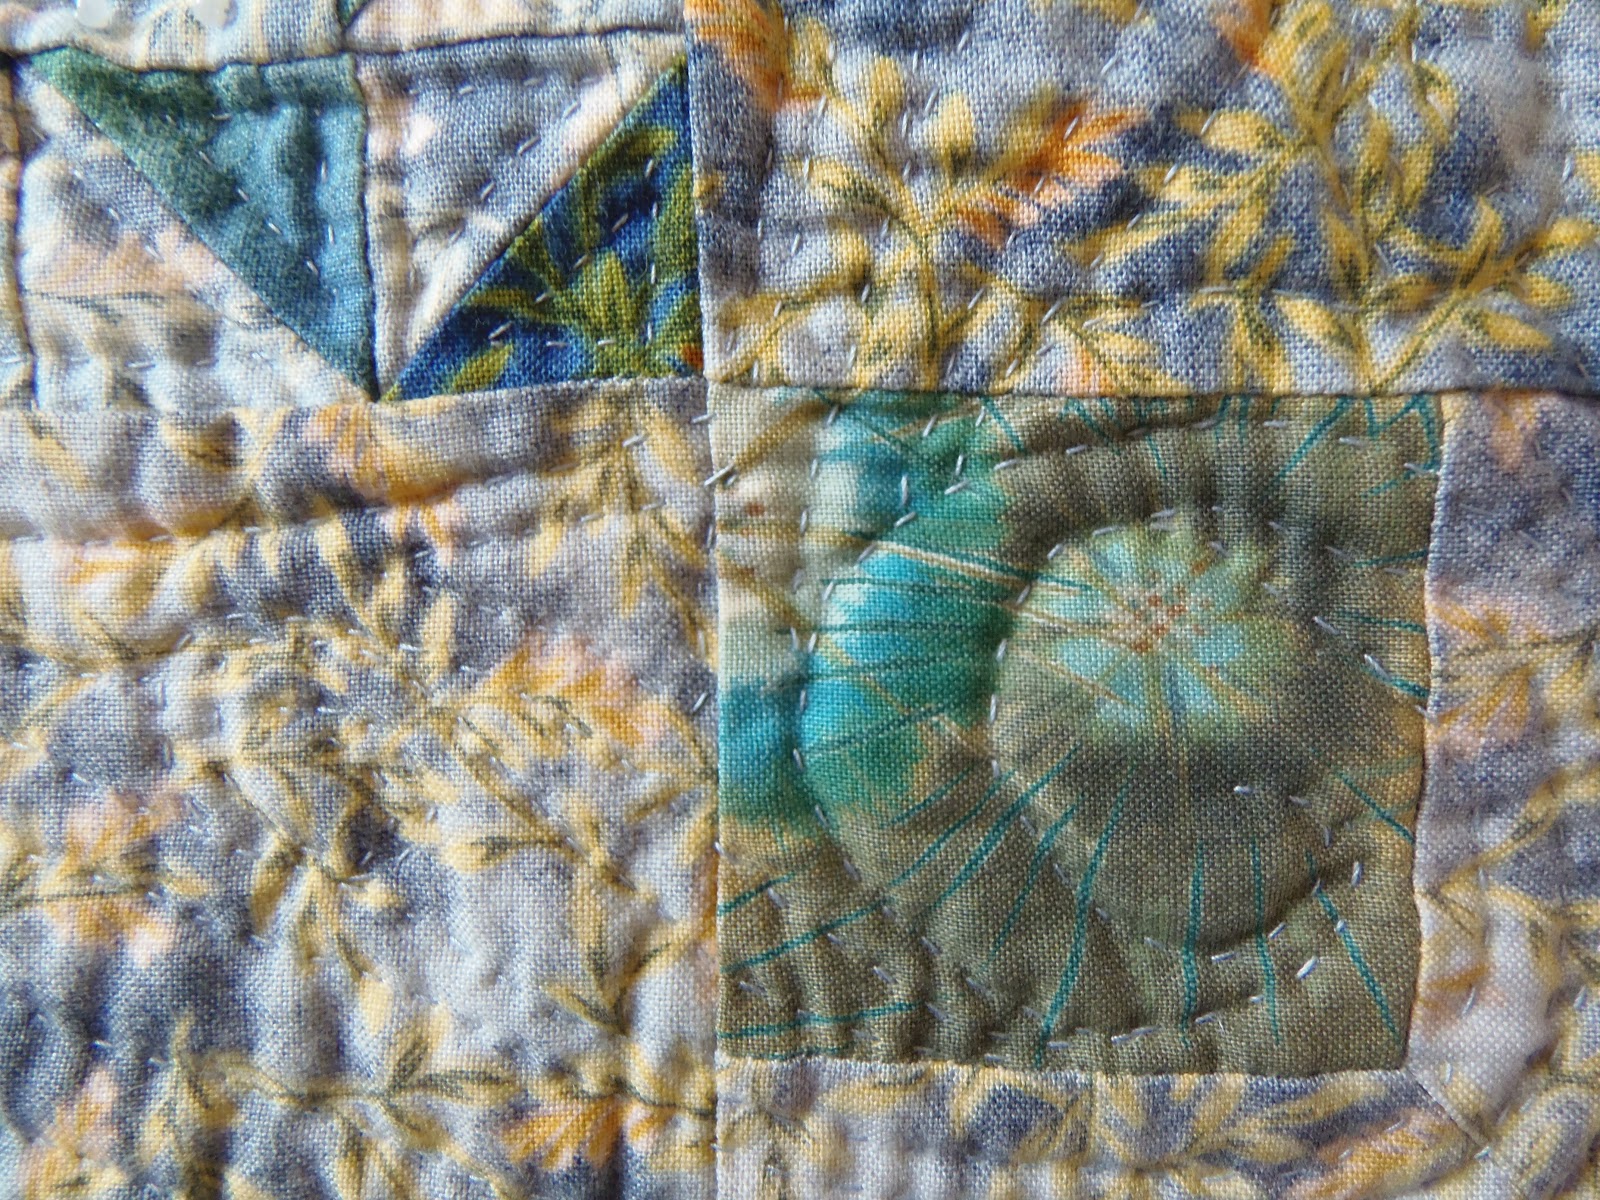
Some hand embroidery. Can you guess what this might be? Unlike my quilts Flora and Faunda and There's a Snail in Grandma's Flower Garden there are no snails in this quilt! So what could this be? Don't get tied up in "knots" trying to figure it out! It's really quite simple!

More hand embroidery! I know you know what these are!

Daisies and a butterfly all hand embroidered! The butterfly measures about 1/4"!

And yet more embroidery! Now what could this be?

And the last bit of embroidery!

Transitioning from one fabric to another!
 The second transition!

And a third transition! 

And now for something entirely different.....machine quilting on  a domestic machine my way!

I’m a great believe in doing what works for you. When it comes to machine quilting what I usually do is a little different from how others do it but it works really well for me. Once my quilt top is ready to be quilted I have two goals. First, I want to get rid of the excess batting as soon as possible and backing because they just get in my way AND second when I am finished quilting I want to be done! So here's what I do:

Step 1:  I pin baste my quilt making sure everything is smooth and flat. I like to lightly spray starch and press both the top and the back before pin basting.  See my tutorial for homemade spray starch.

Step 2: Once this is done I like to use a technique outlined in Harriet Hargrave’s book “Heirloom Machine Quilting”.
 
 
With my darning foot (free motion quilting foot) I anchor all the major seam lines vertical and horizontal excluding the border. What this means is stitch in the ditch. If there is sashing I stitch both sides of the sashing, vertically and horizontally. If the blocks are pieced without sashing then I just stitch those seams. I generally use Bottom Line thread in a colour that blends well with the colours in the quilt top or I use invisible thread. I don't use a walking foot because it doesn't give me freedom of motion. When I make a quilt if something isn't perfect AND I can't live with it I fix it. If something isn't perfect and I CAN live with it I leave it. This means there are sometimes little wobbles in the quilt top. If I use a darning foot to stitch in the ditch I can work around them because I am free to move in any direction. This picture is a little wobble and I'll be able to stitch in the ditch around the wobble rather than through the wobble.
 
Step 3: I next quilt the border and then bind the quilt. I’ve never seen anyone else do it this way but once everything is anchored with stitch in the ditch the quilt is stabilized I can quilt the border and bind the quilt. I never bind the quilt befor the border is quilted.

Step 4: I now go back and quilt the centre. The pin basting is still in place in the centre of the quilt (I don’t remove the pins until I am ready to quilt in that area) so everything is stabilized with the pins and the stitch in the ditch.

This method works well for me because I get to quit the border earlier which means I can remove the excess batting and backing. This makes the quilt a little smaller and lighter which means it is easier to move under the sewing machine. Also I don’t get the extra batting or backing caught in the quilting! I hate when that happens and I have to remove the quilting in order to free the excess fabric! So there you have it! Machine quilting my way!

Until I post again, happy sewing!

Tuesday, April 16, 2013

Y Seam Tutorial, another teaser & I'm going to be a judge!

The promised Y seam tutorial is now available. It is titled Y Seams My Way and Setting Triangles. I hope you will find it helpful. In addition to Y seams there are instructions for the triangles that turn the hexagons into diamonds. Once you do that it is just a matter of sewing them into rows and sewing the rows into a quilt! I used the techniques in the tutorial to make this quilt. The diamonds were cut from 2 ½” strips of fabric. The setting triangles (the rust fabric) were cut from 2 ¾” strips of fabric.


This was a fun quilt to piece and to quilt. It was one of the first quilts I machine quilted. I wasn’t sure what to do so I designed a large leaf to fill the hexagon. I worked with a golden variegated Gutermann 50 wt thread and was pleased with the overall effect.

Tumbling blocks are a great way to use strips or scraps quilt; I think that it would be fun to get together a group of friends for a swap. Simply decide on the size of the diamonds and that will determine the width of the strips. Each person would cut sets of three strips, and each set would consist of one light, one medium and one dark. Diamonds would be cut from the strip sets. These sets could be swapped with the other members of the swap. You might want to set some ground rules based on what you do or do not want. It would be great fun to see what everyone comes up with. The setting triangle fabric that is selected unifies the scrappiness of the quilt and just pulls everything together. I used just over a yard of fabric for the setting triangles in my quilt.

Yesterday I told you about my challenge quilt “Flora and Fauna, Parts of the Garden” and I posted a close-up as a little teaser! Today I am posting more teasers.
 
The butterfly at the top was made with one of the challenge fabrics, pink and purple asters on a white ground. I used the yellow orange centres of the flowers for the upper wings. Can you find the grasshopper in this one? I made him from one of my six fabrics I was allowed to add to the challenge fabrics!


I again used the same fabric to make the petals of the large three petal flower at the top. The blue background is made of a challenge fabric and one of the fabrics I added. The darkest turquoise is a Northcott fabric that featured gold stamped dragonflies (upper right hand corner). The next ring of fabric is the same fabric with the wrong side up! The third blue is the fabric I added. The bee's body is made from the centre of an aster. The mushrooms are made of my border fabric which is one of th six fabrics I added. All of the other leaves, flowers and flower centre are cut from another of my six fabrics.
3 ½” x 4 ½”

This is a close-up of an orange Japanese beetle that I embroidered. They have invaded southern Ontario and are eating the lilies. In addition to waging a war with snails, my Mom is also battling these little orange beetles!


I have samples of the six fabrics attached to the back of my quilt but I don’t have any of the three challenge fabrics. I’ve put out the call to my fellow Guild members to see if they have any in their stash. I’ve also written to Northcott but they no longer have archived images of these fabrics. If I can get some scraps or find pictures I will post them so you can see what I started with and where I ended up! I think you’ll be very surprised! Stay tuned for more teasers tomorrow!
 
And lastly a big thanks to all of you who voted for my quilt "There's a Snaiil in Grandma's Flower Garden" on Quilting Gallery. The winnder was Astrid Pongrac's "Thinking of Liz". I had so much fun making my quilt and for me that is always the most important aspect of quilt making! And I've been invited to be a guest judge for the Quilting Gallery Show and Tell this week. The theme is rectangles and squares. Do you have a quilt project made out of just rectangles and squares? If you do I encourage you to enter, even if it is a work in progress! For complete information read the guidelines and submit your photo before Friday, April 19th, 2013 at 8 a.m. (EDT). The voting starts on April 19 and closes on Monday at 6:00 pm.
Time to pin a quilt for quilting! Until I post again, happy sewing!

Monday, April 15, 2013

Trunk Show and a teaser!


Who’s up for a little trunk show? My Mom (Anne) has made quite a few quilts with an African theme. She particularly likes to make quilts that include women and children. Her sense of colour is quite striking and her work is really beautiful. When you consider that she is almost 93 I think you'll agree that both Anne and her work are pretty amazing.  Feel free to share a comment or email me and I'll make sure that she gets the messages! So here we go!

 This first quilt was inspired by a wall hanging titled Church Ladies by Dr. Michele David. Her website is Creole-Creations. I would like to thank Dr. David for giving me permission so share pictures of Anne's quilt that was inspired by Church Ladies. The first picture is the quilt back. Mom used two panels and sewed them together to create the mirror image. Fabric was also added to the sides to make the backing the right size. The second picture is the front of the quilt.


The following pieces are all original designs. Mom loves to embellish with beads, embroidery and jewelry findings. Most of these quilts measure in the vicinity of 14" x 18" or so. I've posted pictures of the quilt and some close-ups.


And now for something of mine and I'm going to tease you a little! I’ll reveal little bits of my quilt and once your appetite is whetted I’ll show you the whole thing! The title of the quilt is “Flora and Fauna, Parts of the Garden” and it measures 29.5" square; it was made for a Guild challenge. There were three challenge fabrics from Northcott. They were a bright turquoise with gold dragonflies, a black background with long stem red roses (from Romancing the Rose) and a white ground with pink and mauve asters. Unfortunately none of these fabrics were my taste so I had to “hide” them in my quilt. The finished quilt measures 29 ½” square. As it has a garden theme it is loaded with all sorts of things you would find in a boreal garden! But there are no snails in this one! Today’s teaser is a walking stick which is an insect (upper right hand corner). The body is made from the stem of a rose. Hope I’ve piqued your interest!

 
And today is the last day to vote in Quilting Gallery's Show and Tell. If you haven't voted yet there's still a little time. My piece is titled "There's a Snail in Grandma's Flower Garden".
 
Until I post again, happy sewing!