

I never thought I would ever be able to do something like this and I am beyond thrilled with the results. If I were to use this filler method again I think I would try to make the designs larger. This dense quilting takes a lot of bobbin thread - I used more than 18 bobbins of Superior's The Bottom Line! I don't normally count but I remember that I had 9 full bobbins at the outset and used all of the so had to refill them and I used those as well! So here it is folded on my sewing table.

Today I thought I would talk about how I did my filler design. I sketched one of the shapes from my quilt. In this diagram it is 11" tall and 11" wide. The actual size on the quilt is a little larger. What you don't see in this picture is that there is a seam that runs through the middle horizontally and vertically and it was stitched in the ditch. The curves are the edges of my applique circles and they were also stitched in the ditch.

I start in a corner and work my way out trying to stay close to the stitch in the ditch. While I quilt I'm constantly making sure that my quilt sandwich is flat and smooth. I selected a small motif to get out of the corner. In this example I used circles which are also known as pebbles or pearls.

I added some teardrops.


I threw in a few more teardrops.


I echoed stitched by the top edge of the feather and then filled in the little space that was left with circles.

Echoed circles bring me close to the top corner.

A few more circles to fill a little space.

Some tear drops fill the corner. I stitched a curvy line to get me away from the top corner.

I echoed the curve and then to the left of the bottom of the curve I added some more circles.


I echo stitched around the circles. This creates a really interesting effect very much like a pea pod. It flattens the area around the circles so that they puff up and pop. I love that look!

After that I fill in the area near the edge just above the pea pod. I'll continue in this way working down the shape and fill in the corner on the right next and then moved across and down until I get to the bottom point.

Here it is filled in.
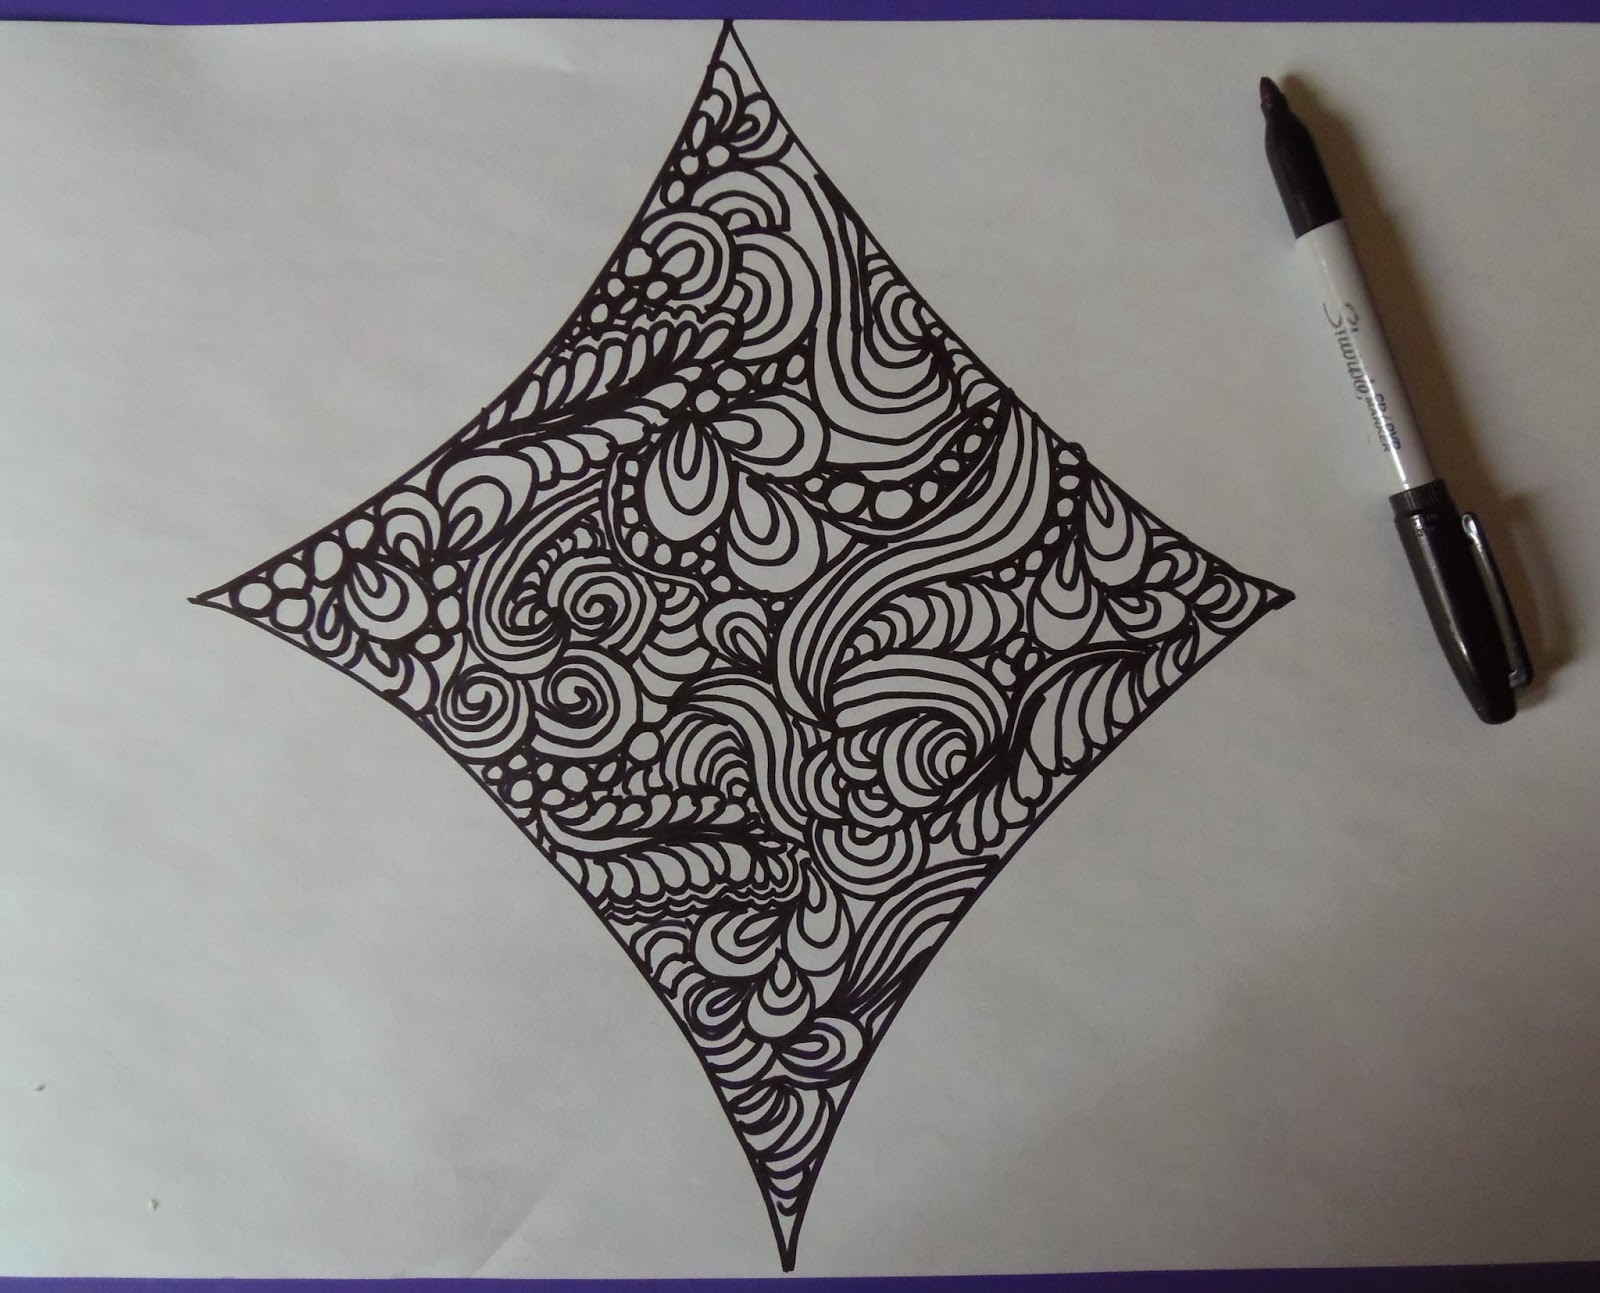
You can make your shapes larger to fill in the space and it will go very quickly.

To do this kind of quilting one of the things you will need to practice is backtracking which simply means stitching over previously stitched lines so that you can get yourself to another area. Amy of Amy's Free Motion Quilting Adventures has lots of great videos on her blog and you can watch her as she backtracks. She works on a domestic sewing machine which I found particularly informative. Leah Day's The Free Motion Quilting Project is another great place to see demo's and to get inspired. Another great way to train your brain to think about how to fill in spaces is to take a Zentangle class. If you can't find a class in your area visit the Zentangle blog for loads of inspiration and how to's. Not all of the designs are transferable to quilting but many are and it will get you thinking about shapes and filling empty spaces in a beautiful way!
I never thought I would be able to quilt like this and I am amazed with the results I got. I am confident that you too can be a successful machine quilter on your domestic machine but it takes work. Really if you enjoy what you are doing it isn't work! Start out with some practice sandwiches (I like using 18" squares) and just get started! Ten to fifteen minutes of practice each day will pay off in short order. When you can't practice on your machine just do it with a pencil and paper. In no time flat you will be swirly and curling like a pro!
Until I post again, happy quilting!
Karen H
