
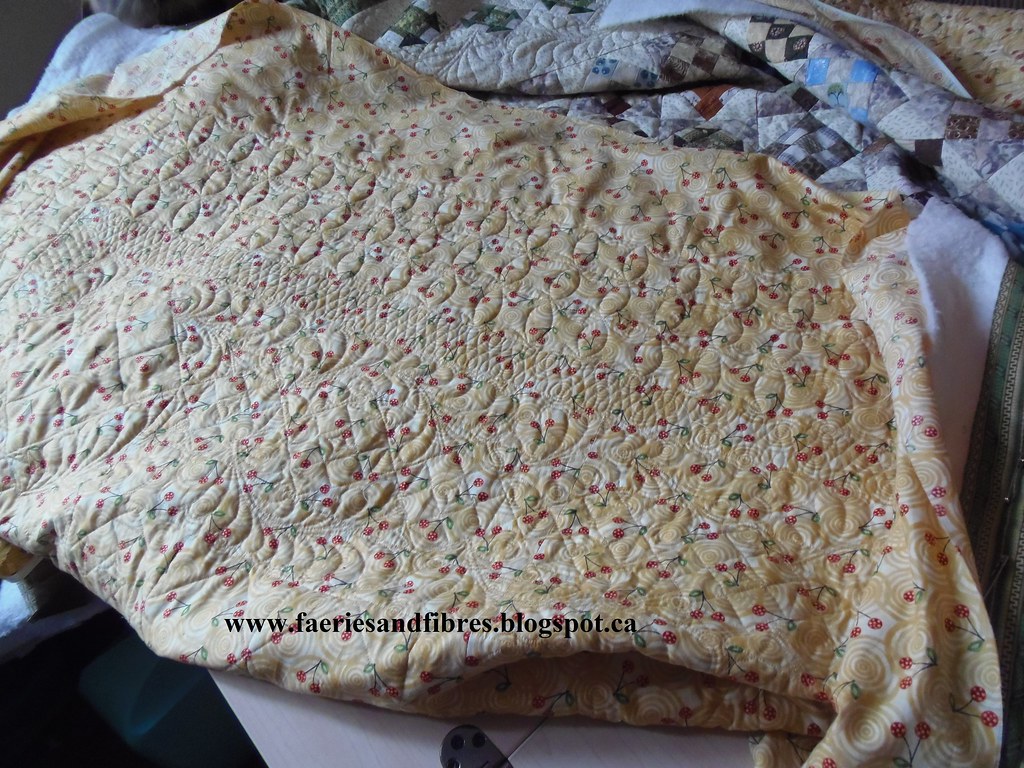
When I'm quilting up to the outermost edge of the quilt I sometimes have problems. The fabric gets pushed so ripples or pleats can happen. With a larger border it doesn't seem to be as much of a problem however the last border on my Piccadilly to the Nines is only 1 3/4" finished. The figure 8 quilting is dense and close together and I didn't want to have problems with the border not laying flat. So I had what I thought was a solution and it worked like a charm! I needed some tools: needle and basting thread, fabric safe glue stick and scissors.

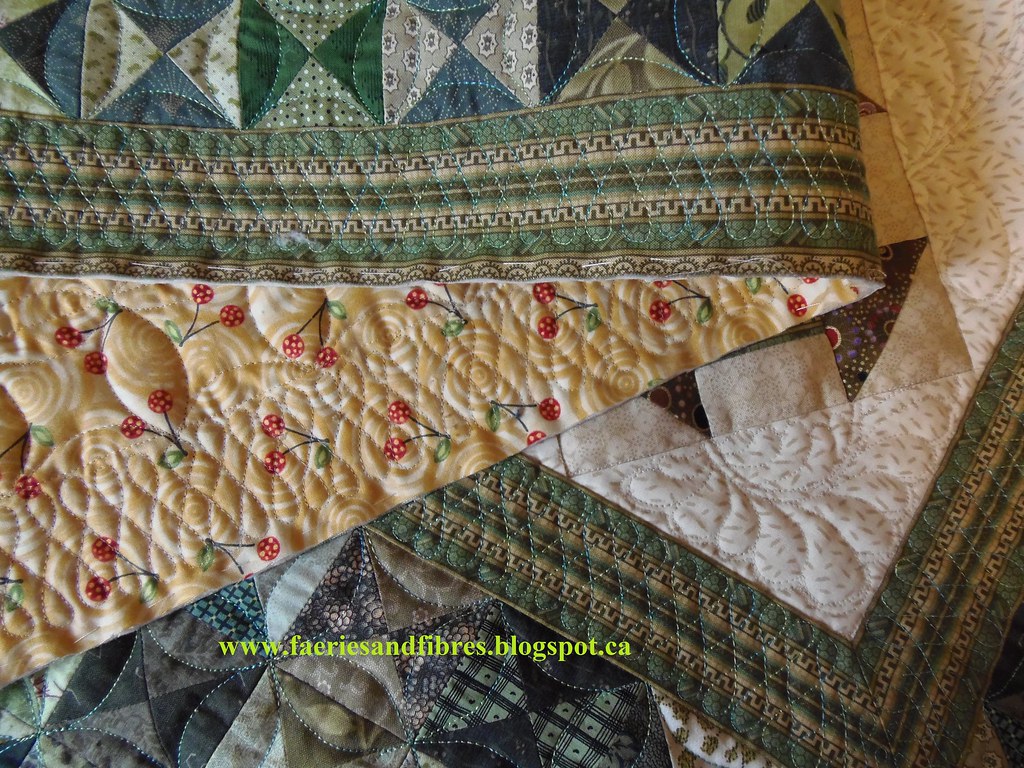
I applied some of the glue stick to the wrong side of my border right down the middle of the border. I worked about 12" at time. I smoothed the quilt top making sure the border was flat,smooth and tacked to the batting. I basted close to the raw edge (less than 1/4" from the edge) and I took shorter stitches. I worked all the way around the quilt. I normally baste the edge before I apply the binding because it makes the stitching of the binding much easier so this step really wasn't extra work for me. After the border was glued and the edge basted I quilted and it went so smoothly and the quilting was stress-free! I will definitely use this technique again! I made sure the bottom edges of the figure 8's were more than 1/4" from the edge so that they wouldn't be covered when the binding is applied. I still have to go back and put some more quilting in the center panel but that will happen after the quilt is bound. Here is the edge of the quilt quilted and trimmed. Who`s a happy quilter? Me, that's who!
My next project is to quilt another one of my Mom's African banner quilts. She loves this design and I think this is her third quilt! I've ditch quilted so now I'll have to go back and put in some details.

Time for me to get sewing so until I post again, happy sewing!
Karen H
