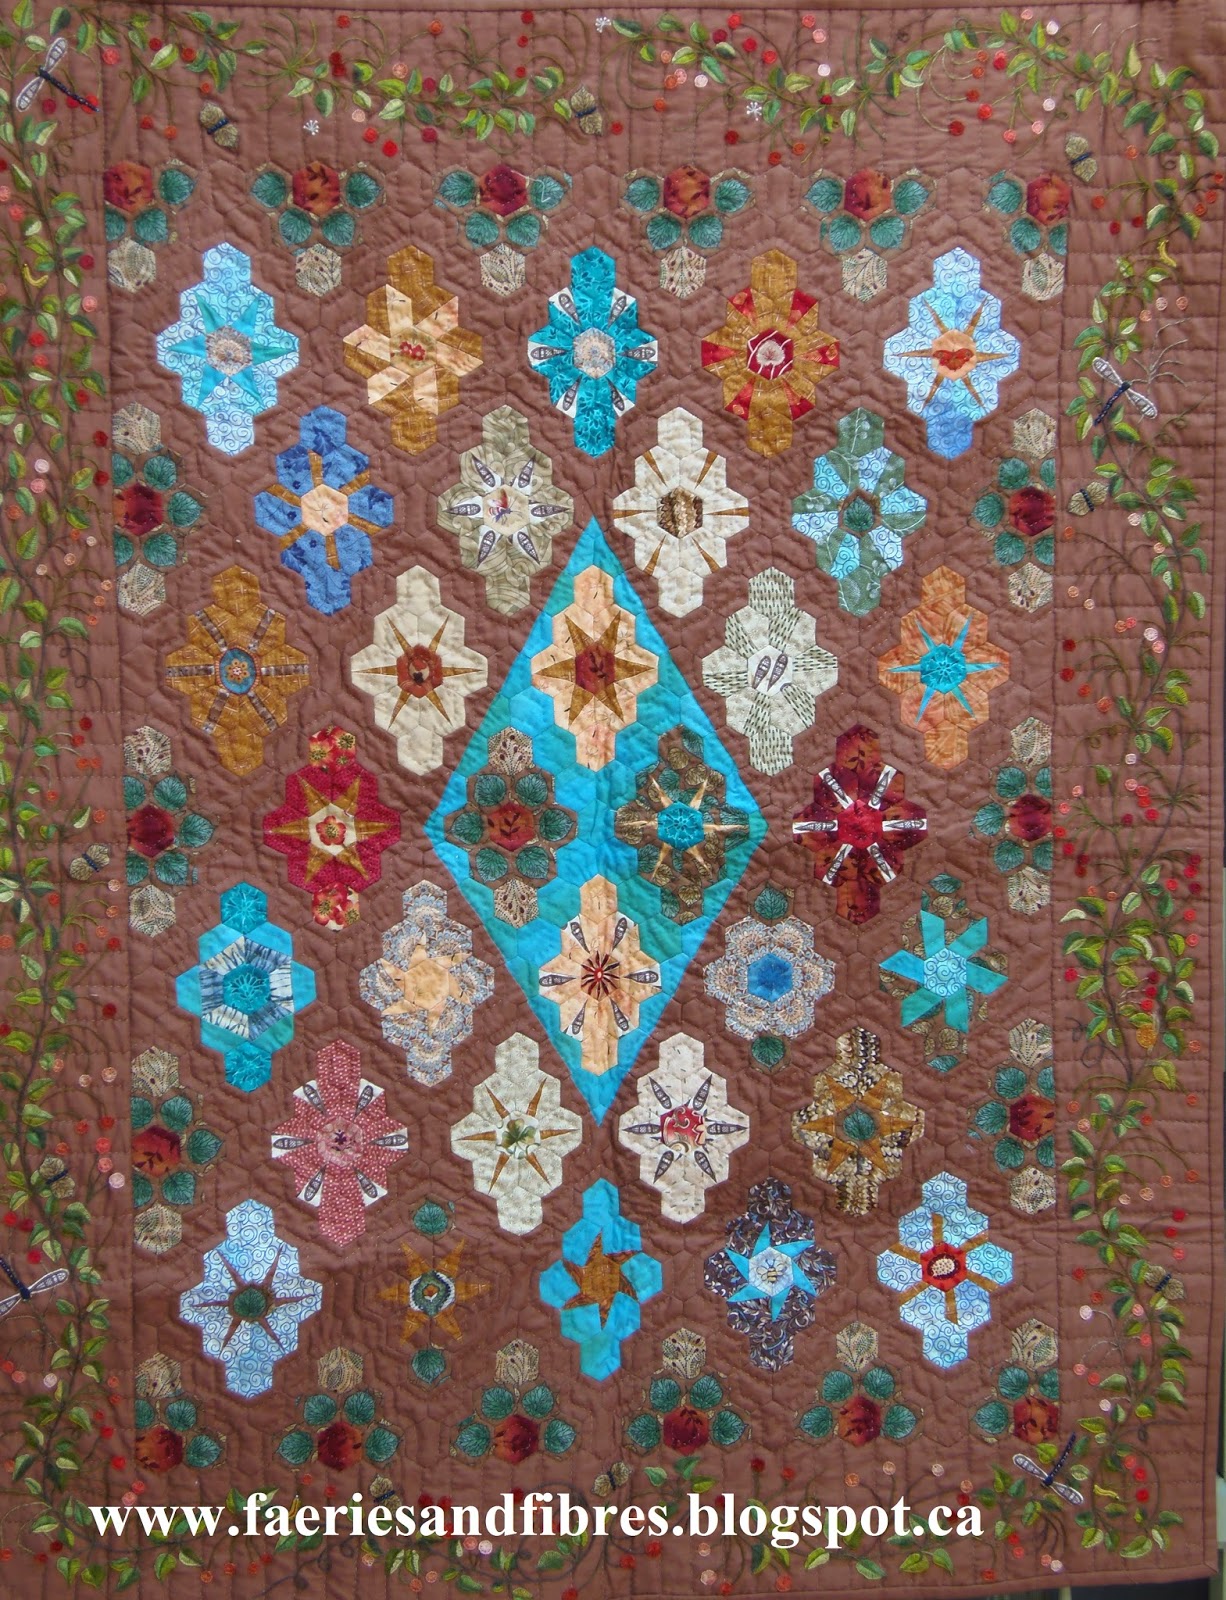
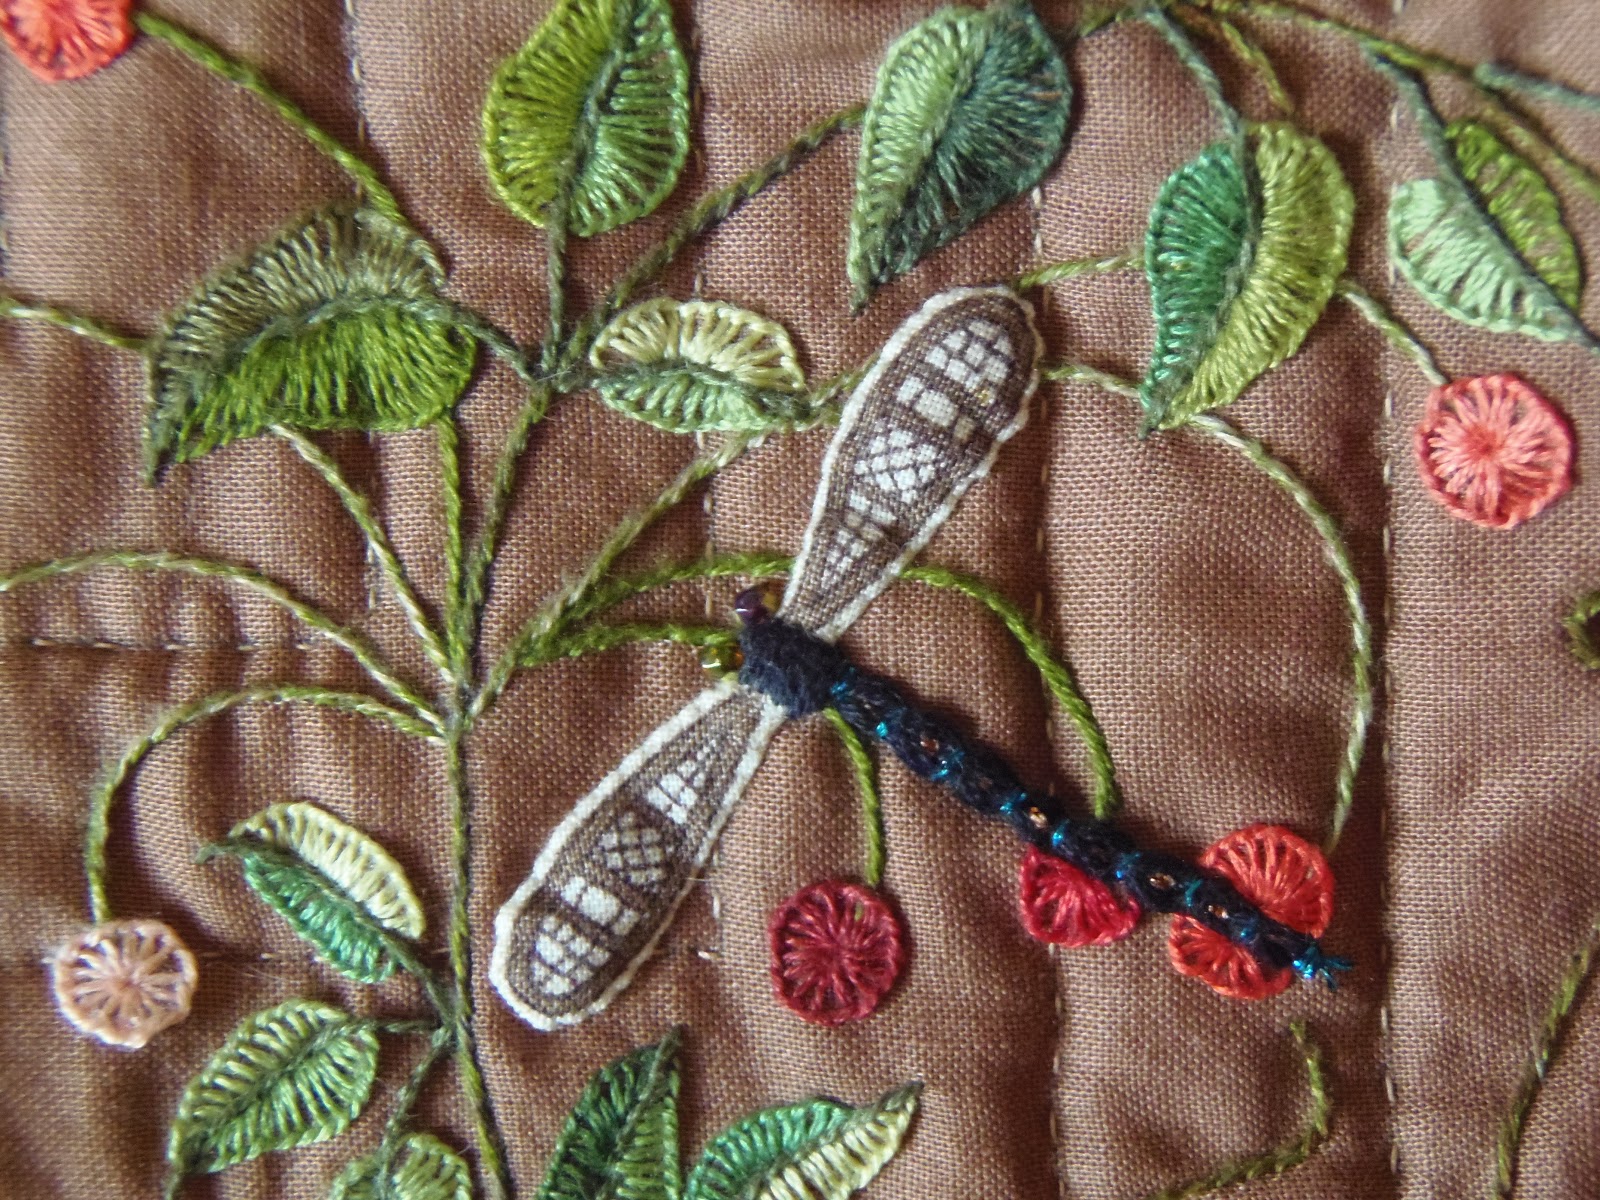
As promised I will show you how I embroidered the berries on my Soupcon quilt. There are also some
HELFPUL TIPS from readers. These tips will help you with your embroidery and help you plan your embellishments for your Soupcon block. You will find them a after the tutorial.
To begin draw your design on your fabric using a fabric safe marker (I used a Frixion pen). I draw a line for the stem and a circle on top for the berry. You can see that the berry on the left wasn't right so I redrew it. When I've finished the embroidery I'll take a warm iron to the fabric and the marks will disappear. To start put your fabric in an embroidery hoop making sure that the fabric is smooth and taught. I worked with two strands of DMC floss. I make a knot at one end and trim the excess floss close to the knot.
I bring the needle up at the base of the stem and work an outline stitch up to the berry. This is how I work the outline stitch. I make sure to take very small stitches because if they are too big they flop forward. If you can't get small stitches you might do better to try a back stitch. Use the stitch that is most comfortable for you and that gives you the look that you are going for. I take a tiny stitch that is a few threads in length.
The first stitch completed.
I draw my floss up and then take another little stitch. It helps if I have my finger underneath and I push up the fabric just a little where the stitch will go. It makes it easier to pick up a little bit of fabric for the stitch.
I continue in this manner until I get to where the stem plugs into the berry I take my needle and thread through to the back and bring it up on the outside edge of the berry a few threads over from the stem.
I place my floss in a loop over the top of the berry, take my needle down through the center of the berry and bring it up a few threads over on the outside edge. I slowly draw my floss up. If you pull it too quickly you run the risk of a tangle.
I loop my floss once again over the top of the berry, take my needle down through the center of the berry and again bring the point up a few threads over on the outside edge.
I continue in this way all around the circle.
When I've completed the berry I take the floss through to the back.
I take my floss throught to the back and weave it through the outline stitches on the back.
Once I've woven through six stitches or so I clip my floss.
Voila - a berry! If your first berry isn't perfect don't worry. With a little bit of practice they will be perfect!
Here are a bunch of berries in the border of my quilt
There's A Snail in Grandma's Flower Garden. I had a bunch of similar colours of floss so I threaded up a bunch of needles, each with two strands of floss. I used a different colour for each berry. The same stitch was used to work the body of the snail. I drew a spiral for the shell and worked from the center of the spiral out to the outer edge of the shell.
If you want to make French knots
Judy Dietrich had a great
HELPFUL TIP. She wrote "when I make one lone French knot - I have learnted to come up fromt he back and take a small stitch across the top of the fabric where the French knot goes. Then I go back down with that stitch - come back up and make the French knot. Then you have an anchor stitch that makes the French knot more secure. If I make a knot here - I go through the anchor stitch on the backside and knot on that. It really makes a nicer knot." Thanks for that tip Judy. It will also prevent the French knot from popping through the fabric to the wrong side!
Skootchover also had a fab
HELPFUL TIP! She wrote "I use a sheet of transparency film for overhead projectors (or any transparent piece of clear plastic) and an erasable marker to audition designs for FMQ and I think it will work perfectly for trying different embroidery designs. Just place it on top of the square and doodle away. Just be careful not to smudge the ink on your square". That's a great idea! I have some plastic template material and it has a bit of a frosty finish but you can see through it and you can draw on it with a pencil which can be erased if you don't like what you see. You could also scan/copy your block and print paper copies for doodling!
I hope you have fun embroidering berries or leaves or whatever on your Soupcon block(s). I'm really looking forward to seeing some wonderful creations!
There are some more blocks posted on the
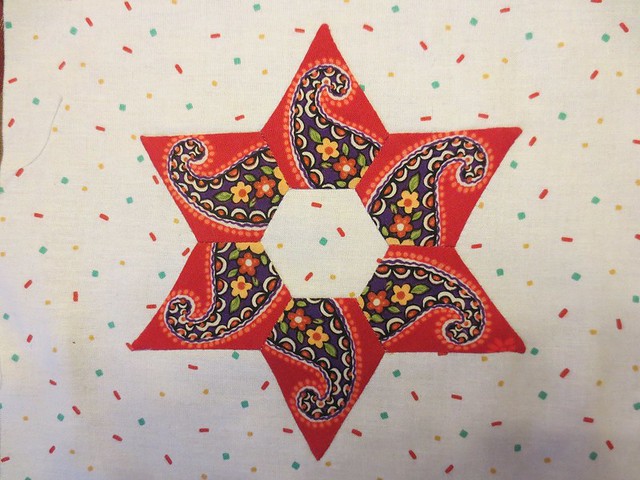
Soupcon FLICKR Group so it is time for another little trunk show! The first block is from Patchplay. I think she will have great fun embellishing it. I think some beads would be a great addition to the embroidery!
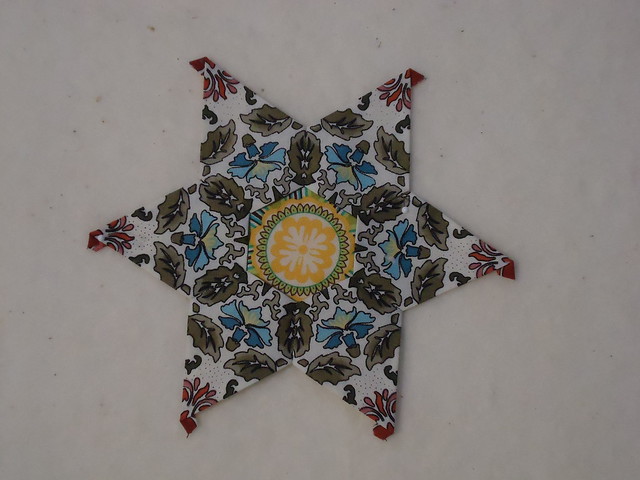
Cissa K made this elegant block. I wonder if this is a Liberty print. It sure has that kind of feel about it.
Talb9999 made this floral masterpiece. The pink center is very pretty. Wouldn't some deep yellow French knots look great in the middle? I would love to embroider or applique little green leaves at the inner corners of the hexagons.
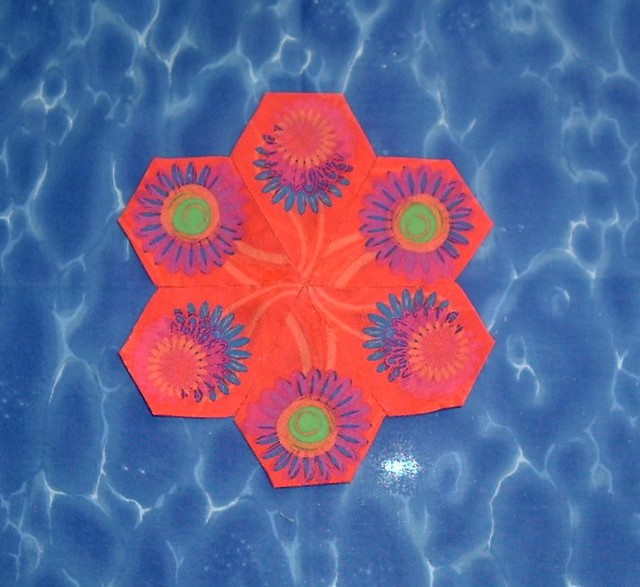
The next two are from tucum58quilts. This one reminds me of lotus flower floating on a pond! It really is mesmerizing!
Her second block has a lovely old fashioned feeling about it. I can see visualize this one with some lovely green leafs and peach flowers embroidered at the inner corners of the hexagons. And she just has to put something special in the center hexagon because it is a lovely space to embellish!
And finally this humdinger is from GracieER. She has been very busy! For sure this has to have a bunch of leaves in all sorts of green. It will make the hummingbirds look like they are in the trees!
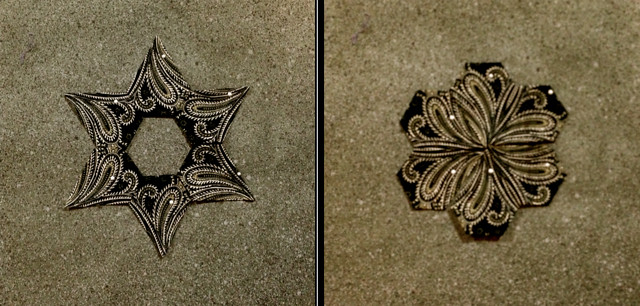
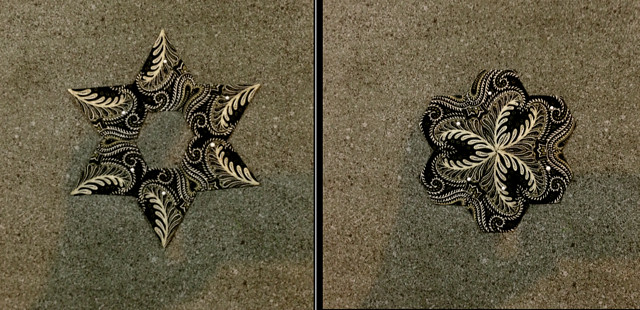
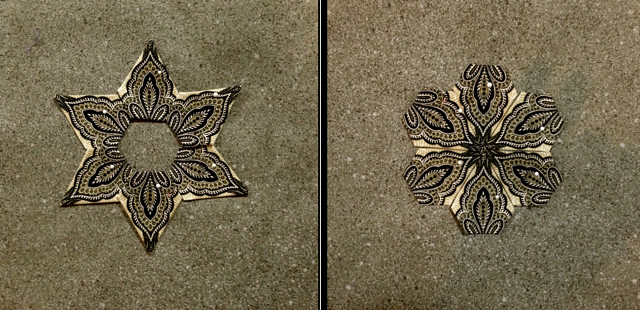
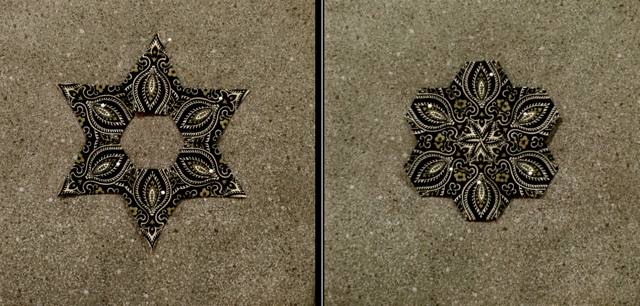
Nelliedurand has also been very busy! She posted pictures of the same modified hexagons arranged in two ways. It is so interesting to see how different the blocks look depending on whether the points are in the center to make a flower or pointing out to make a star!
For those of you who love hexagons and felines don't forget to see what's new at
Sarah's Help for Hexi-alholics.
I hope you are all fired up and ready to create something wonderful. Until I post again, happy sewing!
Karen H