

I used one of the patterns in the book to make a quilt for a friend who was expecting her first child in 1997 and really enjoyed making the quilt although I modified the pattern by eliminating the pieced border and instead used a solid subtle neutral plaid for the border. This time I decided I would piece the border (more about that in a moment).

The instructions for making the quilt are "scant". In fact they fit on a single page! They are accurate but you need to be an experience quilt maker to understand them,

The quilt is made up of 20 blocks twelve of which are numbers 0 to 9 (some of the numbers are duplicated) and eight of the blocks are stylized birds. I decided to make the number blocks without repeats so there were ten of them and I made ten bird blocks.

I embroidered the plumes on top of the bird's head and topped each one with a colonial knot. The eyes were cut from a dotted fabric and appliqued to the face. I used a marker to make the dark pupil in the eye.

The feet were outlined with a stem stitch. I though they were dull and didn't stand out enough so I used a Sakura Pigma pen to add some shading to the legs.

The blocks were sewn together with sashing and cornerstones in a soft grey-green print. I made the pieced triangle borders and added the side borders to the quilt. I stepped back to have a look and realized that the border on the right was attached the wrong way! Argh. I little reverse sewing (i.e. ripping out) and it was ready to be reattached.

Much better, don't you agree?

The last step was to make the corner patchwork units and attach them to the top and bottom borders. TA DUM! The finished quilt top. It measures 44" x 54".

I wasted no tine in making the quilt sandwich and pin basting it. This one will be hand quilted with a larger stitch. I think it will make for a nice soft baby quilt. There is a baby shower next weekend and my goal is to have it finished in time for the party. Keep your fingers crossed for me!

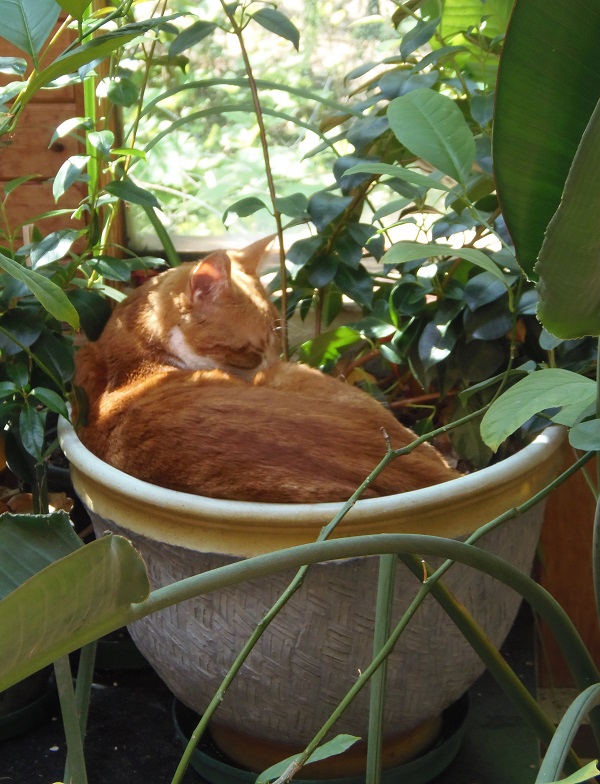
Meanwhile Jinx has found himself an nice place to sleep out in the solarium ..... he is curled up in a flower pot with a Mandevilla vine! Silly little boy!
Time to get back to hand quilting. Until I post again, happy sewing!
Karen H
