
I've been busy working away on needle books and Tiny World pincushions which means I've had little time for quilting. So I thought I would share some pictures of another of my quilts.
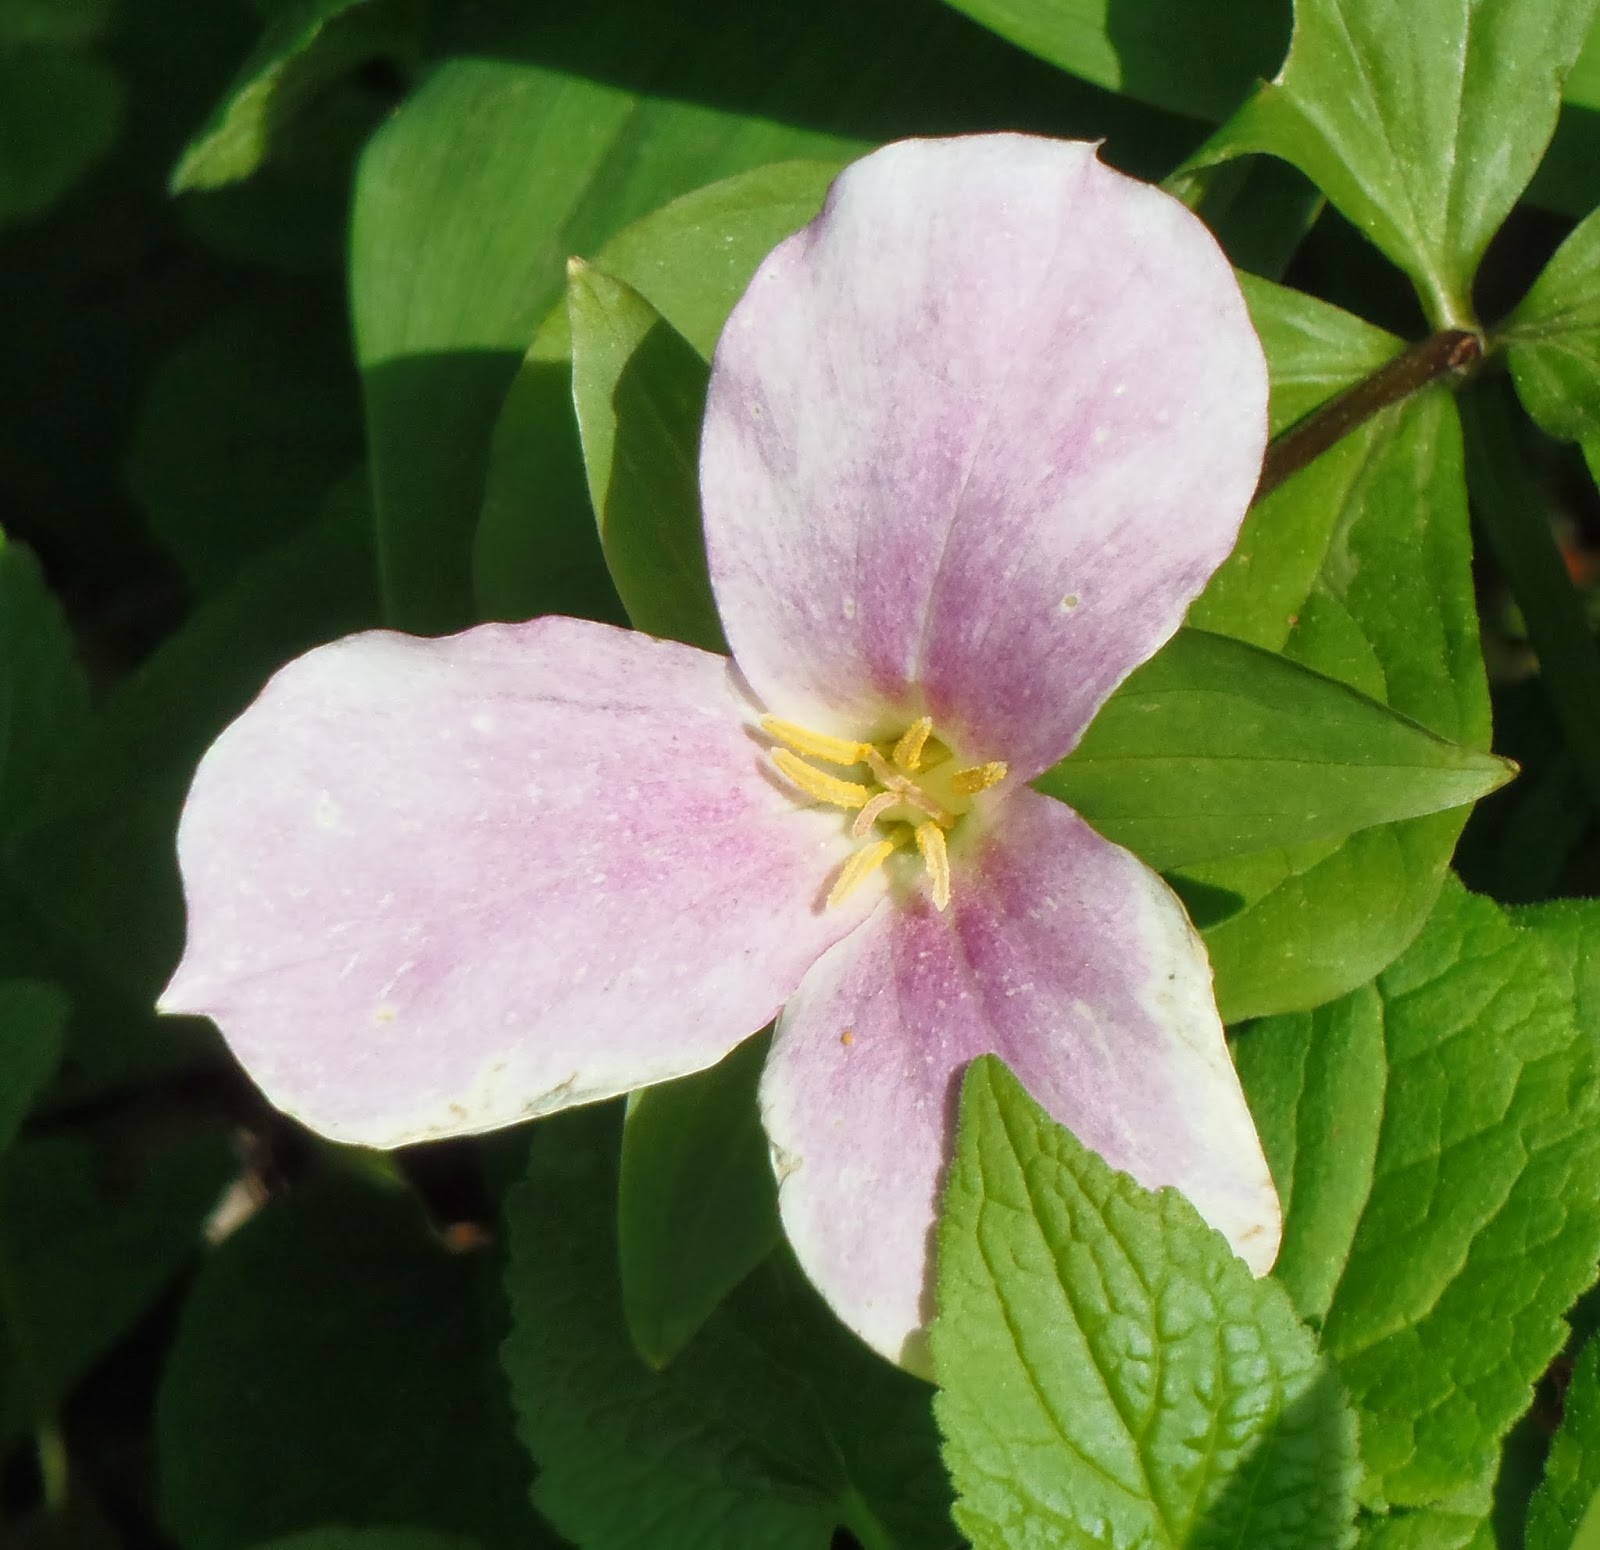
The picture above is a trillium and I took the picture this past spring. It is the provincial flower in Ontario, Canada. This pretty flower blooms in the early Spring. It grows on the forest floor and it is most often a bright snowy white and less often a deep burgundy. This little gem is in my Mom's garden and the pink blush is a result of a natural cross pollination between the white and burgundy trilliums.

The trillium was my inspiration for the first challenge quilt that I ever made. The challenge included several fabrics some of which were a tan and mauve print of ferns, a white ground with mauve and deep rose trees and branches and a mottled leaf print that was deep mauve, taupe, black and jade green (ick - not at all my cup of tea). I was allowed to add my own fabrics.
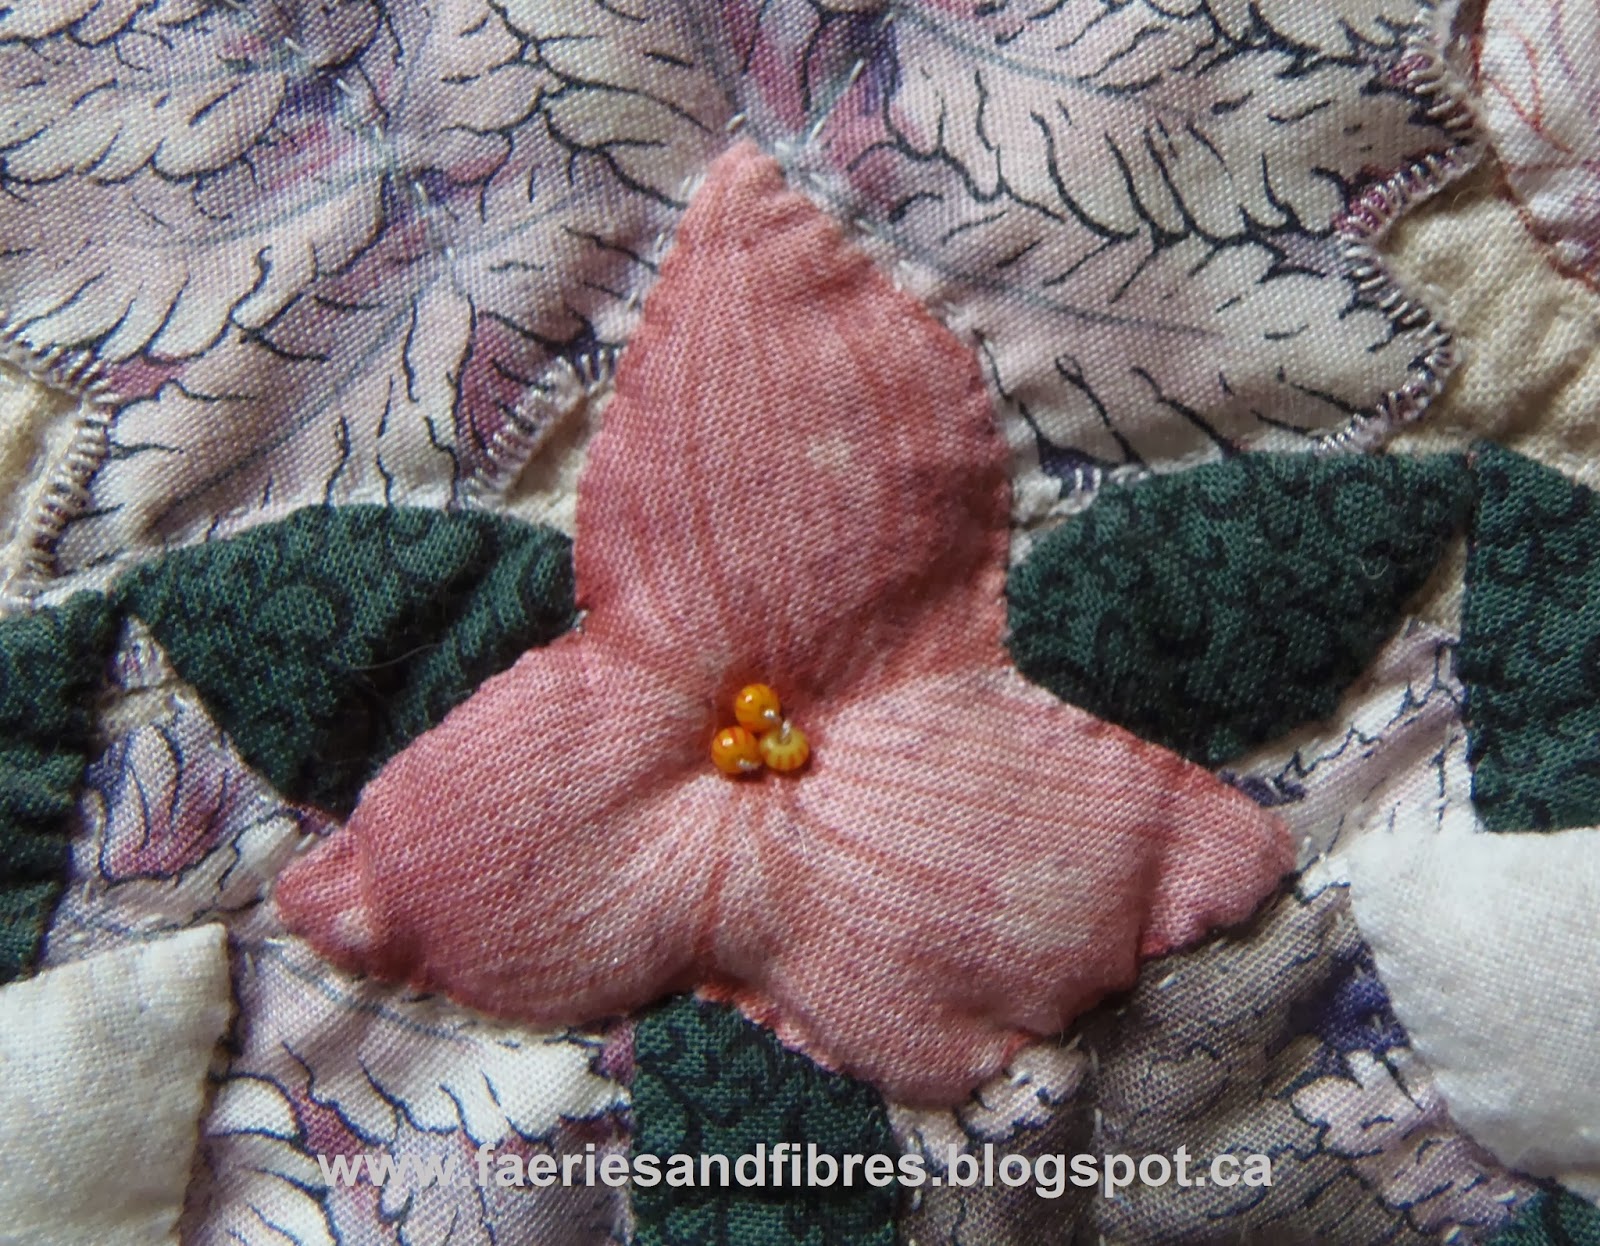
Ferns grown near trilliums so the fern print made a perfect base for trilliums. Here you can see the ferns in the background and the first three of my fabric additions, the pink, the dark green leaves and bits of the white trillium. I used watercolour paints and textile medium to paint the veins on the petals. I used the broderie perse method of applique to stitch down the ferns.
When ferns come up in the spring they look like the head of a violin.... a stem with a curled head and we call them fiddleheads. They are delicious steamed and dressed with a little olive oil, salt and pepper!
Here is a close-up of a white trillium with the veins painted on the fabric.

While making this quilt I began to wonder "what pollinates the trillium" because it blooms so early in the Spring and there aren't many bugs out at that point. I called a botanist at one of the local universities and was told that it all happens on one warm Spring day. Once the temperature reaches 68F the bees take flight and in the process pollinate the trilliums!

I used paint and fabric markers to colour the bee's body and I fussy cut the tree branches from one of the challenge fabrics to make the wings. If you would like to make your own bees check out my tutorial here.

I love tiger swallowtail butterflies and they too show up in the spring so I made one of yellow fabric and used acrylic paints to add the colour details to the wings!
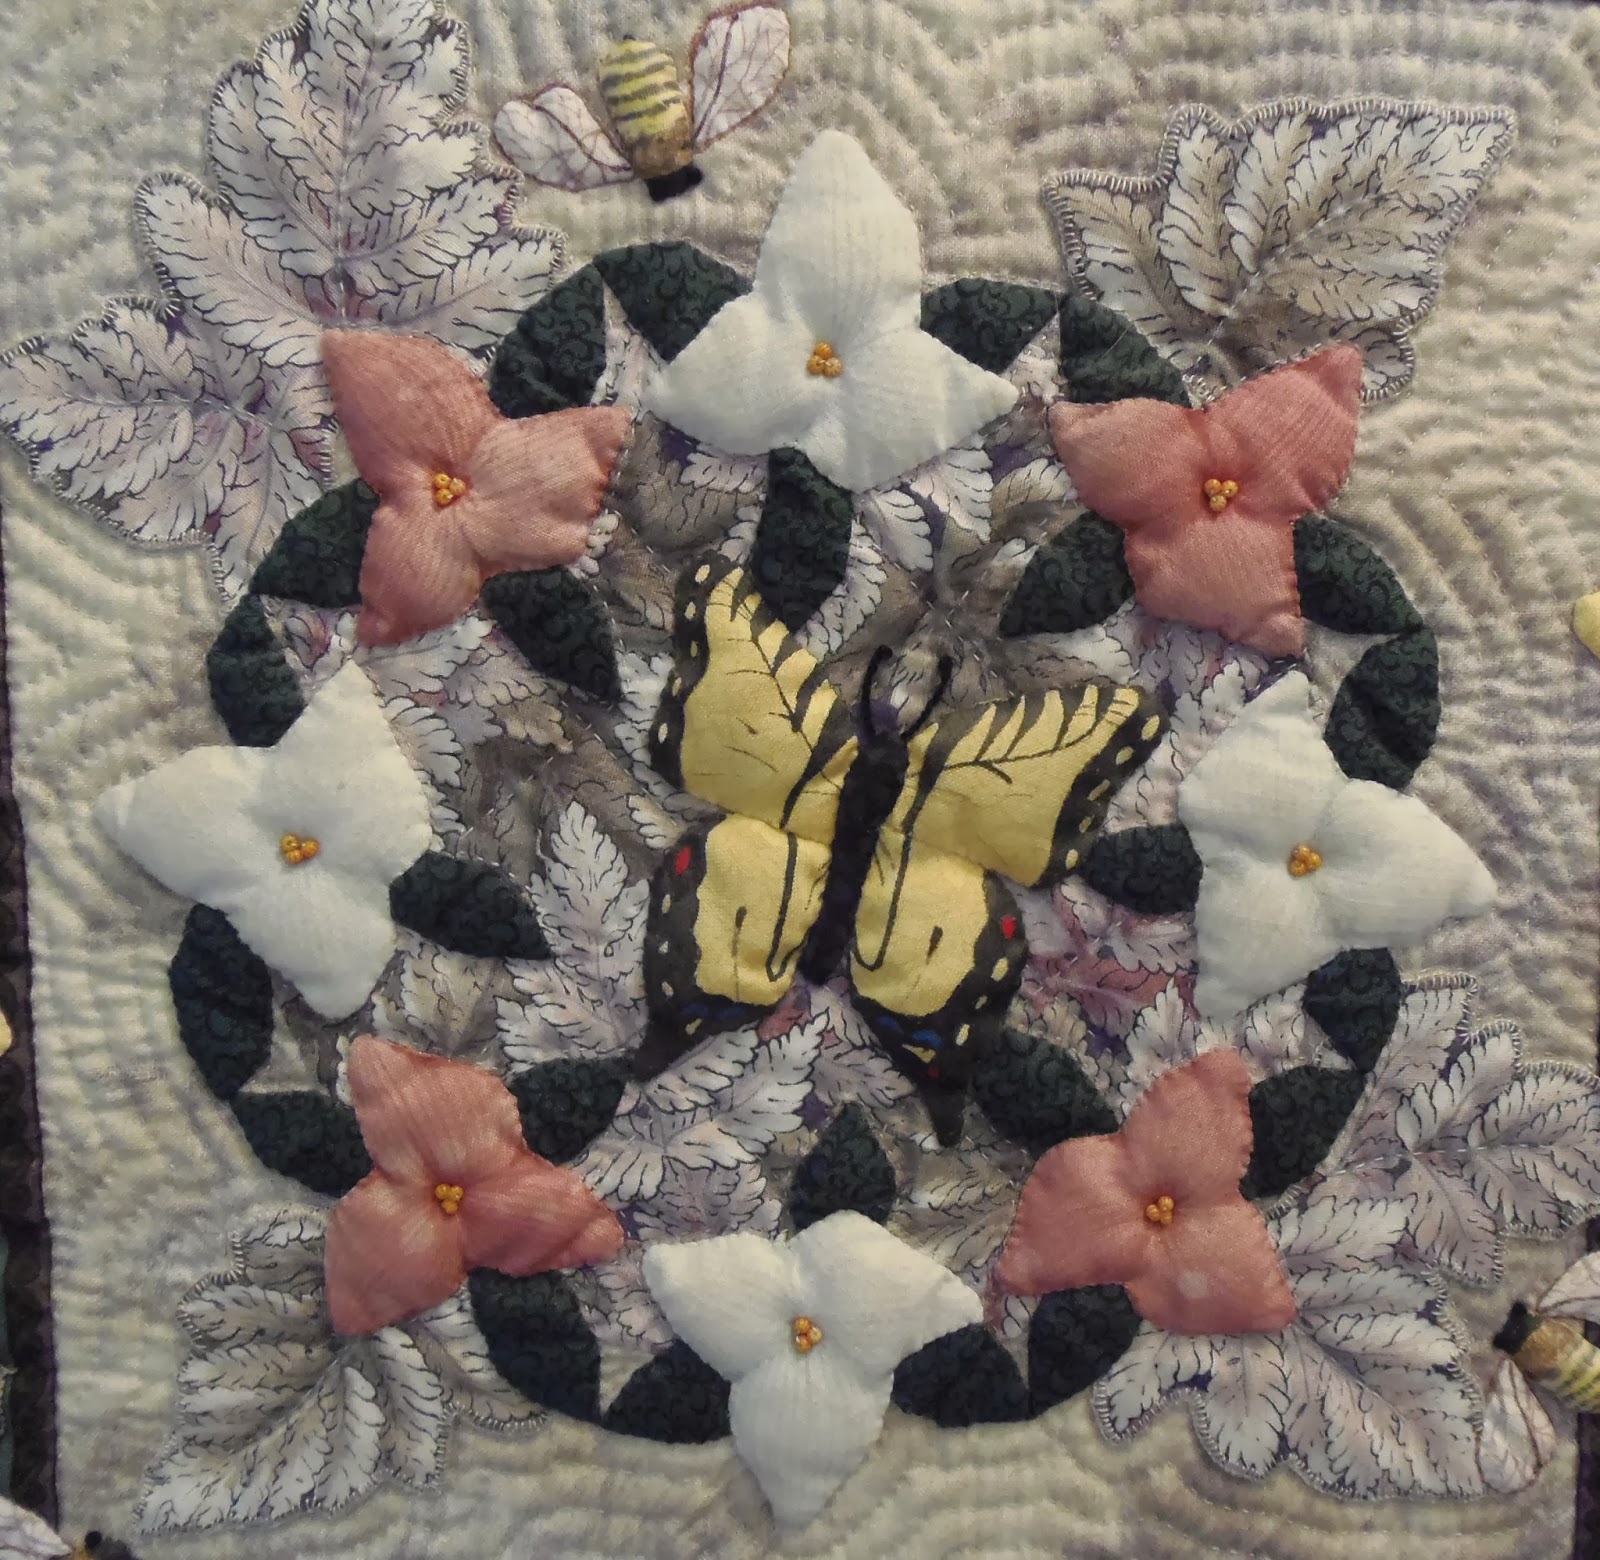
For good measure I threw in some dragonflies and sulfur butterflies! Again I used the tree fabric to make the wings on the dragonfly! The head and body were all cut from a single fabric. Even the two dots that look like eyes were part of the print...I didn't add them. I should add some large iridescent beads on the side of the head for the eyes! I'll add that to my to do list!

Here is a sulfur butterfly embellished with inks from Sakura Pigma pens and some embroidery details.

I added two tiny hand-pieced borders. I had never tried anything like that before. That's the beauty of a challenge....you have to get creative and it is a great way to try out new methods or techniques. The spikey border was made with the challenge fabric of mottled leaves in shades of taupe, black, deep mauve and jade.

The final border was a deep brown Jinny Beyer border print that echoed all the colours in the challenge fabrics. And here is the finished quilt which measures 30" square.

And what do I call the quilt? Where Fiddleheads Grow.

Work continues on another fiddle which doesn't yet have its head....yet! My brother continues to apply layers of French polish to his violin.

The inlay work he has done is called purfling. Isn't it beautiful?

I continue to work on Love Entwined and time permitting I'll get back to it today. Once I've got something to share, rest assured I will!
Until I post again, happy sewing!


