Here's an arc pressed and lightly starched.
I pinned pattern to the right side of the arc and traced around all four edges with a Frixion pen.
With a pair of sharp scissors I cut the excess fabric from the outer curve and the inner curve leaving a 1/4" seam allowance. I didn't trim the ends and I wont trim the ends until the arc is stitched to the background fabric. The reason is that it will give me a little wiggle room if I need it!
The final step was to turn under the seam allowance on the line I drew with my Frixion pen and baste the outside and inside curves.
Once they are all basted the next step will be to decide on the background fabrics. I might use the greyish fabric that is in all of the pictures above or I may use an assortment of fabrics. Time will tell what I decide!
Yesterday I showed you a quilt I am working on. It is based upon an antique folk art quilt. I always have a working name for my quilts and I write it on my notes and templates just in case they get separated. The final name of the quilt might be something entirely different. My working name for this quilt is 81. The reason I call it 81 is that the centre panel is made up of nine squares each of which contains nine hexagons and stars (9 x 9 = 81). Natalie of Sewing Room Secrets (a lovely little blog) asked if I appliqued the stars and hexagons randomly.
Another close-up of 81
What I did was mark a grid on the wrong side of the fabric. The grid was a nine patch and each square measured 13 1/2". This means the panel is 40 1/2"; this measurement does not include the seam allowance around the outside edge. Once I had lightly drawn out the grid on the wrong side of the fabric I took a large needle and coloured thread and I sewed big stitches on all the lines and the outside border. I did this so I could see the grid on the right side of the fabric. My next step was to glue baste the hexagons and stars which had all been pressed and lightly spray starched. I used Roxanne Glue Baste-It. The spray starch step was important because I wanted to remove all of the basting thread and papers before I appliqued them to the background. In the corner squares and the centre square I appliqued five stars and four hexagons. In the squares in the north, south, east and west position I appliqued five hexagons and four stars. When this was done I removed the centre basting threads that marked the grid but not the outside border threads. I'll use them as guides when I trim the panel. I'll add a 1/4" seam allowance beyond the border threads.
The hexagons measure just over 3/4". This is a case where I resized my master template and I did it because I already had some stars leftover from other projects so I resized the hexagons so that they were compatible with the stars. If I were to do it again I think I would just use 3/4" hexagons. If there is interest I can certainly work on a little pattern to provide the measurements of the various components and the fabric requirements.
Today I was down and my Mom's and I took some pictures in her garden. She loves her garden and so do the birds, bees and butterflies!
My brother just built this bench for her plants. She wanted to disguise the bin!
The gate that leads to the garden!
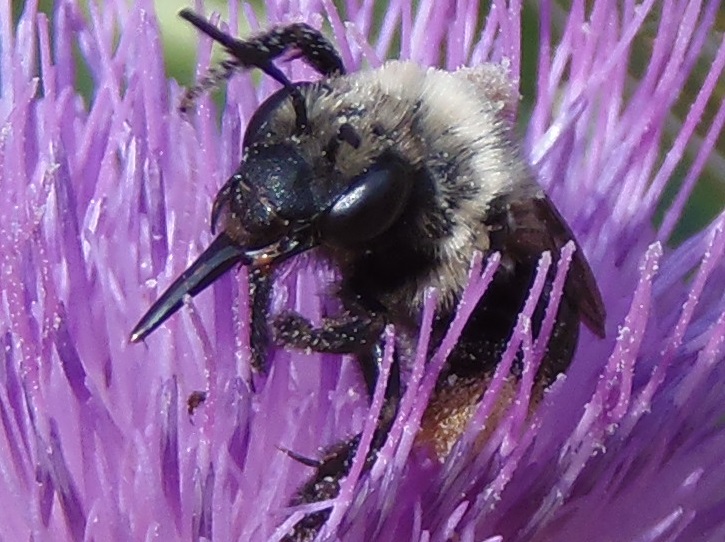
Bee in a thistle - he looks like he is wearing pantaloons!
Interesting, eh?
Until I post again, happy sewing!


Love your quilts in progress. Can't wait to see your lazy girl when she's finished! And your mother's garden is just outstanding. Beautiful variety of flowers and now I realize that I really want a sweet potato vine of my own!
ReplyDeleteThanks Michele! The Lazy Girl Quilt is coming along nicely. A few more arcs to make and then I can move on to the applique! I'm really looking forward to the quilting because of all of the large open spaces - lots of room to experiment with quilting designs!!
DeleteSweet potato vines are really very pretty once they get going! The add a unique colour to the garden I think!
Thank you for explaining how you positioned all the stars and hexagons on your quilt - now I get it! And I love the fussy cutting too - it really 'pops' as you would say! :)
ReplyDeleteGorgeous pics of your Mum's garden today too, Natalie xx
I hope you're tempted to give it a go now that you know how! If you do I would love to see what you come up with!
Delete