Showing posts with label Steam Punk quilt. Show all posts

Friday, September 20, 2013

A plethora of Lazy Punks and what I have planned for an upcoming post

I've got seven more blocks finished...a veritable plethora!

Two different greens were used for the wedges. I cut two on the grain and two are not on the grain (the one o'clock position and the seven o'clock position). I think this adds interest and movement.


Simple but effective!


Fabrics don 't have to match - in fact I think it is better if they don't match but they do have to "go".

Another simple  block but the hub cap in the centre adds spice!


The blue and white stripes are exciting!


Another compound hub cap in the centre of this block.


Love, love, love the striped arcs on this one. I think the wedges look like spinning propellers!


I like to shop at Fabricland and today they had a members' sale. Everything was 50% off the regular price. Who can resist that kind of sale. Certainly not me! So I was able to purchase some fabric for a demo I have planned. I want to show you how I cut the patches for my quilt Mom's Flower Bed.

Mom's Flower Bed

All of the little stars were cut from a single fabric. The first few were fussy cut one set at a time but there were problems with that approach:
  •  it is very slow cutting them one at a time,
  • the fabric starts to look like Swiss cheese,
  • it wastes fabric because there are sections that are just too small to use and
  • the blocks start looking the same.
The last point, the blocks start looking the same is a result of centring the motif in my clear template or window template. So I figured out a way to use my fabric so that I could cut the patches quickly, there would be little to no wastage and there would be a wide variety of unusual looking blocks.


So this is the fabric I will use to demonstrate my technique. In the picture it doesn't look particularly beautiful but just wait until we start cutting!


There are some really pretty little bits and I think that the stars (or hexagons) will be very attractive when assembled! There are some lovely greys, golds, rusts and periwinkle blues in the print and the curvy vines will add movement to the blocks. The background is a buttery cream - very rich looking!


 Until I post again, happy sewing!

Sunday, September 15, 2013

A few more Lazy Punk blocks, another quilt and in the garden

I've completed the applique on two more blocks and my hands are not entirely happy doing handwork these days. There are lots of little muscles in the hands that don't get used and now they are feeling tender. I was tempted to just machine appliqué them but I need a handwork project for a sewing get together so I'll just continue on with hand work. Here's what I did last night!


And here's a bunch of the blocks on the design wall. The wedges are pinned to the backgrounds just waiting to be appliquéd.


 I've been debating making half blocks for the borders. I've made the templates and I'll explain how I made them tomorrow. The recipient of the quilt mentioned that my skeleton toile was very appealing and I should incorporate it in the quilt. So I think I'll use it for the setting triangles on the sides and the corners. I've only got a yard of the fabric and it is a directional print so I'll have to cut it carefully so make sure all the lovely skeletons are going in the same direction. I think that the triangles that don't have of the pictures showing will have wedges appliquéd.


 I had previously show you some close-ups of a hexagon quilt I made several years ago. I call it Mom's Flower Bed because it reminded me of my Mom's beautiful garden. There are flower beds all around the edge and a small circle garden in the middle. And this is my quilt! I used one print to make all of the stars. It is the same fabric that I used in Flora and Fauna, Parts of the Garden. It is a terrific print that has been very well used in several of my quilts!


And this is a close-up shot of the centre of the quilt. On my list of things to do is to explain how I made all of the stars from the floral fabric. It was surprisingly easy!


Flora and Fauna, Parts of the Garden Close-up

And finally, what is in the garden you ask?

Autumn crocuses in bloom

Berries on the Arum Metallicum
 
Berries on the Lily of the Valley

The Angel's Trumpets are loving the cooler weather
 
I have no idea what this is but it sure is pretty!
 
That's it for today! This lazy girl had better get to work on her Lazy Punk blocks. So until I post again, happy sewing!


Saturday, September 14, 2013

Lazy Punk - the block comes together

So all of my wedges are made and the arcs appliquéd. Now I need background fabrics. I rough cut my blocks at about ten inches. With my marking tool (I've been using a Frixion pen and a Bohin mechanical chalk pencil throughout) I marked a nine inch square on my fabric making sure that there was 1/2" extra fabric all around the square. I then placed a ruler and lined up opposite corners. I drew a line about 3" long in the centre and then I repeated this with the opposite corners. The result is an X in the centre of the block.


I place a wedge on the block making sure the edges of the arc are just inside the line.


In the centre I make sure that the lines in the X fall in the middle of the wedge. The wedges may be slightly different in length because they were rough cut so I don't look at having the inner edges equidistant. All I want to make sure of is that the centre of the wedge is lined up with the lines in the X.


And here are the wedges positioned on the background. I like to place a pin just below the curve of the arc. I flip up the inner part of the wedge and place a little glue on the sides and at the end of the wedge and finger press the wedge in place. I then remove the pin and gently turn back the arc. I run a little glue along the edges of the arc and fold in back and finger press it in place.


Alternatively you can draw the X from corner to corner. Fold the wedge in half lengthwise and line the fold on the line. When the corner of the arc is near the edge unfold the wedge, make any necessary adjustments to line it up and the pin/glue it in place.

All that is left is the hub cap.  In the first photograph I have the original size from the pattern I drafted. I think it is a little on the small side.


So I drew a larger circle and made a new hub cap. This one has a little more substance to it and I think it is better.

And since I had the two different size hub caps I tried layering them together. Interesting, isn't it! It might be fun to do a few like this for a little extra something!


So how did I make the fussy cut hub caps? Once again I made a window template for fussy cutting and I also cut a circle out of Mylar but you could also just use cardboard. I positioned my window template on my fabric and with my Frixion pen traced around the inside edge of the template.


I then cut out the fabric leaving a 3/8" seam allowance.


With a needle and thread I stitched all around the edge of the circle. I like to use smaller stitches so that when I draw up the thread the gathers are smooth.


I place my Mylar (or cardboard) circle on the wrong side of the fabric and smoothly draw up the thread to gather the circle.


I turn it over to make sure the motif is centred. If it isn't I place my left hand thumb in the centre and my index finger on the centre of the other. I hold my needle and thread with my right hand. I can slide the fabric until the motif is better centred and with my right hand I draw the thread taught and then pinch where the thread exits the fabric with my right hand. I quickly give the circle a press with a hot iron. I then give it a little shot of spray starch and press once again.


I loosen the thread enough to remove my Mylar (or cardboard) circle. I draw up the thread again so that the circle is flat and I tied off the thread.


Now the hub cap is ready to be glued to the block. Here is a block that is glue basted and ready for hand or machine appliqué. Once the appliqué is completed I'll trim the block to 9 1/2". In this photograph the block is straight set.


Here is the same block set on point and it gives a different look! Not sure which I like better but in the quilt I make the blocks will be set on point.


Since I am setting the blocks on point I will have to make some half blocks for the setting triangles on the sides and quarter blocks for the corners. I am not interested in making whole blocks and cutting them in half - that's wasteful. I'll explain what I will do in my next post.

I've decided to take the day off tomorrow but I'll be back the following day! Until then, happy sewing!

Friday, September 13, 2013

Pillow talk and Lazy Punk - the next step!

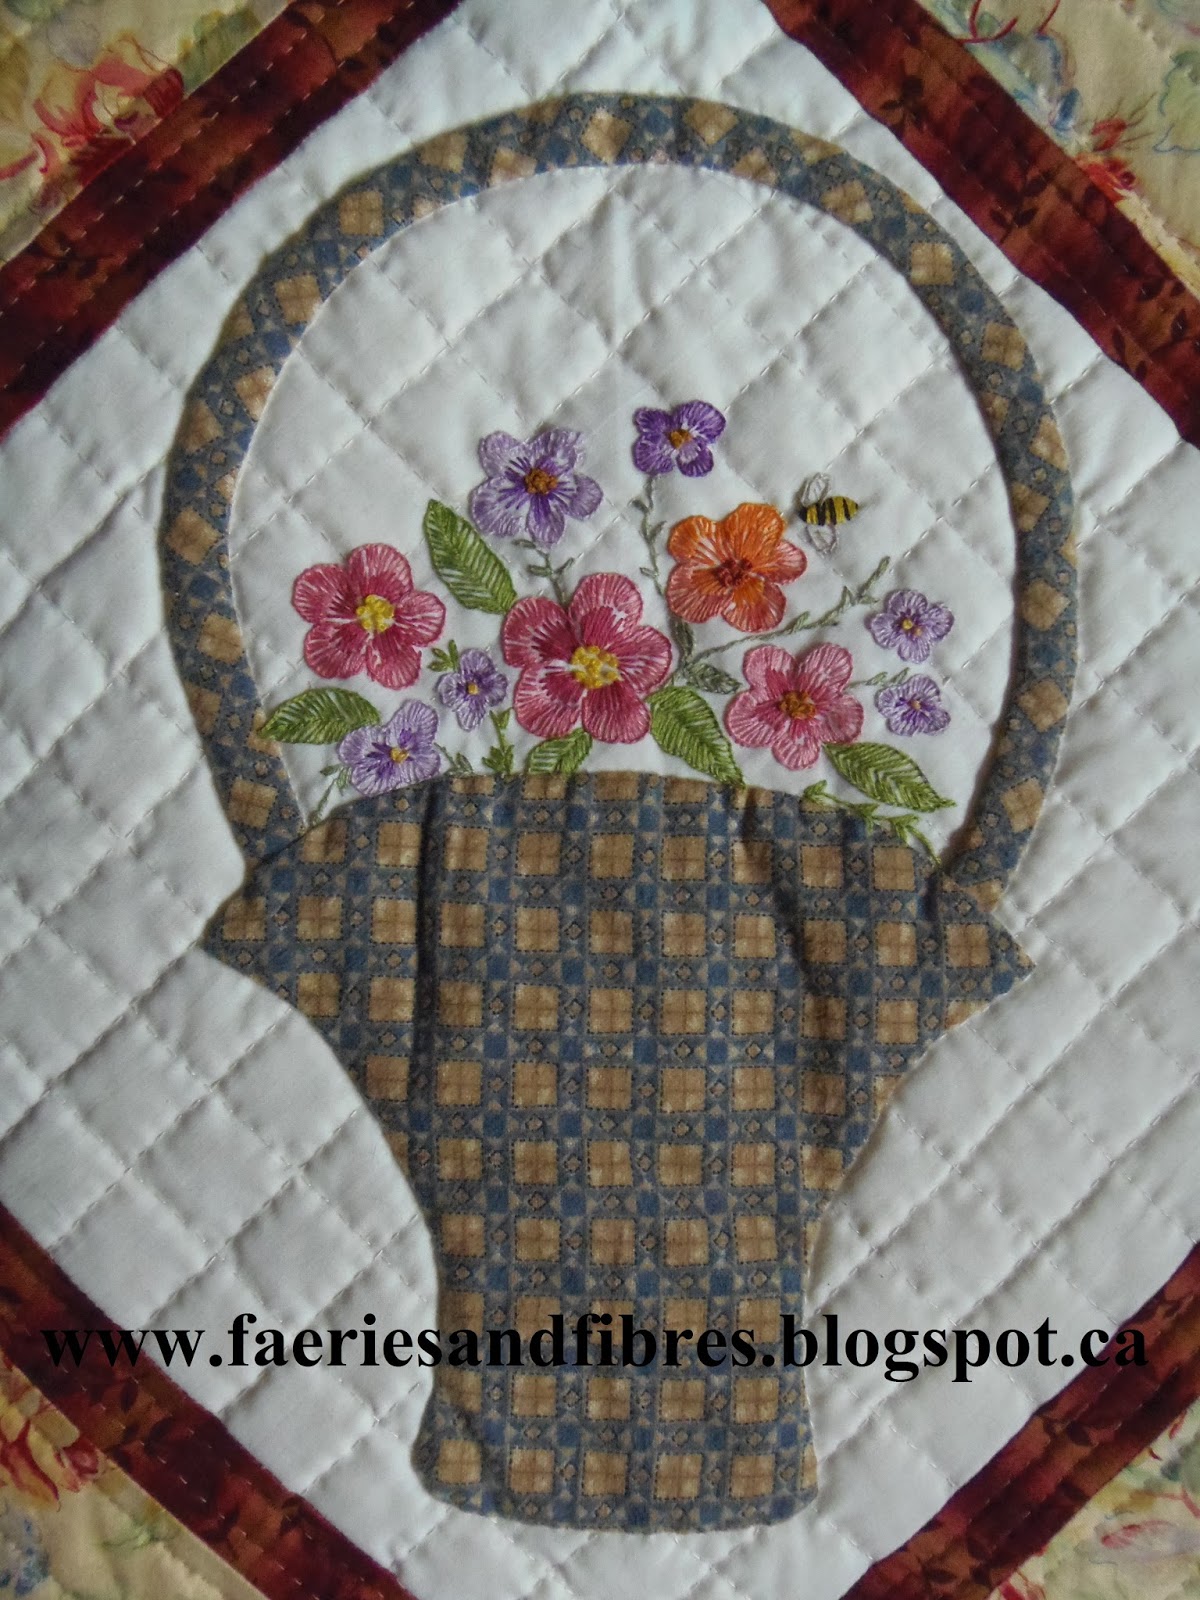
Before I continue with my Lazy Punk version of the Steam Punk quilt I thought a little pillow talk might be in order! About ten years ago we had a fun activity in my Guild. We were challenged to make a basket block over the summer holidays. The block could be any technique and it was to measure 12" finished. When we returned in September there was a draw for the blocks and I won all of them. I was pleased because my Mom (Anne H) made two blocks and I loved both. I made them into pillows. I think they are as pretty today as they were when she first made them.


There's often a bee in Mom's quilts!


And there's a bee in this one too!


Back to Lazy Punk! The cutting was so fast and fun I ended up with many more than I need for a quilt! So now that I've cut my fabric I want to prepare it to be to be appliqued to the background. 


Before doing so I want to talk for a moment about the appliqué . The arc will have to be stitched to the inner wedge. There are three points at which this can be done. I'll identify all three, and the one I am using, in the following instructions. I want a project that involves hand work so I have something to do when I am out and about so I am appliquéing the arcs by hand. However if this wasn't the case I would do all of the appliqué with invisible thread and a small zig zag stitch. So let's start glue stick basting!

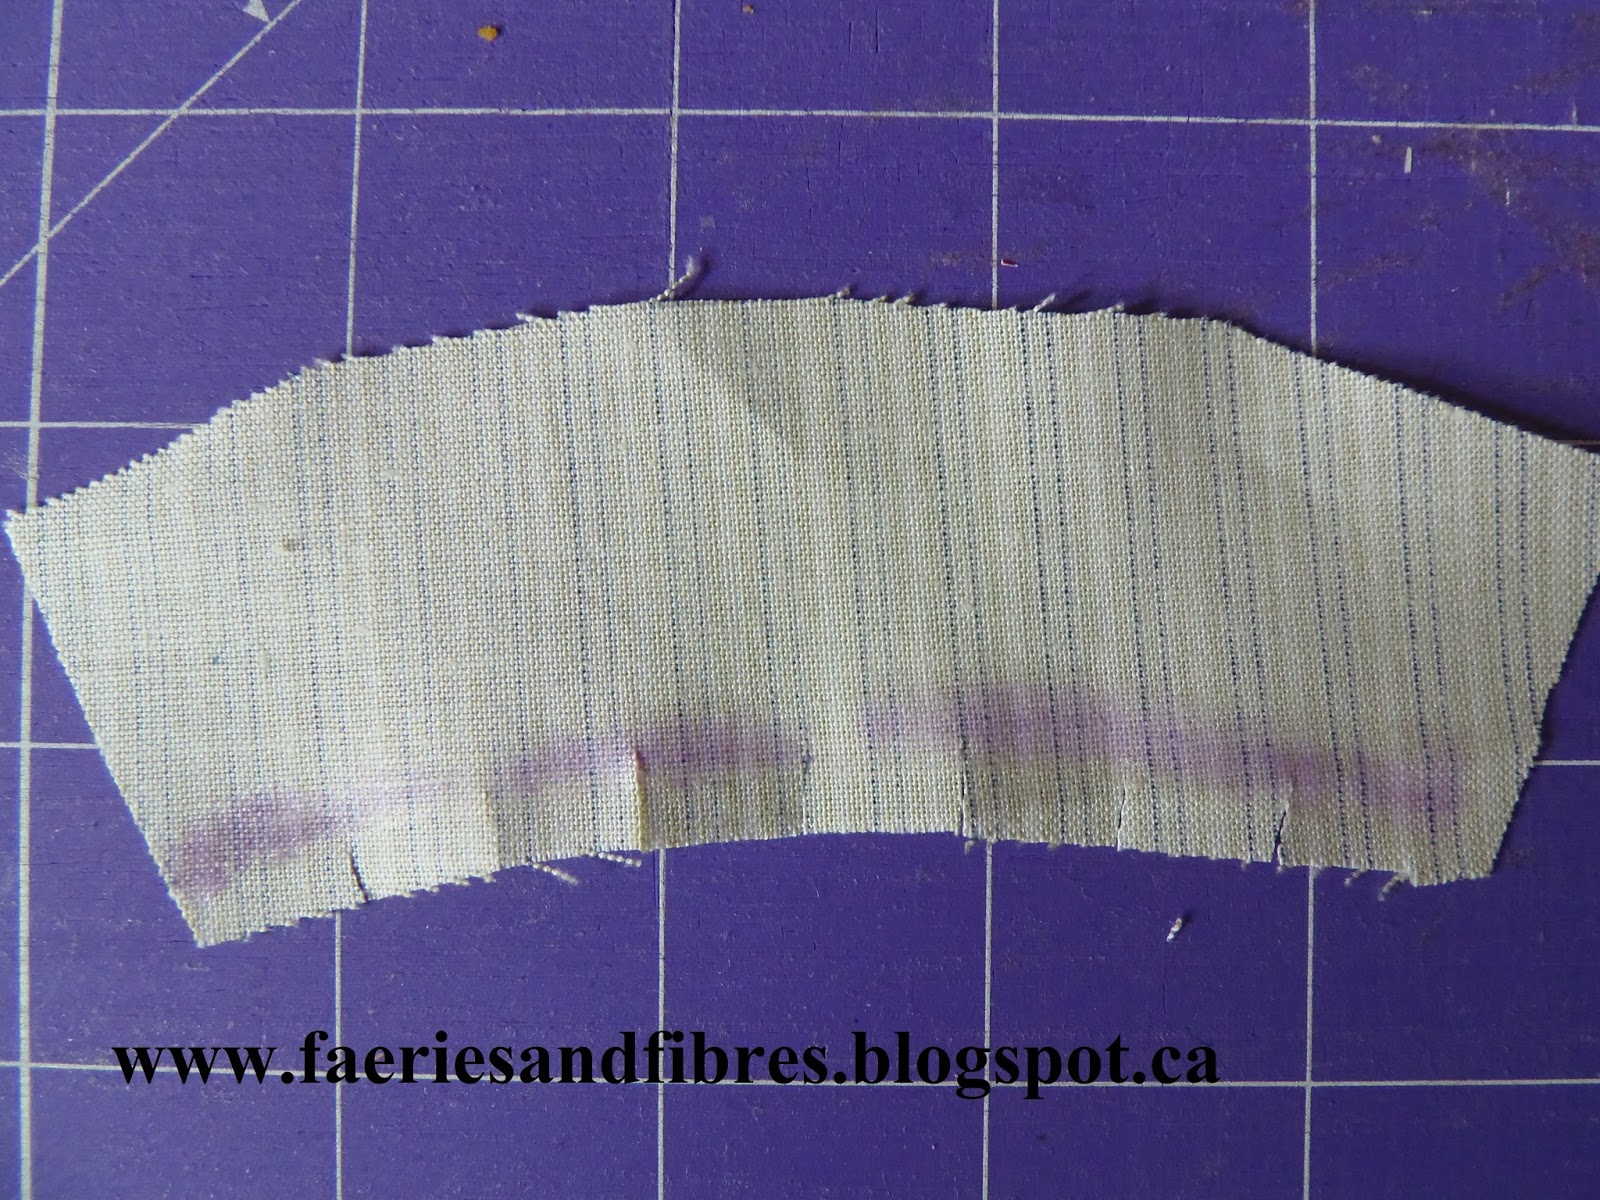
To prepare the arcs, place the arc with no seam allowance template on the right side of your fabric making sure that there is about 1/4" below the inner curve of the template. Trace around the template. Clip the inner curve making sure to stop about 1/8" from the line.


With your glue stick run a line of glue on the wrong side of the fabric. Finger press the seam allowance to the wrong slide along the line.

 
 You should have a nice neat edge like this. Once all four are glued in this way you can press with a hot, dry iron to dry the glue.


Now take the four inner wedges and run a line of glue along the edge on the right side of the fabric.
 
Place an arc on the glue and lightly press with your fingers. You can lay your clear template on the piece to make sure that the position looks good. It doesn't have to be perfect, just close. These wedges will not be touching one another so nothing has to line up and if they are slightly different it won't show. If you are happy with the position, press down the arc with your fingers and then a hot, dry iron to dry the glue. You can appliqué the arc to the wedge at this point. This is the point where I am stitching them together (with a thread that matches the arc) however there are two other possibilities.
 
 To finish the wedge, position the clear template on the wedge. Trace around the sides and top. Don't worry about the bottom edge. If there is a lot of extra fabric on the arc trim it down to about 1/4". I don't bother trimming the sides. Run a line of glue on the wrong side of the top of the arc and finger press along the line.
 
 
Clip the corners at the top edge of the arc.
 

Run a line of glue on the wrong side of the side and finger press along the line. Repeat on the other side of the wedge.

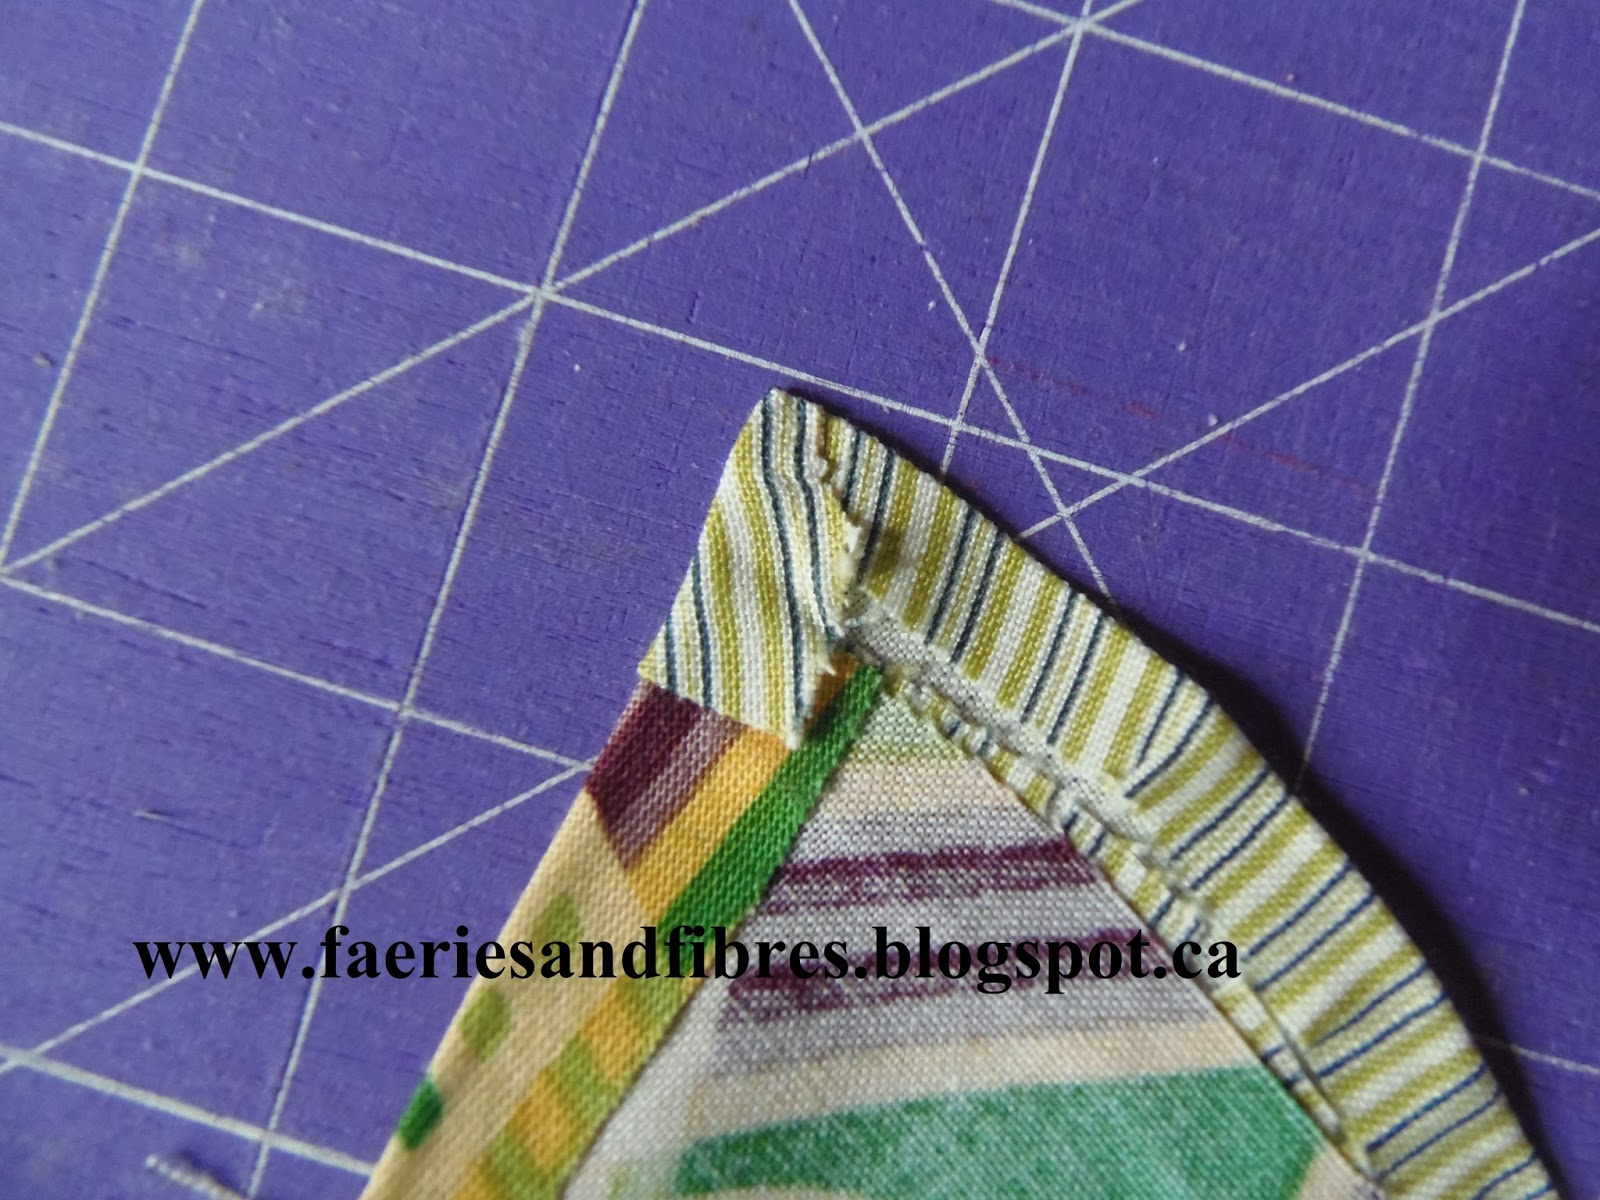
This is what the corner will look like on the back. Once both sides are glue basted press with a hot dry iron


And this is the wedge from the front. This is the second point at which you can appliqué the arc to the wedge. I find it can be a challenge to make sure the knot of the thread isn't too close to the edge so this isn't my preferred method. There will be one more point where the arc can be appliqué to the wedge and that is when all four wedges are glue basted to the background fabric. This is my least preferred option for hand work because I want to handle the background fabric as little as possible.


One final tip. I am quite comfortable placing the glue and then folding the fabric but if you are new to this method you may find it easier to finger press all of the folding lines before you do any gluing at all. It does make the process much easier. You can also finger press the arc before you apply the glue to the inner curve.


Once all of your wedges are prepped they can be glue basted to the background. My block will be 9" finished so I an rough cutting backgrounds that are 10" square. Once the appliqué is completed I'll press the block with a hot dry iron and trim the block to 9 1/2".
 
Tomorrow we'll glue baste the wedges to the background and make the hub caps for the centre. I've got two blocks with wedges appliquéd to the background and here they are!
 

I've made a test hub cap and pinned it in the centre. I might make it a little larger. Not quite sure yet but I'll make the decision soon!

 
 Until I post again, happy basting and appliquéing!