Showing posts with label hexagon. Show all posts

Saturday, June 17, 2017

Tutorial: Finishing a hexagon quilt with a facing

I shared my polka dot quilt with you in my last post. Unlike most of my other hexagon quilts I chose to maintain the hexagons right to the edge of the quilt. So how do you finish the quilt? You make a facing. The next question is so what is a facing and how is it different from a binding?

Tea Dot by Karen H 2017

Let me start out with this qualifier: I'm not an expert but I'll explain it in my own non-technical way. Both a facing and a binding can be used to finish/cover the raw edges of a quilt. A binding (usually cut on the bias) is typically folded in half. The raw edges of the binding are lined up with the raw edges of the quilt and then it is stitched to the quilt. Once done it is folded to the back and the edge of the binding that is folded is stitched to the back of the quilt. With this method the binding shows on the front of the quilt. Attaching a binding to a quilt with a straight edge is easy although there is some care needed at the corners to ensure that the binding is folded at a 90 degree angle to create a mitered corner. If you were to attach a binding to a hexagon quilt you would need to create MANY 60 degree or 300 degree angle folds and this is just way too difficult for me. That's where a facing comes in handy!

A facing is a method of finishing the raw edges with a piece of fabric that is stitched to the quilt and then folded to the back of the quilt such that the facing does not show on the front of the quilt. It creates a smooth edge and no stitching will appear on the front of the quilt.


If you've ever made a sleeveless blouse you will notice that the armhole is typically finishing with a facing that is made from the same fabric as the blouse. The same is true for a neck hole in a blouse that doesn't have a collar or a jacket that doesn't have lapels. Using a facing to finish your hexagon quilt gives you a lovely finished edge. There is a disadvantage to a finishing with a facing and that is that the edge of the quilt is more susceptible to wear. A double fold binding provides two layers of fabric protection for the edge of the quilt whereas a facing provides virtually none. If you make a hexagon quilt that is going to be heavily used and well-loved then I recommend adding a border to create a straight edge and then bind it with a double fold binding. I wrote a tutorial of adding a border and you can find it here.

So let's get started with the tutorial. I like to baste hexagons from the back so that the thread remains in the quilt. If you aren't familiar with this method you can read about it here.  This is what a hexagon looks like basted from the back.

All papers are removed from the quilt top before it is sandwiched and then quilted. If you miss a paper it can be difficult if not impossible to remove! I know whereof I speak because I missed one paper in my Tea Dot quilt and had to quilt through it because I couldn't get it out! Quilt your top as desired.  The next step is to baste the edge of the quilt. I've marked the basting lines with green. This step is optional but I found that it was much easier to trim the excess backing and batting/wadding away if the edge was basted. The basting thread can be removed at any point after the trimming is done.


The facing is made of hexagons that are stitched together to mirror the edges of the quilt. The edge that looks liked dentil moulding will be stitched like this.


The edge that is a simple zigzag will look like this.


The following diagram shows the hexagons stitched together to make the facing. There are less hexagons in the diagram than there were in my quilt. The purpose of the diagram is simply to give you an idea of how the hexagon facing is stitched together. It will look identical from the front and back. I leave the papers in the facing until it is stitched to the quilt. Once attached the paper can be removed. I find the paper gives the hexagon body and makes it easier to line up the edges that are to be stitched. If you prefer to remove the papers before attaching the facing by all means do so!


The facing can be stitched together to make the facing for the quilt however I found it easier to stitch the facing to the quilt in sections.  Place the facing on the quilt with right sides together. I begin attaching the facing three or four hexagons in from the edge (I start at the red arrow) using the simple whip stitch. The hexagons to the left of the red arrow are left loose until I've stitched most of the facing to the right side of the quilt. It makes it easier to join the side face to the top facing. I used a neutral colour thread for stitching.


Once the facing has been stitched to the quilt it is flipped to the back. I used a blunt edged instrument to poke out the points of the hexagons. This is what it will look like from the front.


This is what it will look like from the back before it is stitched down.


The facing is stitched to the back of the quilt and you are done! I found it helpful to use little applique pins to hold the facing in position while I stitched it to the back. I would pin five hexagons and stitch four of them down. I would then pin the next four hexagons before stitching again. I did it this way because if the last hexagon was not flat and smooth a bubble would happen. If I stopped sewing before the last hexagon in the facing and that bubble was starting to develop I could reposition my facing without having to do any reverse sewing.


So there you have it, finishing a hexagon quilt with a facing. I hope this was helpful. It all makes sense to me but I know that sometimes it may not be clear to others so if there are questions or comments feel free to let me know and I'll do my best to explain how or why I did it this way!

Until I post again happy sewing!

Karen H

Thursday, June 15, 2017

A polka dot finish

All is well here but I've been more than busy doing trunk shows and teaching. Teaching means making samples so I've made quite a few quilt tops and am itching to quilt at least some of them! I've also been working on projects for myself.

Do you remember these blocks? I used two different polka dot fabrics. One has a slightly smaller dot than the other. Both had stark white backgrounds (nothing that a pot of tea couldn't fix)! Although I'm partial to fussy cutting there is no fussy cutting in the blocks since there is enough going on with the dots and chintz print I used for the path that will connect the blocks.


After many hours of stitching the blocks were put together to make the quilt top. My friend was hand quilting a quilt and it made my fingers itch to do some hand quilting. There's just nothing like the feel of a hand quilted quilt so after many hours of work the itchy fingers have turned into sore fingers but at least the quilt is hand quilted! The photo doesn't do it justice. In real life the colours are much warmer and it looks old and loved. I test drove the quilt on my bed last night and the cats gave it the seal of approval! So what do I call this quilt? I call it Tea Dot!


I didn't want to trim the hexagons and I didn't want a border so I finished the edges with a facing made of hexagons.


It is a time consuming way to finish the edge but it was the look I was going for so it was worth the effort. If anyone is interested in a tutorial for this method let me know and I'll write one and post it here!

Until I post again (hopefully sooner rather than later) happy sewing!
Karen H


Monday, July 25, 2016

Rowdy Flat Library Quilt and a Tutorial for straightening the edge of a hexagon quilt top

Once again I'm sorry for the silence. All is well but I've been distracted by a variety of happy events and captivating projects. I recently saw some blocks that really caught my attention. There were made by an Australian quilt maker, Susan Smith of Patchwork on Stoneleigh and she is offering the patterns as a block of the month. The blocks will be made into a quilt (which is yet to be revealed). The name of the quilt is the Rowdy Flat Library Quilt and when I saw the bees I was hooked.

The pattern calls for toile and I have been saving some scraps of a toile that I used to make my Lazy Punk quilt.

Lazy Punk

The toile looks like a typical toile until you have an up close look. It is skeletons! I've been saving this scrap waiting for the perfect opportunity to use it and this is just the quilt! But my plan was to transform the fabric to add my personal touch and transform it I did. More to come on the transformation in the coming days.


For now I thought I would do a little mini tutorial about another way to finish the edge of a hexagon quilt. There are so many ways to finish the edge of an English paper pieced hexagon quilt top and today I thought I would share one of the methods that I like to use to create a straight edge.

There are two different edges on a hexagon quilt top. The first is an edge of "Vs".


This one is easy to straighten because you just trim the points with a rotary cutter and ruler and the result will be a nice straight edge. The other important factor is that in trimming this edge you will not be cutting through your stitching so the seams will be intact. I leave the papers in my quilt top until I am ready to trim the points. This prevents stretching.


The other edge looks like dentil molding.


You could simply trim the hexagons 1/4" beyond the mid-point (the red circles) to give you a nice straight edge.


When you open up the seam of the lower hexagon the problem is that the 1/4" seam allowance area is not stitched closed (see inside the red circle). I like my seams stitched right to the end of the seam because I know it will be secure. If it is not stitched to the end my fear is that eventually the seam may open.

A second option is to open the seam allowance at the top of the innermost hexagons (at the red arrows) and then trim the them on the red dashed line. What I don't like about this method is that when you add a border or binding the seam will be 1/4" in from the edge (the black line) and so the outermost hexagon will be less than a half hexagon. This just looks wrong to my eye.


My preferred approach is to add half hexagons to fill the space. Normally I baste my hexagons from the back so that the basting will remain in the quilt however when I make half hexagons to fill the dentil edge I prefer to baste through the paper.


I like to work with a larger seam allowance because it makes the basting process so much easier. I dislike cutting fabric slowly, especially if I need to cut lots of fabric for the path between the hexagon rosettes. I wrote about my rapid fire cutting method here. When making half hexagons I will trim the raw edge after I've basted it to the paper. There is a precise 1/4" seam allowance that will allow all raw edges to line up.

My next step is to clip the basting basting threads at the top edge of the outermost hexagons and trim the outer edge so that there is a precise 1/4" seam allowance.


Once the outermost edge is trimmed I can set in the half hexagons.Notice that I've used some tiny applique pins to hold the papers in position. This is optional but I find that retaining the papers helps maintain nice, crisp edges for sewing.


The finished product is a nice straight edge that makes it easy to add borders or binding.


Until I post again, happy sewing!
Karen H


Sunday, October 11, 2015

Cornucopia Part Deux (or two)

Today I've got more blocks to share with you and a second class sample... so it is Cornucopia part 2!

Let's get started with three more of my Mom's Africa quilt blocks.


Mom loves grandmas, children and chickens. This block has two of the three!


I love this elephant block. You can see she embroidered a little eye and the tail is not entirely stitched down so it can swish the flies away!


There are seventeen applique blocks in total and they will be alternated with blocks that are a variation of the drunkard's path block. She has used all sorts of scraps to make these blocks. The off white fabric with writing is a Christmas fabric! There is actually one block in the quilt that has that same fabric and right in the middle of the pie shape is "North Pole"! How funny is that I ask you? But it all works!


Mom has all of the blocks stitched together and I am going to quilt it for her. My goal is to have it finished in time for our next Guild meeting! I'm going to have to work my fingers to the bone to get it done in time.

For those of you who aren't familiar with my Mom (Anne) or her work here is a picture of her taken last year at our Guild's quilt show. She is standing in front of a collection of her African wall hangings. She received the third place ribbon in Viewers' Choice.


I've got two more Road 66 blocks. The design for this quilt is from Di Ford's book Primarily Quilts. I made this first block in the winter to try out the large hexagons. The outer ring of hexagons was made from a scrap of fabric and I was really pleased with how the block turned out.


I love the blue and red serpentine print fabric. I looked for a blue that was similar and used it in the middle. I wanted to create the effect of one large piece of fabric and I think that I succeeded!


The last piece I want to share is my second class sample. I will be teaching all of the techniques I used to make this piece at the London Friendship Quilters Guild next month (that's London, Canada). I sent off both samples and they were shared with the members at the last meeting. I hoped that they enjoyed seeing them and that they are inspired to take the class and create their own unique masterpiece!


For those of you who want a copy of my pattern 81 The Giant Monstrosity, now is the time to download a copy. It will be free for only another couple of days so get your copy here now!


I'm linking up with Angie over at Quilting Readers Garden. Pop on over for a visit. There's lots of inspiration plus Angie is running a giveaway! And don't forget to visit Esther's link up party WIPS on Wednesday; there's always lots to see there too!

That's it for today, It is Thanksgiving weekend in Canada so it is time to get cooking. Until I post again, happy sewing!

Karen H

Monday, August 17, 2015

I'm baaack!

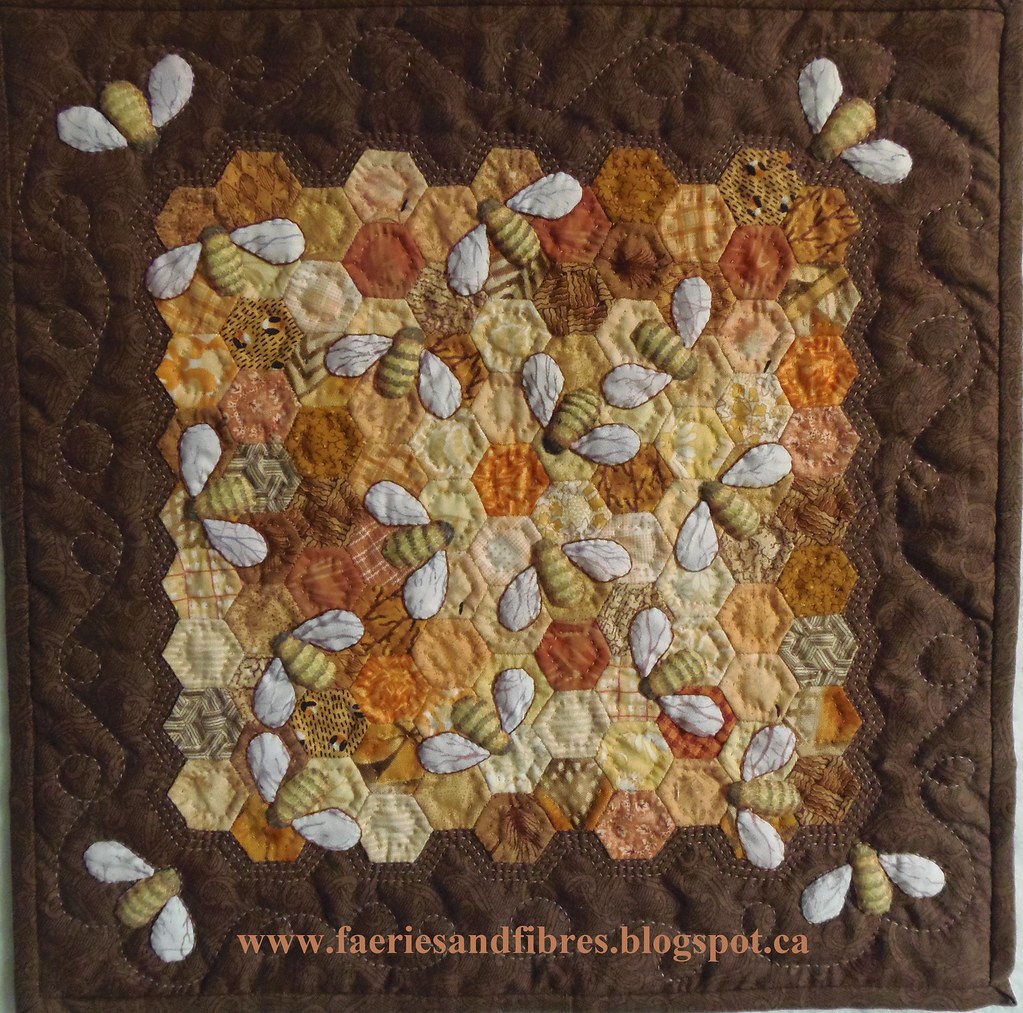
I'm back from my blogcation. I had a lovely two weeks off but didn't get nearly as much done as I had hoped. One of the things that I did get done was to write up a pattern for my hexagon mini quilt called  Quilting Bees. The pattern is now available for sale in my Craftsy store Faeries and Fibres


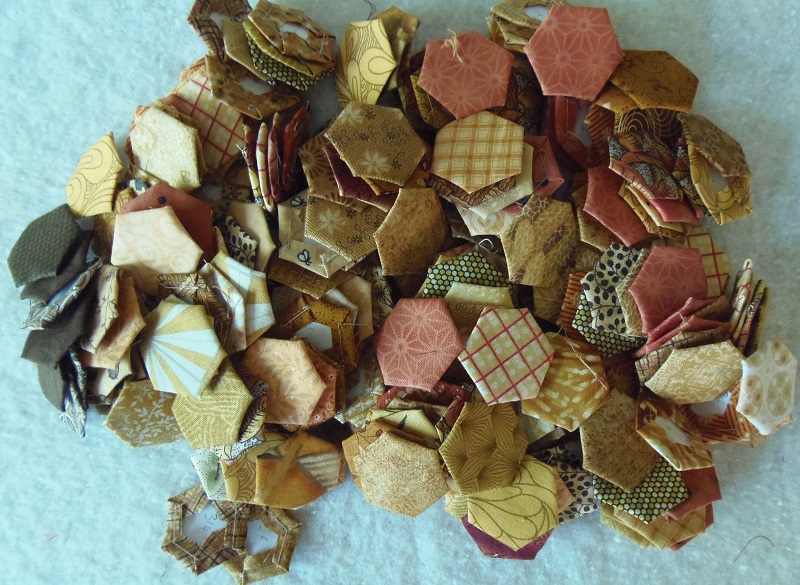
I did get some work done on my new quilt The Meadery. I had already cut strips of honey coloured fabric and from them I rapidly cut a big pile of hexagons.


I kept them in a bowl and in the evening I basted them.


In no time flat I had a really big pile of hexagons basted and ready to be stitched together.


And stitch them together I did! Here is the first of two strips that will frame my medallion.


The next strip will be longer and I'll stitch the two together to make a big "L".  I'm not entirely happy with the grey background of the medallion fabric against the honeycomb and am mulling over some ideas for change.


It has been very hot and humid here the past several days. Jinx has been climbing a ladder to get on top of the arbor where he sprawls under the wisteria! Here's a picture of him on his back with his tail hanging between the slats of the roof.  What a life!


Time for me to tidy my sewing room. It was on my "to do" list and it is still on my "to do" list. Maybe I should have a cuppa first...yes, I think that I should have a nice hot cuppa before I do anything else!

Until I post again, happy sewing!
Karen H

Wednesday, July 29, 2015

TUTORIAL: Fun with half and half hexagons

Good morning people! I've done several tutorials about how I like to have fun with hexagons, more fun than just using one fabric basted to a paper hexagon. When I made my Stars in the Loft hexagon quilt I didn't have enough fabrics or the right fabrics to cut the kinds of designs that I wanted to create so I developed a technique in which I paper foundation pieced with my sewing machine on my paper hexagon and once that was done I continued in the usual English paper piecing method. The reason I pieced on the paper is that if the seams of two fabrics extend into the corner I wanted to make sure that everything lined up perfectly. This is a great technique but in sewing on the paper it is sacrificed. I have other techniques that I developed for fancy hexagons such as made fabric. So I gave it some thought and figured that there was no reason why I couldn't use the "made fabric" for half and half hexagons.

Stars in the Loft by Karen H

Today I'll to share my simplified method to make the half and half hexagons rosette designs from my quilt. I call the hexagon half and half because one half is made with one fabric and the other a different fabric. This refined technique is faster and easier than my previous method and it is gentle on your hexagon papers.

TIP: You can purchase precut papers or if you are like me you can cut them out yourself. You will find templates with various sizes of hexagons under the tab English Paper Piecing Instructions & Hexagon Fun at the top of this page. If your printer doesn't print them the exact size you may need to enlarger or reduce the template. If you are gentle with the paper you will get many uses out of them. I use regular 20lb bond paper to print my hexagons and I cut them when I don't feel like sewing!

I start out by sewing two strips of fabric together using a 1/4" seam allowance. I shortened my stitch length because I will be cutting up the strip and I don't want the seams to come undone at the end. For a 1" hexagon I used two strips that measure 1 1/2" by 20". When the strip was sewn I pressed the seam allowance open.


I placed my hexagon on the strip being sure to line up the points of the hexagon on the seam. I used my children's washable glue stick to hold the paper template in place. Make sure that there is glue near the points of the hexagon that line up on the seam line.


I cut around the hexagon with my scissors leaving a generous seam allowance. I find that 3/8" works well. You don't have to fuss around with a ruler and rotary cutter - just use your scissors. The seam allowance doesn't have to be the same all the way around because you are going to baste the fabric to the paper and whip stitch your hexagons together unlike traditional patchwork where you must sew your patches together on the 1/4" seam allowance line.


I thread baste my hexagon from the back. To begin I start at one of the corners that is lined up with the seam. I fold over the seam allowance on the right side.


I fold over the seam allowance on the other side making sure I have a nice sharp point.


I turn over the hexagon to make sure that the point is lined up on the seam. If it isn't I lift the seam allowances to make sure the point is lined up and repeat the folds until it is correct.


I then start thread basting from the back and work around the hexagon until I get to the second point that lines up on the seam allowance. I repeat the process described above to line up the point on the seam allowance and continue basting.

This is what the hexagon will look like from the front and the back. Because I've basted from the back there are no holes in my paper and when it is removed it will be in great shape and ready to be used again and again. I use a washable children's glue stick to hold the fabric in place so the bond is very weak which means the paper comes out easily! When do I take the paper out? As soon as a hexagon is completely surrounded by other hexagons I remove the paper.


I fussy cut one hexagon for the centre of my rosette (or flower if you prefer) and then arrange the half and half hexagons around the centre. Following are four arrangements.


Another option that would be interesting would be to alternate three solid hexagons with three half and half hexagons! Play around and see what you can come up with!

For a little more fun here are some close-ups of the half and half hexagon rosettes in my Stars in the Loft hexagon quilt.


This is just one of countless designs that I have. It is fun, it is easy and it is a great way to use up strips of fabric. Although all of the examples above use only two fabrics for the half and half hexagons there is no reason why you couldn't use an variety of colours. Wouldn't it be fun to use the same light colour for all six hexagons but different jelly colours for the other half and then sew them into a pinwheel design like the block show above? It sure would be fun!

For those of you who are interested in the Brinton Hall quilt pattern in Quiltmania (pattern designed by Leigh Lattimore) I have found another quilt maker who is working on it. Kelly of Always Applique hasn't been blogging for several moths but on Monday she posted with oodles of pretty pictures of the projects she is working on including her Brinton Hall quilt which you can see here.

I hope you enjoy this little tutorial. Time for me to do some sewing so until I post again, happy sewing to you!
Karen H