
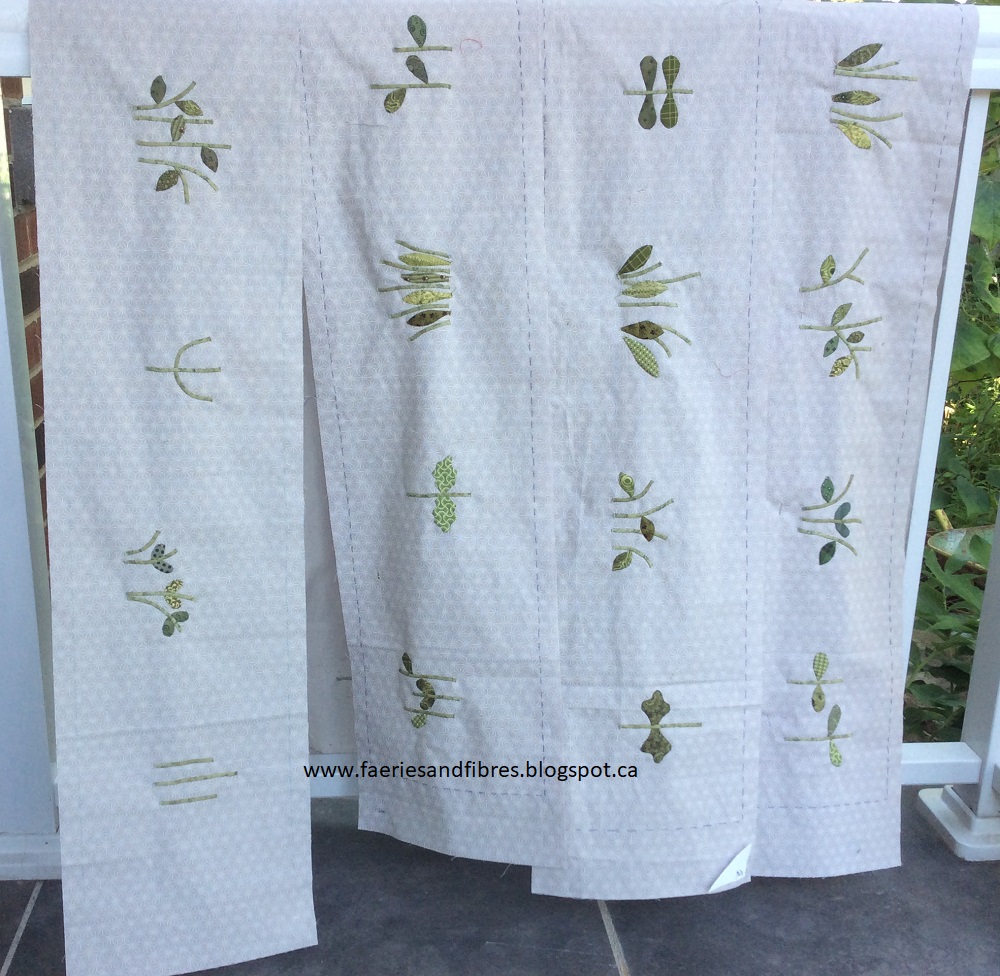
I've been working away on my Rowdy Flat Library Quilt designed by Susan Smith of Patchwork On Stoneleigh. There are lots of stems to be appliqued and for the most part they are a mere 1/8" in width. There are eight pots of flowers on each of the four borders and most of them have more than one stem. That's a lot of little stems! UPDATE:Eloidastitches left a comment and she described another lovely method for making the tiny stems. I've added it to the end of this post so do read on!
Now I know that there are tools for making bias strips but the 1/8" size is so difficult if not impossible to find (not to mention expensive if you do find it). There are tutorials on how to make bias makers with cardstock and I tried them but had varying degrees of success. They seemed to work fine for bias strips of 1/4" or larger but the 1/8" size was next to impossible. So here's what I came up with and it works like a charm.
I cut bias strips that are 3/8". For tiny stems I could have worked with strips cut on the grain but when it frays, long threads come loose and it makes it difficult to turn under the raw edges when stitching so bias strips work better.

I fold under one edge by 1/8" and press with a hot, dry iron. Steam can distort the fabric and you are working with such a tiny seam allowance that there will be problems if you use steam. An alternative is to spray your fabric with a little starch and press it before you cut your bias strips. The little 1/8" seam allowance will fold and press much easier than it would without the starch.

Folding and pressing can be a little tricky so an alternative is to fold and thread baste as you fold. I baste only a half inch or so at a time. This is my preferred method because the fold doesn't open up at all. I can baste a longer strip, cut off what I need for a stem and applique it. The remainder of the strip is basted so the fold stays nice and crisp.

You may find it difficult to fold under 1/8" so there is another method. Cut a 1/2" bias strip. Fold the strip in half and press with a hot, dry iron.

Trim down one side leaving a 1/8" seam allowance.

To applique the stems I place a stem on the fabric. I generally pin the stem to my fabric with tiny applique pins. I stitch down the folded edge first. In the pictures I've used white thread however I would normally use a colour to match the fabric that is being appliqued which in this case is green.

I tuck under the raw edge of the bias strip with the tip of my needle and stitch it down.

I only tuck under enough fabric to take a couple of stitches. This helps to minimize or eliminate any fraying.

The result is nice, tiny little stems!

I'm often asked what thread I use and there are a couple that I like. Gutermann 100% cotton thread is lightweight, very inexpensive and it comes in a wide variety of colours. My favourite thread is DMC machine embroidery thread. It was recommended by my friend Paula and it works beautifully. It has a soft sheen and although it is the same weight as the Gutermann if feels so much finer. It virtually disappears. It comes in the same colours as DMC embroider floss.
UPDATE: As promised above I am adding the comment from Eloidastitches in which she describes another method for making tiny stems. A quilt maker can never have too may tips, techniques and skills in her tool box! Here is the comment:
Those tiny stems are quite the trick Karen. I would like to share a method I read in a book by Jane Townswick (Artful Apllique, the Easy Way). In this book she shares her method of marking seam lines on skinny bias stems using a Hera marker (page 109). Before she cuts the strips, using a quilting ruler, she lines up the 1/8th inch mark along the cut edge on the back of the fabric, and then scores along the edge of the ruler at the 1/8th inch mark. Then she moves the ruler to the 1/4" mark, for the second score. After that you can cut it at the 3/8" mark (or like I do, I cut it at the 1/2" mark to give myself some wiggle room - and I actually do make another score line at the 3/8" mark as well then, which makes it easy for trimming off later). I finger press the first score line before I pin it down on my background fabric, and find this method works quite nicely, the seam allowance just nicely rolls over. The score line for the other edge can also be finger pressed before stitching down. If I have cut the strip at 1/2", then I trim it after the first edge is stitched down. I think I have gained enough confidence now, that I may cut my strips at 3/8" next time.
I hope you enjoyed this little tutorial. Until I post again happy sewing and I hope to see you all over at Instagram!
Karen


