Showing posts with label binding. Show all posts

Tuesday, June 24, 2014

Binding a Quilt with a Facing - Another Method

Just over a year ago I did a little tutorial about how I bind a wall quilt with a facing. You will find the tutorial here. When a quilt is bound with a facing you are left with a clean edge. On the left is a tradition double fold binding and on the right is a quilt bound with a facing.


If you've ever sewn a garment you will know that some edges are finished with a facing, for example a round neck blouse, the armholes on sleeveless blouse or a skirt that doesn't have a waistband. A facing can also be used to finish a quilt. As an example, this is my wall quilt "Jack" that is finished with a facing. I think a facing give more of a "gallery" finish to a quilt.

Jack, by Karen H 2013

This is what Jack looks like from the back.

Finishing a bed quilt with a facing is likely not a good idea because the edges of a quilt tend to get a lot of wear so a double fold bias binding would be my preferred method of binding a bed quilt that will be used. However if you are making a wall quilt or a bed quilt that will be not be used (or at least used very rarely) then a facing might be worth considering.

One of the blogs I follow is Chris' UK City Crafter and she recently did a tutorial on Invisible Binding. The invisible binding is a facing however Chris' method is a little different from mine and I think perhaps easier. You can read how Chris faces her quilts here!  The following picture is the back of her quilt with the facing ready to be stitched down. You'll want to see the front of this quilt because it is very sweet!

Reverse side of Chris' quilt with an invisible binding 

Thanks to reader Nicole I've been told about yet another method of binding a quilt with a facing. You will find the  tutorial at Terry Aske Art Quilt Studio. This is an interesting technique I am itching to try out!

I'm binding off for now so until I post again, happy sewing!
Karen H

Monday, May 20, 2013

Barbara’s quilt, quilting feathers and my fast and easy way of joining the binding!


The last quilted stitch!
 
Barbara’s quilt is done! Well the quilting is done and the binding attached but it has to be turned over and stitched down. Then I’ll give it a quick wash and it will be done. I think my friend Babs will be very pleased with the finished quilt. She’ll pick it up on Thursday but until then I’ll tease her with a couple of pictures!


I quilted feathers in the border.


I really like what she did with that quilt, especially the feathers.
I wonder how she did it?


I always hoped that one day I would be able to quilt feathers but doubted that it would ever happen. They looked far too technical and challenging…well beyond my skill set. Two things changed that; a book and a Craftsy class. The book is Peggy Holt’s “Crete Your Own Dream Feathers”. It provides all the information, inspiration and courage you need to get started. The second thing that changed my view of feathers is Angela Walter’s Craftsy class “Free Motion Quilting with Feathers”. These classes go on sale fairly regularly.

 
Of course you need to develop your basic machine quilting knowledge and skills. I got everything I needed from two books, Heirloom Machine Quilting by Harriet Hargrave followed by Guide to Machine Quilting by Diane Gaudynski.
 

Harriet’s book is an excellent resource that provides all the basic information. I refer to it often. Diane’s book provides information about actual designs and how-tos. One thing I learned from Diane is using the darning foot to do everything, including stitch in the ditch. Barbara’s quilt was done entirely with a darning foot.

As I was attaching the binding it occurred to me that I have developed my own way of joining the beginning and end of the binding. I’m always looking for simple ways of doing things in the moment. What I mean by this is that I don’t want to have to stop, set up new equipment, measure, cut, press and sew. My sewing room is very small so if I need a cutting surface it involves a major rearrangement of the sewing room to make space! Also I want what I’m working on done quickly and neatly. So this is how I stitch down the last bit of binding.
 
I like to stitch down the edge of the quilt with a needle and thread. I stitch about 1/8" away from the edge. Then I trim the excess batting and backing fabric away.
 
 
The first step is to pin the beginning of the binding to the quilt like this. Leave these pins in place. I start stitching the binding about 2" in from  the beginning of the binding. Stitch down the binding all around the quilt as usual.


When I’m a couple of inches away from the beginning of the binding I stop sewing; leave the needle in the down position. I trim the binding so that it extends just short of where I started stitching the binding.


I tuck the end neatly inside the fold of the beginning of the binding.


Make sure the binding is nice and smooth and then pin it in place.


Continue sewing the last bit to stitch down of the binding.
 

 With a thread that matches the binding I stitch the join closed.
 
View from the front of the quilt

I sew through all layers of the join starting at the edge closest to the quilt and sew out to the folded edge. Don’t cut the thread! Once the join it is stitched closed I fold the binding to the back of the quilt and I continue stitching the binding down.
 

View from the back of the quilt
 
This is what it will look like from the front of the quilt! Fast, neat and easy!


One final tip, when stitching down the binding I used my nine patch pile and ended up with one more nine patch for the stash!


Until I post again, happy sewing!


Tuesday, May 14, 2013

Finishing a quilt with a facing (my way)

Yesterday I told you I was making facings for two of my Mom's African wall hangings and I promised to write about it today.

Facing a quilt is a way of finishing the edges without having a binding show on the front. Why would you want to do this? It is a nice method of finishing a small quilt that might be overwhelmed by a traditional binding. Modern quilts are often finished with a facing to give that "clean" look. When a facing is used no binding will show on the front. Think about a blouse with a round neck and no collar…it is often finished with a facing that is turned to the inside leaving a nice clean neckline. The same technique can be used to finish a quilt. 

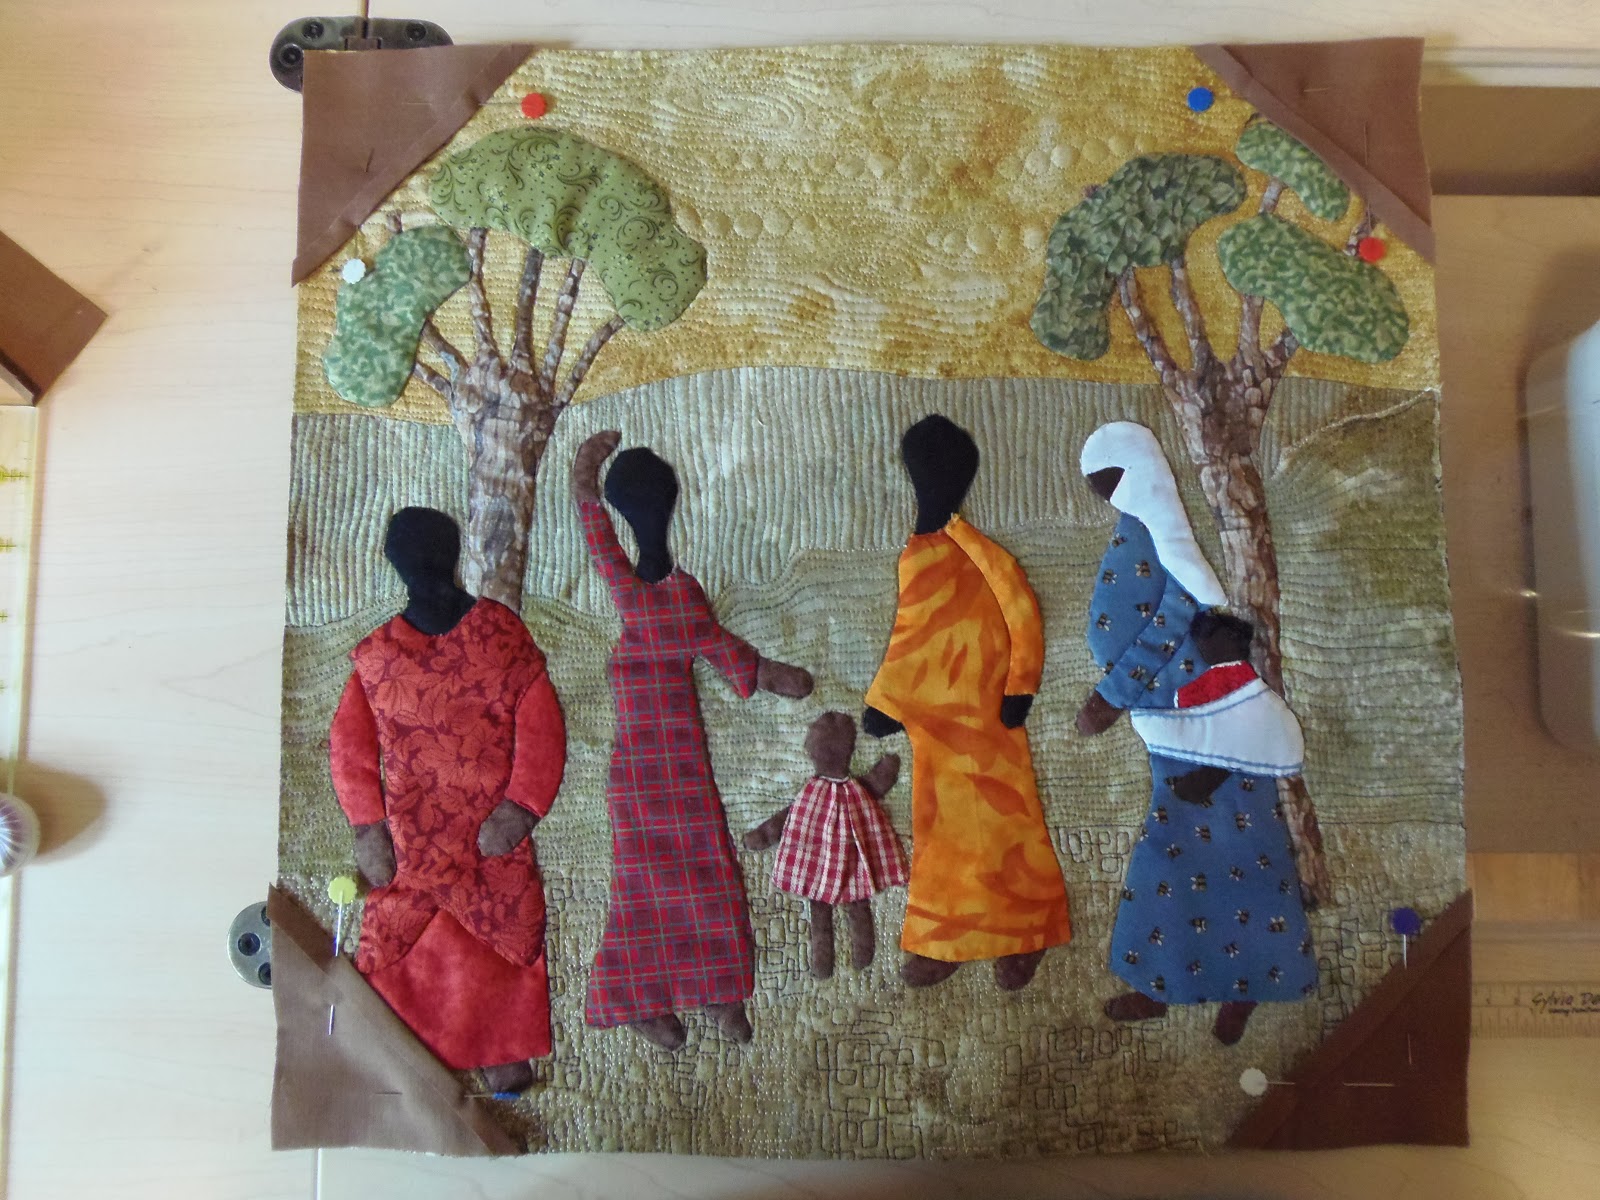
Binding on left and facing on right

There are many different ways of finishing a quilt with a facing. This is a method that I’ve developed to meet my needs. I’m always looking for easy ways to do things and so this is how I make facings for wall hangings. This method works well on quilts that have been squared up and also on quilts that have curved edges (more on this further down).

If you used a fabric that isn’t busy, you can use the same fabric for the facings and they will just disappear. Personally I prefer to use a different fabric so that the back of the quilt appears to be framed. The choice is yours. In the example below, I had a busy fat quarter that I didn't want to chop up so I used it as a backing. There was no way of facing the quilt with the same print (or at least it would involve too much work for me) so instead I faced the quilt with a complementary fabric!

 
So here is how I do it! You will need two 4” squares of facing fabric and two 4” strips of facing fabric, one which is 1” shorted than the width of the quilt and the other that is 1” shorter than the length of the quilt. The two strips for the width and length of the quilt are to be cut into 2” strips.

Cut the two 4” squares in half on the diagonal. Turn under the diagonal edge ¼” and press well. I use spray starch so there is a nice, crisp fold that will hold.


These half squares may not be square. Lay them out on your cutting matt and if necessary trim them so that they are square. For quilts that aren’t square you will trim the corners AFTER they are pinned to the quilt. You can see this one needs trimming!


Turn under the edges of the 2” strips by ¼” again using spray starch.


Pin the half square triangles on corners of the wall hanging with the right sides together.


Pin a strip the width of the wall hanging to the quilt with right sides together. If the strip is too long trim it to fit. It should be about 1” or so in from either edge.


 Using a ¼” seam allowance stitch from one end to the other.

Repeat with the remaining strips.


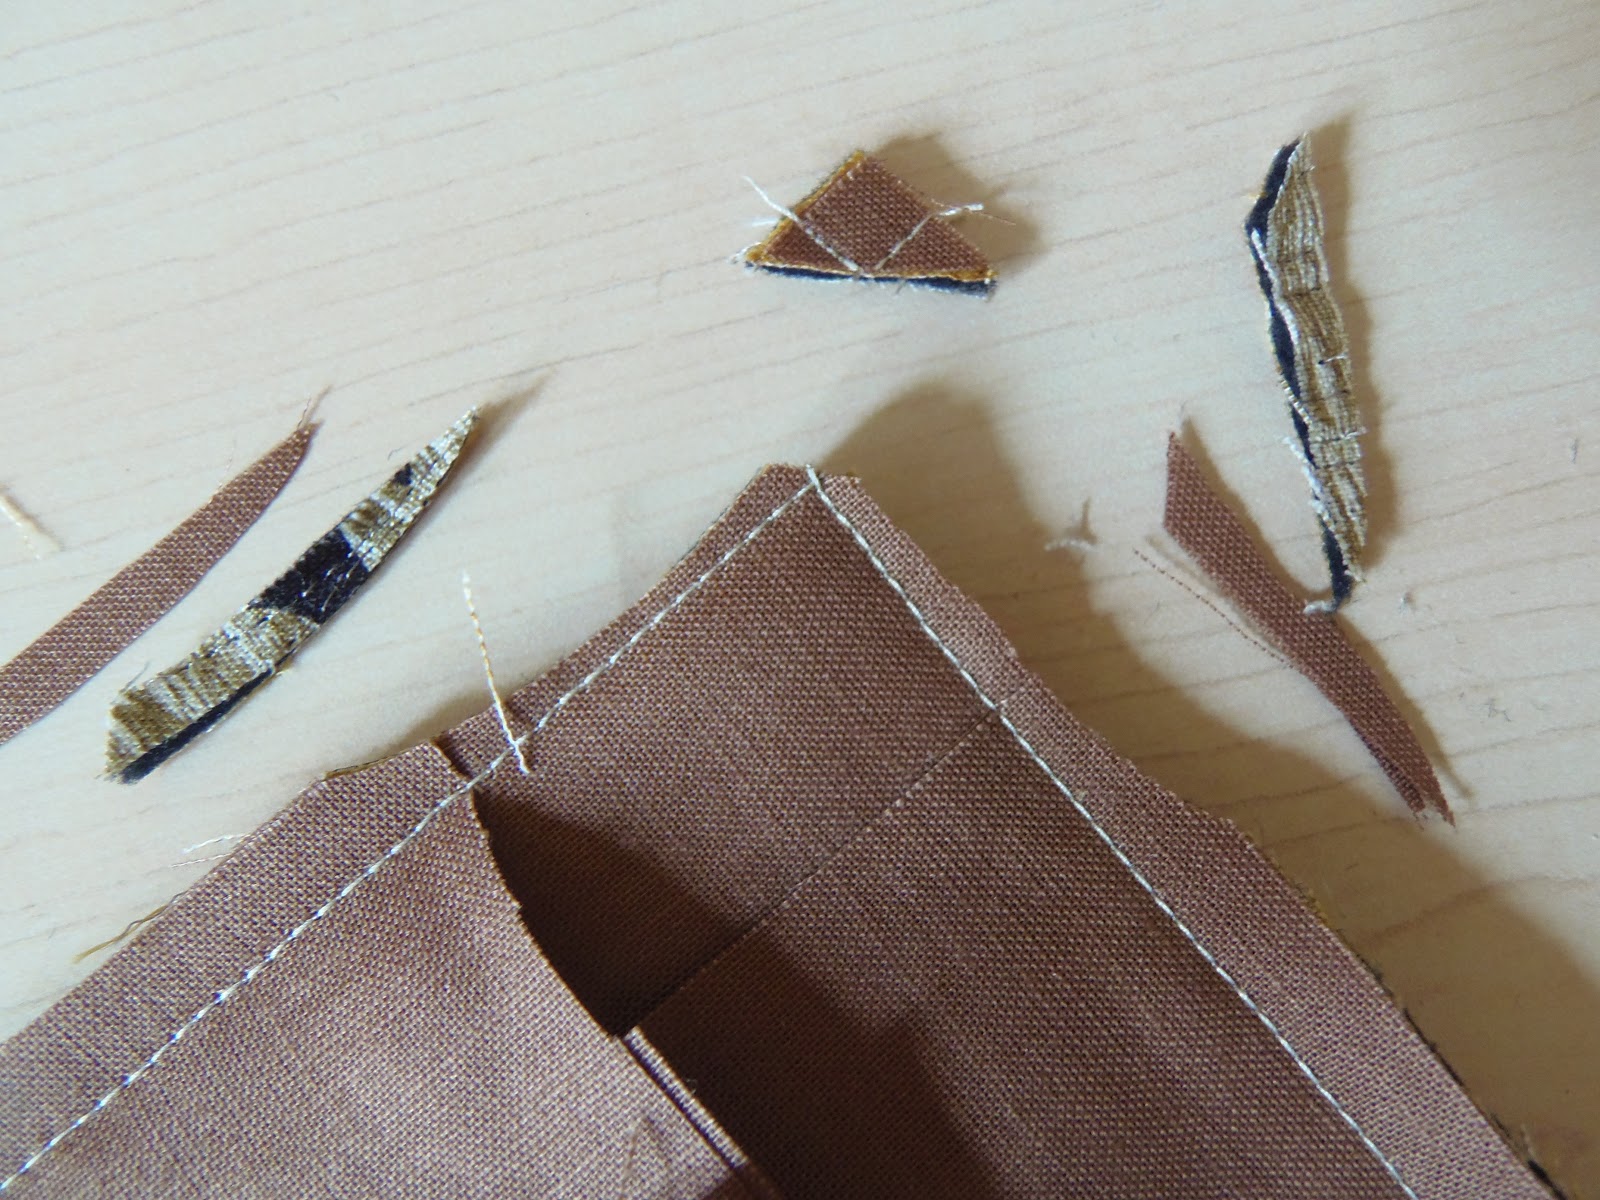
Clip the corners close to the stitching without cutting the stitching.

Trim seam allowance on either side of the corner to reduce the bulk. I trim about 1” on either side of the corner.

Turn the corner facings to the back and use a blunt instrument such as a crochet hook to poke out the corners.


 Roll the facings to the back and press with a hot iron and use steam.

Making sure that no facing shows on the front, pin the facings on the length and the width and hand stitch them to the quilt. Lastly I stitch down the corner triangle facings in case I need to do any easing in. One more quick press and you are done! So that’s how I do it and it works just fine for me!

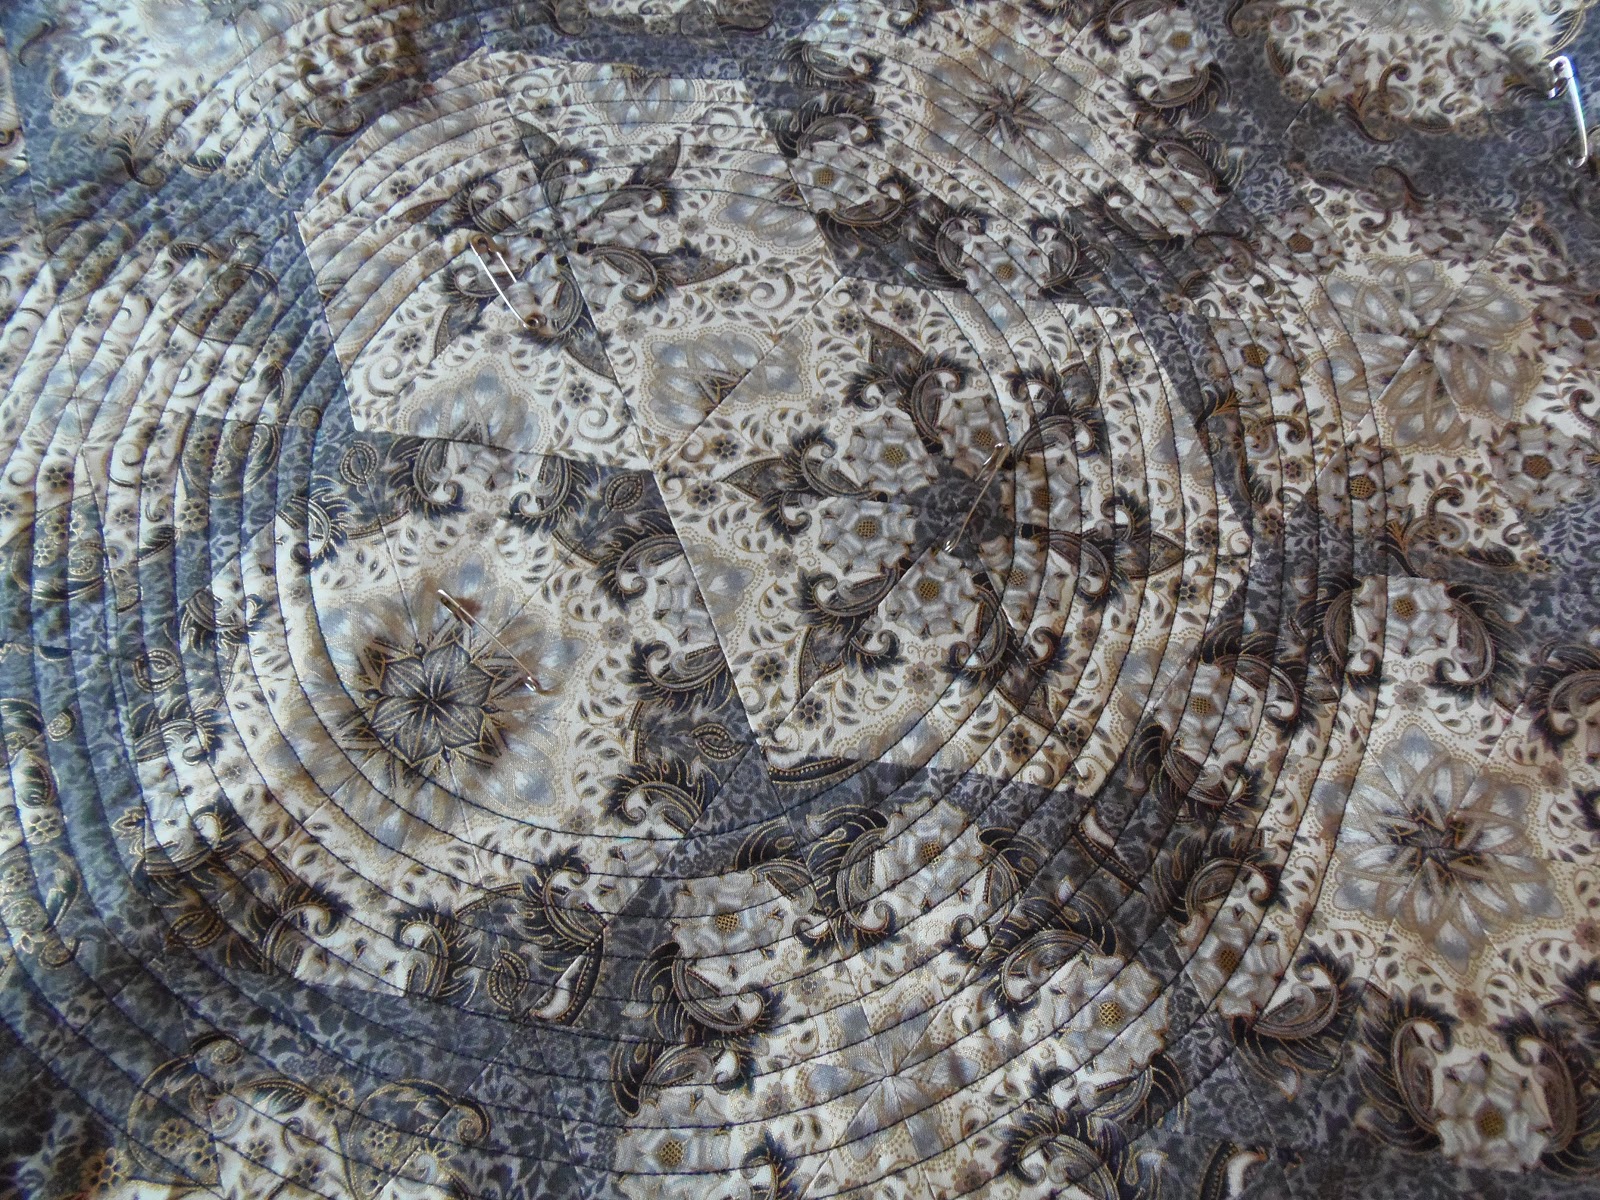
And while I was attaching the facing, I was using my nine patches on flannels method of using scraps and saving thread so at the end I had another nine patch for the stash!


I find that this technique works really well on wonky edges. All four sides of my wall hanging “Jack” have curved edges. There are so many curves in the piece itself that I felt that if I squared the quilt up it wouldn’t work so I just trimmed up the curved edges so that they were gentle curves with clean edges.

Jack, 2013

The one thing that I did that was slightly different is this; I made the corner triangles and pinned them to the quilt with right sides together. I then turned the quilt over so that the back was facing up and I trimmed the triangles so that they were even with the quilt. I then stitched down the triangles before attaching the facings on the top, bottom and sides. I proceeded as above. It worked perfectly!

Until I post again, happy sewing!

Thursday, May 2, 2013

Perfection is over-rated, Baskets and Nine Patches and the next quilt

I don’t sweat “perfection”. I just do the best that I can. If there’s a mistake or something not quite right AND it bothers me I fix it. If I can live with it…..I live with it! For example in the Baskets and Nine Patches quilt there were some spots where the nine patches didn’t quite line up. Some I fixed and others I’ll just live with. Here’s one I decided to live with (the two patches don't line up on the bottom row just above the pin).

Baskets and Nine Patches is now finished and although it's not perfect I don’t care - I love it! There’s so much going on that the little imperfections are not really noticeable and if they are, my next line of defence is “they add charm”! When I look at the quilt I see the whole, not the individual bits! And here it is!


Would you like a pattern for this quilt? If there's enough interest I'll prepare and post a pattern. It is a quilt for using small scraps. It would even be fun to get a group of friends together for a nine patch block swap!

TIP! One of the things I do is prepare the binding when I’m adding the border to a quilt; I'm already cutting and sewing so might as make the binding too! Once the strips of binding are sewn together and pressed I wrap them around a piece of cardboard and pin the loose end. I keep this with the quilt top until it is ready to be quilted. If the quilt doesn't get quilted for months (or years) I don't have to scramble looking for fabric to bind the quilt once I'm ready to quilt it.  This is the binding I prepared for Baskets and Nine Patches and the next quilt (Alex's quilt) that is now pinned and going under the machine as we speak.

I have a friend with two children, a boy and a girl. This little family has gone through some really difficult, life-changing events over the past few years so I decided that I wanted to make a quilt for each of the kids. Christina’s quilt is almost quilted and today I got started on Alex’s quilt. I didn’t want juvenile quilts – I wanted quilts that the kids could use and enjoy for many years to come.
 
Christina's quilt being pinned

Christina's quilt, close-up
 
Alex's quilt

 
Alex's quilt pinned for quilting
The quilting is underway

Alex likes guitars so this is the backing fabric
 
I leave you with a close-up shot of Flora and Fauna, Parts of the Garden. It is entered in Quilting Gallery's Show and Tell. PIctures of the entries will be posted tomorrow and voting runs from Friday to Monday at 6:00pm EDT! I think the little grasshoppers are my favourite critters in the quilt and I love the mushrooms!
 
 
Until I post again, happy sewing!