Showing posts with label facing. Show all posts

Saturday, June 17, 2017

Tutorial: Finishing a hexagon quilt with a facing

I shared my polka dot quilt with you in my last post. Unlike most of my other hexagon quilts I chose to maintain the hexagons right to the edge of the quilt. So how do you finish the quilt? You make a facing. The next question is so what is a facing and how is it different from a binding?

Tea Dot by Karen H 2017

Let me start out with this qualifier: I'm not an expert but I'll explain it in my own non-technical way. Both a facing and a binding can be used to finish/cover the raw edges of a quilt. A binding (usually cut on the bias) is typically folded in half. The raw edges of the binding are lined up with the raw edges of the quilt and then it is stitched to the quilt. Once done it is folded to the back and the edge of the binding that is folded is stitched to the back of the quilt. With this method the binding shows on the front of the quilt. Attaching a binding to a quilt with a straight edge is easy although there is some care needed at the corners to ensure that the binding is folded at a 90 degree angle to create a mitered corner. If you were to attach a binding to a hexagon quilt you would need to create MANY 60 degree or 300 degree angle folds and this is just way too difficult for me. That's where a facing comes in handy!

A facing is a method of finishing the raw edges with a piece of fabric that is stitched to the quilt and then folded to the back of the quilt such that the facing does not show on the front of the quilt. It creates a smooth edge and no stitching will appear on the front of the quilt.


If you've ever made a sleeveless blouse you will notice that the armhole is typically finishing with a facing that is made from the same fabric as the blouse. The same is true for a neck hole in a blouse that doesn't have a collar or a jacket that doesn't have lapels. Using a facing to finish your hexagon quilt gives you a lovely finished edge. There is a disadvantage to a finishing with a facing and that is that the edge of the quilt is more susceptible to wear. A double fold binding provides two layers of fabric protection for the edge of the quilt whereas a facing provides virtually none. If you make a hexagon quilt that is going to be heavily used and well-loved then I recommend adding a border to create a straight edge and then bind it with a double fold binding. I wrote a tutorial of adding a border and you can find it here.

So let's get started with the tutorial. I like to baste hexagons from the back so that the thread remains in the quilt. If you aren't familiar with this method you can read about it here.  This is what a hexagon looks like basted from the back.

All papers are removed from the quilt top before it is sandwiched and then quilted. If you miss a paper it can be difficult if not impossible to remove! I know whereof I speak because I missed one paper in my Tea Dot quilt and had to quilt through it because I couldn't get it out! Quilt your top as desired.  The next step is to baste the edge of the quilt. I've marked the basting lines with green. This step is optional but I found that it was much easier to trim the excess backing and batting/wadding away if the edge was basted. The basting thread can be removed at any point after the trimming is done.


The facing is made of hexagons that are stitched together to mirror the edges of the quilt. The edge that looks liked dentil moulding will be stitched like this.


The edge that is a simple zigzag will look like this.


The following diagram shows the hexagons stitched together to make the facing. There are less hexagons in the diagram than there were in my quilt. The purpose of the diagram is simply to give you an idea of how the hexagon facing is stitched together. It will look identical from the front and back. I leave the papers in the facing until it is stitched to the quilt. Once attached the paper can be removed. I find the paper gives the hexagon body and makes it easier to line up the edges that are to be stitched. If you prefer to remove the papers before attaching the facing by all means do so!


The facing can be stitched together to make the facing for the quilt however I found it easier to stitch the facing to the quilt in sections.  Place the facing on the quilt with right sides together. I begin attaching the facing three or four hexagons in from the edge (I start at the red arrow) using the simple whip stitch. The hexagons to the left of the red arrow are left loose until I've stitched most of the facing to the right side of the quilt. It makes it easier to join the side face to the top facing. I used a neutral colour thread for stitching.


Once the facing has been stitched to the quilt it is flipped to the back. I used a blunt edged instrument to poke out the points of the hexagons. This is what it will look like from the front.


This is what it will look like from the back before it is stitched down.


The facing is stitched to the back of the quilt and you are done! I found it helpful to use little applique pins to hold the facing in position while I stitched it to the back. I would pin five hexagons and stitch four of them down. I would then pin the next four hexagons before stitching again. I did it this way because if the last hexagon was not flat and smooth a bubble would happen. If I stopped sewing before the last hexagon in the facing and that bubble was starting to develop I could reposition my facing without having to do any reverse sewing.


So there you have it, finishing a hexagon quilt with a facing. I hope this was helpful. It all makes sense to me but I know that sometimes it may not be clear to others so if there are questions or comments feel free to let me know and I'll do my best to explain how or why I did it this way!

Until I post again happy sewing!

Karen H

Thursday, June 15, 2017

A polka dot finish

All is well here but I've been more than busy doing trunk shows and teaching. Teaching means making samples so I've made quite a few quilt tops and am itching to quilt at least some of them! I've also been working on projects for myself.

Do you remember these blocks? I used two different polka dot fabrics. One has a slightly smaller dot than the other. Both had stark white backgrounds (nothing that a pot of tea couldn't fix)! Although I'm partial to fussy cutting there is no fussy cutting in the blocks since there is enough going on with the dots and chintz print I used for the path that will connect the blocks.


After many hours of stitching the blocks were put together to make the quilt top. My friend was hand quilting a quilt and it made my fingers itch to do some hand quilting. There's just nothing like the feel of a hand quilted quilt so after many hours of work the itchy fingers have turned into sore fingers but at least the quilt is hand quilted! The photo doesn't do it justice. In real life the colours are much warmer and it looks old and loved. I test drove the quilt on my bed last night and the cats gave it the seal of approval! So what do I call this quilt? I call it Tea Dot!


I didn't want to trim the hexagons and I didn't want a border so I finished the edges with a facing made of hexagons.


It is a time consuming way to finish the edge but it was the look I was going for so it was worth the effort. If anyone is interested in a tutorial for this method let me know and I'll write one and post it here!

Until I post again (hopefully sooner rather than later) happy sewing!
Karen H


Tuesday, June 24, 2014

Binding a Quilt with a Facing - Another Method

Just over a year ago I did a little tutorial about how I bind a wall quilt with a facing. You will find the tutorial here. When a quilt is bound with a facing you are left with a clean edge. On the left is a tradition double fold binding and on the right is a quilt bound with a facing.


If you've ever sewn a garment you will know that some edges are finished with a facing, for example a round neck blouse, the armholes on sleeveless blouse or a skirt that doesn't have a waistband. A facing can also be used to finish a quilt. As an example, this is my wall quilt "Jack" that is finished with a facing. I think a facing give more of a "gallery" finish to a quilt.

Jack, by Karen H 2013

This is what Jack looks like from the back.

Finishing a bed quilt with a facing is likely not a good idea because the edges of a quilt tend to get a lot of wear so a double fold bias binding would be my preferred method of binding a bed quilt that will be used. However if you are making a wall quilt or a bed quilt that will be not be used (or at least used very rarely) then a facing might be worth considering.

One of the blogs I follow is Chris' UK City Crafter and she recently did a tutorial on Invisible Binding. The invisible binding is a facing however Chris' method is a little different from mine and I think perhaps easier. You can read how Chris faces her quilts here!  The following picture is the back of her quilt with the facing ready to be stitched down. You'll want to see the front of this quilt because it is very sweet!

Reverse side of Chris' quilt with an invisible binding 

Thanks to reader Nicole I've been told about yet another method of binding a quilt with a facing. You will find the  tutorial at Terry Aske Art Quilt Studio. This is an interesting technique I am itching to try out!

I'm binding off for now so until I post again, happy sewing!
Karen H
Tuesday, May 14, 2013

Finishing a quilt with a facing (my way)

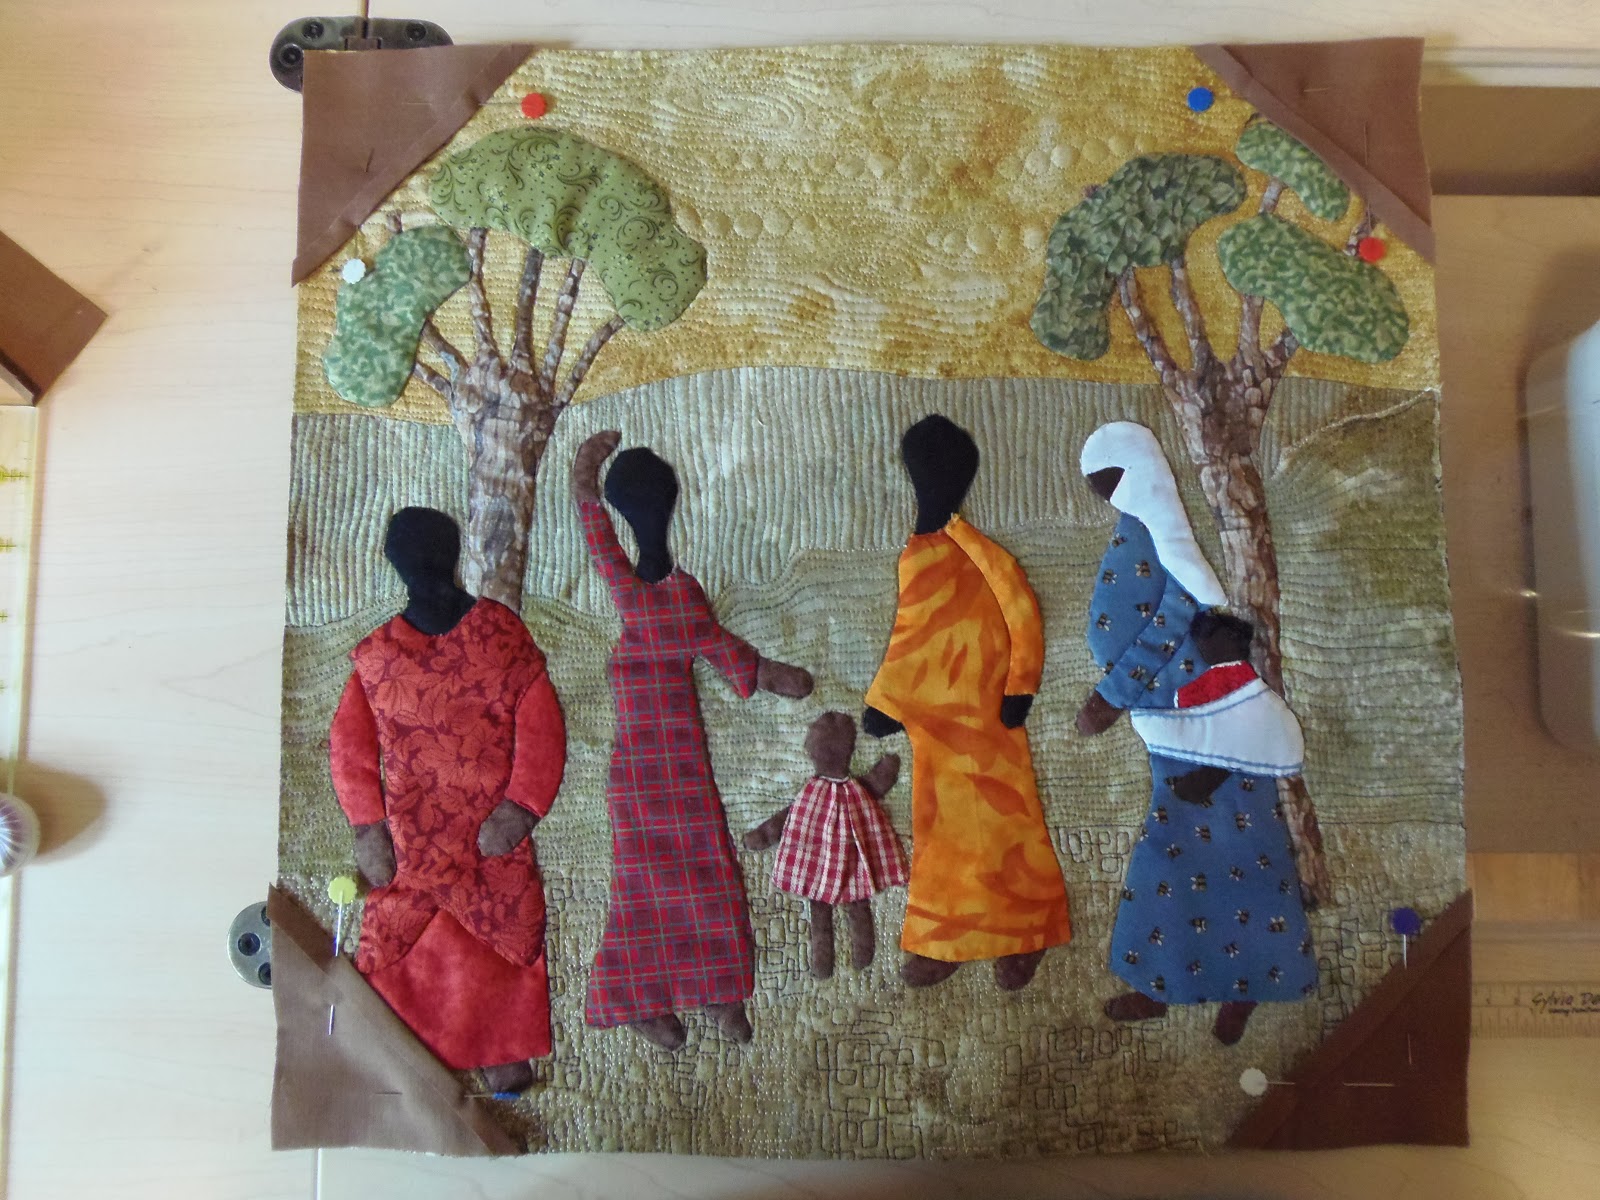
Yesterday I told you I was making facings for two of my Mom's African wall hangings and I promised to write about it today.

Facing a quilt is a way of finishing the edges without having a binding show on the front. Why would you want to do this? It is a nice method of finishing a small quilt that might be overwhelmed by a traditional binding. Modern quilts are often finished with a facing to give that "clean" look. When a facing is used no binding will show on the front. Think about a blouse with a round neck and no collar…it is often finished with a facing that is turned to the inside leaving a nice clean neckline. The same technique can be used to finish a quilt. 

Binding on left and facing on right

There are many different ways of finishing a quilt with a facing. This is a method that I’ve developed to meet my needs. I’m always looking for easy ways to do things and so this is how I make facings for wall hangings. This method works well on quilts that have been squared up and also on quilts that have curved edges (more on this further down).

If you used a fabric that isn’t busy, you can use the same fabric for the facings and they will just disappear. Personally I prefer to use a different fabric so that the back of the quilt appears to be framed. The choice is yours. In the example below, I had a busy fat quarter that I didn't want to chop up so I used it as a backing. There was no way of facing the quilt with the same print (or at least it would involve too much work for me) so instead I faced the quilt with a complementary fabric!

 
So here is how I do it! You will need two 4” squares of facing fabric and two 4” strips of facing fabric, one which is 1” shorted than the width of the quilt and the other that is 1” shorter than the length of the quilt. The two strips for the width and length of the quilt are to be cut into 2” strips.

Cut the two 4” squares in half on the diagonal. Turn under the diagonal edge ¼” and press well. I use spray starch so there is a nice, crisp fold that will hold.


These half squares may not be square. Lay them out on your cutting matt and if necessary trim them so that they are square. For quilts that aren’t square you will trim the corners AFTER they are pinned to the quilt. You can see this one needs trimming!


Turn under the edges of the 2” strips by ¼” again using spray starch.


Pin the half square triangles on corners of the wall hanging with the right sides together.


Pin a strip the width of the wall hanging to the quilt with right sides together. If the strip is too long trim it to fit. It should be about 1” or so in from either edge.


 Using a ¼” seam allowance stitch from one end to the other.

Repeat with the remaining strips.


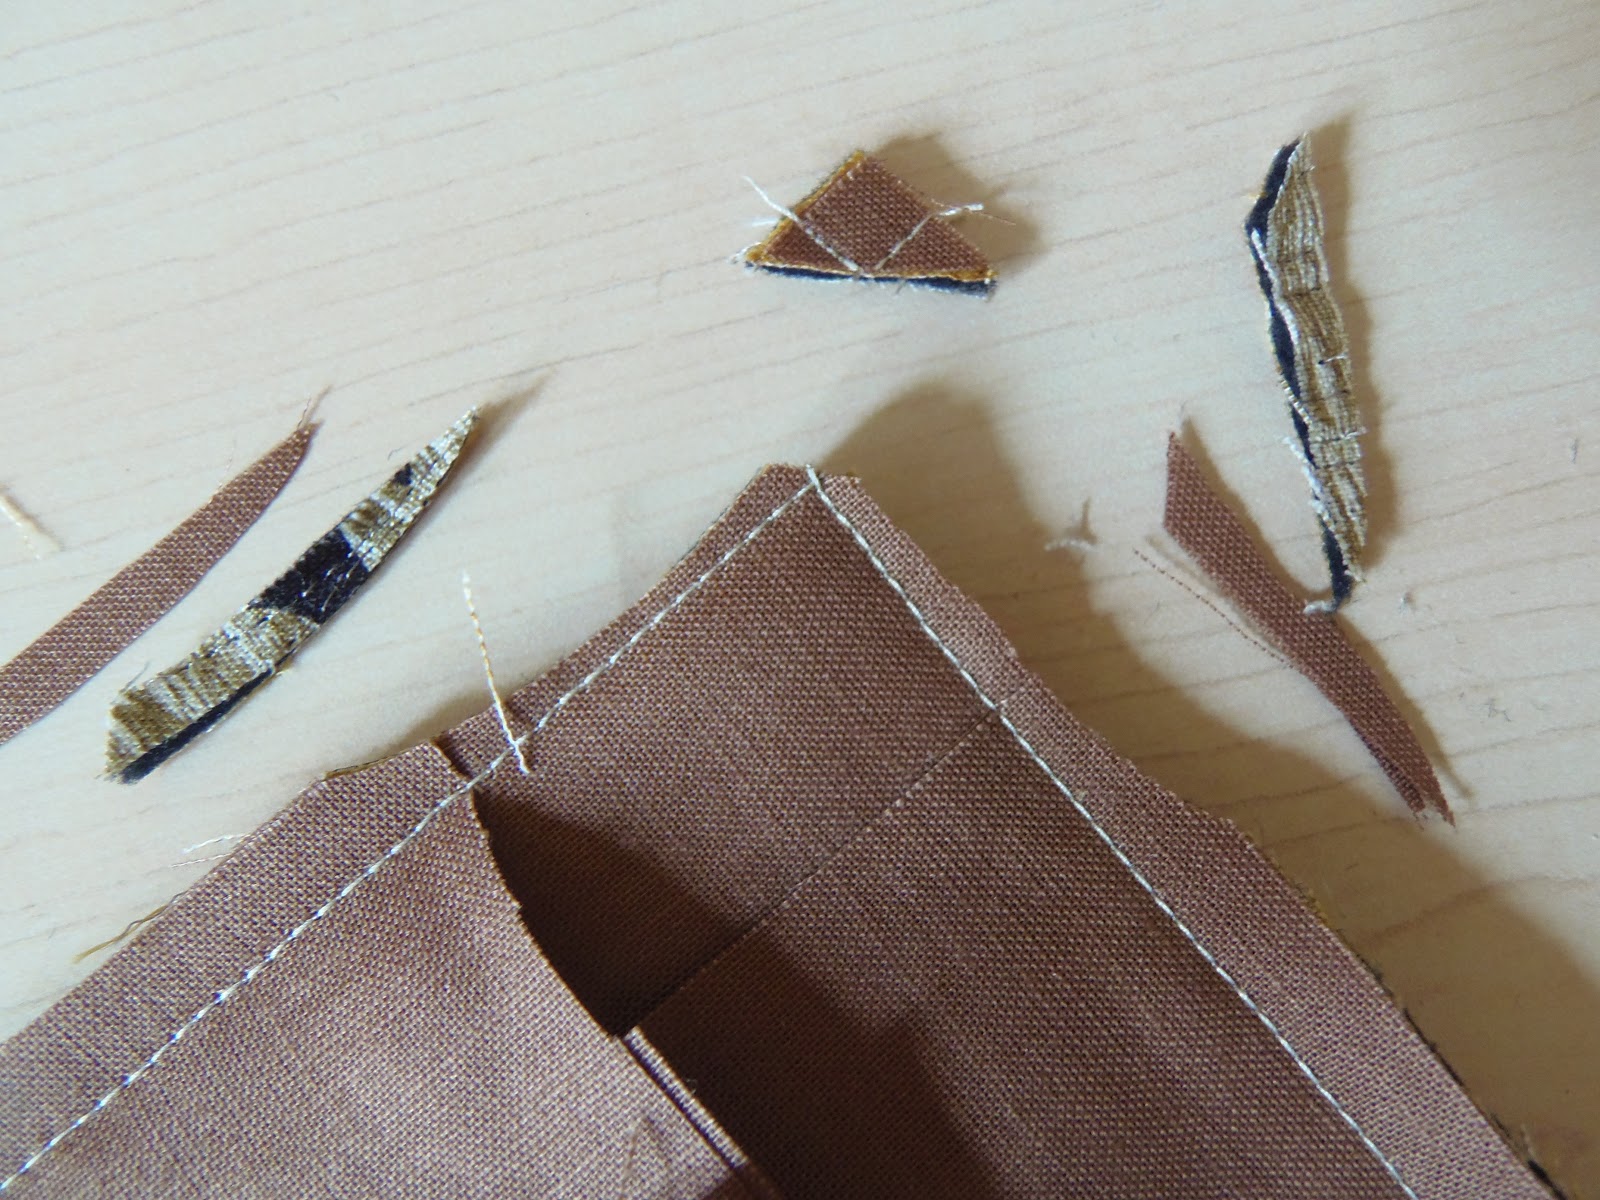
Clip the corners close to the stitching without cutting the stitching.

Trim seam allowance on either side of the corner to reduce the bulk. I trim about 1” on either side of the corner.

Turn the corner facings to the back and use a blunt instrument such as a crochet hook to poke out the corners.


 Roll the facings to the back and press with a hot iron and use steam.

Making sure that no facing shows on the front, pin the facings on the length and the width and hand stitch them to the quilt. Lastly I stitch down the corner triangle facings in case I need to do any easing in. One more quick press and you are done! So that’s how I do it and it works just fine for me!

And while I was attaching the facing, I was using my nine patches on flannels method of using scraps and saving thread so at the end I had another nine patch for the stash!


I find that this technique works really well on wonky edges. All four sides of my wall hanging “Jack” have curved edges. There are so many curves in the piece itself that I felt that if I squared the quilt up it wouldn’t work so I just trimmed up the curved edges so that they were gentle curves with clean edges.

Jack, 2013

The one thing that I did that was slightly different is this; I made the corner triangles and pinned them to the quilt with right sides together. I then turned the quilt over so that the back was facing up and I trimmed the triangles so that they were even with the quilt. I then stitched down the triangles before attaching the facings on the top, bottom and sides. I proceeded as above. It worked perfectly!

Until I post again, happy sewing!