

The excess fabric on the outside edge of the ring was trimmed away and the raw edge turned under. I've pinned the centre circle in place because I'm not yet sure that this is what I want to use.

The compass itself is still a little too bland for my liking. I went through my fabric and found this fabric that I bought when I went on a field trip with friends this summer. It is the perfect solution to my problem! I cut out some circles and prepared them to be appliquéd to the compass. Before I show you what I did I'll show you how I did it!

Although I described my method for making circles yesterday I thought I would demonstrate it with pictures. I have Mylar which is a heat resistant plastic template material but I'm always reluctant to use plastic if there is another more environmentally friendly alternative. For me that alternative is light weight cardboard. I save cardboard from cereal boxes and use it to make templates. So step one is to cut a circle from my cardboard that is the size of the finished circle. I make sure that the edges are smooth so you need sharp scissors and rather than chopping with the scissors I guide the cardboard through the scissor at the inner edge of the blades rather than at the point of the blades. The white circles in the picture below are my cardboard templates.

I cut my fabric making sure to add a seam allowance. For tiny circles I add slightly less than a quarter of an inch. For larger circles like those in my Lazy Punk blocks I generally cut a seam allowance that is a little more generous than a quarter of an inch.
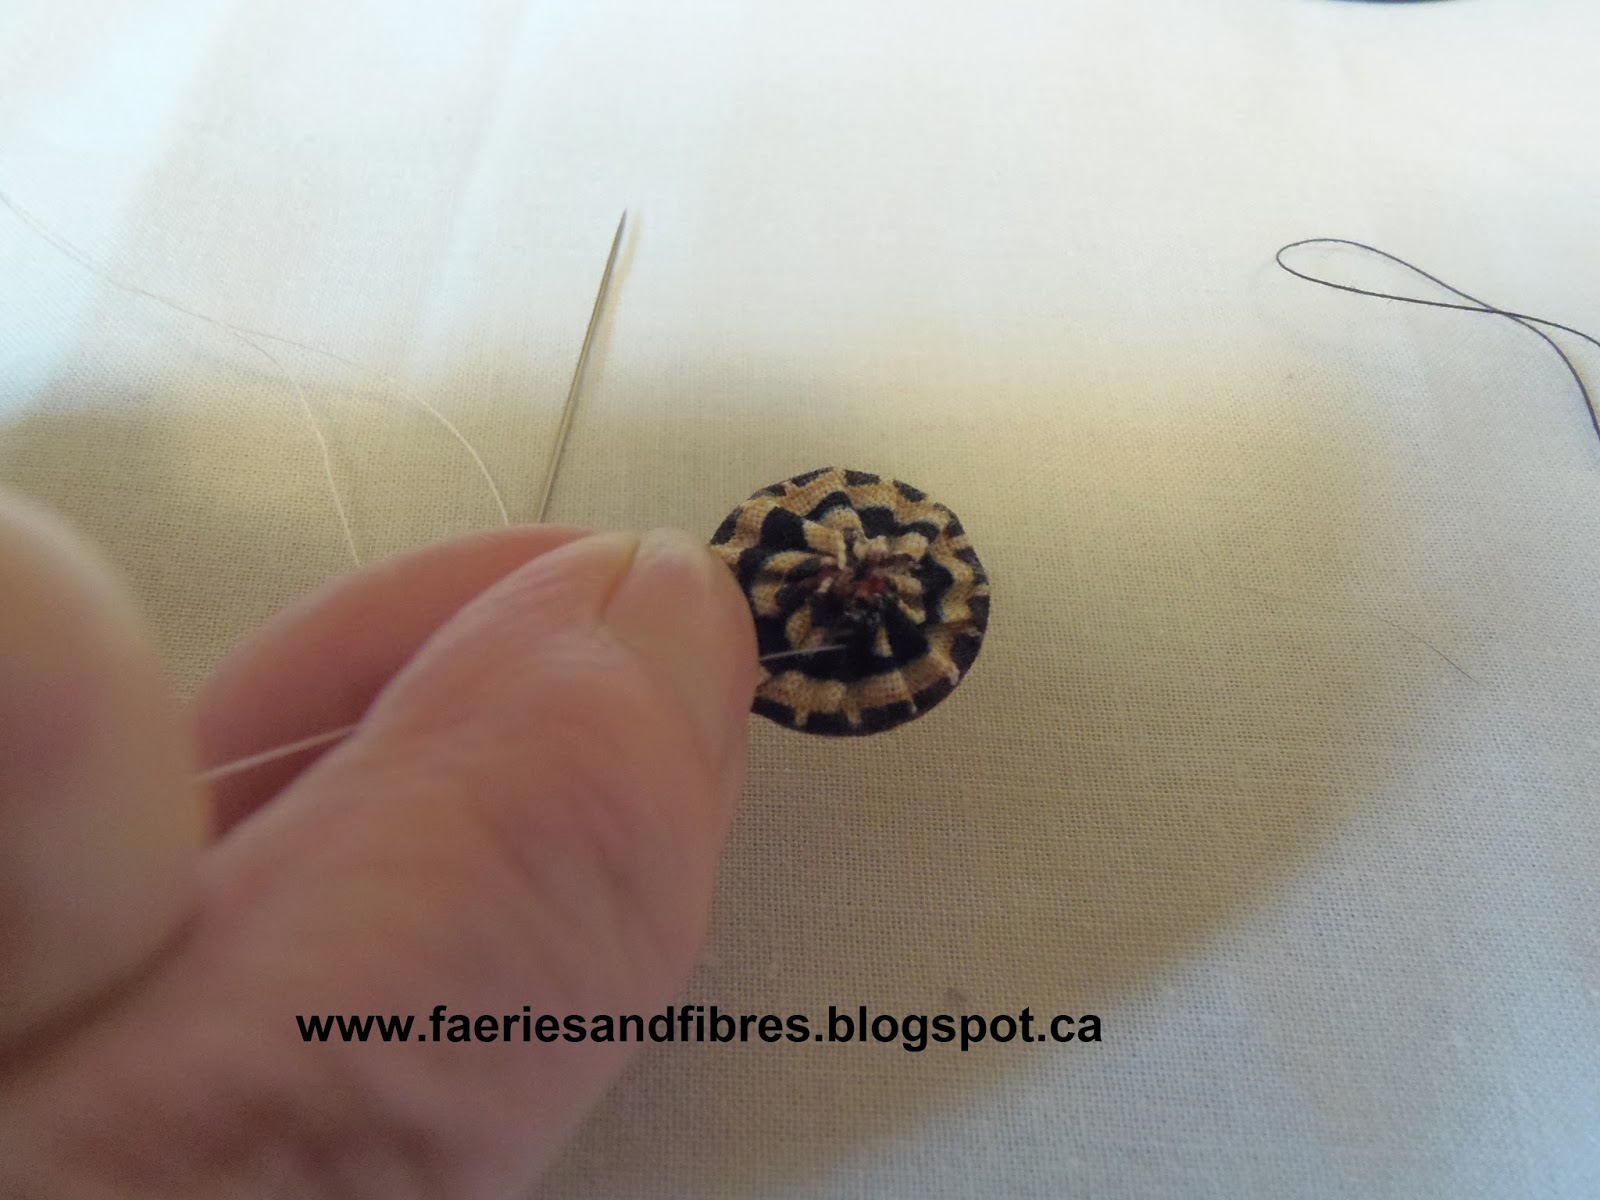
I thread a needle and take small basting stitches all around the outside edge of the circle. It is important to take small stitches so that the gathers will be small and the edge will turn under smoothly. Do not tie off the thread because it will be used to gather up the fabric.

I place the cardboard template in the centre of my fabric and I pinch the two together with my thumb and index finger.

With my other hand I gently draw up the thread to gather the fabric snugly over the cardboard. I leave the threaded needle attached.



I take the circle to my ironing board and press the right side and the back side. I then spray a little starch on the right side and press once again making sure to keep the heat on the piece until the starch is dry.


I gently draw up the gathering thread to bring the gathers back in place.

I take a couple of tacking stitches through one of the gathers and then clip the thread.

There you have it! A 5/8" circle and a 2' circle with the same method. I used this same technique to make the 1/4" circles in the ring that circled the compass block in Love Entwined!

If I have a lot of circles to make I will cut out multiple cardboard templates and thread an equal number of needles. I'll do all of the gathering, pressing starching and stitching off. In no time at all I have a pile of circles all set to be appliquéd in place! I get dozens of uses out of each cardboard circle and when then are worn out, into the recycling box they go!

So I made a bunch of circles from the fabric I showed you at the beginning of this post and I appliquéd then on the pink compass points. I am very happy with the effect!

I still think that this block needs an little something extra and I might just appliqué a little 1/4" circle in the middle. I've pinned one in place to give you an idea of the effect I am going for.

The whole thing needs a good pressing before I stitch it in place so that will be on my to do list tomorrow.
Hope you enjoyed seeing how I make my circles. Until I post again, have fun making circles!
