Last week I did a demonstration at my Guild meeting and the topic was "
Thinking Outside the Half Square Triangle (HST)". I thought I would share what I talked about with you! Before I get started might I suggest that you get yourself a cup of tea!
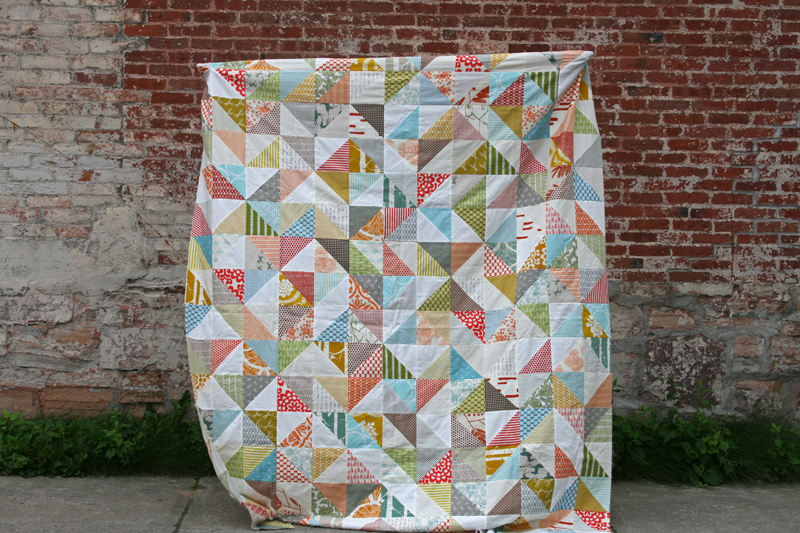
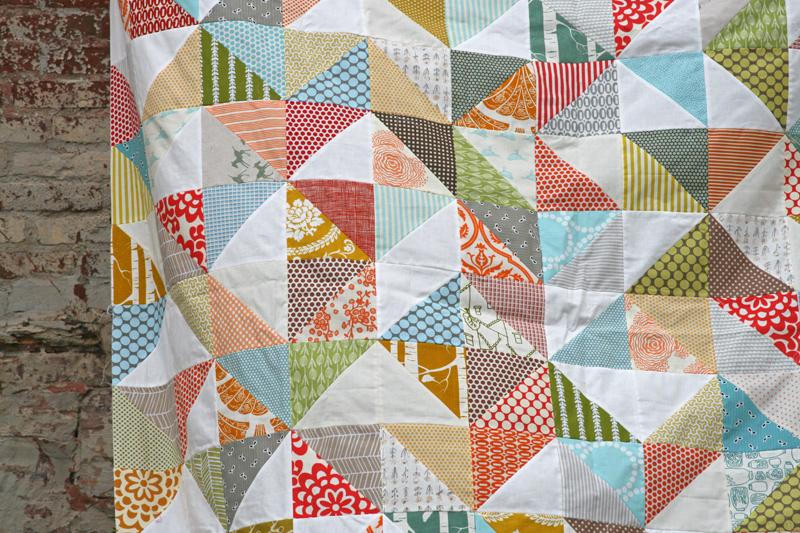
I started off by explaining the basic method for making HSTs. I had stacks of charm squares (they measure 5") and 2 yards of plain white fabric so from the white fabric I cut a stack of 5" squares. I marked a diagonal line on the wrong side of the white fabric. I place a white square on a charm square with right sides together and stitched on either side of the line. I cut on the line and pressed toward the print fabric. The blocks were then trimmed to 4 1/2" (they finish at 4"). Although I used charm squares you could use any size. Determine the size to cut simply add 1" to the measurement of the finished HST that you need. For example if you want a 3" finished HST you'll cut your patches at 4". So what do you do with all these HSTs? How about a lovely quilt like this one from
Film in the Fridge? To me this looks like a quilt that is meant to be used and loved!
I next talked about foundation paper pieced HSTs. Foundation papers cam be purchased or they can be printed for a fraction of the cost. There are a number of websites where you can find the papers. I've been using papers from Quilting and Whatnot; you will find them
here and they are free!!! The smallest is 1/2" finished and they go up in increments of 1/4" all the way to 2 1/2". The sheet shown below will produce 36 precise 2" HSTs in a matter of minutes. Not too bad! If you don't need that many HSTs you needn't use the full sheet; just use the number of rectangles you need to obtain the desired number of HSTs (one rectangle produces two HSTs).
I like to use inexpensive paper such as newsprint but 20lb Bond will also work if that's what you have. Test print one page. There is a test square in the upper right corner (I've outlined it in pink); it should measure 1" exactly. If it doesn't you need to go back to your print operations and make sure that you are printing "actual size" or "no scaling". The language used will vary so if you can't find these terms you may have to consult your printer manual. I used green to highlight the sewing lines. The solid lines are the cutting lines.
Cut your fabric a little larger than the paper. Place the darker fabric down with the right side facing up. Place the lighter fabric on the darker fabric with the right side facing down. Place the paper on top of the fabric and pin parallel to each sewing line. Shorten your stitch length. I have a Janome and I like to set my length at 1.8.
To start sew onto the paper and sew on the dashed zigzag lines until you get to the other side. Sew right off the paper.
Repeat on all dashed lines. Once the sewing is complete trim the outside edges on the solid lines and then cut the foundation paper on the horizontal and vertical lines. You will have 18 rectangles if you used the 2" paper.
Cut the rectangle on the diagonal line and press toward the darker fabric. Remove the paper and you are done!
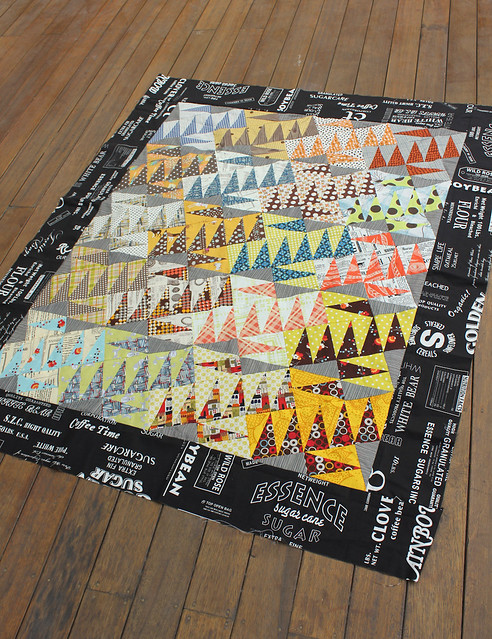
What to do with all the HSTs? Well you could organize a swap with your friends or you might want to make a lovely quilt like Under the Big Top. To read more about this quilt visit
Humble Quilts where you can also read about the quilt that inspired Lori!
Under The Big Top by Lori of Humble Quilts
I've got a lot of scraps that I couldn't part with but didn't know what to do with them until I can across a terrific little tutorial at
Buttontree Lane for stitchy flippy HSTs. I combined my scraps with the HSTs that I made with my charm squares. I simply placed a scrap on the white side of my HST making sure it was at an interesting angle. I stitched it down, flipped it and trimmed the excess fabric! If it wasn't quite large enough to cover the white I repeated with another scrap. The result is fun, fast blocks! There are all sorts of possible arrangements for this block.
The last thing I talked about was half rectangle triangles HRT. These are just as fast and fun to make as a HRT! Instead of cutting squares I cut rectangles that measured 5" x 7" but you can use any size you want. Like the HST, I would simply add 1" to the height and width of the finished size of the HRT you need. The lighter fabric is marked with a diagonal line from corner to corner. The trick to HRTs is how you position the rectangles.You give the top triangle a twist and line up the opposite corners. Pin and stitch 1/4" away on either side of the line.
Simply cut on the pencil line and press the block. Trim it up to 4 1/2" x 6 1/2. This will give you a finished block size of 4" x 6". I like to place my ruler on the block and trim a little off the top and a little off the bottom so that the angle of the triangle comes precisely into the corner. Notice that the two HRTs are identical.
If you want HRTs with a slant in the opposite direction you will need to rotate the fabric so that the diagnonal is in the opposite direction.
And these are the two HRTs that you will end up with!
For more detailed directions please refer to my
January 2014 Block of the Month pattern. These HRTs are so versatile. You could make a quilt of giant 54-40 or Fight blocks like this one. If you start with the sizes I described above the block will measure 20". It wouldn't take many blocks to make the quilt and there are lots of nice open spaces for practicing your machine quilting!
Check out this beauty made by Amy of
Badskirt! Amy has a
tutorial on her blog for making this quilt with triangles but I think that HRTs would work a treat!
I hope you enjoyed what I've shared and that your are inspired to look at your scraps in a new way! Until I post again, happy HSTing and HRTing!
Karen H