Showing posts with label sewing kit. Show all posts

Monday, October 20, 2014

Five minutes of sewing here and there

I've been busy and have managed to stitch up a bunch of blocks. I always have a little sewing kit at the ready so if I go out and have five minutes of sitting and waiting I can take a few stitches. It might not be much sewing but all those five minutes sure add up! This is my sewing kit and it was made for my by Bunny of The Creative Hare. It was made from a free pattern that you can find here.


It is very spacious inside so I can fit a few spools of thread, scissors and my EPP (English paper piecing) pieces. I store spare needles inside the flap. I use my little pouch every day and just love it. It would make a terrific holiday gift for a sewing friend!


So what have I made in those five minutes of sewing here and there? Well let me show you some Lozagon hexagon blocks and Gardens of a King blocks that I've managed to finish in those sewing minutes! This Lozagon is kind of wishy washy isn't my favourite but it will work just fine in the finished quilt.


Some years ago I had been at a White Elephant sale in a church basement and I bought a bag of old scraps, many of which were cut as blades for Dresden plate blocks. I am using some of those scraps in my Lozagons quilt. In the next block you can see some of the prints in the hexagons that surround the solid centre. Unfortunately I was only able to cut five hexagons from the scraps so I went through my stash and found a fabric that was a similar colour but a different print. Even though it is a striped fabric I think it works just fine. I love having the occasional odd patch because it adds interest! The purple flowers on the white background in the outer border are also cut from the old scraps!


How about some Gardens of a King Quilt blocks! This is a pattern I'm testing for Missie of Traditional Primitives. The more blocks I stitch the better I'm getting at making them and I adore these tiny treasures! Missie is also testing the pattern and you can get a sneak peak of what's to come here! For now I'll share some of my blocks with you.

Originally I had dark brown for the outer round of triangles but it was too close in value to the green fabric. I tried the gold scraps and they work perfectly.


I didn't throw out the brown triangles; instead I used them for my second block. Blue and brown are a great colour combination so I searched my stash for the right blue (I needed a blue that was a lighter value than the brown) and this is what I came up with. Notice I rotated the centre pie wedges. This was a mistake and I considered correcting it so that it would be the same as the previous block. My attitude is fix the things that will bother you and leave the rest alone. This is a mistake I can live with so it will stay as it is!


The next two blocks have more pieces (each has 56 pieces). I was dreading sewing this block because of all the pieces but I took care when prepping the patches for EPP, stitched carefully and the blocks came together nicely. I particularly like the red/pink ring around the first of these two blocks. I used a single grey fabric so that the centre star could really pop and I think that this was a good choice!


This second block is much darker and more dramatic. It isn't perfect but I can live with it!


Right - I'm off to see if I can find some spare minutes so I can get cracking on more Lozagons hexagon blocks and Gardens of a King blocks! Until I post again I hope you are able to find five minutes to take a few stitches!
Karen H

Friday, September 27, 2013

Lazy Punk half blocks for setting triangles and a roll-up sewing kit

The last of the Lazy Punk blocks are now appliquéd.


I now need some pieces cut out for half blocks that will fit in the setting triangles. I could make whole blocks and cut them in half but that is such a waste.  I have a plan for making the partial wedges and arcs. For each setting triangle I will need one wedge and arc (the one in the centre) made in the same way that they were made for the whole blocks and I can use my existing templates to make that unit. The wedges and arcs along the top edge will be half the size so I'll make new templates for them.


My plan is to create one wedge template and one arc template that will be used to cut the fabrics. The pieces of fabric will then be cut in half to create the partial units on the top edge in the picture above. I start with the wedge template with seam allowances. I mark the centre at the top and bottom edge.


On a piece of cardboard I trace around the left side of the template starting at the arrow at the top and ending at the arrow at the bottom.


I draw a line to connect the top and bottom.


I make a registration marks at the top and bottom that are about 3/8" beyond the line. I make another set of registration marks that are another 3/8" over and then I draw a line to connect the registration marks. I do this because I will need two seam allowances in the centre. As I explained in the past the seam allowances can be generous.

 
I place the template on the cardboard lining up the arrows with the registration marks an I trace around the right side of the template.

This is what it will look like. I can now cut it out, label it and it is ready to use!


I will also need an arc template without seam allowances so I place the arc I had previously made on my cardboard. I find the centre of that template and trace around it from the centre, around the left side and along the bottom to the centre mark. I make little registration marks at the centre points.


To add the centre seam allowances to my arc I use the wedge template that I just made and line up the registration marks.


I place my arc on the cardboard lining up the middle with the registration mark on the right and draw the rest of the arc on the right side. The template can be cut out and labelled.

These are the templates I will use to cut my fabric. I'll cut on piece of fabric with each template for each block.

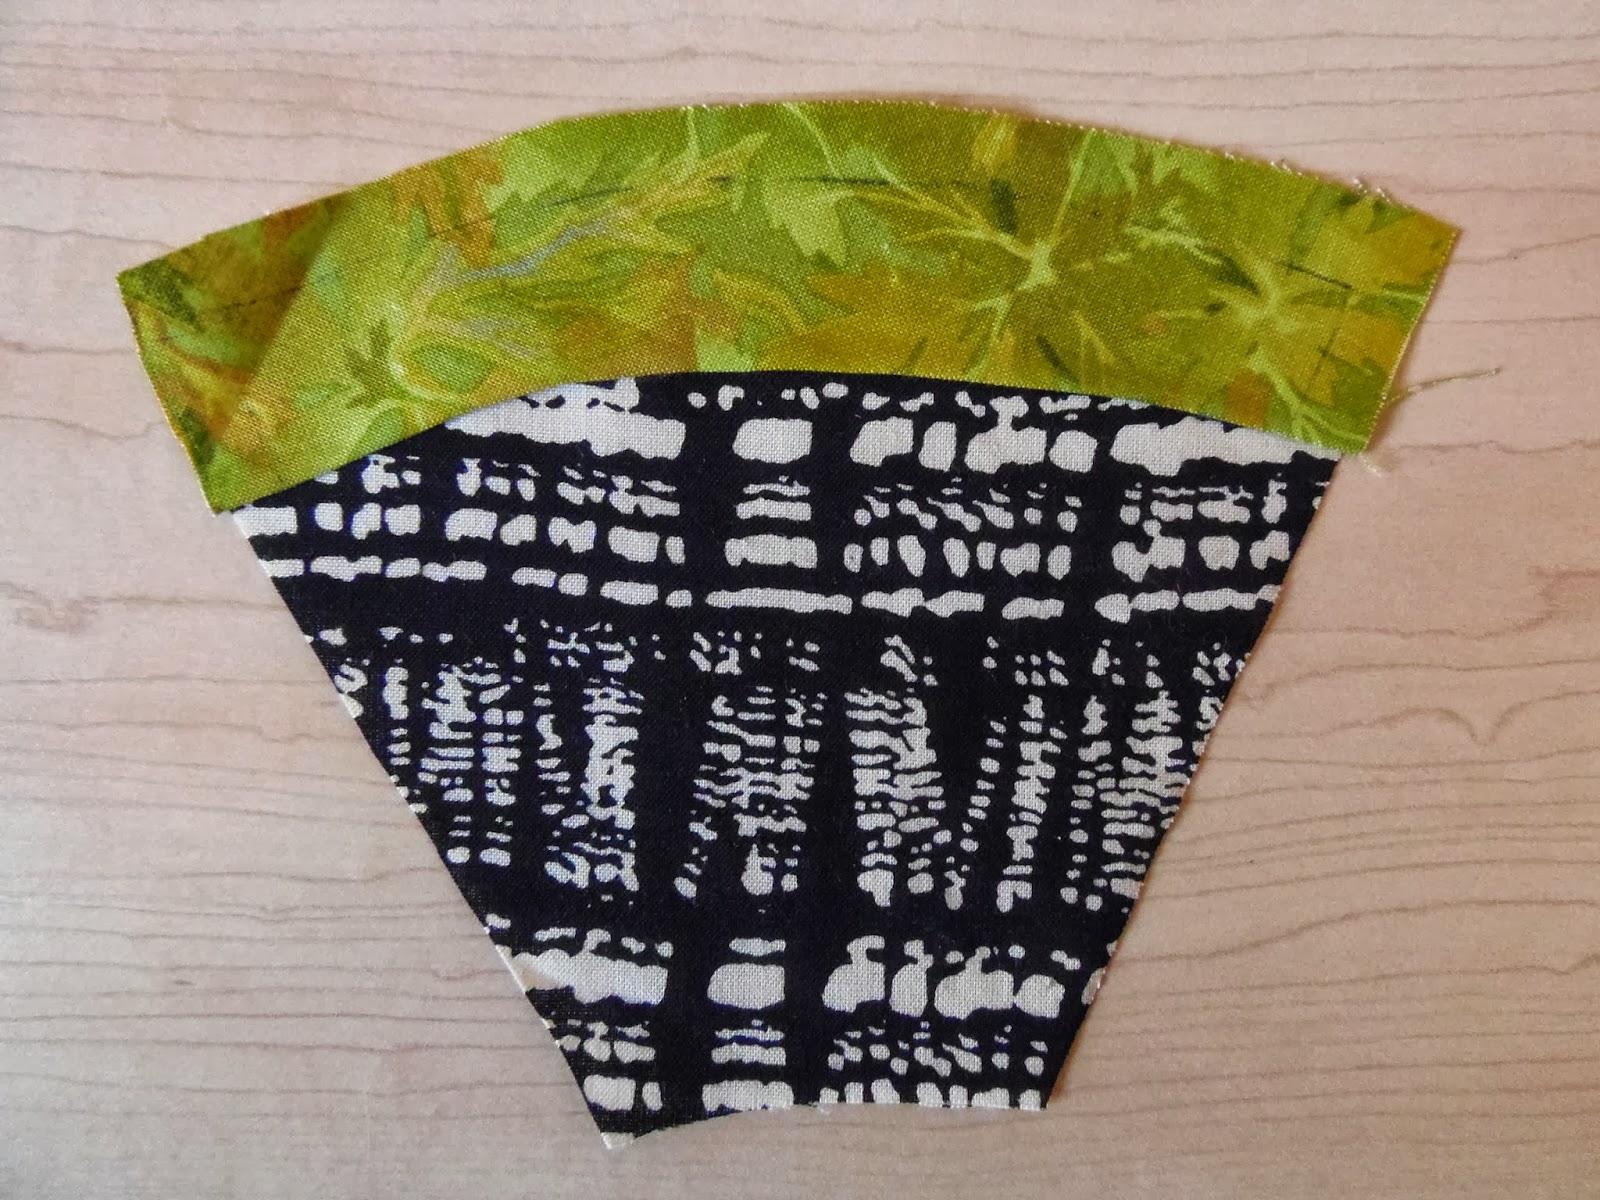
These are the fabrics cut out. To make the arcs it is important to trace around the template on the right side of the fabric and then when cutting add the seam allowances. For detailed instructions refer to this post


Let's make the large wedges and arcs that will be cut in half. I clip the inner curve on the arc. I apply a little glue with my glue stick and fold the seam allowance to the wrong side.

I apply a little glue to the top edge of the wedge and glue the arc to the wedge.


I continue to glue baste the top edge of the arc and then the sides. A press with a hot dry iron will dry the glue.


I can now cut the large wedge in half.

The last step to prepare these pieces is to applique the arc to the wedges.


Tomorrow I'll cut the setting triangles and glue baste the wedges so that they are ready for hand or machine applique. Not much longer and the quilt top will be done!

I am almost finished my tote bag for the secret tote bag swap. I thought I would make a little roll-up sewing kit for my partner. I used the scraps of lining fabric and osnaburg to make this little case. I cut out one of the motifs in the lining and appliquéd it to the osnabug. I then quilted the outside edge.


There are little pockets on the inside and a pincushion complete with its own little pocket. The whole thing sewed up very quickly and it was fun to make!


Until I post again, happy sewing!