

Good Golly Miss Mollie by Karen H 2014
To make the miter for Birds I doing it a little differently. I joined two strips of 2 1/2" red fabric by sewing a diagonal line. The result is the mitered corner.

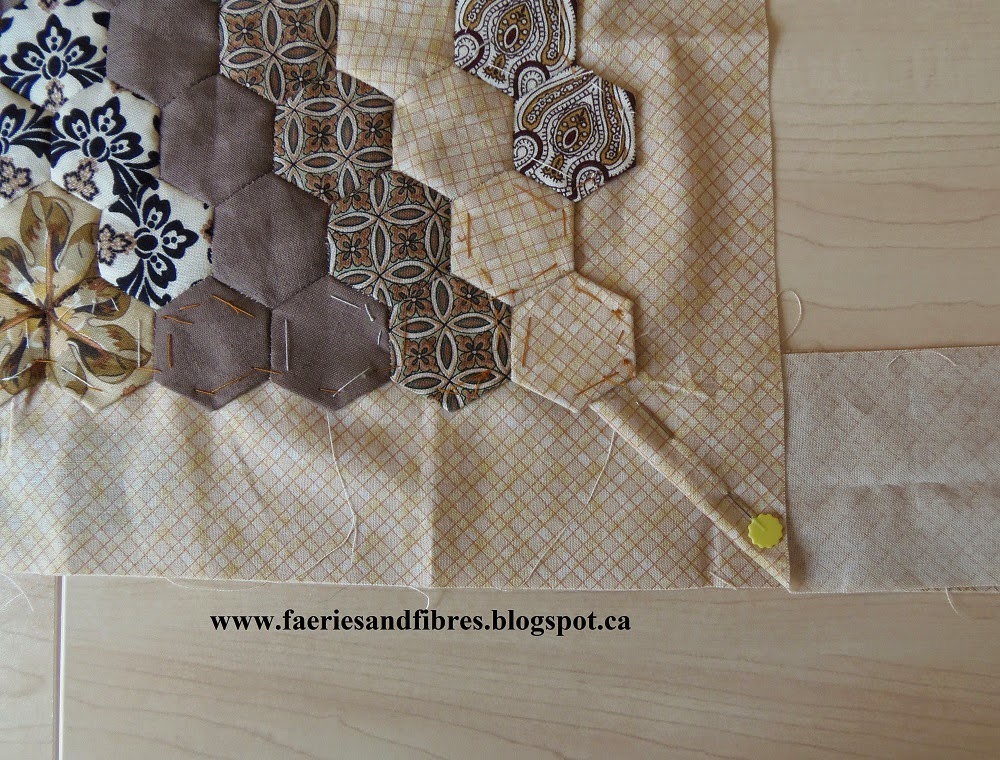
The mitered corner is on the floor with the quilt.

At the yellow arrow you can see that folded the strip under and pressed a 1/4" seam allowance. This will be the finished edge that is on the front of the quilt and strip on the left side will be under the folded edge. To start I flipped the left strip out of the way (yellow circle) so it doesn't interfere with the pinning.

The first place I pin is at the corner (green arrow).l I want the miter to line up with the hexagon (more or less). I then continue pinning as demonstrated in my previous post. The yellow circles indicate where I've pinned the strip so that it lines up with the seam allowance of the hexagon. The pins in the blue circles are added after to hold the hexagon tight to the strip. The other edge of the quilt is the side edge and I made sure the strip was 1/4" in from the inner "v" of the hexagon and I pinned (red circles).

I turn the quilt so that the right side is facing up and I pin the folded edge to the loose strip making sure that the strip to the left of the pin is laying flat and smooth! I thread baste the quilt to the strip and applique with red thread! Where the strips are joined will also be an applique stitch to join the strips.

So that's how I will be doing it.
Until I post again, happy sewing!
Karen H


