Showing posts with label EPP. Show all posts

Thursday, September 7, 2017

English Paper Piecing Workshop

I'll be teaching a full-day English paper piecing (EPP) workshop in Pickering, Ontario on Sunday, September 17, 2017. The workshop is being hosted by the Twisted Stitchers Quilt Guild.

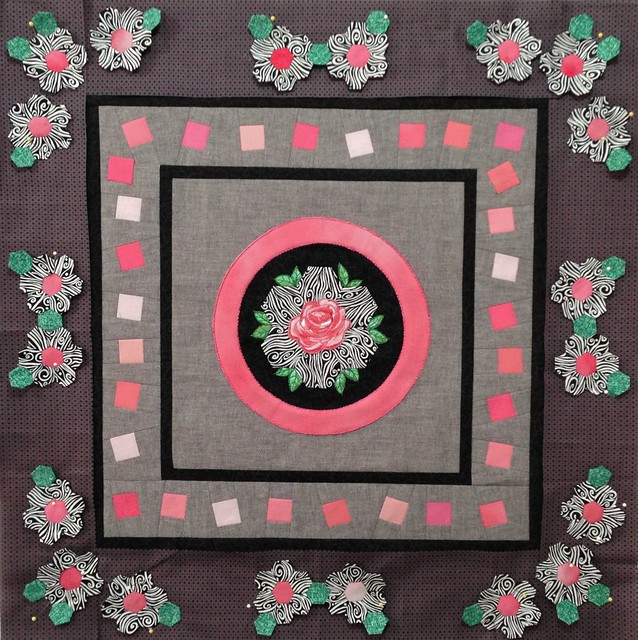
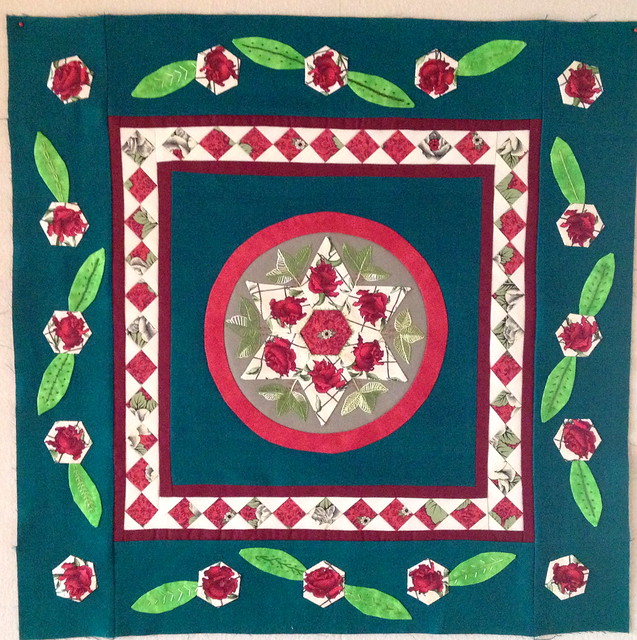
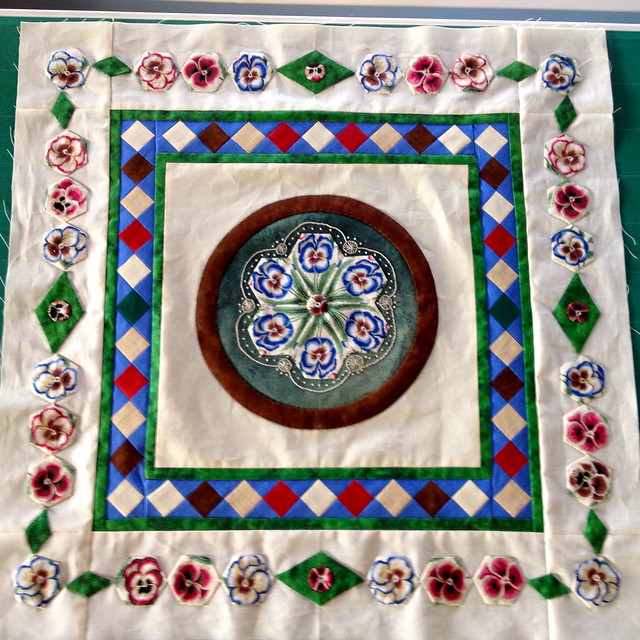
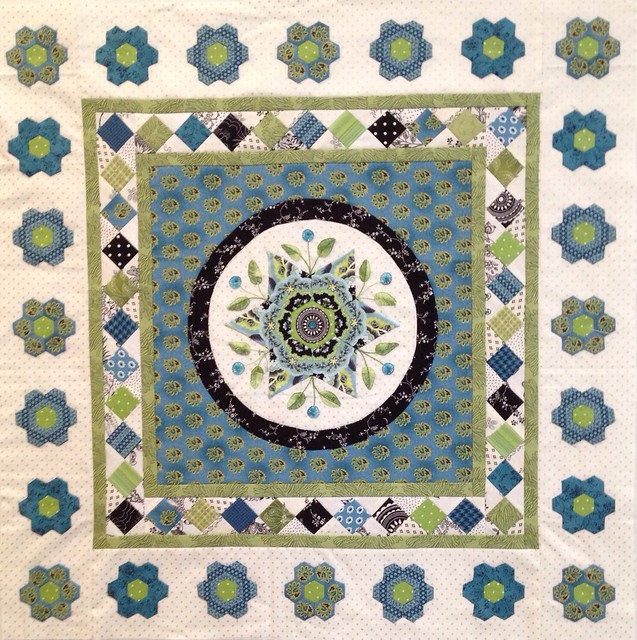
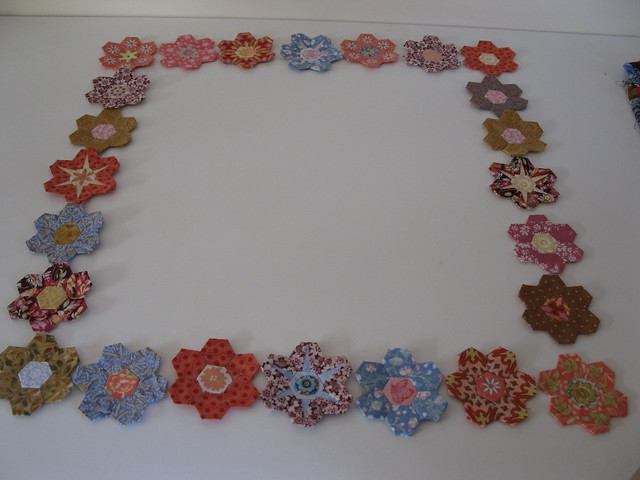
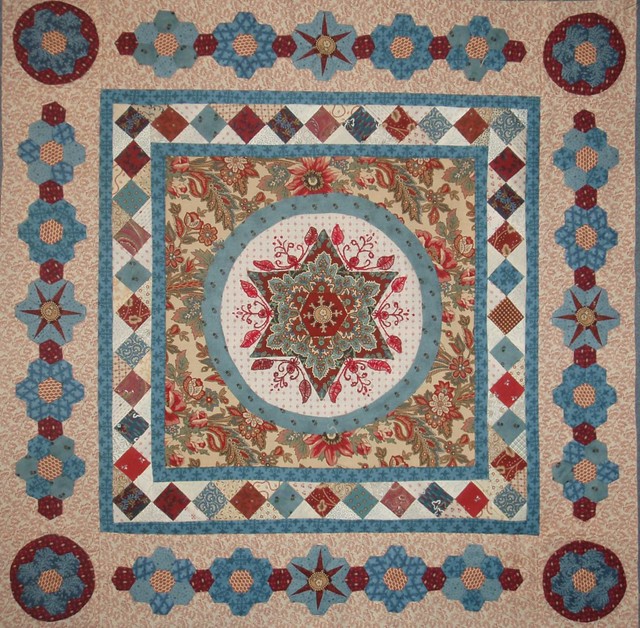
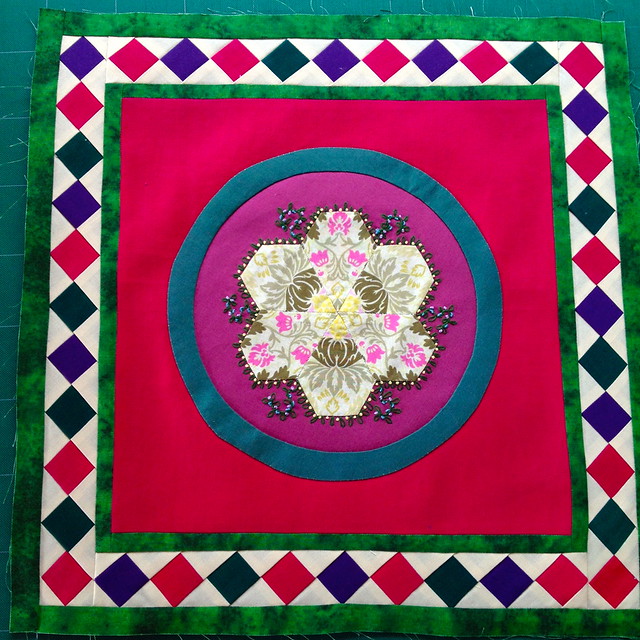
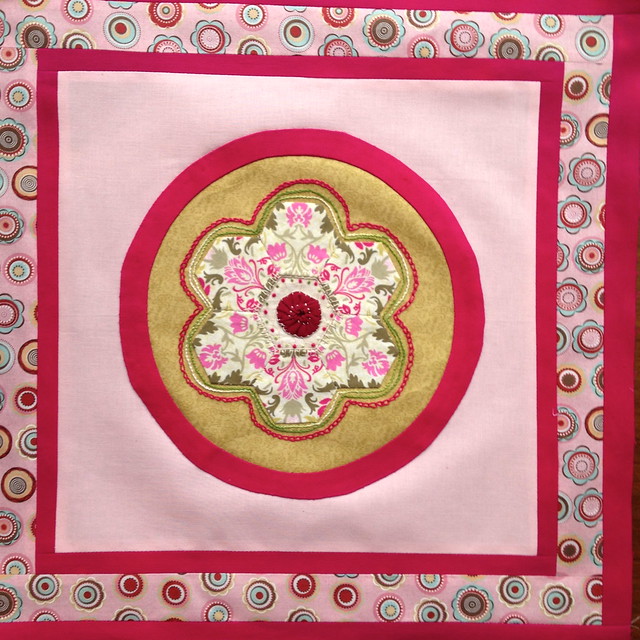
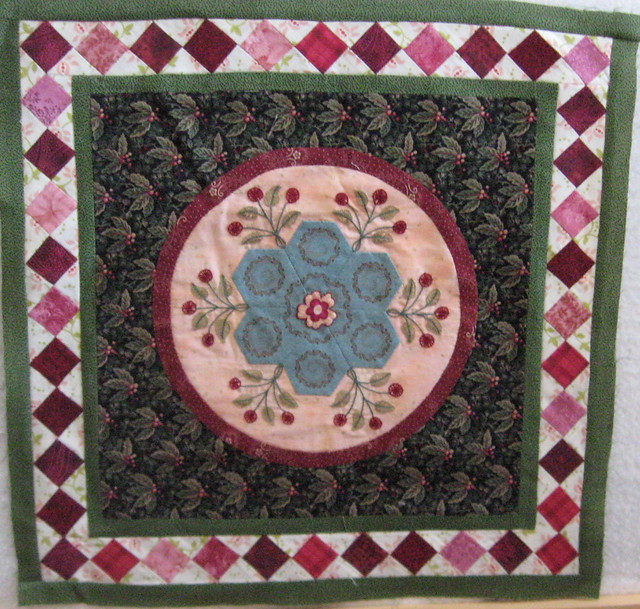
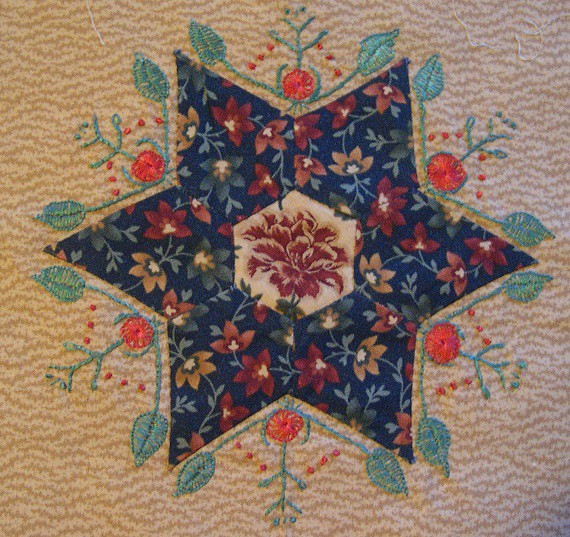
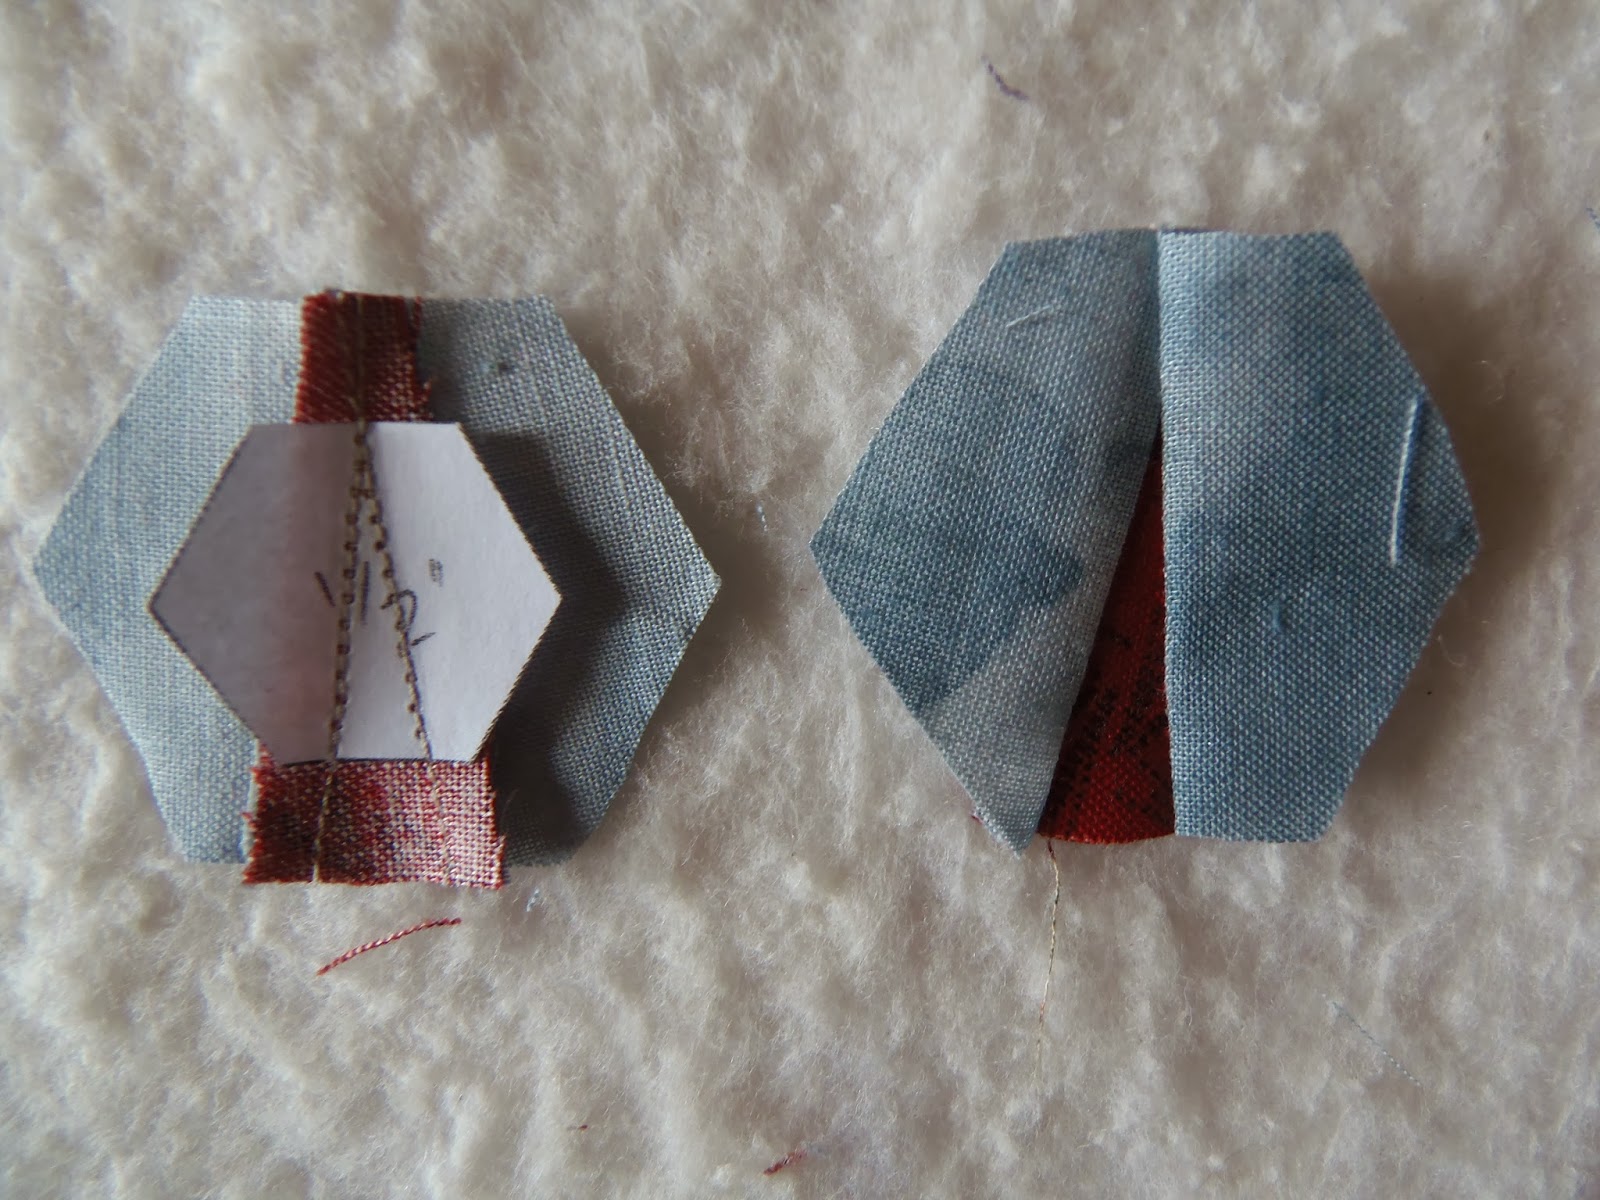
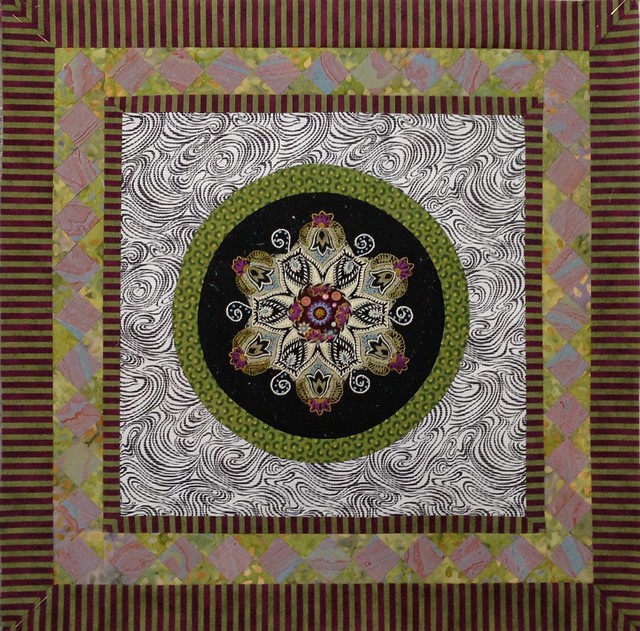
My workshop is called Easier Than Pie & Beyond because my methods and techniques make EPP easier than pie! I've been using EPP to make quilts for 35+ years and developed my "beyond" methods in the late 1990s. It is fun and exciting for me to see others get excited about the possibilities using my basic techniques combined with "made" fabric methods. It takes EPP beyond the basics and launches it to the next level. Although this workshop focuses on hexagons the knowledge you will acquire can be applied to any shape.   These are my class samples that demonstrate the techniques that I teach.


If you are interested in attending the workshop feel free to send me an email (my address is on the sidebar on the right) and I will forward your message to the organizer. She'll be able to provide you with all the details including location and cost.

Until I post again, happy sewing.
Karen

Wednesday, December 24, 2014

Quilt Along by Katja Marek

I must be crazy but in my humble opinion it is a good kind of crazy! I've signed up for a free quilt along that starts in January 2015. The QAL is by Katja Marek!

This is a picture the beginning of Katja's quilt which is made using the English paper piecing (EPP) method. So many wonderful shapes to work with!

Photo courtesty of Katja Marek

The best part is that this is a free Quilt Along (QAL)! To sign up go here. The first set of instructions will be emailed to participants at the beginning of each month starting in January 2015. To participate in the QAL you will also need a copy of Katja's book The New Hexagon. I've just received my copy. I'm going to make myself a cuppa and settle down to peruse the pages!


The QAL looks like it will be fun and a great way to use bright prints and also to do some fussy cutting. I love to fussy cut! Just check out the little fussy cut details in this block. Lovely!

Photo courtesty of Katja Marek

The first month will be the most onerous in terms of workload but January is very cold and snowy so this will be a great project to work on! So the question is are you tempted to join in? Even if you don't I'll be sure to post pictures of my progress on this one! So, are you tempted to join in on the fun?

I'll leave you with a smile. This is a picture of Jinxy the great hunter. He is on my sewing table getting ready to pounce on something. He is losing the kitten look and is starting to look like a cat!


I have a solarium across the back of the house. During the summer months we put the plants in the ground in the garden and in the fall we dig them up and bring them into the solarium. Last night I came home and saw a "string" on the hall carpet. I assumed that Jinx had taken one of the laces from my moccasins but as I got closer I realized it was too big and fat to be a lace and upon closer inspection I realized that the string was moving. Jinx had been out in the solarium and found himself a great big  fat dew worm in one of the pots! I've said it before and I'll say it again - it is a good thing he is cute or he would be getting his tail feathers clipped!

This will be my last post of the year but I'll be back in January with more to share. I wish you all a very happy, healthy and creative New Year! Until I post again, happy sewing!
Karen H

Friday, November 28, 2014

Value Proposition Quilt Along - Block 17

Welcome back to my Value Proposition Hexagon Quilt Along. Can you believe we are already at Block 17? Next Friday I'll publish the instructions for the final two Side Setting Blocks and the Friday after will be the final block!


Value Proposition Map for Block 17


Value Proposition Recipe for Block 17
  • Cut 18 Light identified as A on Map (6 for Round 1, and 12* for Round 3)
  • Cut 8 Mediums identified as B on Map (for Round 2)
  • Cut 6 Dark-medium identified as on Map (for Round 3)
  • Cut 5 Dark identified as D on Map (1 for Centre and 4 for Round 2)
* I had some leftover "made" fabric from a previous block and I used it in Round 3 because it was Light


My Value Proposition Block 17


This is the colour version of Block 17.  I was using up bits and pieces of leftovers because we are getting close to the end and I didn't want to waste those precious hexagons!


Have you decided on your path fabric yet? I designed the quilt with a triple path. This means that each block is surrounded with a path fabric and between the blocks will be a second path fabric (marked in pink in the drawing). This means you will surround each of the 18 blocks with a round of 24 hexagons. This can be done at any time but since we are nearing the end of the QAL I would suggest you get started! For a refresher on the path you can refer to the post about Constructing the Path.


The partial blocks will have path hexagons attached as well. Make the path with 13 hexagons (see "outer path for partial blocks" in the diagram below).


If you have already selected your middle path fabric you could start sewing the hexagons together for the path as in the following diagram.


I set up a Value Proposition QAL page on Flickr so that you can post pictures of your blocks and also see what others are doing! There are many very different and exciting blocks to see and there are also some pictures showing a bunch of blocks arranged together and that is very exciting to see! 
If you are looking for previous Block installments of my Value Proposition Hexagon QAL you will find all of the links under the tab Quilt Alongs by Karen H just under the banner. Have fun making Block 17. The two final side setting blocks will be available on December 5th! 
 The final block, Block 18, will be available on December 12, 2014. 

I hope you are enjoying my QAL. If you have any questions please feel free to leave a comment or send me an email. I send an email response to every comment so if you don't hear from me it means you are a no-reply blogger and I have no way of contacting you (unless you leave me your email address).

Until I post again, happy sewing!
Karen H

Monday, October 6, 2014

Busy Fingers!

The fingers are flying which means two more Gardens of a King blocks are stitched. These blocks are from a quilt designed by Missie Carpenter of Traditional Primitives. She has not released the pattern but will be doing so in the near future. So here is my block 14. I was able to use up some of my very small scraps to make this block. Believe it or not this block is not as difficult as it looks when Missie's English paper piecing (EPP) techniques are used. The circle in the middle was made separately and then appliqued on top of the outer ring. The trick is to work slowly, carefully and meticulously.


To give you a size of scale here is the block with a ruler and the C. Jenkins freezer paper templates. The finished diameter of the block will be six inches. EPP is a great way to achieve amazing results and it isn't just for hexagons!


This is the second block 14. Again I was able to use many of my scraps. The pink print in the star points was leftover from my red Soupcon quilt!


I don't work on one block at a time; instead I cut and prep parts of several blocks, stitch a bit, cut a bit and prep a bit more. This means that there are always lots of blocks on the go at once and they are in various stages. When the last bits of sewing are completed the blocks come together quickly! Here you can see a block that is in different stages of completion. I've been using sheets of acrylic felt to pin the pieces in the correct placement to make the sewing a little quicker! I think this block is going to be very pretty when it is stitched!


Lozagons is waiting to be worked on and it too is in various stages. Every time I have five minutes I'll take a few stitches and when I do that a block will eventually come together! Here is the third block in my Lozagons quilt! It doesn't look like much right now but once the turquoise rosettes are added the design will start to pop!


Don't forget that I've got a giveaway running. To enter go here and follow the instructions to enter (it is super easy)! I'll announce the winner at 9:00 am EDT on October 8th!

Well it's time for these fingers to get busy so until I post again, happy sewing!
Karen H

Wednesday, March 12, 2014

A little Soupcon trunk show

Only a few days until I post the last part of Soupcon, Step 6. I know many of you are working away on your Step 5 border. It is the step that involves the most work but it is also a great place for you to get creative and put your own personal stamp on the quilt. How about a quick little trunk show of what others hare doing? These pictures are all from the Soupcon FLICKR Group. I always like to link back to the maker's blog when I have the blog address. If I missed adding the link to your blog please let me know so that I can update my post!

Nellie Durand has several Soupcon quilts on the go. I just love this one because it makes me thing of men's suiting and shantung silk. It really is a happy quilt! the pink in the center of the border hexagons is in fact silk that she dyed. Notice the subtle colour changes.


Jean Cockburn also used this opportunity to make the quilt uniquely her own. I love how she repeated the modified hexagon fabric in the Step 4 border and the Step 5 border! The leaves are beautifully embellished with embroidery. If these fabrics were sitting on a table I never would have thought to combine them but they work together beautifully to produce an wonderful quilt. It is vibrant!


Just look at all the happy pansy faces appliqued in the border of Jean's second Soupcon. The green diamonds have appliqued circles in the centers and the blue pansy faces in hexagons really pull this quilt together in the most delightful way! I think this quilt would make a great medallion for a bed size quilt! I can just see it surrounded by hourglass blocks!


Heather who is The Happy Appliquer added little hexagon flowers all the way around in her border. Don't you just love all the little fussy cut hexagons? It is so fresh and delicate! Again she has repeated fabrics to lend a cohesive look to the quilt. There is so much attention to detail in each border but the center modified hexagon really is the star of this quilt!


Kat Lorien is making her hexagons for the border and they are ready to be appliqued. She had a bit of a hiccup making the quilt so she is going to see Step 6 before she adds the Step 5 border to her butterfly quilt. Notice how she used my foundation pieced English paper piecing method to make stars in the center of each border. So pretty! It is a little bit of effort that in my option really pays off in a big way.


Sheila aka Quilting Gammy posted this picture of her quilt. I love her corner treatment in the Step 5 border. It echoes the center circle. When I was designing the quilt I had in fact contemplated doing just so I'm pleased to see that Sheila also thought of it and actually did it! She also tried out the tiny foundation paper pieced EPP stars and they look terrific! The red points on the blue background really make the stars twinkle.


There are also a few new pictures of Soupcon quilts after Step 4 and they are gorgeous!

Jean Cockburn has three Soupcons completed up to Step 4. Jean uses colour boldly and confidently and I very much admire that talent. These three quilts are each so different and I can't wait to see how they look with the Step 5 border! What I do know is that they will be exciting!


Nancy aka n.mcnab167 posted this picture. The embroidery is fabulous - love the little embroidered berries and the pieced border is full of berry colours. The dark fabric background is very textural and it adds depth and drama!


tucum58quilts posted this picture. She has embellished her block with embroidery and  it is so whimsical. Check out the lovely little bees! Don't you love the watery background? The flower looks like it is floating in a pond!


Sophie aka pezze di fantasia posted pictures of two blocks she has made. I love the combination of coral, navy and aqua in the fist one. Her embroider design is an absolute delight. I hope she keeps going because she is off to a fabulous start with this one!


The second is equally beautiful. Rather than a modified hexagon she has tried out my foundation paper pieced English paper piecing technique and the star just pops off the coral background! That combined with the frosty blue background and the pale embroidery resulted in a block that is unique! I'm so glad she too has taken my ideas and done her own thing!


I'm busy writing up the final instructions for Step 6 of Soupcon and I'll have them posted early on Friday. In my spare time I am getting ready to quilt my Mom's Lazy Punk quilt. I'll share pictures with you soon!

Until I post again, happy sewing!
Karen H

Saturday, March 8, 2014

Hexagon Shamrock

Julia of The Hexie Blog  released her March block and it is as I suspected a shamrock! I had been sorting through my fabrics looking for blue with a hint of green in the print. I couldn't find what I wanted so instead I just went with an ombred blue print and used a shamrock print fabric for the centers of the hexagon flowers. I also wanted to use my foundation pieced English paper piecing (EPP) technique so I added a darker blue to surround the shamrocks. Here is my shamrock block which is made of 1" hexagons.


Notice how the points in the center form a four pointed star. I may fill in that space with an appliqued shamrock fussy cut from the fabric. This is a free block of the month and there's plenty of room for creativity so if you are interested pop on over to The Hexie Blog for a visit. You'll also be able to join the Yahoo group Julia has set up so you can see what others are doing. January was a snowflake and February was a heart. All of my blocks will be made in shades of blue with little pops of colour that reflect the theme of the month. I wonder what she has planned for April!

This is a close-up of one of the lobes of the shamrock and the foundation pieced EPP hexies.


This is the hexagon template I used to make the lobes. Only two pieces of fabric are needed to make this versatile hexagon. My light blue fabric is directional so I had to make sure that my hexagon was placed correctly on the stripes so I drew pencil lines on my hexagons so I was sure to line them up correctly.


I used this same template to make this star in my quilt Loopers in the Sky with Diamonds. It reminds me of a ninja star!


Until I post again, happy sewing!
Karen H

Friday, February 21, 2014

Messing around with hexagons

I'm busy sewing together the blocks for my Mom's Lazy Punk quilt and hopefully it will be a quilt top today. Fingers crossed.

In the meanwhile I thought it is time for more hexagon fun using my foundation pieced English paper piecing (EPP) technique. I've posted on this topic many times but if you are new to my blog I most recently wrote about this method on January 19 and January 20, 2014.

So today I'll show you a fast fun star and then I'll mix things up a little!

This is the basic shape for the individual hexagons. I drafted six of them plus a blank for the center. I am working with 1" hexagons and you will find a master template that you can use under my tab English Paper Piecing and Hexagon Fun.


This is the foundation pieced hexagon ready to be basted. Notice that the seam allowances are trimmed so that they just clear the corners. I like to have a generous seam allowance of roughly 3/8". It makes basting much easier. I just use my scissors to trim the hexagon.

I like to take an extra stitch at the top because there is extra fabric from the seams and this extra stitch will keep everything nice and flat.


When I get to the base I make sure that the sides are folded in an d then the base of the star point is folded down. This keeps the bulky seam allowances away from the corner making the piecing of the basted hexagons very easy.

Six hexies are basted and the star points facing out.


They can also be turned so that the points are facing in. Play around with them and have fun!


All six hexagons need not be the same. What if you took these two hexagons and combined three of each to make a star?


You might come up with something likes these interesting arrangements!


I'm linking up with A Quilting Reader's Garden for hexie Friday where you'll be able to find some hexie inspiration! Check back regularly as others add links to their blogs and projects.

While you are out and about don't forget to visit Jan's Sew and Sow Farm. Today is day 4 of her giveaway and the prize today is honeycomb papers (elongated hexagons) and a honeycomb template. You can get up to five chances to win. Just go here to read more and enter!

Until I post again, happy sewing!

Sunday, February 16, 2014

Tutorial: Twinkle, twinkle little star!

I thought today I would demonstrate how I made a little star using my technique for foundation pieced English paper pieced hexagons. I worked with 1/2" hexagons! You can find a master template for the hexagons here.

The first step is to draft the star points. I make marks at the top and bottom edge of a pair of hexagons. These marks will be the width of the base of the star point. You can make the base of the star points as wide or narrow as you want however I would not make it as wide as the hexagon itself because there is just too much seam allowance for a little piece. It is much easier to baste with a narrower base.


 I connect the marks on the diagonal.

I repeat on the other diagonal.

I make two more pairs and then cut them out.

If you are new here my foundation piecing method is explained in my January 19, 2014 post. It is really important to shorten your stitch length! The basting is explained in my January 20, 2014 post.

Here you see a foundation pieced star point on the hexagon. When trimming the excess be sure to leave at least 1/4" seam allowance but 3/8" is even better. I just trim with my scissors. If the seam allowance is too large when I come to baste it I can trim a little bit.

 Here you can see a basted hexagon from the front and the back. The paper is still in place. Notice how the fabric is folded and basted at the base of the star point. Normally the folds would all be in the same direction but in this instance the fold in the lower right corner has changed direction. It makes for a sharp corner.


The basted hexagons are arranged and ready to be stitched together.


Once basted they can be stitched together and a center is added. I'll do a little video in the near future to show you how I set in the center hexagon.

The little star is complete and it measures a dainty 2 1/2" square.


 I used one of these stars to make my miniature quilt Bony Fingers.


I plan to use the star I made in this tutorial as an embellishment on another quilt so it will be appliqued in place. I gave the star a good press with a hot iron and spray starch. I pressed the front and the back. The basting threads were removed and then the paper was removed. To remove the papers I gently opened the seam allowances that were basted under.


I remove the papers from the sides of the star point. My stitch length was shorted so the paper comes out effortlessly.


The last step is to remove  the paper that was the star point from the center. I neatly folded the seam allowances back into place.


And here you see the finished star ready to be appliqued to my quilt!


While this small star looks difficult it is actually quite easy. Just take your time and have fun! If it doesn't turn out it doesn't take much fabric so it isn't a huge loss! If you do make a little star I would love to hear how you made out!

And speaking of stars, Nellie of Nellie's Needles has finished Step 4 of her Soupcon QAL quilt. She wrote "It was a surprise to see how the set in squares border glowed when it was all constructed. I didn't see that effect until it was all sewn together. I'm in love with this piece". She took the words right out of my mouth! That is the very reason I love this border....it really does glow! Nellie's use of the striped fabric just adds a soupcon of excitement! Nellie is working on a second quilt using the basics of my Soupcon QAL pattern and she is creating something really wonderful. You can see it and read about it here.


That's it for today! Until I post again happy sewing!
Karen H