Sunday, February 2, 2014
Cutting strips and patches quickly
The GROW YOUR BLOG party continues until February 15th and to celebrate I am having a draw for a hardcover needle book. To enter go here and leave a comment telling me whether you would prefer the teal or the pink leave needle book. I reply to every entry so if you don't hear back from me it is because you are a no-reply blogger so be sure to include your email address in your comment. Also if you click on the picture above you'll be taken to a list of 600 participating blogs. There's lots to see and read and many bloggers have give-aways!
My friend is making a quilt and she needs to cut loads of 5" squares. I suggested that she cut 5" strips of fabric across the width of the fabric and then from those strips cut the 5" squares. She asked me how I cut my strips and I demonstrated so I thought that might be fun to share with others.
I'm working on a surprise project (maybe the next QAL) and I'm going to need a big pile of patches that measure 2 1/2" x 2 1/4" so that means cutting lots of strips across the width of my fabric. So today I will show you how I cut a big pile of patches quickly and accurately.
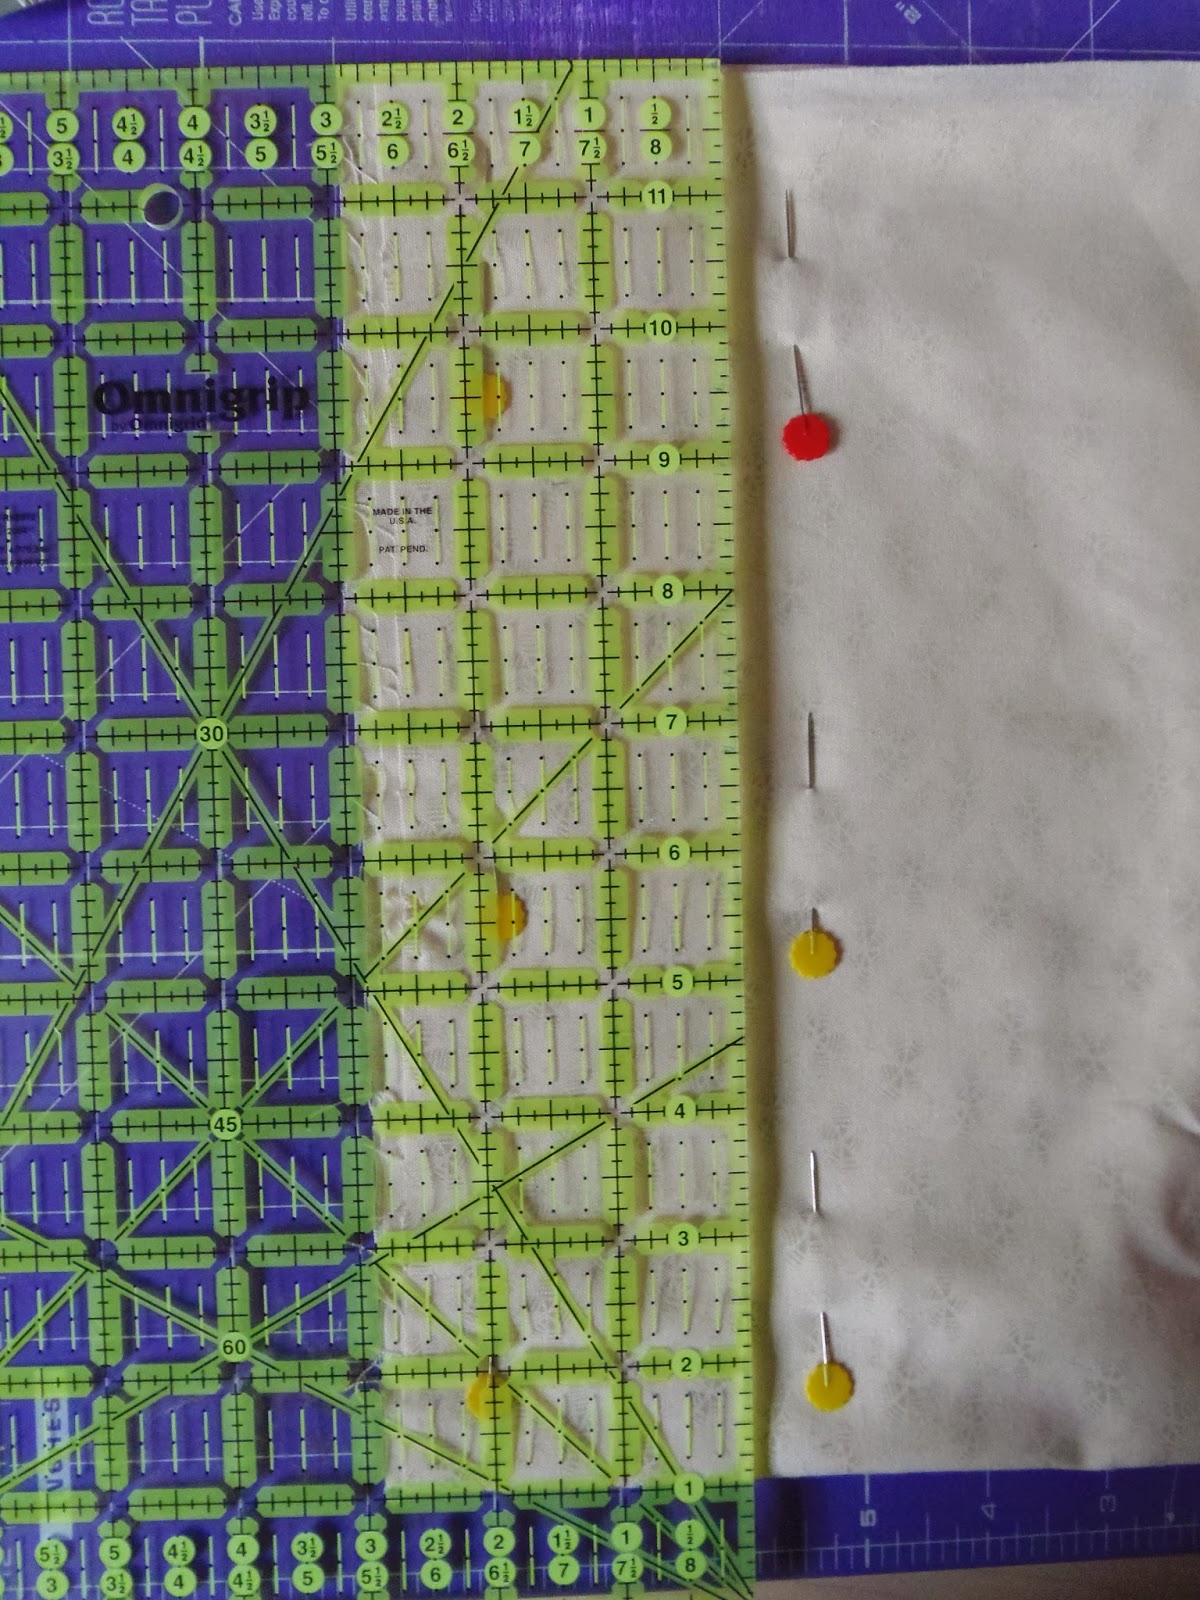
I need 2 1/2" strips so the first step is to fold my fabric in four making sure to line up the selvages. When everything was smooth, even and flat I pinned with flower head pins parallel to the raw edges. I place a second set of pins parallel to the first set at roughly 3" from the first set of pins. The raw edges aren't even so I'll trim them up after I cut my first strip.
I line up my ruler so that the 2 1/2" mark is well to the right of the innermost raw edge; you can see that my ruler is almost at the 3" mark because the raw edges aren't even.
I cut my fabric strip.
I turn the strip and trim the raw edges so that the strip measures 2 1/2".
I remove the pins from the strip I and place them roughly 3" over from the raw edge of my folded fabric.
I cut a 2 1/2" strip. I'll remove the pins from the strip and place them 3" over from the raw edge and continue cutting and pinning in this manner until I have the require number of strips.
I know that I am going to need more strips than I cut but if I don't feel like cutting them right now so I'll leave the pins in the fabric. When I am ready to cut the next strips everything is lined up pinned and ready to go. If I think it might be some time before I get to cutting those strips again and I'm worried about the pins scarring the fabric I will quickly baste the raw edge with some of the thread from my big cone of basting thread!
From my strips I am going to cut 2 1/4" patches. To speed this up I take two strips and each one is folded in half (as it was on the bolt).
I layer the two strips line up the selvage edges and the raw edges and pin all the way across about every 3" making sure to line up the raw edges as I go. I'll be cutting through four layers at once.
I cut my first piece a little larger because I want to trim the selvages.
I turn the first set and trim it to 2 1/4". The pin now holds together four patches that each measure 2 1/2" x 2 1/4".
From this point on I just continue cutting 2 1/4" pieces from my strips.
When I get to the fold there isn't enough fabric to cut 2 1/4" so I'll remove the pin, press the two pieces of fabric and from them I'll cut two 2 1/4" patches. In under two minutes I've cut 38 patches!
I'm hope that you'll find this little demo helpful the next time you need to cut a big pile of background fabrics! So until I post again, happy rotary cutting!
Karen H
Labels:
cutting strips
Subscribe to:
Post Comments (Atom)


Great tip Karen. I need some of those pins. Never seem to have found them. Maybe because I have zillions of the other kinds. Lol
ReplyDeleteBunny
Yes me too, hadn't realised that you could lay the ruler over them to cut..........thanks for the explanation and pics : )
ReplyDeleteHa ha, I do the same as you, with a double row of pins.
ReplyDeletethis is a huge help for me thanks Karen. right now I am sitting on the couch and cutting each of the 2 1/2" strips into little squares for the hexies-this will help alot with the two paths-have it bookmarked and pinned to my board too
ReplyDelete