Monday, September 30, 2013

Getting it together - the Lazy Punk reveal

I spent the day cutting the sashing and cornerstones and then sewing them to the blocks. I am pleased to tell you the blocks are now a quilt top! It will finish at 71" square.
 
The skeleton toile is in the setting triangles and it is the perfect finish for the quilt. I am so pleased with how it turned out! I've got some lovely fabric for the backing. It is a cotton linen blend and is very neutral which is perfect for the recipient of this quilt.


I know that the quilt will be going in the washing machine and dryer so I'm going to wash a chunk of this fabric in hot water and then throw it in the dryer to see how it fares. If there is any shrinkage the backing will have to be washed and pressed before I use it. I sure hope not as it has nice body and I would hate to loose that in the wash. I got the fabric on the clearance shelf at Fabricland for $3/metre! What a great deal it was!

When making Lazy Punk there was a slight miscalculation! I had it in my mind that I needed 42 blocks but in fact I needed 41 so there was one leftover. Look at this poor lonely block! I hate to just toss in in the orphan block pile but what's a quilter to do? I am seriously considering making another 40 blocks to keep this one company. All those in favour raise your hands! Honestly, the cutting and glue basting was so quick and painless and the hand appliquéing is a great project for when I am out and about.


The weather has cooled off and the orange salvia like me is very happy about this change!


Until I post again, happy sewing!

Saturday, September 28, 2013

Setting Triangles for Lazy Punk and the Secret Tote Bag

I'm still hand stitching the half blocks but can get on with sewing the finished blocks into strips. So now it is on to the sashing, cornerstones and setting triangles for Lazy Punk. Unlike the original Steam Punk quilt  I've decided to use cornerstones that are a slightly different colour from the sashing. The setting triangles will be cut from the Alexander Henry skeleton fabric (the recipient of the quilt mentioned that she liked the fabric when she saw it in an earlier post and she wants it in the quilt). The print on the far right will be used for the cornerstones and the solid dishwater white fabric behind is the sashing fabric.


Here are the blocks on the design wall; I've already starting attaching the sashing.


 The setting triangles that will fill in the sides and corners of the quilt are cut from squares that are larger than the finished quilt block. For the side setting triangles each square will yield four side setting triangles because the square is cut on the diagonal twice. The squares that are cut for the corner setting triangles will yield two corners.

There are two simple formulae for cutting setting triangles. The formula for side setting triangles is:
 
Finished size of block x 1.41, round up to the nearest 1/8" and add 1 1/4"
 

The formula for corner setting triangles is:
 
Finished size of block x 1.41 / 2 and add 1/8", then round up to the nearest 1/8"


This means I will need 14" squares for the side setting triangles and 9" squares for the corner triangles.

I used to struggle with this formula because it is based on decimal whereas quilt measurements are fractions. So what is an eighth of an inch when expressed as a decimal? The following list provides the measurements in 1/8"s and multiples thereof expressed as a decimal!

1/8" = 0.125
1/4" = 0.250
3/8" = 0.375
1/2" = 0.50
5/8" = 0.625
3/4" = 0.750
7/8" = 0.875
 
 
I keep a little chart pinned to my bulletin board. I include the 1/8" measurements along with a list of finished block sizes and the size of squares required for side & corner setting triangles.


I've finished the bag for my secret tote bag swap partner. Here are a few quick pictures of the finished bag.

Back of the bag with zippered pockets and beaded zipper pulls

Front of the bag
 
Side panel with appliquéd grasshopper and butterfly &
side pocket with appliquéd butterfly

Close-up of grasshopper
 
Other side with appliquéd butterflies on panel and pocket
 
 Inside the bag
 
I sure hope my partner likes her bag. She has left some comments on the Flickr page for this swap that would lead be to believe that she will be happy!

Until I post again, happy sewing!

Friday, September 27, 2013

Lazy Punk half blocks for setting triangles and a roll-up sewing kit

The last of the Lazy Punk blocks are now appliquéd.


I now need some pieces cut out for half blocks that will fit in the setting triangles. I could make whole blocks and cut them in half but that is such a waste.  I have a plan for making the partial wedges and arcs. For each setting triangle I will need one wedge and arc (the one in the centre) made in the same way that they were made for the whole blocks and I can use my existing templates to make that unit. The wedges and arcs along the top edge will be half the size so I'll make new templates for them.


My plan is to create one wedge template and one arc template that will be used to cut the fabrics. The pieces of fabric will then be cut in half to create the partial units on the top edge in the picture above. I start with the wedge template with seam allowances. I mark the centre at the top and bottom edge.


On a piece of cardboard I trace around the left side of the template starting at the arrow at the top and ending at the arrow at the bottom.


I draw a line to connect the top and bottom.


I make a registration marks at the top and bottom that are about 3/8" beyond the line. I make another set of registration marks that are another 3/8" over and then I draw a line to connect the registration marks. I do this because I will need two seam allowances in the centre. As I explained in the past the seam allowances can be generous.

 
I place the template on the cardboard lining up the arrows with the registration marks an I trace around the right side of the template.

This is what it will look like. I can now cut it out, label it and it is ready to use!


I will also need an arc template without seam allowances so I place the arc I had previously made on my cardboard. I find the centre of that template and trace around it from the centre, around the left side and along the bottom to the centre mark. I make little registration marks at the centre points.


To add the centre seam allowances to my arc I use the wedge template that I just made and line up the registration marks.


I place my arc on the cardboard lining up the middle with the registration mark on the right and draw the rest of the arc on the right side. The template can be cut out and labelled.

These are the templates I will use to cut my fabric. I'll cut on piece of fabric with each template for each block.

These are the fabrics cut out. To make the arcs it is important to trace around the template on the right side of the fabric and then when cutting add the seam allowances. For detailed instructions refer to this post


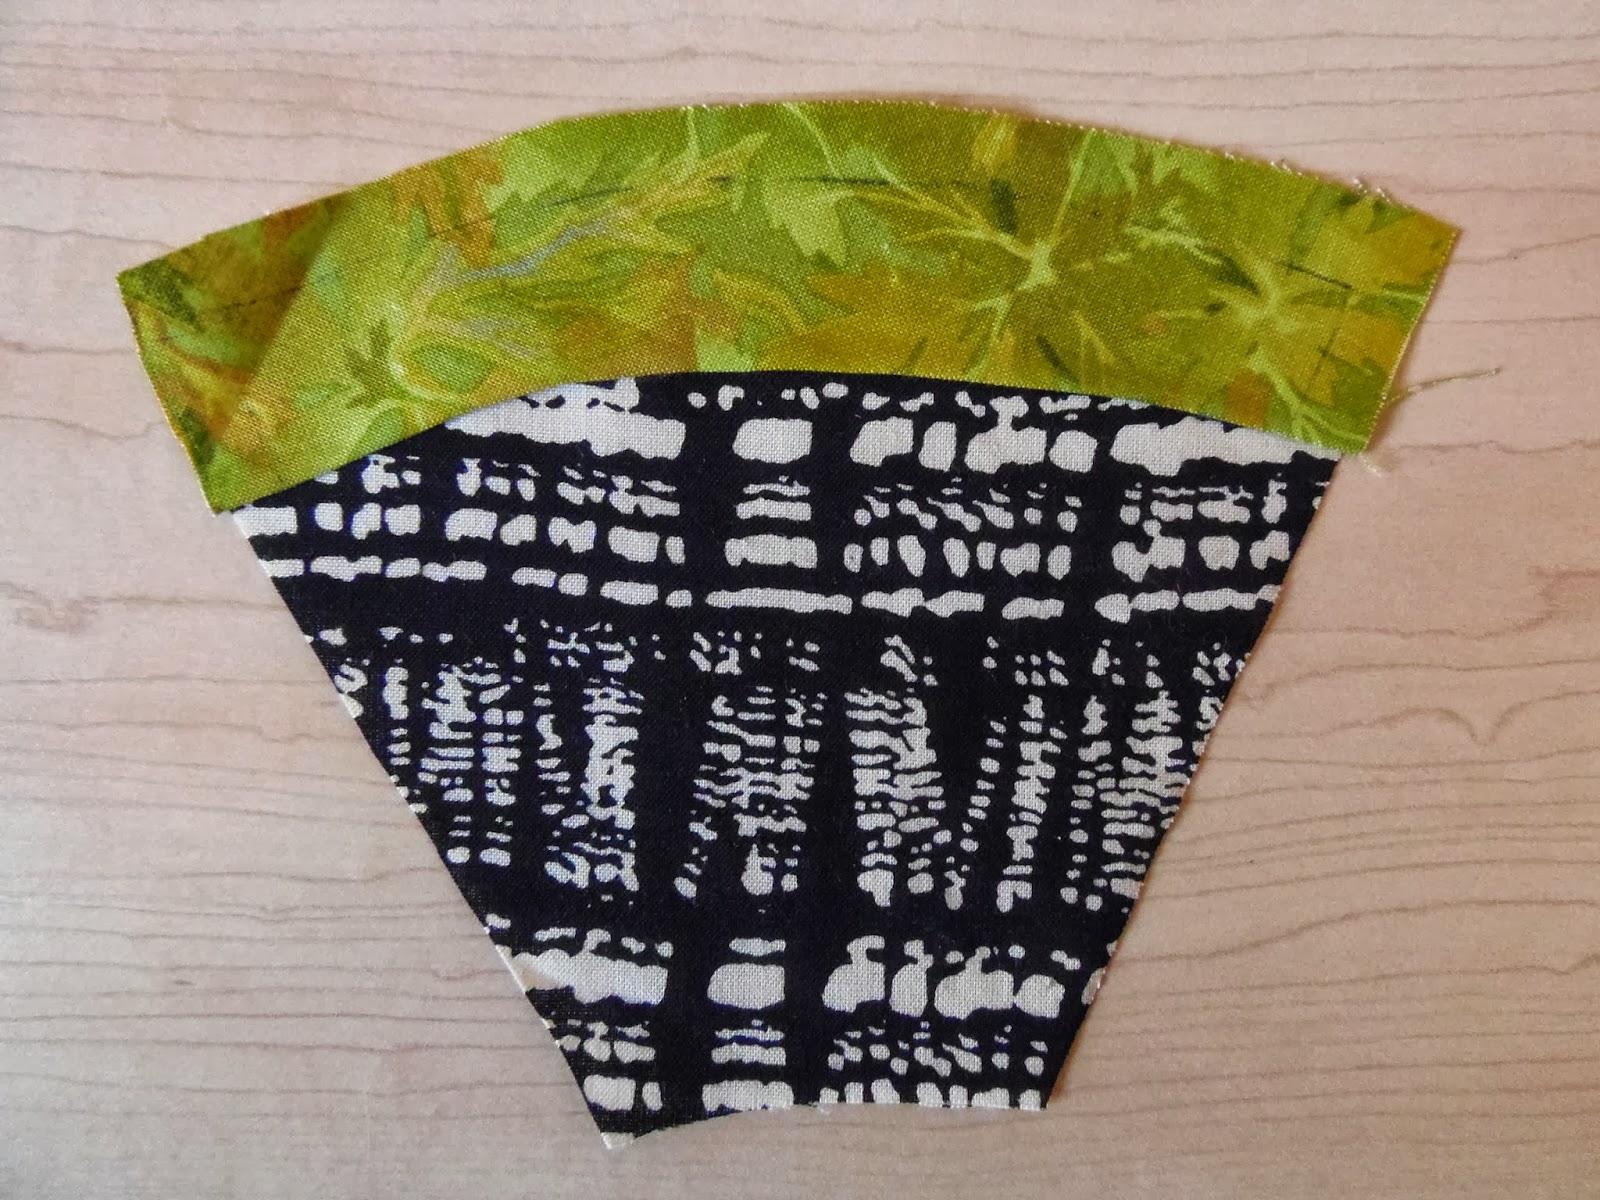
Let's make the large wedges and arcs that will be cut in half. I clip the inner curve on the arc. I apply a little glue with my glue stick and fold the seam allowance to the wrong side.

I apply a little glue to the top edge of the wedge and glue the arc to the wedge.


I continue to glue baste the top edge of the arc and then the sides. A press with a hot dry iron will dry the glue.


I can now cut the large wedge in half.

The last step to prepare these pieces is to applique the arc to the wedges.


Tomorrow I'll cut the setting triangles and glue baste the wedges so that they are ready for hand or machine applique. Not much longer and the quilt top will be done!

I am almost finished my tote bag for the secret tote bag swap. I thought I would make a little roll-up sewing kit for my partner. I used the scraps of lining fabric and osnaburg to make this little case. I cut out one of the motifs in the lining and appliquéd it to the osnabug. I then quilted the outside edge.


There are little pockets on the inside and a pincushion complete with its own little pocket. The whole thing sewed up very quickly and it was fun to make!


Until I post again, happy sewing!

Thursday, September 26, 2013

Orange Crush and Duck a L'Orange

Well I was absolutely shocked to learn that Orange Crush came in second in Quilting Gallery's Show and Tell. It was entirely unexpected. I entered the quilt simply because I wanted to share the quilt and my pattern with others (it is available free of charge on my blog under Patterns by Karen H). I really didn't think it would win. To those who voted for quilts, not just mine, thank you for taking the time to do so!


That being said, before I received the notice from Quilting Gallery I had already entered a quilt in this week's Show and Tell.  You can't win more than once a month so please don't vote for me but do vote for others. I'll post a link once the voting is open on Friday. The theme is flying geese quilts and my entry is another challenge quilt that I made in 2001. It is called Duck a L'Orange.


There were three fabrics and I was permitted to add five more fabrics. The first challenge fabric was a blue gold reedy fabric that was used to make the sun's rays. The second fabric was a mottled gold print that I used to make the eight half suns around the outside edge and the third and worst fabric was orange flying geese on a blue background! To say I struggled with that fabric is an understatement. I added four fabrics: the gold with gold metallic stripes in the corners, teal blue, pale blue and I fussy cut little rust circles from the fourth print. I beaded, used paints and embroidered with variegated floss and metallic threads. I drafted a circle of flying geese to surround the geese/ducks in the centre. I also drafted the New York beauty border.


Here you can see a close up of the beading, painting (slightly tinted the corners of the pale blue), embroidery and quilting.


Here you can see that I used teal paint to soften the corners on the gold with metallic gold strips. And I beaded all around the outside edge.


Fabric challenges are a great way to learn. I like them because they force me to use fabrics that are not my taste (which this makes it easier to chop them up) and I don't feel bad about experimenting with them. It is through this experimentation that I learn and grow.  If you have a chance to participate in a challenge I encourage you to do so!

I simply must finish the tote bag for the swap I've joined at Lia's Handmades.

Until I post again, happy sewing!

Wednesday, September 25, 2013

Tutorial: Draft your own diamonds, hexagons and triangles for English paper piecing

I like to draft my own master templates of diamonds, equilateral triangles and hexagons. A hexagon is made up of three diamonds and half a diamond makes an equilateral triangle. So if you can draft a sheet of diamonds all of the other shapes are at your disposal.

Why bother drafting master templates when there are free templates available? I find that they often have space between each shape so that means more cutting and wasted paper. I want my diamonds, triangles and hexagons butted up one next to the other because it makes the cutting faster and there is less scrap paper left over. Another reason is that I might want to customize the size of the diamond, hexagon or triangle.

Once I've created a master template I name the template and write it at the top in coloured ink. That way I know it is a master template and all copies are made from the master. The name of the master template could be the project, the size of the diamond or the date. I do whatever works best for me at that moment. I put each of my master templates in a sheet protector and then store them in a binder of hexagon templates and projects. When I need papers for English paper piecing I just pull out the master and make copies!

To draft your own templates you will need the following:
  • graph paper,
  • mechanical pencil (you need something that will make a thin, sharp line and
  • ruler with a 60 degree angle.
To start you will draw a horizontal line on the graph paper.


Decide on the distance "height" of the diamond. This is the distance between two parallel lines. I am using a height of 1 1/2". Draw a line at the 1 1/2" mark. I would now draw all of the horizontal lines however for demonstration purposes I'll work with two.
 
Line up the 60 degree mark on your ruler on a horizontal line on the graph paper. You can use any horizontal line on the graph paper.


Draw a diagonal line.


Line up the 1 1/2" mark on the ruler on the 60 degree line that was just drawn. Draw a line. Move the ruler over 1 1/2" and draw another line. Repeat this process until the sheet is full of the 60 degree lines.

And there you have it - a sheet of diamonds!

This sheet of diamonds can be used to create hexagons and equilateral triangles. You can combine all of these shapes to create a motif and they will fit together like a charm! I used this method to make Mom's Flower Bed.


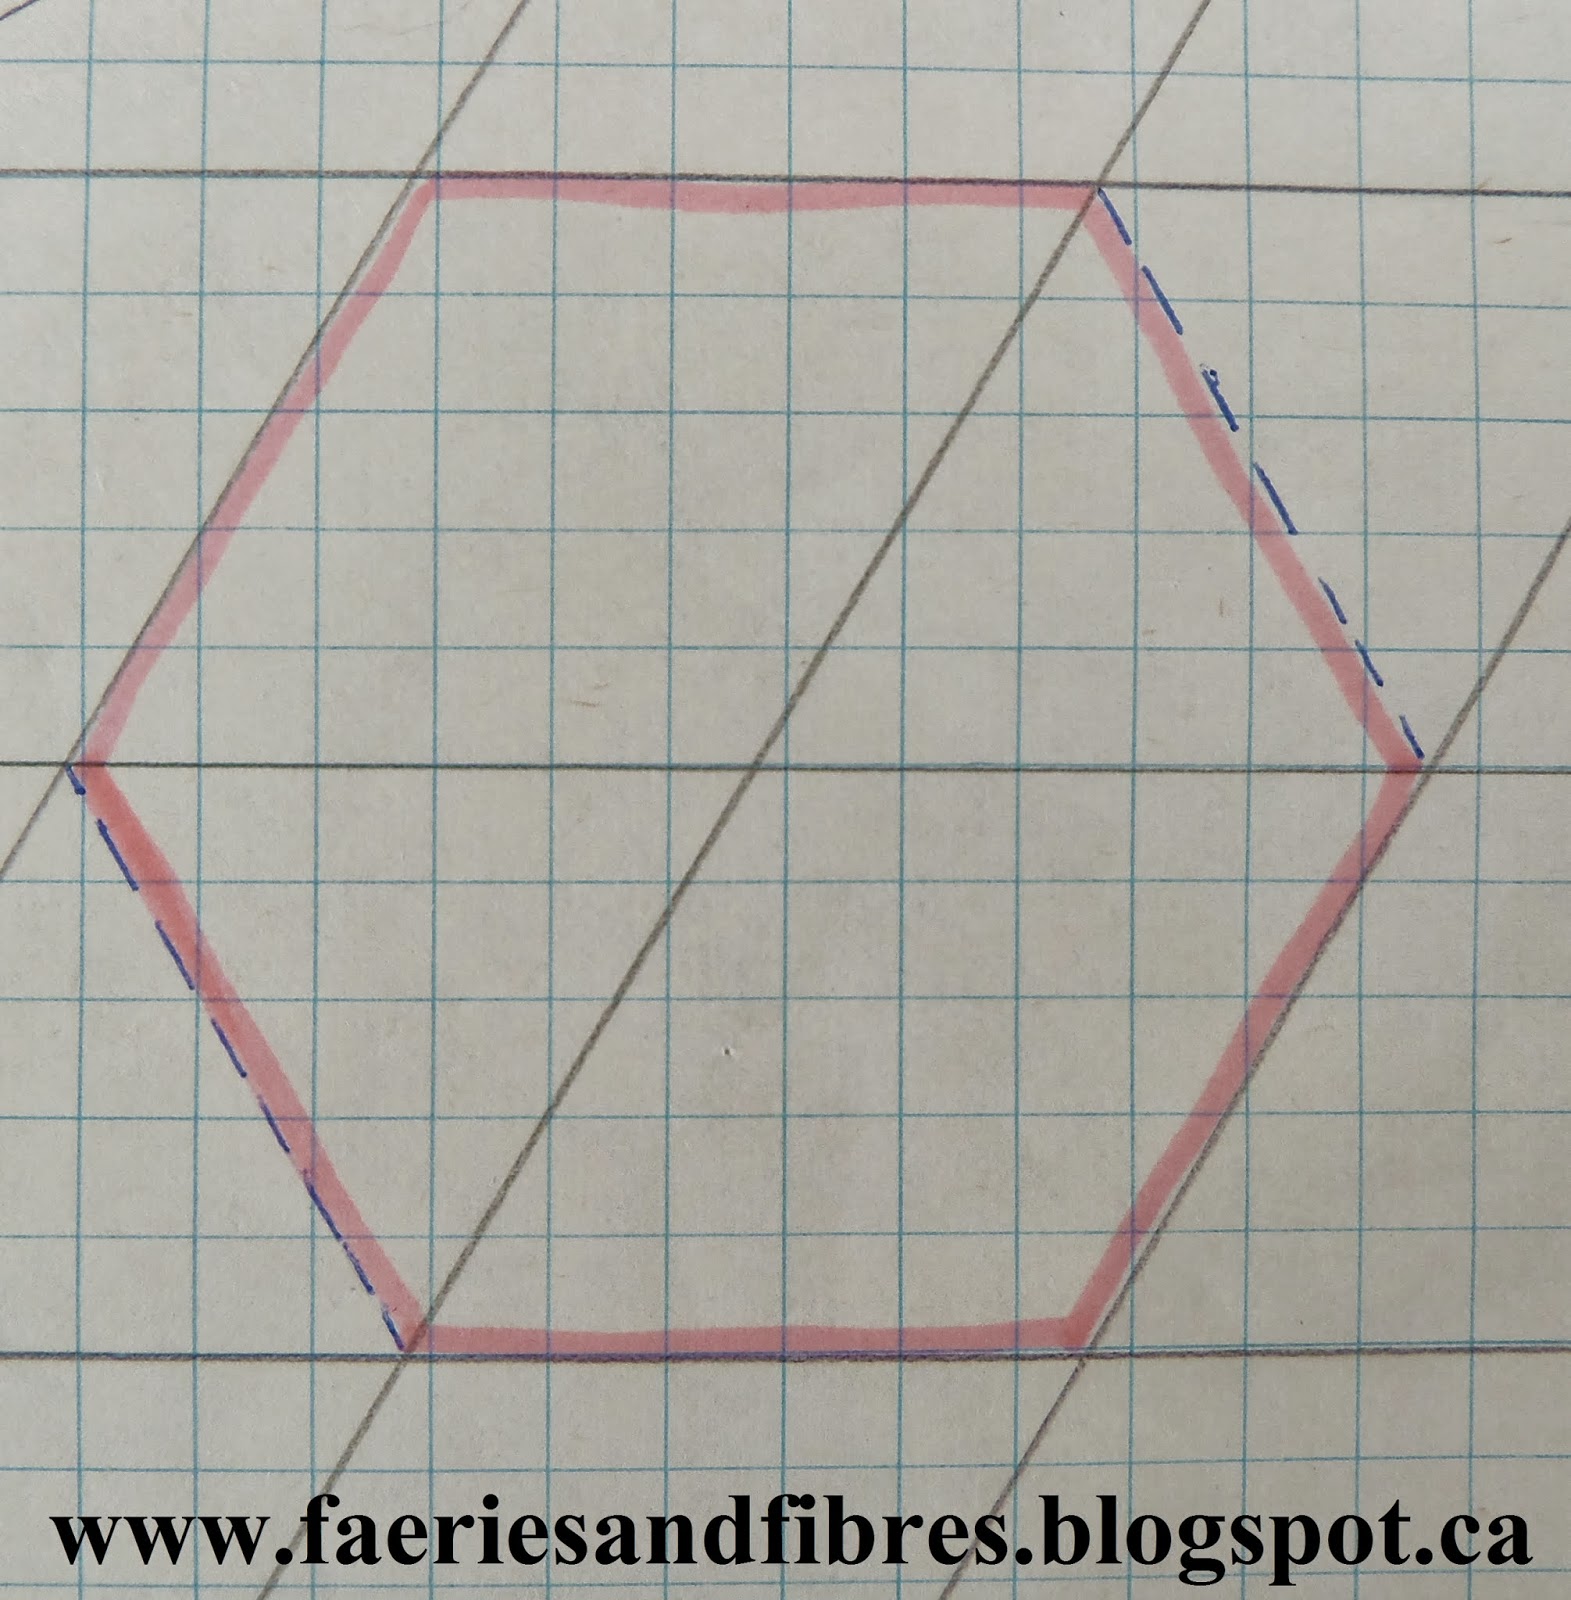
To create a hexagon you will have to dissect two of the diamonds. The pink lines show how to draw the hexagon.


Notice how the dissected diamond now creates an equilateral triangle.


To create an entire sheet of hexagons I would draft the diamonds and then dissect the diamonds to create the hexagons and then erase all unnecessary lines. Alternatively you can dissect the diamonds using a different colour of pencil/pen.


Before I go I thought I would share the next five Lazy Punk blocks.


Until I post again, happy sewing!