If you got here by way of
2 Bags Full's Grow Your Blog Party welcome and it isn't too late to enter my draw for a chance to win one of my hardcover needle books. You can see them
here and enter by leaving a comment telling me if you would prefer the teal or the pink needle book should you win! There are more than 500 blogs to explore and some wonderful prizes to be won!
UPDATE: Have you visited The Needle and Thread Network? Why not check out WIP Wendnesday
here. There's lots of inspiration to be found!
Okay it is time for another tutorial so let's continue to have some hexagon fun using my foundation pieced English paper piecing technique! So far I've showed you how to make this block
which is a variation of this block. There was a tutorial posted on
January 19.
Before I get stared I want to share a
HELPFUL TIP about foundation piecing. Sometimes it helps if you think about the paper hexagon with the lines on it as the
wrong side of your fabric. The blank side of the paper hexagon would be the right side of your fabric. Have you ever cut patches, marked the sewing lines on the wrong side and then sewn your patches together? Well instead of drawing our lines on the fabric we are drawing them on the paper which will be attached to the wrong side of the fabric!
Today I'll make yet another variation of my star block! You will need a sheet of 1" hexagons which you can find
here. Start by drawing your sewing lines to form the start points on the hexagons; you can find the directions in my
January 19, 2014 post. You'll need six star points and one hexagon for the center.
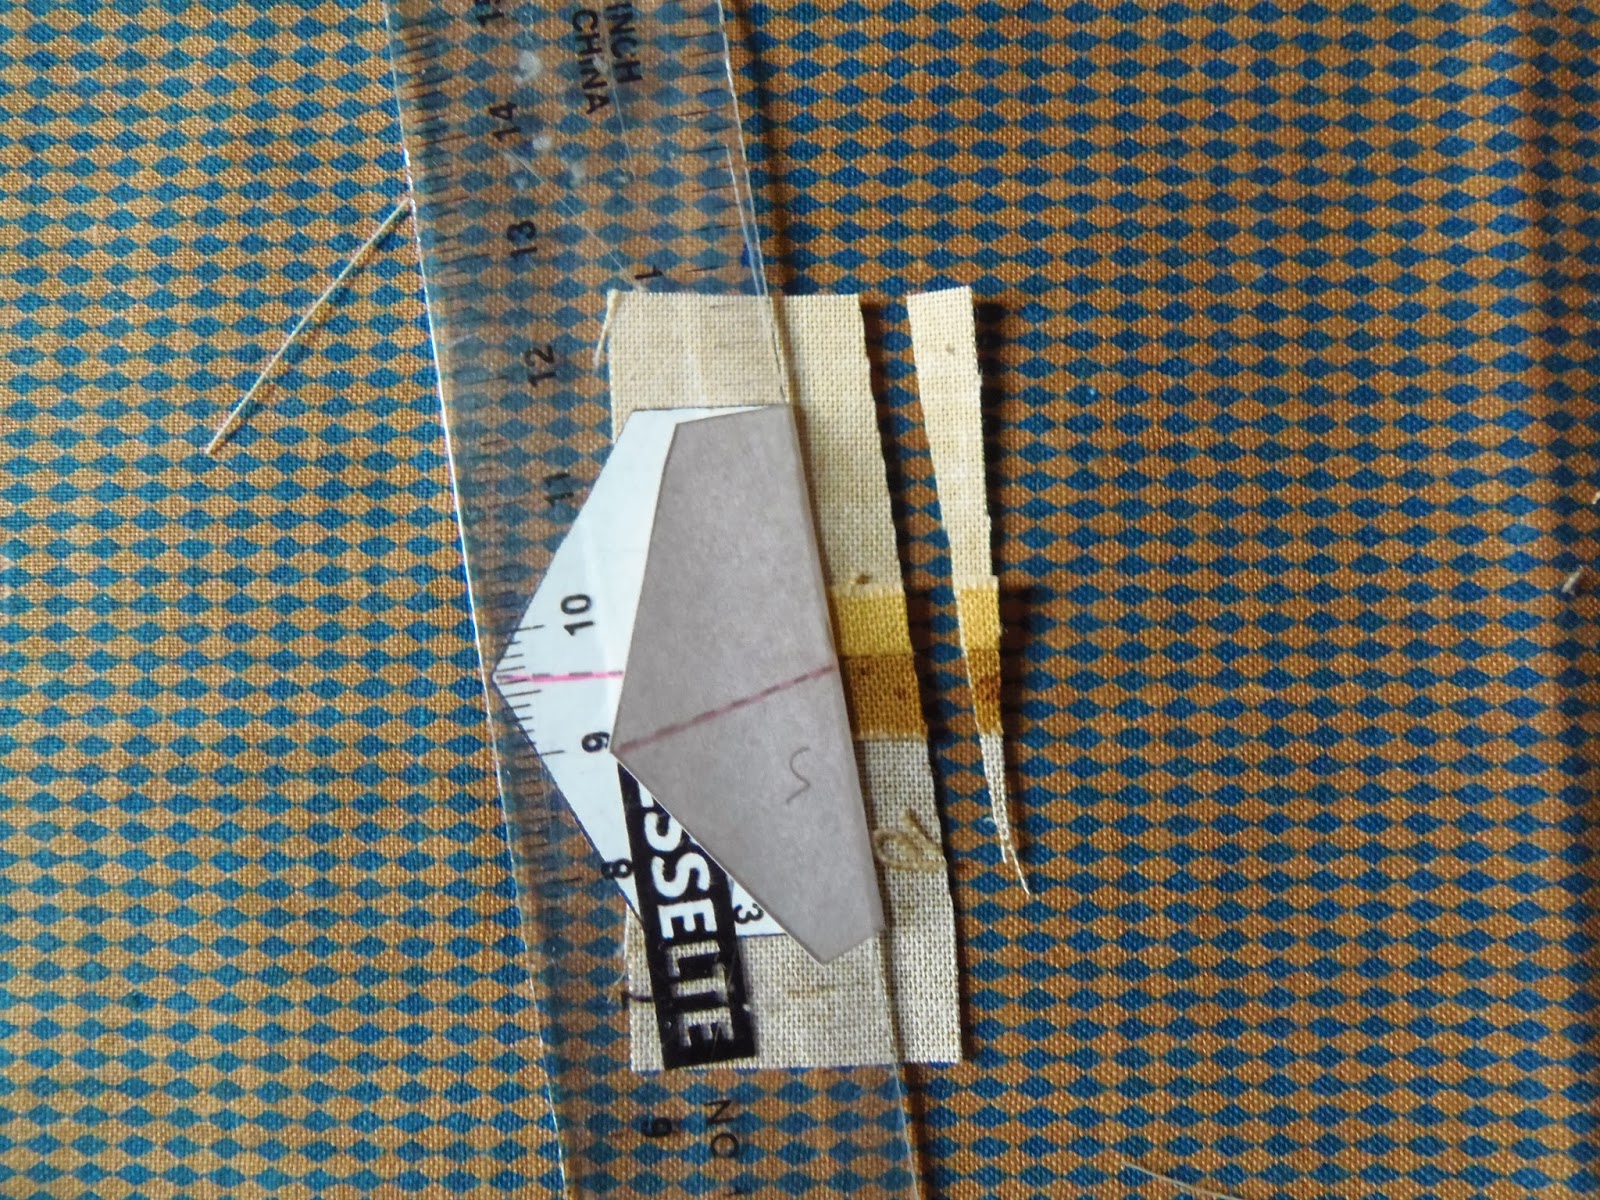
You will now draw a horizontal line through the middle of each of the six hexagons. The pink line across the middle of the star point is the dividing line for the colours in the star point and the pink dashed lines on either side are registration marks that are used to line up the fabric. The numbers 1, 2 and 3 refer to the pieces and the order of placement.
To start you will need two strips of fabric for the star point. The should measure 1 1/2" x 6 1/4". Sew them together along the long edge an press the seam open. Cut six 1" slices. These pieces will be #1.
HELPFUL TIP: If you haven't tried my foundation pieced English paper piecing technique and you might want to cut your patches just a little large, say by 1/4". This extra little bit will give you some wiggle room.
You are going to want to line up the seam line with the pink dashed line on your hexagon template. For me the easiest way to do this is to draw a line on the other side of the hexagon template (the second hexagon in the picture below). Apply a dab of glue stick on the side of the hexagon
without the sewing lines and be sure that the glue is in the area of the star triangle. Place the
wrong side of your slice on the hexagon making sure to line up the seam line with the pencil line.
HELPFUL TIP: Make sure that the fabrics are in the same position on each hexagon. I chose to have the darker fabric at the base an the lighter fabric at the point.
Another method would be to use a light box (a window will do) to line up the seam line with your line.
Line up a thin ruler or piece of cardboard on the line between #1 and #2, fold the paper back and trim the fabric leaving somewhere between 1/8" and 1/4".
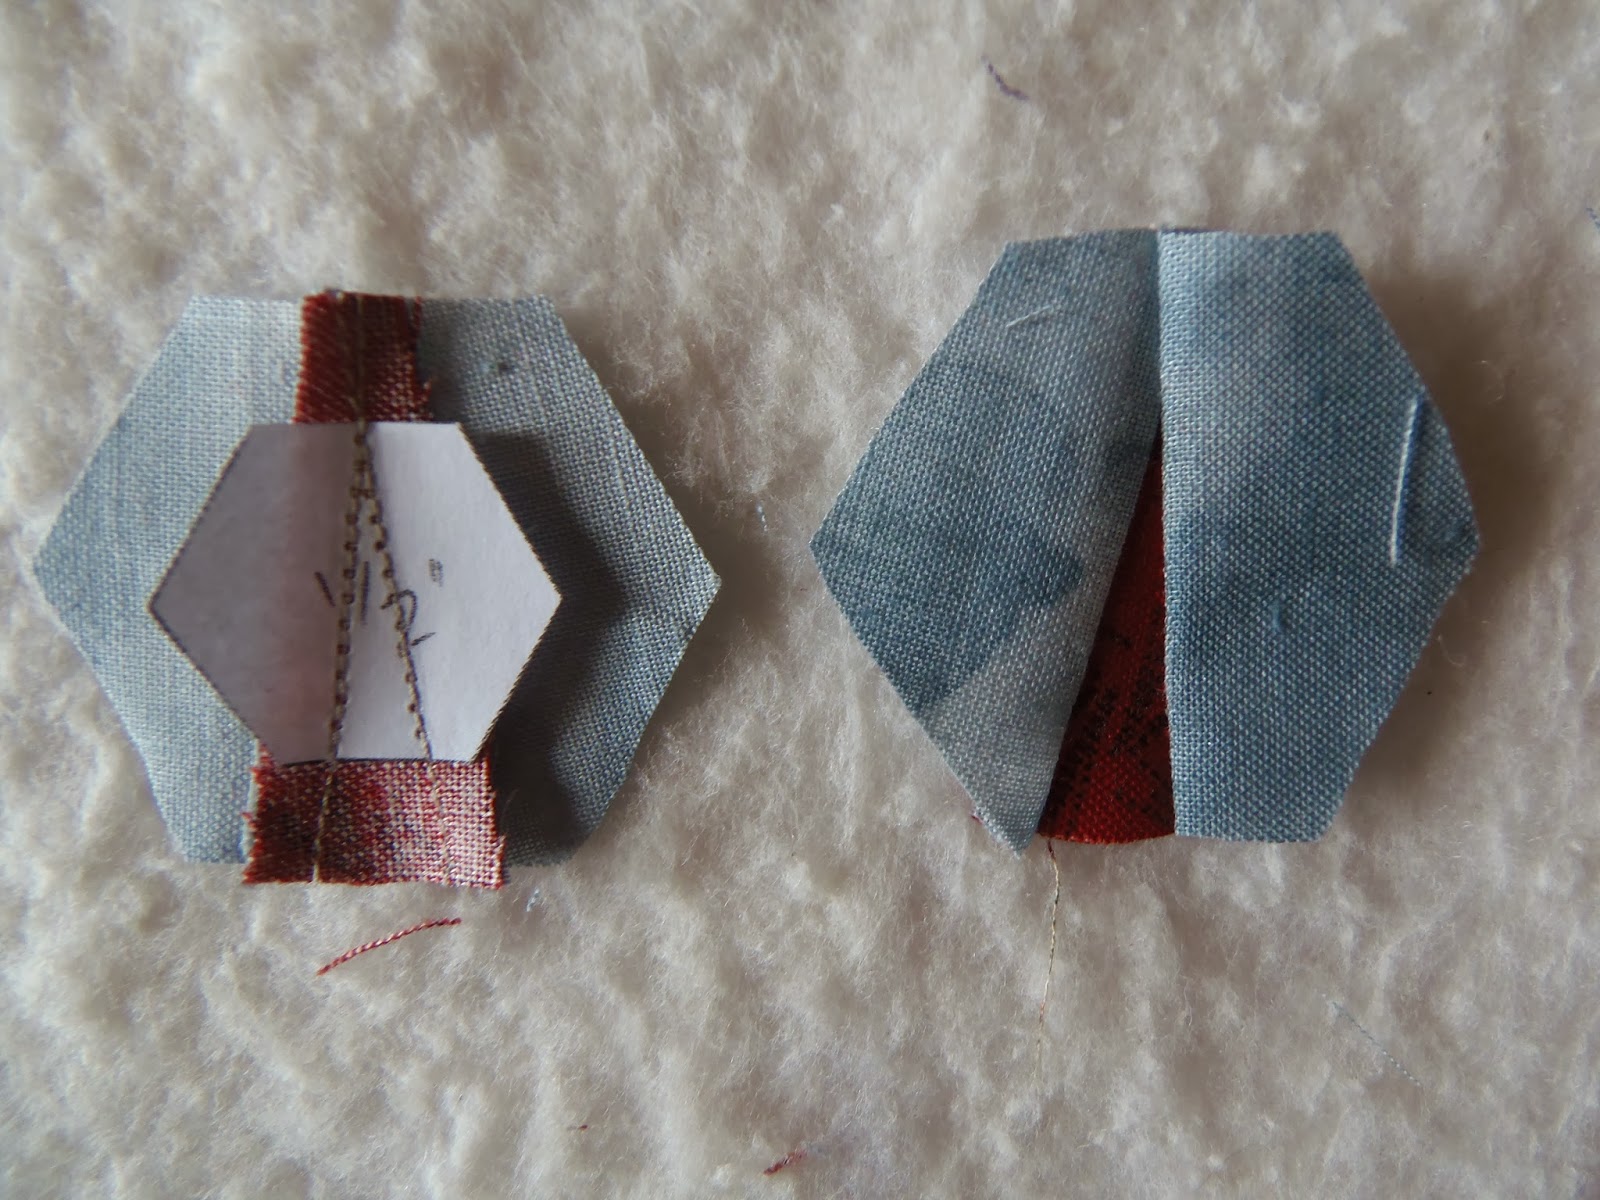
Cut twelve pieces of fabric that measure 1 1/2" x 2 1/2". These will be your background pieces #2 and #3. Take one background piece and place it right side together with the star point. Shorten your stitch length and sew the background along the sewing line between #1 and #2, fold back the paper and trim the seam allowance down if necessary. I like to make sure that it is just inside the corner so that there is no bulk at the corner when I baste the fabric to the paper. For more detailed instructions refer to my post on
January 19.
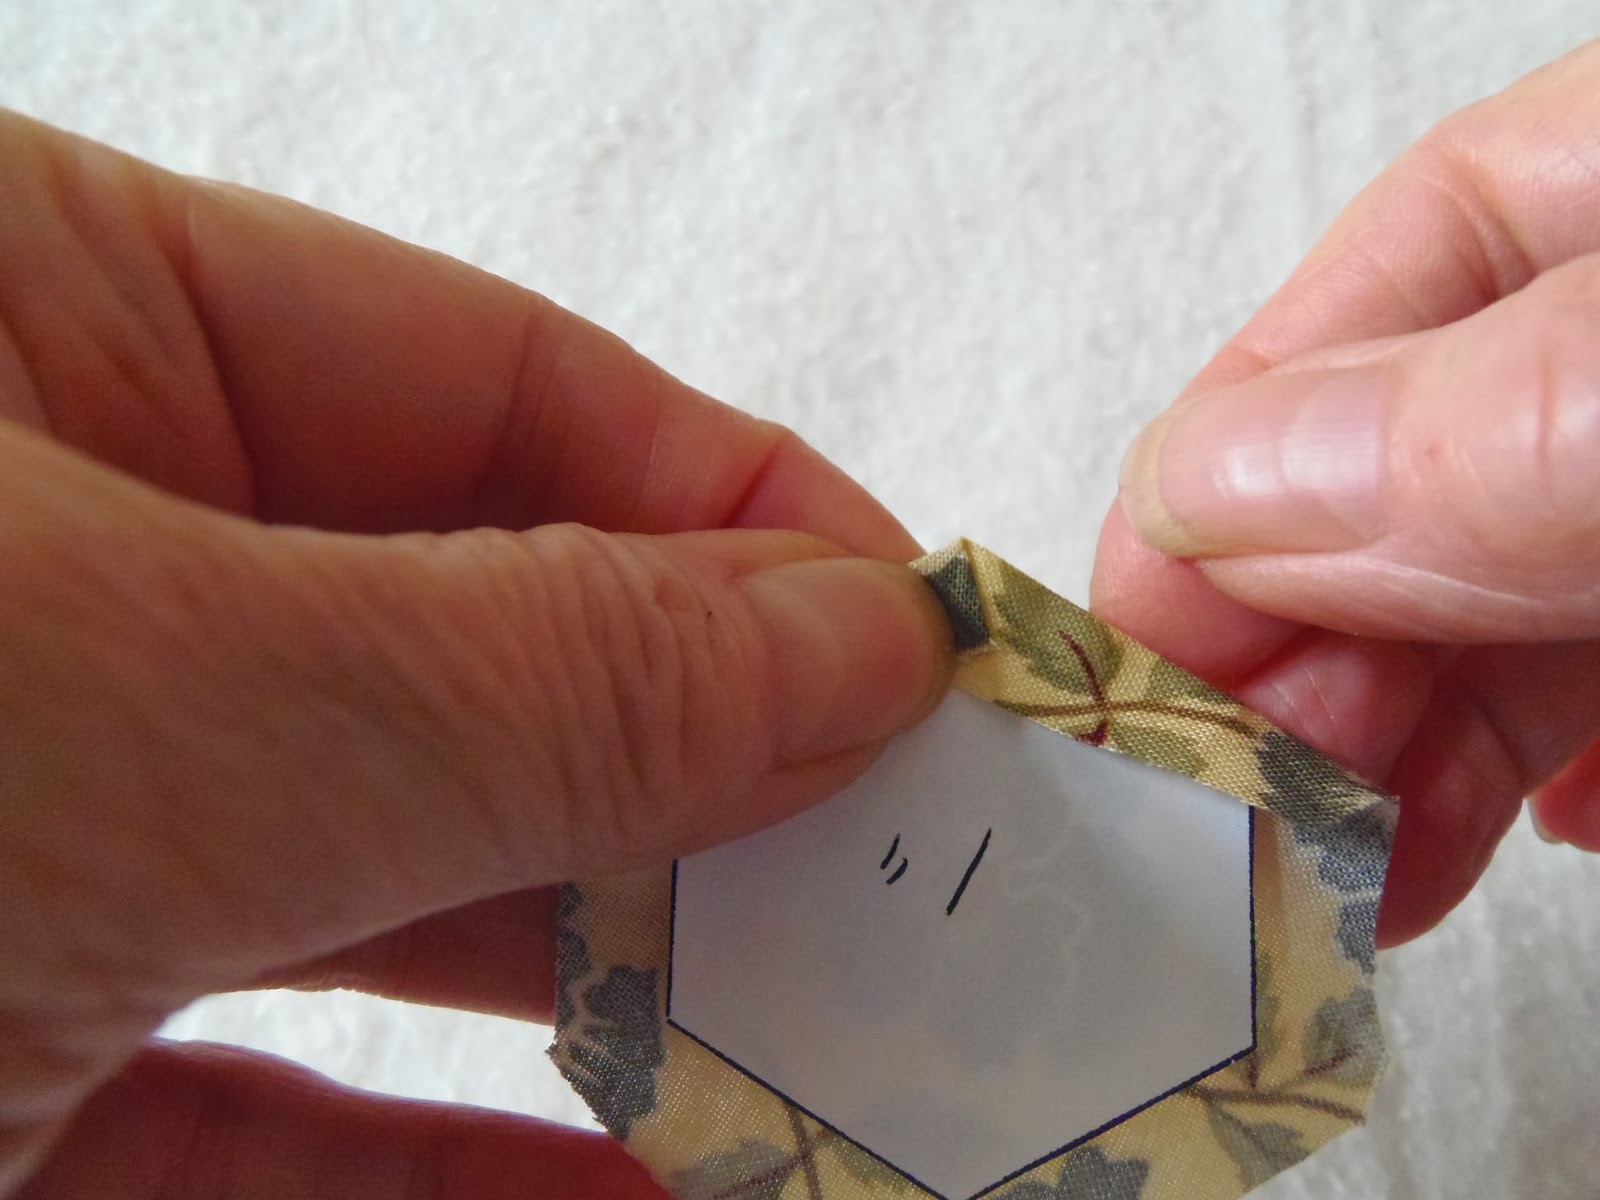
Repeat these steps for the other side and sew the seam between pieces #1 and #3. Your hexagon foundation piecing is completed so all you need to do is trim the excess fabric being sure to leave a generous seam allowance all the way around. I like to leave about 3/8" because it makes turn under and basting much easier.
If this is your first star please refer to my
January 19 post for information about basting, especially along the base of the star point.
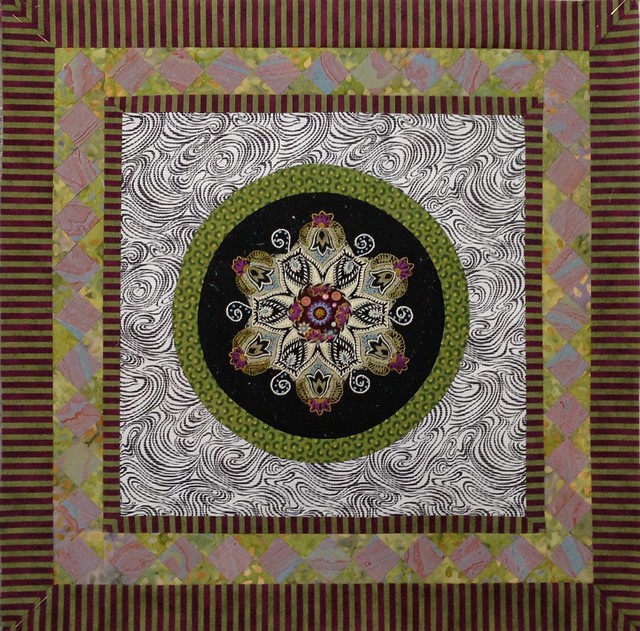
And here you have the finished star! I hope you like this one too because I've got more to come!
In five days I'll release Part 3 of my Soupcon Quilt Along pattern. I continue to be amazed at the creativity of those taking part! If I had to choose a favourite block it would virtually impossible. They are all so different and all so beautiful. Don't believe me? When take a look at all the eye candy on the
Soupcon FLICKR group! You should visit to see what the block looked like before and then after it was embellished! They are awesome.
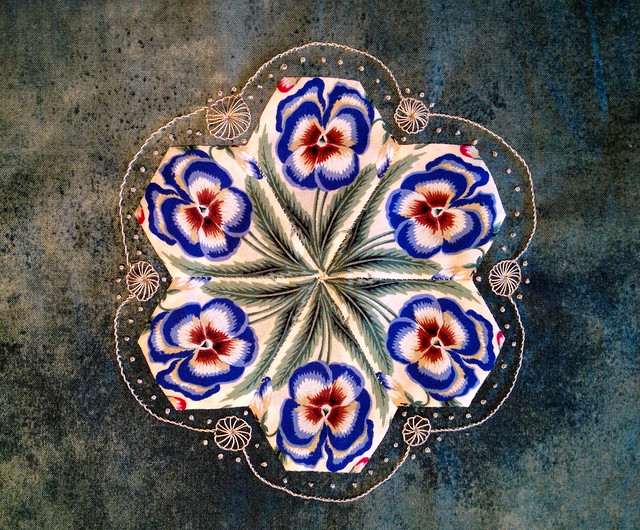
Jean Cockburn made oodles of blocks and she is now busy embellishing them. What I love about this one is that the scalloped embroidered edge softens the hard edges so that all I see is gentle curves. It looks line hand painted china!
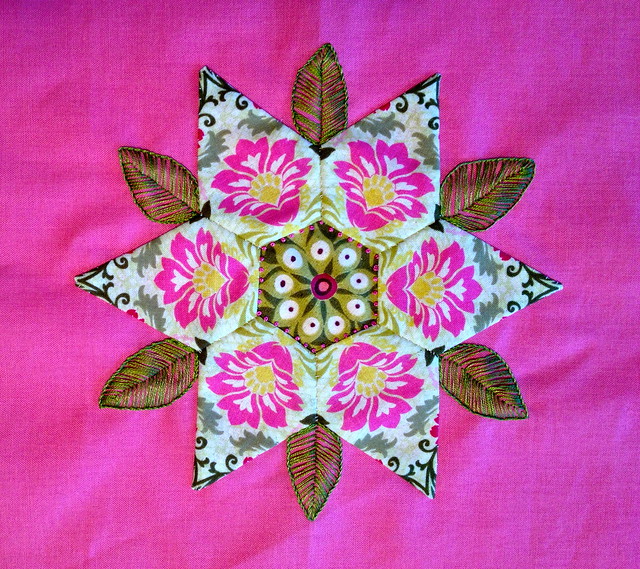
In this block Jean used a wishbone stitch for the leaves and there are little fuchsia French knots all around the center hexagon. Simple embroidery with dramatic results, beautiful results!
Since Jean last showed this block she has added curlicues and French knots and the result is a whimsical block chock full of coral-coloured goodness!
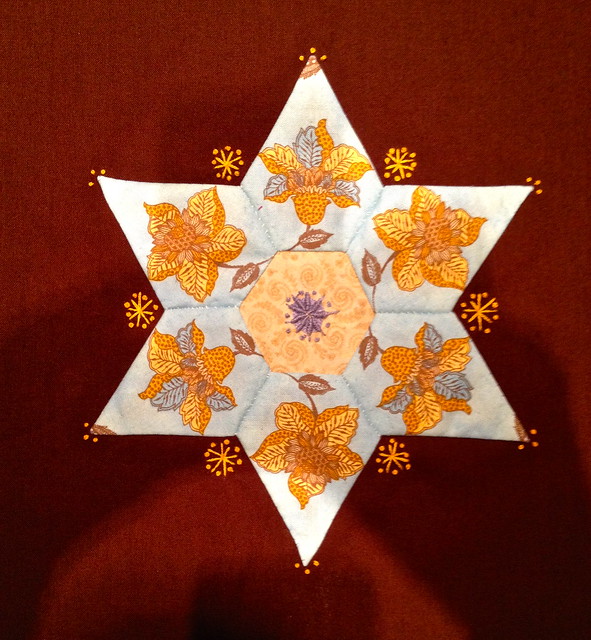
Jean has also embellished this block! The little delicate asterisks with French knots remind me of dandelion fluffs! Again, just a little bit of embroidery and the look of the block is changed in the most wonderful way!
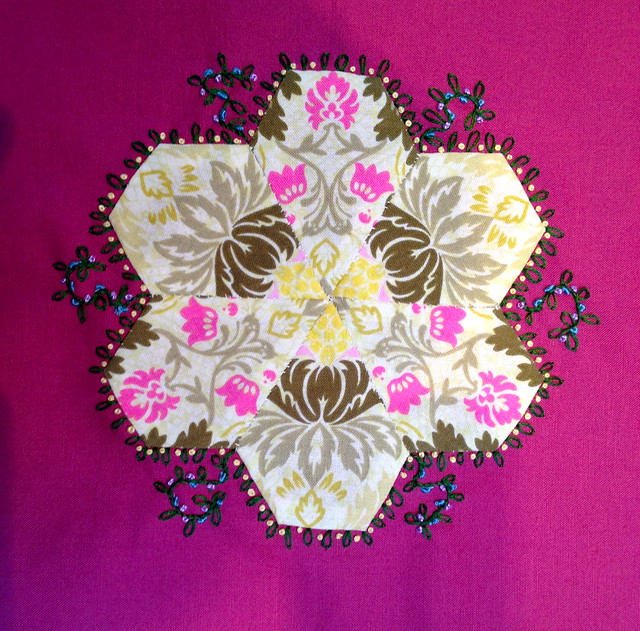
Did you think Jean was done? Well you would be wrong because here is her fifth block embellished! Isn't it great? It looks like it has been beaded but those are lovely little French knots and lazy daisy stitches. Fabulous!
HUGE APOLOGY HERE! The following block was made by Talb9999. I had incorrectly attributed it to the wrong maker. Talb9999 embellished her block with little rosebuds. She was asked if these are wrapped ribbon but she said she didn't have any ribbon the right size so she used material and doubled it over to avoid rough edges. This is yet another embellishment that never occurred to me!
Happy Appliquer's sister-in-law made this block. She has embellished it with flowers, leaves and one fat bee who is drunk on nectar! Isn't this block gorgeous?
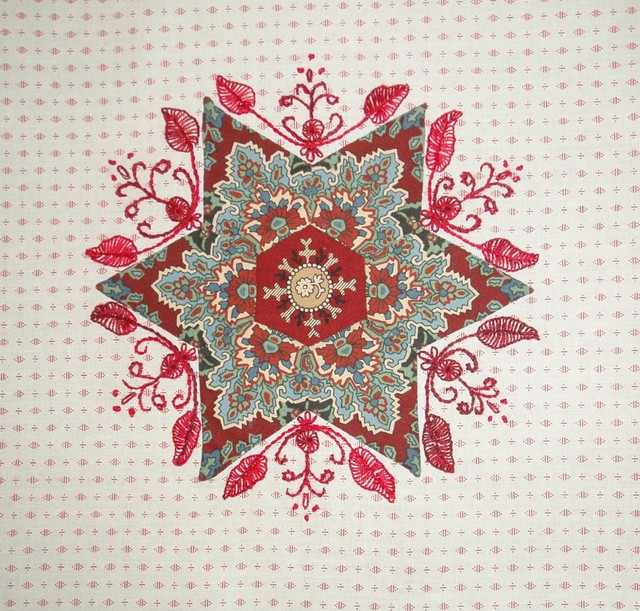
Sheila has completed her embroidery and man oh man is it lovely! The red embroidery really enhances the lovely robin's egg blue design. It never ceases to amaze me what a different a little bit of embellishment can make!
The very talented embroiderer Nellie has come up with yet another masterpiece. You can read about how Nellie embroidered the border of her block
here. You really need to see this one close-up to appreciate the intricate design she has worked.
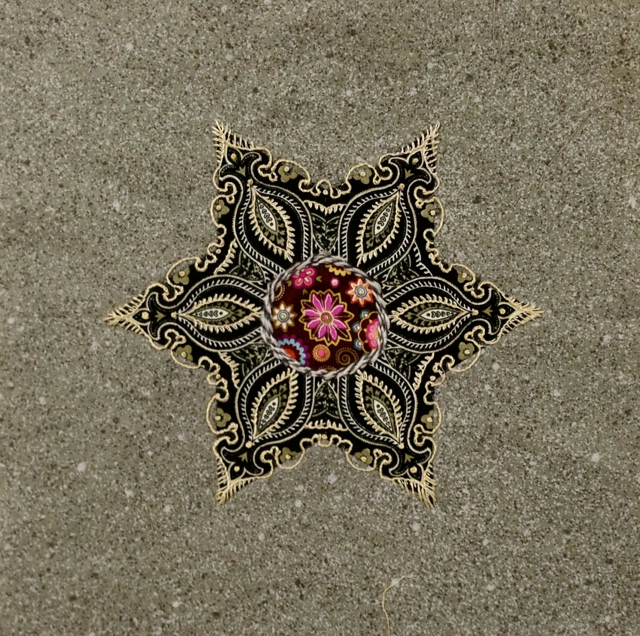
Stitchin Witch had completed step 1 and she is off to a great start! Notice how she has alternated gold and white paisleys! It is very subtle but very effective!
I just checked back and now she has completed step 2! See what a difference a little bit of embroidery can make? It looks fuller and richer and gorgeouser (technically I should have said more gorgeous but to me gorgeouser sounds more expressive)!
Phew! Lots of pictures and lots of words. Hope you enjoyed both! Until I post again happy sewing and don't forget to go
here and leave a comment to be entered in the draw to win a hardcover needle book!
Karen H