
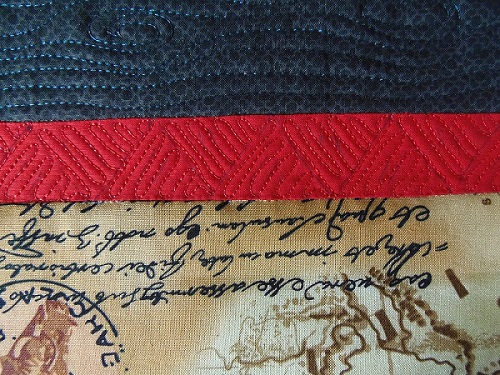
Although I don't like to mark quilts this is one design that does benefit from marking. With my Frixion pen I made marks along the bottom edge of the strip and they were 1 1/2" apart. On the top edge I made the same markings however they were between the marks on the bottom. I connected the marks to create triangles. If I weren't photographing the marks I would have just used my Bohin chalk retractable pencil to make the markings. These markings are guidelines only and not stitching lines. I will just wing it when it comes to quilting. The stitching doesn't have to be perfect or uniform - the eye will just see the texture when it is quilted.

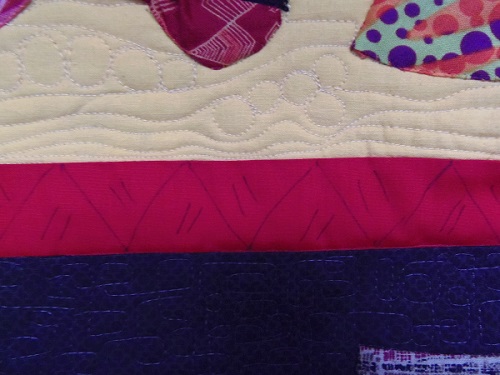

And here is the finished product! I'll take a warm iron to the quilt to remove the marks from the Frixion pen and I'm done with the red borders. I love the texture that is created and if you use a thread to match the fabric your stitches will disappear but the texture will remain!
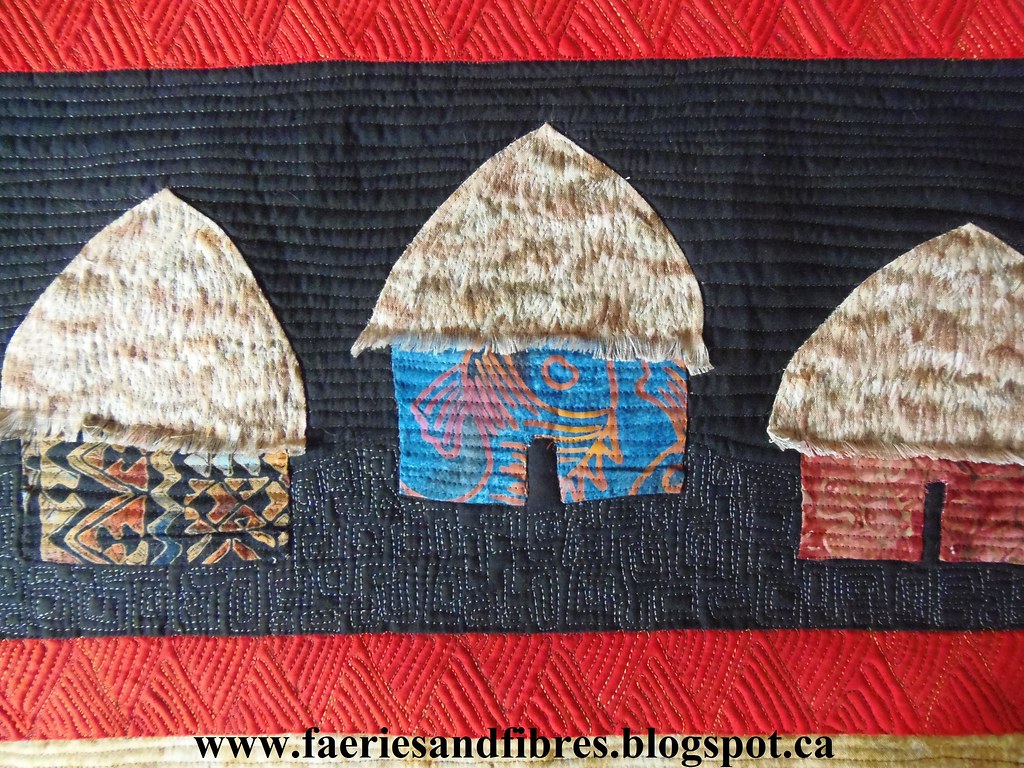
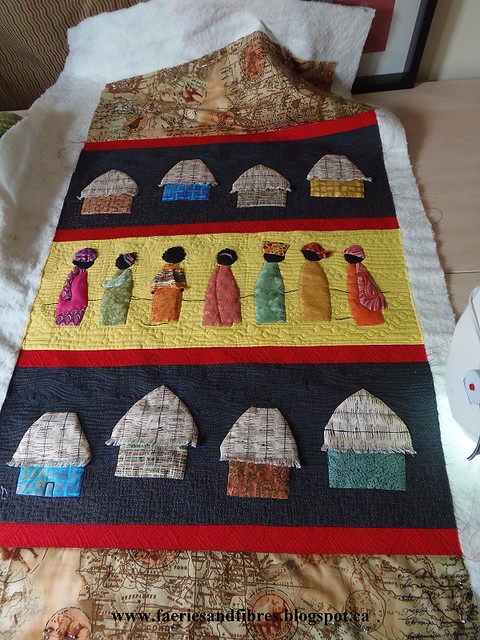
This is where I'm at with the quilt. Next step is to quilt the top and bottom and add some quilting to the huts. It will be bound with a facing and then it is done, done, done! Well other than Mom's wonderful embellishments!
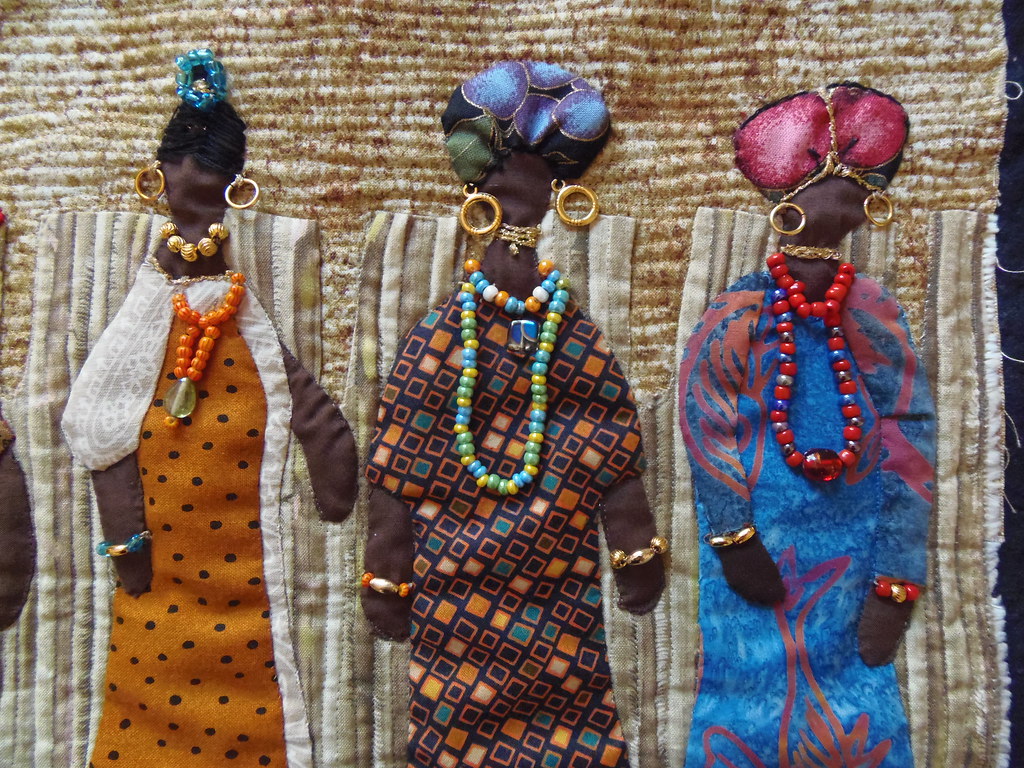
If you are new to my blog here is a sample of my Mom's work. She sure knows how to use colour and beads to bring her quilts to life!
Until I post again, happy sewing!
Karen H