Showing posts with label scrap quilt. Show all posts

Friday, October 18, 2013

A Pound of Stars

Quilting Gallery's theme for this weekend's show and tell is "scrappy stars". You can see all of the quilts here and vote for your three favourite quilts! The star is such a lovely block and there are so many varieties and variations from simple to extraordinarily complex. I would guess that almost every quilter out there has at one time made a star block. I've made many quilts with star blocks so choosing which quilt to show was a difficult decision. But I settled on A Pound of Stars. It measures 68" x 85" and has been very well used over the years!

A Pound of Stars, circa early 1980s
 
This is one of my earliest quilts and it was started in the late 1970s and finished in the early 1980s. The idea for this quilt came from a picture of an antique quilt in Ladies Patchwork magazine. I was living in a very small, remote, northern community when I began this quilt and I had no access to quilters or quilt shops. I could order muslin and a few cotton prints from the Sears catalogue but I needed a good selection of calicos. In the back of the magazine there was an advertisement for scraps by the pound from a company in the US so promptly ordered a pound of scraps. I used them to make my quilt. It's also the source of the name of my quilt...A Pound of Stars! To the pound of scraps I added leftovers from garments I had made and cut up shirts. This star was made from the pound of scraps and a shirt.
 
 
As a beginner I had no idea that some blocks are more challenging than others so when I decided that the eight point star would be a really nice quilt to make I was undaunted. Back in the day magazines didn't provide much in the way of instruction and as a real beginner I had no idea how quilters made eight point stars. I had already had a learning experience when I discovered that the preferred seam allowance width is 1/4" and that it has to be added all around the patch, not just to one or two sides! I was familiar with garment construction and routinely sewed a 5/8" seam allowance which just added to my woes! So piecing this star presented a huge challenge. I knew how to baste fabric to paper because my Grandma used to make hexagons in this way and then appliqué them to large sheets to make comforter covers. I figured it would be a good way to make this quilt block; as long as the patches were larger that the paper my seam allowance problems would be solved. So I basted the fabrics to diamond shaped papers which I drew and cut out one at a time and then I stitched the diamonds together to make larger diamonds and the diamonds were stitched into stars.  I later learned that the name for this technique is English paper piecing. The entire quilt was English paper pieced, including the large squares, triangles and ice cream cone border!
 
Ice cream cone border

Ice cream cone border at the corner
 
The stripes in the centre of the following star were left over from a vest that I made for myself! Most of the other fabric came from the pound of scraps. I knew that if I swapped out some of the fabrics for a second fabric the star would get more interesting. Instead of using the bright turquoise all around I threw in some yellow and a blue print that had a little yellow, green and turquoise. I really liked the effect! It is a lesson that I still use today and that is plan to run out of a fabric so you have to add another. It will add interest, depth, richness and complexity to your quilt!
 
 
I loved the turquoise polka dots in the following block. They too came from the pound of scraps! Believe it or not I still have a little bit of that fabric left. The blue geranium print at the points was from a yard of fabric I bought when a travelling fabric shop finally came to town. I bought it with money that my brother sent me as a birthday gift. It was one of the first pieces of quilting cotton I ever bought and I still have some of it in my stash!


When I made my quilt I had no one to tell me that there were quilt making "rules" and that was a very good thing. It forced me to find creative ways of working and to look for solutions to the problems I encountered. Figuring out how I could make the blocks was only the beginning. At the end I had to ask myself "how the heck to I bind this thing?"; I'll tell you about that in another post.


What I want to tell you is rules are helpful but don't feel constrained by them. If you think it might be easier or more fun to do something differently, give it a go! If it doesn't work (as was the case when I didn't add seam allowances all the way around) you can just keep it to yourself or have a good laugh with friends! However, if the experiment works, how satisfying would that be and how great would it be able to share what you've discovered with your quilting friends? At the end of the day there are no quilt police so don't worry about doing things right or according to the rules. Just let go and have fun - you might teach yourself a thing or two! I've told you many times that I learn something with every quilt I make and the lesson this quilt teaches me is this: don't worry about rules, just do what makes you happy and you did it right!

I found happiness in the making of this quilt and to this day that's exactly how I feel every time I look at it. Tomorrow I'll show you some more of the stars. I leave you with a picture of the fall crocuses which started blooming yesterday! Such a pretty little treat in mid-October!


And finally, same tree but different bird! Yesterday was the Cooper's hawk and today it is a crown.

Until I post again, I hope you've been inspired to go out and break a few rules!

Thursday, August 29, 2013

Edyta Sitar lecture and my new fabric for fussy cutting

Yesterday we went to a quilt shop to hear Edyta Sitar speak. She did a wonderful trunk show and we got so see more than 60 of her quilts, many of which are featured in her 2013 calendar. She entertained us for more than an hour with her stories and ideas! I love trunk shows and show and share at the Guild because I always come away excited, inspired and itching to create! Edyta's trunk show delivered on all counts!


Edyta has a natural colour sense and it is evidenced in her scrap quilts. I don't subscribe to the notion that all fabrics go together in a scrap quilt and sometimes there are bits that just have to be left out or altered in some way, tea staining for example. Or as Edyta said she can't help it if a patch drops in her coffee!


There are secrets to making a successful scrap quilt and one of those tips that I've blogged about in my previous posts and that Edyta talked about is the use of a single colour to "control" your quilt. Using a particular colour can tame down the scraps and add cohesiveness to anchor the quilt. Think of the many log cabin quilts we've all seen each of which has a red centre but not necessarily the same red.

Edyta talked about the five colours that she likes to use to pull together the large variety of scraps in her scrap quilts. They are navy (notice the navy flowers in the corners),


or brown (the tree trunks),


or barn red (notice how the reds are all pushed out toward the border),


or olive/drab green,


or black (the centres of the pineapples are black).


You can use a little of an anchoring colour as with the pineapple quilt above or you can use more as with the tiny baskets and the olive green. The strategic use of a single colour or colourway can make the difference between a nice scrap quilt and a spectacular scrap quilt!

After the trunk show there was a question and answer period. She was asked what type of sewing machine she has and she replied "You aren't going to like this". Of course we all figured she would say a top of the line machine that cost thousands of dollars but boy, were we wrong! She uses a $200 Kenmore machine! I assume that that was for the piecing only and that the quilts are sent out for quilting. Nonetheless it is nice to hear that you don't have to spend thousands of dollars on a machine in order to make beautiful quilts!

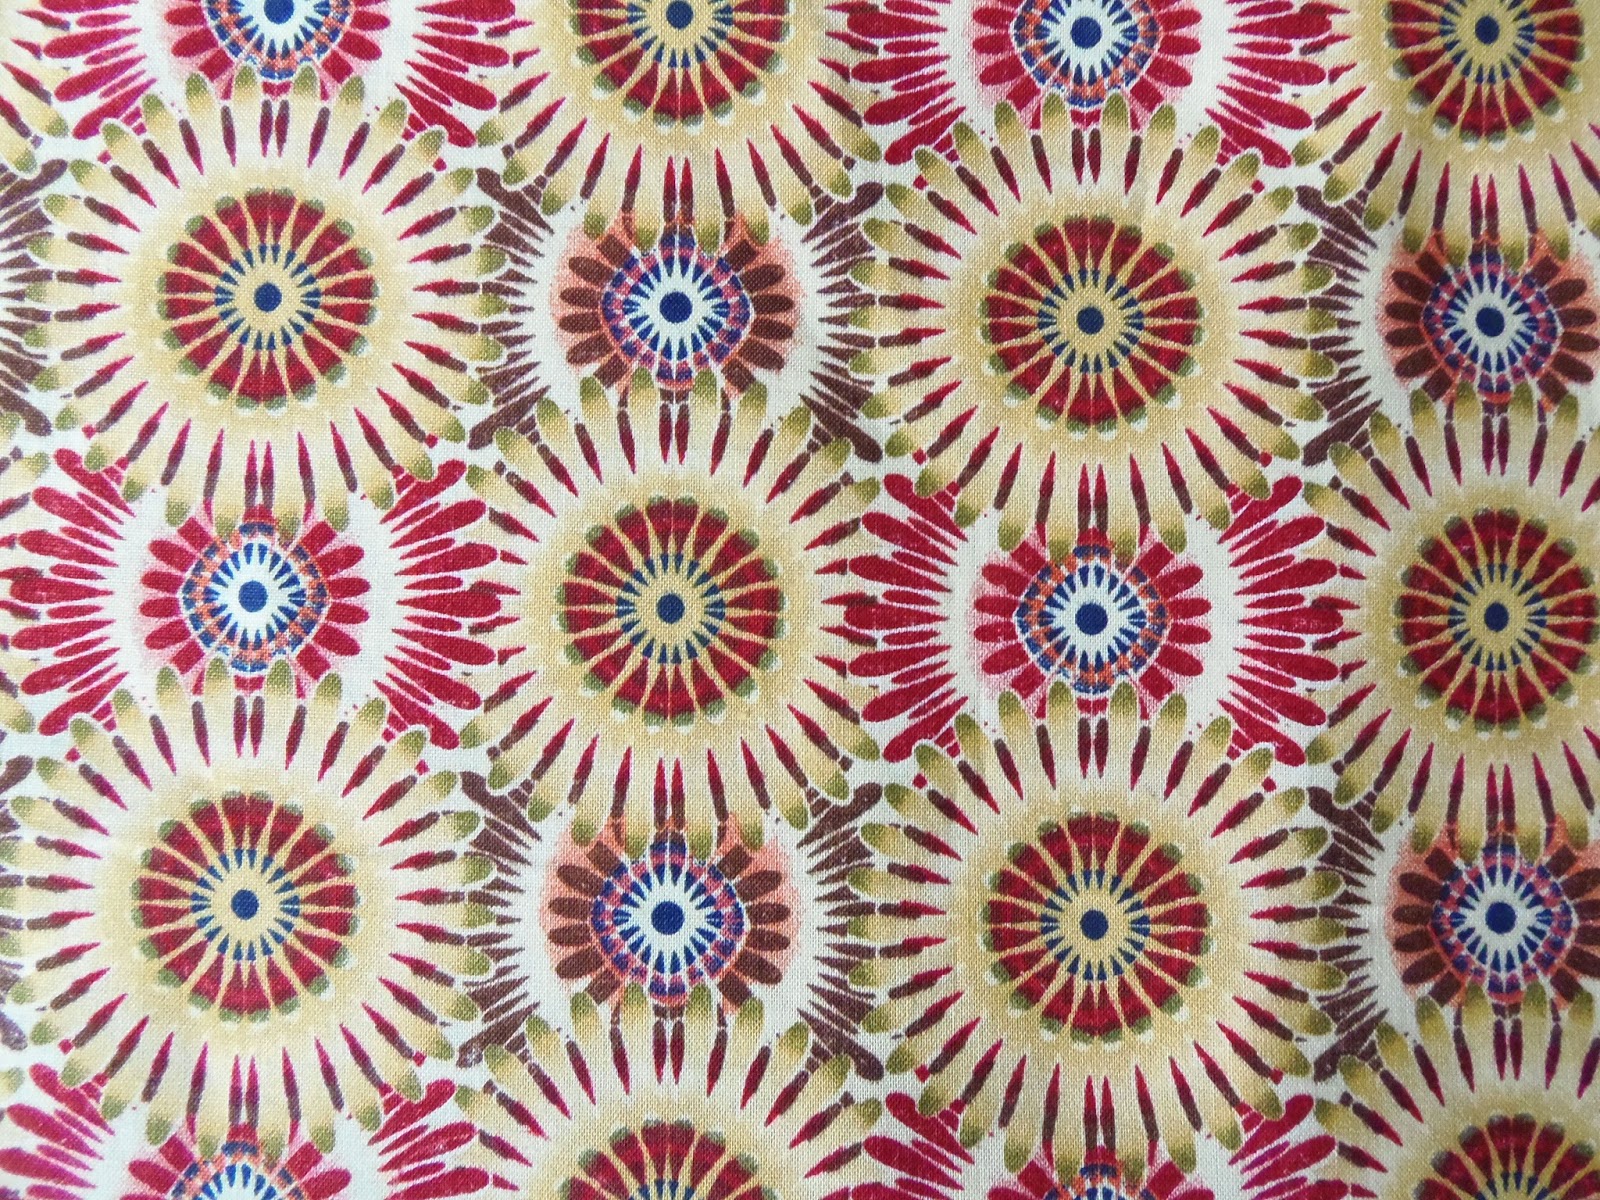
last week I found this great fabric and even better, it was on sale! I thought it would be perfect for fussy cutting diamonds and hexagons.


I placed a window template on the fabric to get an idea as to what it would look like. I prepared a tutorial to explain how I make and use window templates and clear templates. You can read it here. There are two motifs that repeat in the print.


I cut some diamonds and basted them to paper so I could include them in the diamonds for the border of my quilt "81".  And here is one of them sewn into a large diamond!

 
This is a great fabric with all kinds of possibilities. If I get back to the shop and they still have the fabric I might buy some more! And I'll be sure to take my window template with me so that I can audition other fabrics too because you just never know what surprises could be in store for you!
 
Until I post again, happy sewing! 


Monday, April 1, 2013

April Fools' Day

It is freezing and the wind is blowing like crazy - not a nice April Fools' Day joke! But the sun is shining and warmer days are on the way....fingers crossed!

Two weeks ago I pinned this quilt top. I really like the look of modern, vibrant prints used in traditional blocks but they aren't my colour pallette so it is a bit of a struggle. The block was designed by Nancy Cabot in 1938 and it was reinterpreted in a very scrappy variation by Setsuko Inagawa of Japan. Her quilt has inspired many others to make their own version. Just search on “Japanese x and +” for some really lively quilts! I've alternated the x block with another but I can't recall the name of the block. I've repeated an orange striped fabric in each block to add control, interest and movement.
 
 
The quilting is well underway. Now I have to decide what juicy colours to add next! Decisions, decisions, decisions! Maybe a little bit of each!