Tuesday, September 24, 2013

Sewing the diamonds together

I thought I would start off with a little hexagon block that I came across in my scrap book of things I like. This little hexagon block is so charming and I wonder what the quilt must have looked like!


So today I thought I would talk about sewing the diamond hexagons together. The first step is to lay out your diamonds.


My natural tendency is to place the darks in the centre.


I always try the other arrangement to see what happens and in this case I prefer the alternate arrangement so that the centre is open and airy.


I will sew the diamonds together in set of three.

I start my stitches at the outside edge on the left side.


I sew towards the centre at which point I take one extra stitch.


I open up the two diamonds and place the third diamond on top. I put the needle through the point of the new diamond and go through the point of the diamond on the left. Once I've taken that stitch I continue sewing the remaining side.


This is what the three diamonds look like when sewn together.

I repeat these steps with the remaining three diamonds.


I place the two halves of the star with right sides together and sew from the outside edge toward the middle. I take my stitch through the matching points being sure to pull the thread snug.

I then take a stitch through the next two points again being sure to pull the thread snug.

I go back to the first two points and take one more stitch being sure to pull the thread snug. This is the step that will ensure that the centre points are sharp and tight.

I now continue stitching to the outside edge. And here is the finished star! 
 

In an upcoming post I will show you how I fill in the outside edges with more diamonds to create a hexagon! The post on drafting diamonds is also in the works.

I'll leave you with three more Lazy Punk blocks!


Until I post again, happy sewing!

Monday, September 23, 2013

Experimenting with the fussy cut diamonds

Let's do some quick math. Yesterday I cut a 1 3/4" strip from just over two metres of fabric and from that I got six sets of diamonds. My fabric is 44" wide excluding the seam allowances. This means I can get 25 strips from the fabric! As I can cut six sets of diamonds per strip, 25 strips will yield 150 sets of diamonds! Not bad at all.

Now that you've cut your sets of diamonds what can you do with them? Let's have fun experimenting! It is the best way to get inspired and find new colour combinations and alternate arrangements!

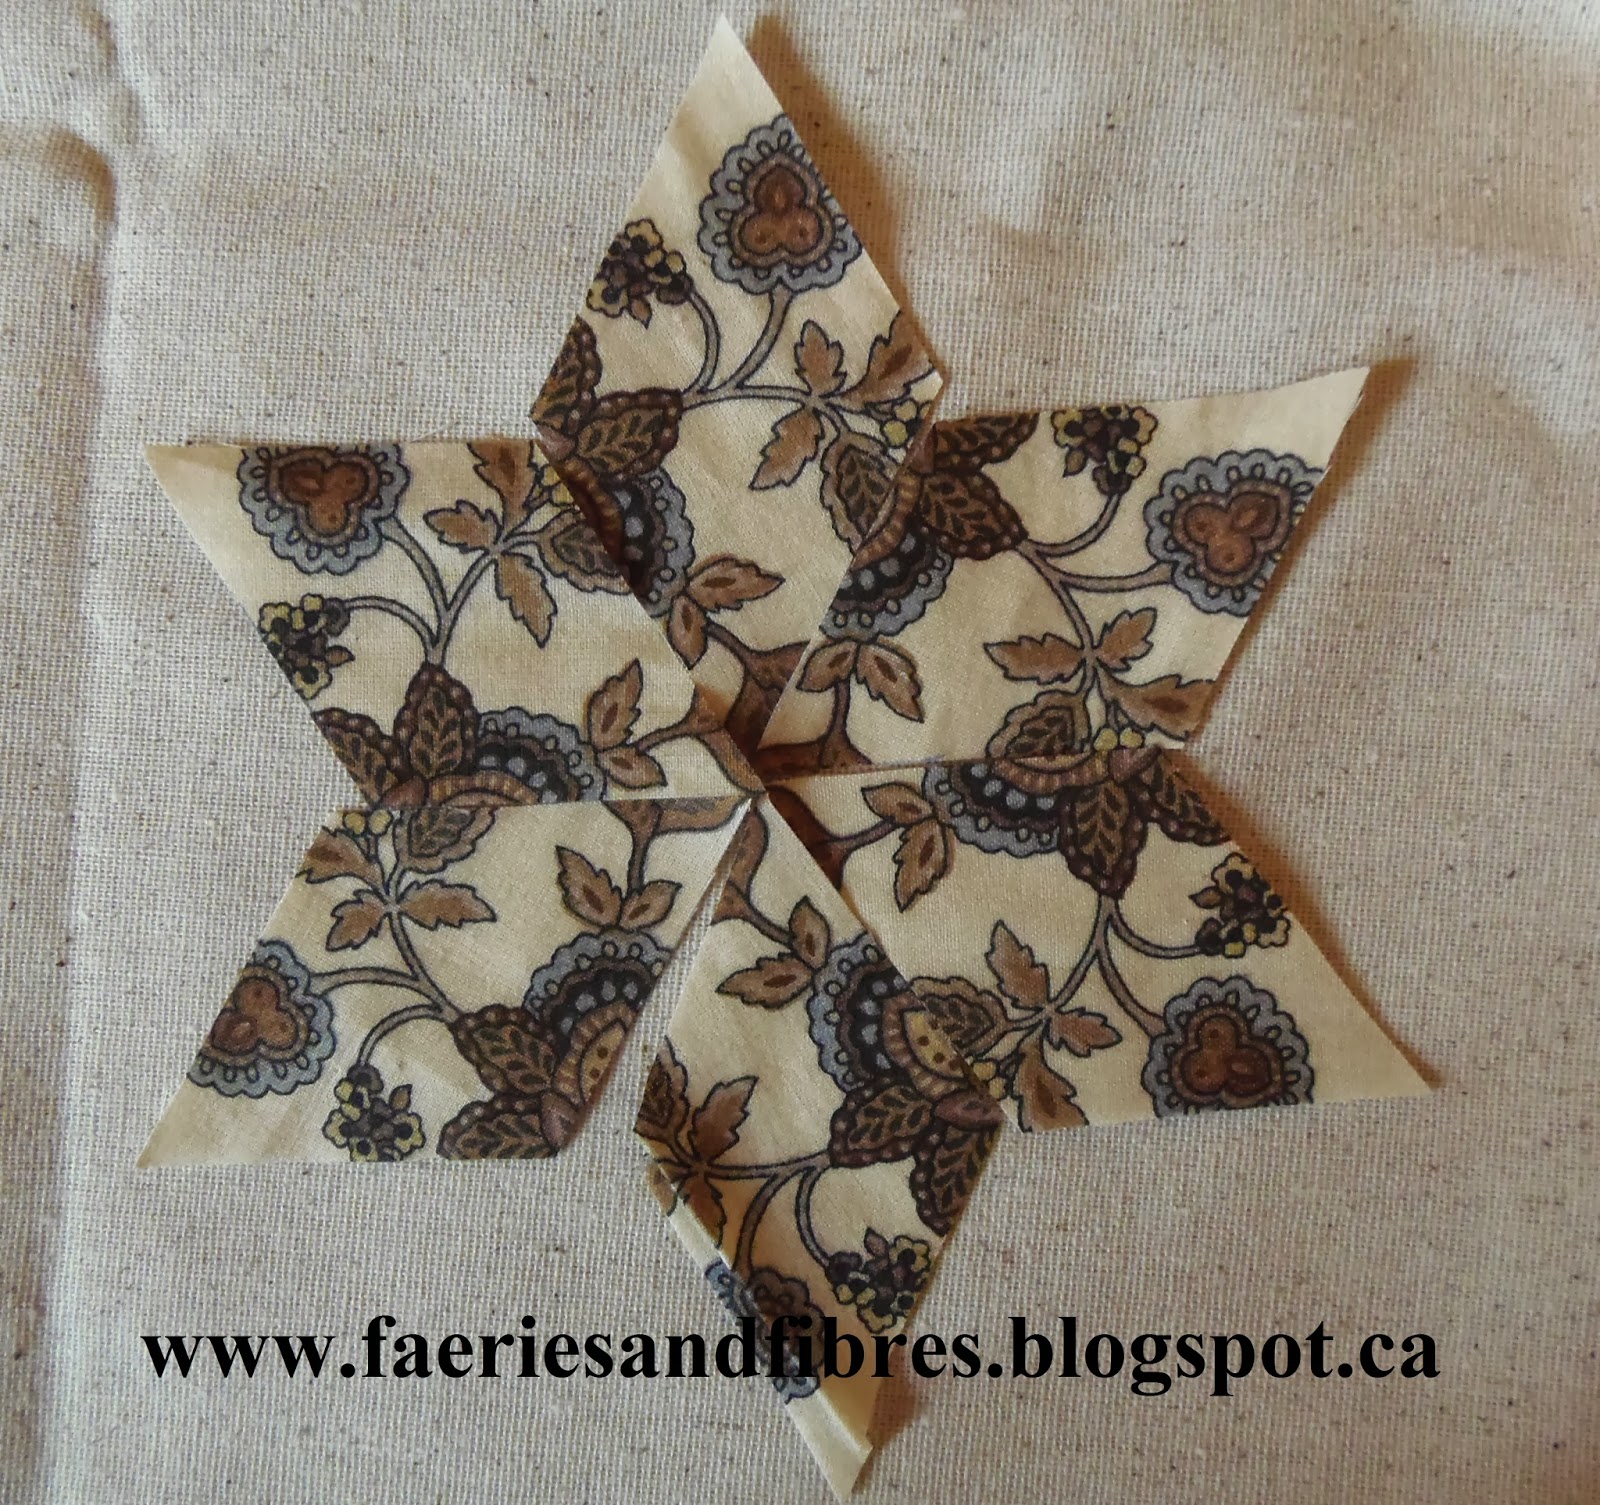
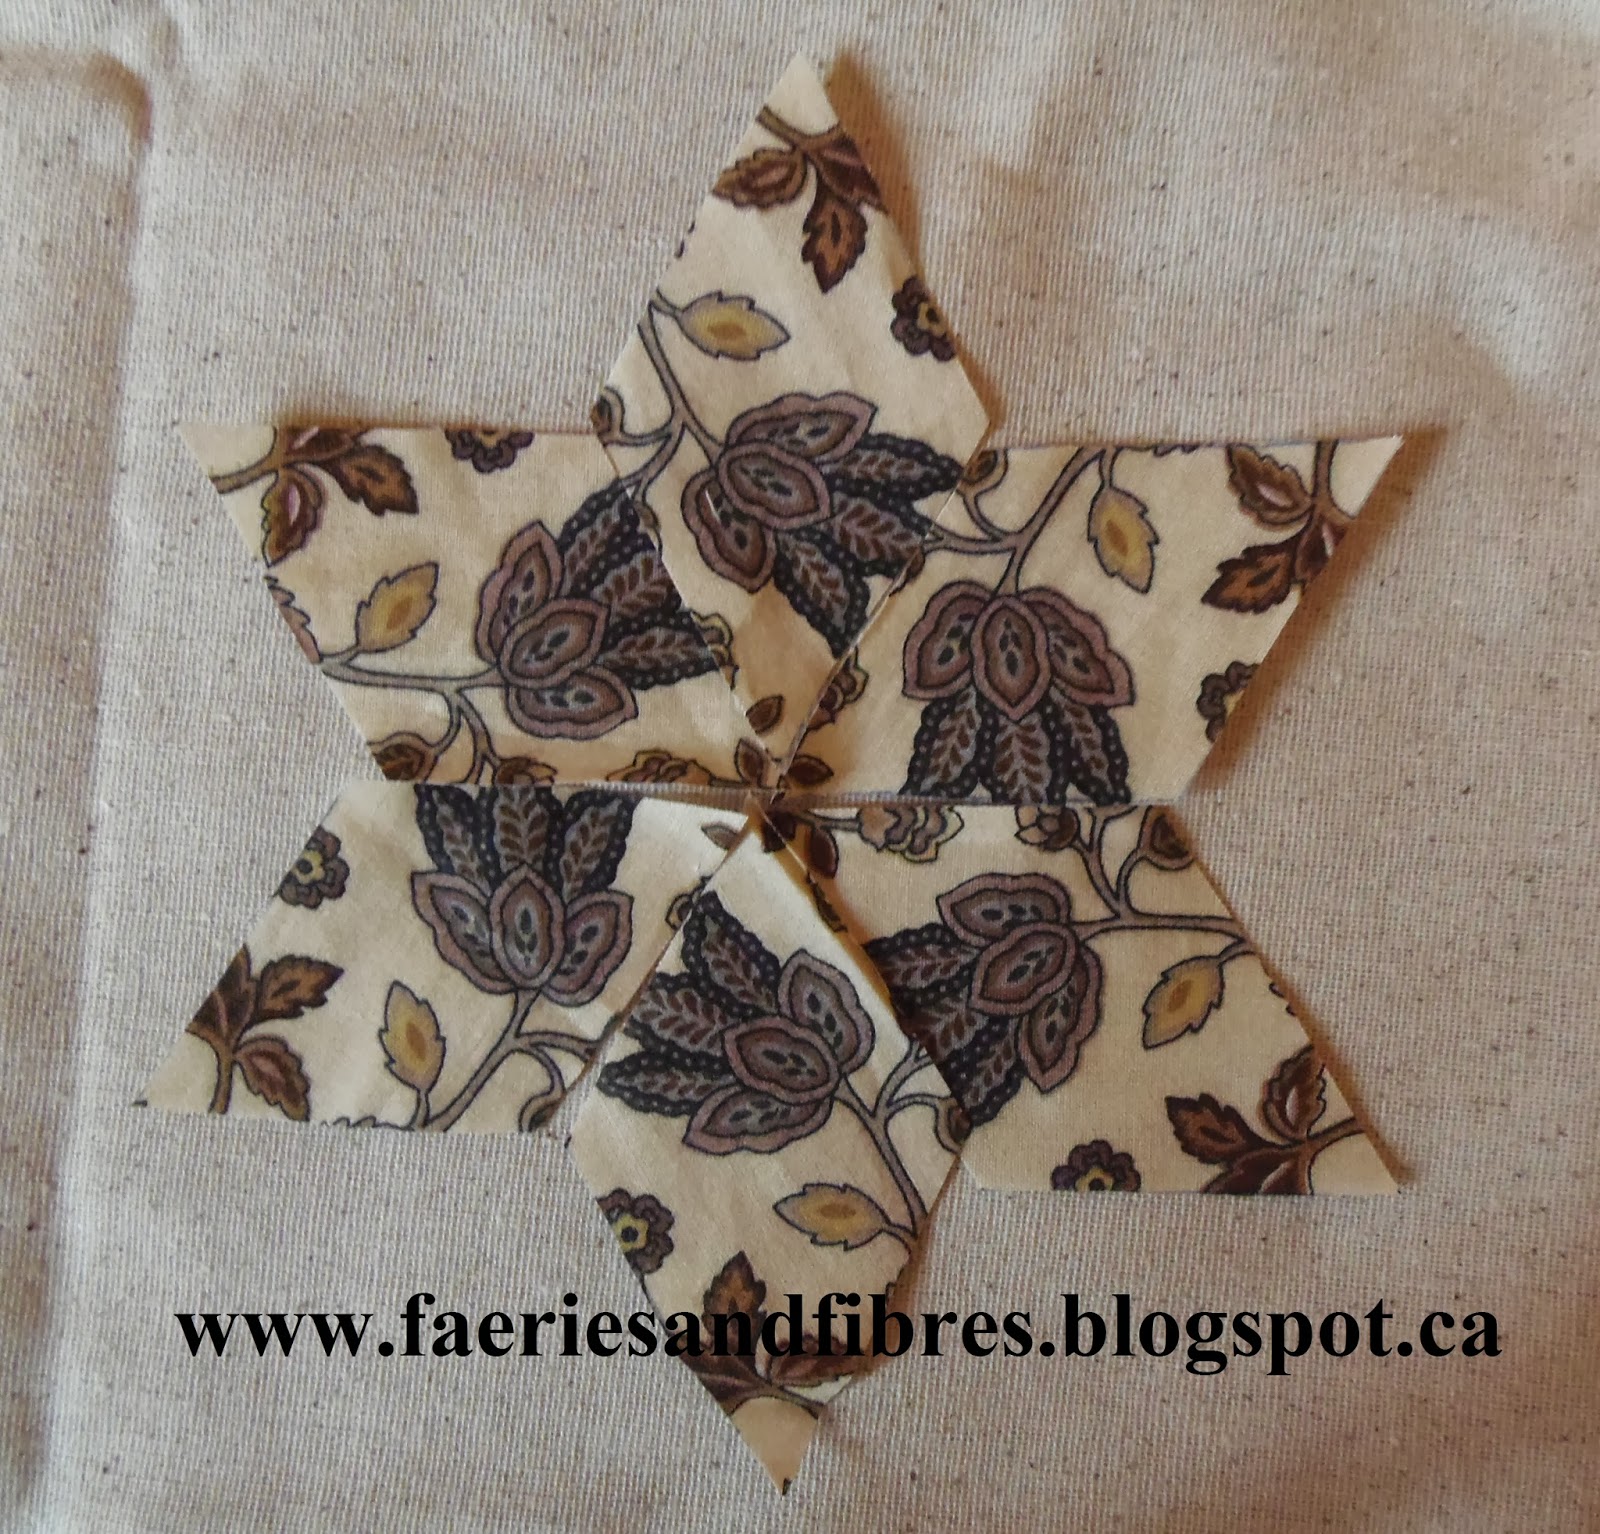
Yesterday I showed you the first set of diamonds before and after they were basted. You can lay them out in a traditional six point diamond. These following two pictures represent the same set arranged differently.


Rather that arranging the fussy cut diamonds in a star, why not use them to fill in the spaces of another simple star to create a hexagon?


This is a particularly good way to use fussy cut diamonds that just don't look nice arranged in a star (it happens). As filler pieces they can work wonders to make a block sparkle and pop! Here are two blocks from a quilt I call Hexagreens.  The diamonds just didn't work as stars but as fillers they were perfect!


If you read my post about constructing, deconstructing and reconstructing hexagons you will know that three diamonds make a hexagon. The six diamonds can be used to construct two smaller hexagons. The diamonds are identical but depending upon what part of the diamond is facing the centre you get a different look! These hexagons were made from the six diamonds at the beginning of this post.


Here is an example of this technique in my quilt Hexagreens! Here's an idea - if you don't have enough fabric to get six repeats to cut the strips for the stars, you can still make hexagons as long as you have three repeats!


This morning I basted this set of diamonds that were cut yesterday. The same set arranged with different points hitting the centre mark reveals two different stars.


What would happen if we combined the first set of fussy cut diamonds with this set of fussy cut diamonds? Two very different hexagons emerge. BEFORE you start playing around this way a word of advice. The diamonds can look very similar so what I would do is give each set a number and write that number on the paper. For example, each of the six diamonds that make the centre star would be marked "1" and the six diamonds used as fillers would each be marked "2".


I used this method of combining two sets of fussy cut diamonds in my quilt Hexagreens but I used two different fabrics. The result? Yet another interesting hexagon!

These little diamonds are so much fun to play with and that's exactly what I'm tempted to do. But it is time for me to get back to Lazy Punk so I'll have to set them aside for now. Next week I'll prepare a demonstration on drafting your own diamonds so that you can have some fussy cut (sort of) diamond fun!

Until I blog again, happy sewing!

Sunday, September 22, 2013

ARGHHH and working with the fussy cut diamonds

I decided that I would give the Lazy Punk blocks that I've made thus far a wash. I was worried that there might be one or two fabrics that might bleed and since this quilt is going to be used it will also be washed. Well I was absolutely right about the bleeding thing!!!!! The shot cotton in this block bled - DRAT!

 
I didn't notice the bleeding until the fabric was almost dry.
 

So far all of the other blocks are fine so I'll ponder what to do with this one. I did wash it a second time in the sink with a Shout Colour Catcher and I think it helped. I'll cut up another Colour Catcher and stitch it to the affected areas before washing it again. If it doesn't work I'll have to decide can I live with the colour damage or do I want to make a new block. At the moment I'm leaning towards living with it! After all, the name of my quilt is Lazy Punk and leaving the block as is would be in keeping with the theme - just plain lazy! I think I just made a decision.

Here are the most recent Lazy Punk blocks.


So I thought I would show you what I do with my diamonds once I've cut then from strips.  I'll need a glue stick (fabric safe), six diamond papers and my fabric diamonds. With the wrong side up I lay the diamonds out making sure that they are all facing the same direction. Notice the small grey blue flower on the lower left side is in the same position on each diamond.


I place a small dab of glue on a paper and position it on one diamond. The top of the diamond is almost at the end of a vine where it plugs into a flower or leaf and at the bottom the point is just at the edge of the blue grey flower.


Taking note of the position of the paper on the first diamond I now place a little glue on the second paper and position it on the fabric looking at the same marker positions. I repeat this process until all six papers are glued to the fabric diamonds.


I clip the points and baste. If you need help with basting diamonds you can read about how I do it here.


Once they are all basted I can lay them out before deciding how to stitch them together (I'll demonstrate that tomorrow). Depending on which point is in the centre, two very different blocks emerge!


Just in case you are curious, this is how they started out before being basted!


You can see how they look slightly different before being basted.

And here's one more tip for fun. If you don't want to create a kaleidoscope effect with all six diamonds, why not use only three print diamonds and alternate them with three diamonds cut from a complementary fabric? That would be fun and would stretch your blocks even further.

Until I post again, happy sewing!

Saturday, September 21, 2013

Fussy cutting diamonds - sort of!

Quilting Gallery's Show and Tell theme this week is Quilts for Teens. I entered Orange Crush; I made it for my friend's teenage daughter. I've posted a free pattern for this quilt; you can find it here under the Patterns tab.  There are some really wonderful quilts entered so I hope you will visit the page and vote for your favourites! You can see them all and vote here!

Orange Crush, 2013

For fun I snuck a little grasshopper in one of the blocks. I told her I did it but didn't tell her where I hid it so she had some fun exploring the quilt!


I promised to show you how I "fussy cut" the patches for my star blocks in Mom's Flower Bed. The quilt was made using the English paper piecing method.


To be technically correct they are not "fussy cut" but they have the appearance of being fussy cut. The following instructions are based upon using diamonds to make six point stars but you could also use hexagons or even squares. The process would be similar but not the same; for now I'll focus on diamonds.

To make the stars you will need the following:
  • fabric,
  • paper diamonds for English paper piecing,
  • marking tool and
  • a clear template (you can read more here).
Selecting a fabric The size of the paper diamond will influence the scale of the print. I have a smallish diamond so I wanted a smaller scale print. I chose a floral print with several different types of flowers. leaves and colours. If there isn't enough variety the blocks will all look very similar. This is my fabric. The vines give movement and there is a good variety of flowers and leaves. While it looks dull there is a subtle variety of colours.


When selecting the fabric it is important to look for the "repeat".  The design is usually repeated along the raw edge and always along the selvedge edge. We will work with the repeat along the selvedge. In the following picture the selvedge edge is at the bottom. You will notice that there is a flower in the lower left corner. If you scan across the selvedge edge you will see that the same flower doesn't repeat until the lower right corner. The distance between is almost 12 1/2".  I need six diamonds to make a star so I will need six repeats (12 1/2" x 6 = 75").  This means I will need 2 metres of fabric which is slightly over two yards. The greater the distance between the repeat the more fabric you will require and the shorter the distance the less fabric. However, if the distance too shorter the stars may not be as varied. I find that 8" to 12" is a good repeat to work with.


I cut strips of fabric that run parallel to the selvedge but before I do this I must determine the width of the strips to cut and to do that I need the diamond that will be used for English paper piecing. I measure the height of my diamond from parallel edge to parallel edge. In this case it measures 1 1/8”.  For ease I round up to the nearest quarter of an inch which makes the measurement 1 1/4". 


The paper diamond does not include seam allowances so they must be added (top and bottom) to the measurement.  If I add 1 /2" to the 1 1/4" the width of the the strip will  be 1 3/4”.  With this method if you are a little more generous with the cutting it is better because it gives you a little wiggle room for adjustments. If I were just starting out I might be tempted to add another 1/8 to 1/4". I've already added 1/8" with the rounding up of the size of the paper template so I'll be fine with the 1 3/4" strip.

Preparing the fabric for cutting The first strip will be larger than the required 1 3/4" size because of the selvedge. Mine measures 1/2". This means the first strip will be cut at 2 1/4". All of the subsequent strips will be cut at 1 3/4".  To prepare to cut the first strip I place my ruler so that the 2 1/4" mark lines up with the edge of the selvedge. I use a ruler that is longer than my repeat. Once the ruler is lined up on the selvedge I make sure that the top edge of the ruler hits the first motif and the repeat motif at the same spot as indicated by the red dots.


 I draw a line on the fabric between the two motifs and a little beyond. I move the fabric along and once again line up my ruler on the selvedge making sure that the top of the rule lines up with the drawn line and that it hits the next repeat at the same point. I again draw a line. I repeat this step until I have a line drawn on the six repeats.

I now go back to the beginning and line up the 1 3/4" mark on my ruler on the drawn line. I draw a line making sure it hits the repeats in the same spot. I do this one or two more times.


I now am ready to cut my first strip. With sharp scissors I cut on the second line that I drew. If you prefer you can cut on the first line.


The next step is line up my ruler on the line at the 1 3/4" mark and trim the seam allowance away.


I cut this strip in half on the line with scissors or a rotary cutter.


I lay the left end of my strip on the cutting mat (it is in the centre) and find the beginning of the fourth repeat (at the bottom).


I place my clear template on the fourth repeat, draw a line and then cut on that line.


I line up the cut edge on the remaining strip lining up the print. I pin and cut.


I repeat this process until I have six strips.


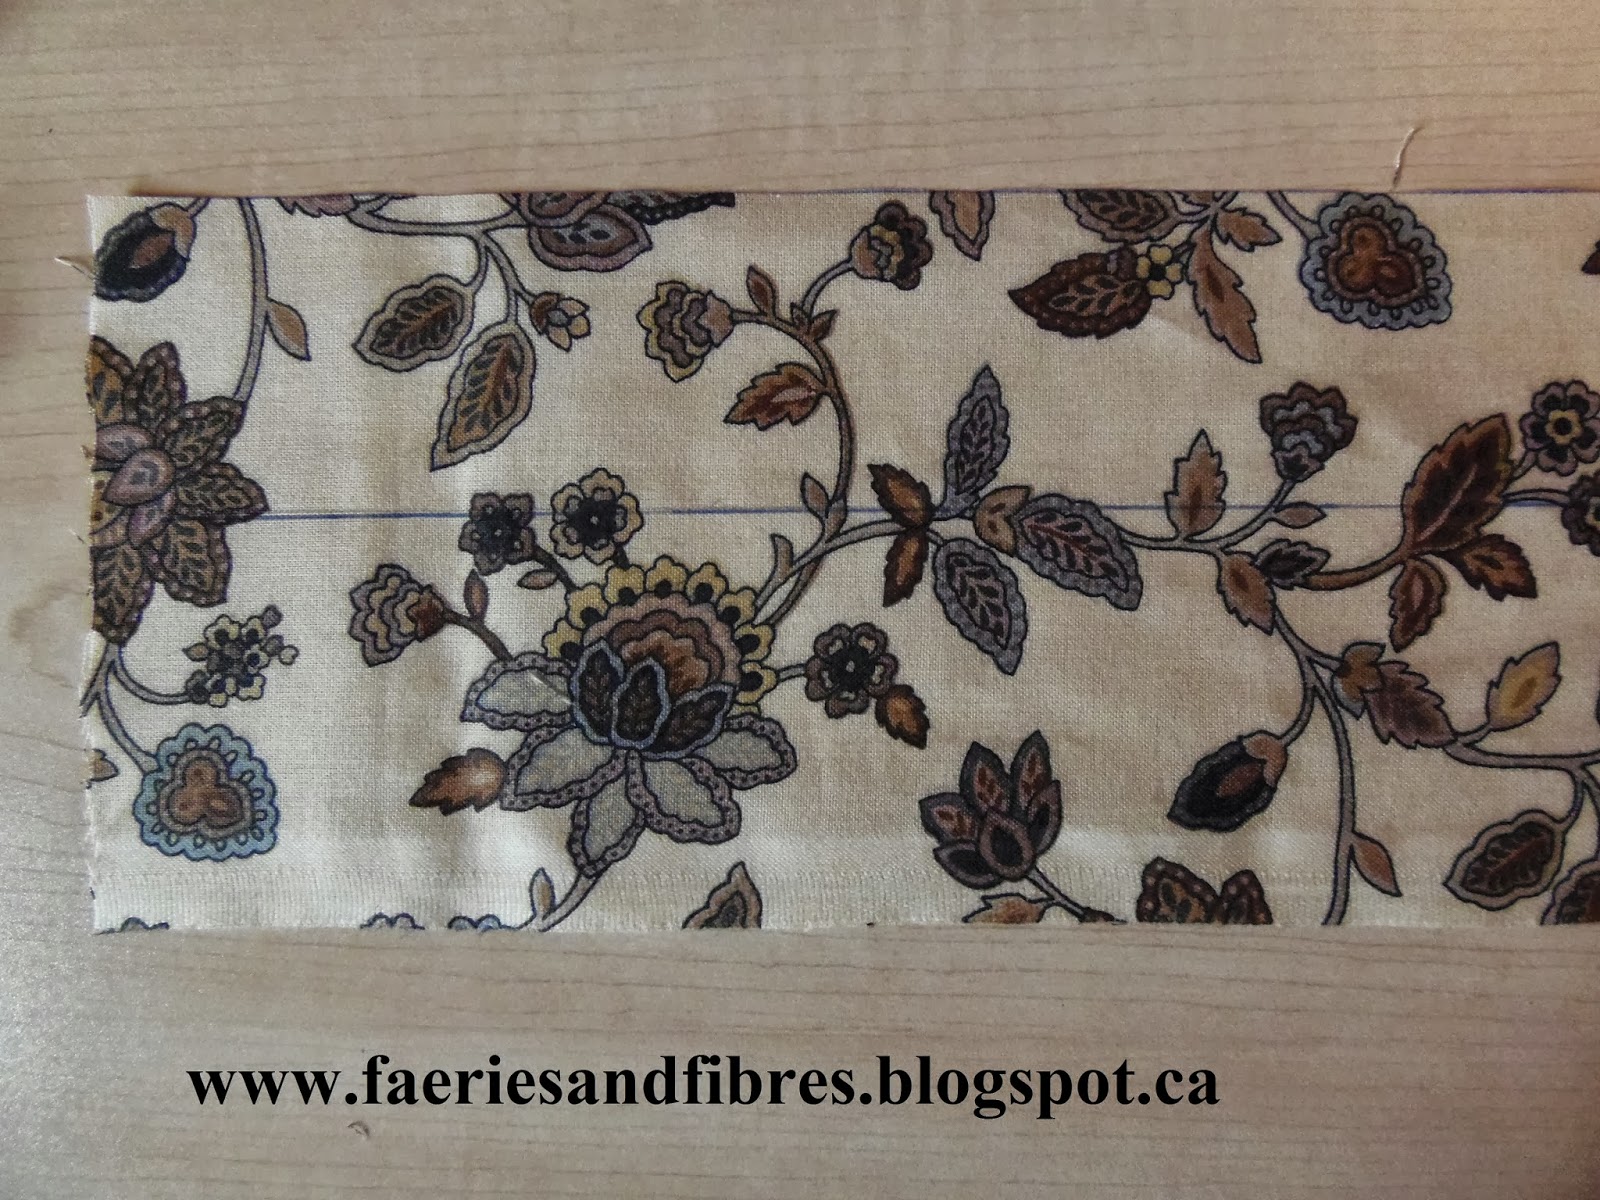
I select one strip and with my clear template, I place it at the far left and draw a line. I move it to the right and draw another line. I repeat this right to the end of the strip. In the photograph below I have drawn all of the cutting lines on the strip.

 I pin near the line on each diamond and cut with scissors or a rotary cutter on the line.

I now have several sets of diamonds.


And this is what some of the first star looks like!


When the points are moved to the centre we have an entirely  different star!

 Here is the second set of diamonds.

And when the points are moved to the centre we have yet another star!

The third set of diamonds yields this star! 

Again when the points are moved to the centre a new star emerges!

The stars will look a little different when they are basted and stitched together but you get the general idea!

I draft my own diamonds (amazingly easy if you have a sheet of graph paper, or lined/ruled paper, a mechanical pencil and an Omnigrid ruler with a 60o  angle marking). I'll show you how in an upcoming post!

Phew! This was a long post. Time for a cup of tea and maybe some sewing! So until I post again, happy sewing!