
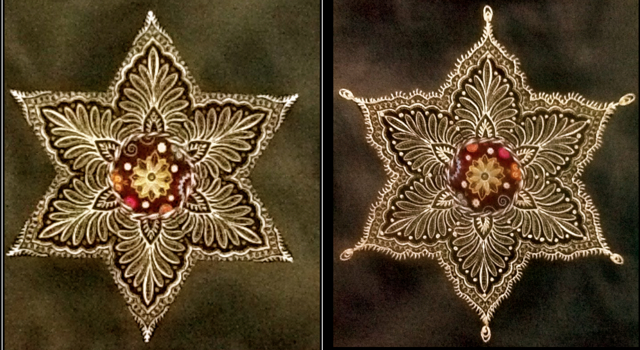
Here is a close-up of her block. You can read about Nellie's block and how she embellished it on her blog! You will notice that Nellie added white knots. These are called colonial knots and she says she likes them because they are more stable than a French knot. Want to learn more about a colonial knot? No problem because Nellie did a fabulous little tutorial which you will find here! I've never tried this knot before but you can bet that I am going to give it a go so that I can add it to my repertoire!

And Happy Appliquer is the second to post. I told her the moment I saw this block I thought Blueberry Hill! How pretty is this? Answer.....VERY!!!!
Now lets get back to Making a Hexagon Star My Way! Yesterday I explained the process of preparing the six star point using my foundation English paper piecing (EPP) method. You will find it here.

Once you've done your foundation piecing on the hexagon the next step is to baste the hexagons. Yesterday we trimmed the internal seam allowances for the star point down to 1/8" however there is still a little bulk so where I would normally fold all of my seam allowances in the same directionI fold them slightly differently for this hexagon. I fold the top down and the left side in and baste the corner. I continue in this manner until I get to the last corner to be basted.

At the last corner I fold the right side over so that the fold looks like this. Normally I would have folded the right side in and tucked the top fold over it. If had had done this it makes for a bulky corner so instead I folded and basted in the path of lease resistance.

And here we have the finished basted hexagon. Repeat with the remaining five star points.

This is what they will look like. I like to use stripes because they can be used to great effect and it is very easy to line up the edge of your paper with a particular part of the strip so that the star points look fussy cut!

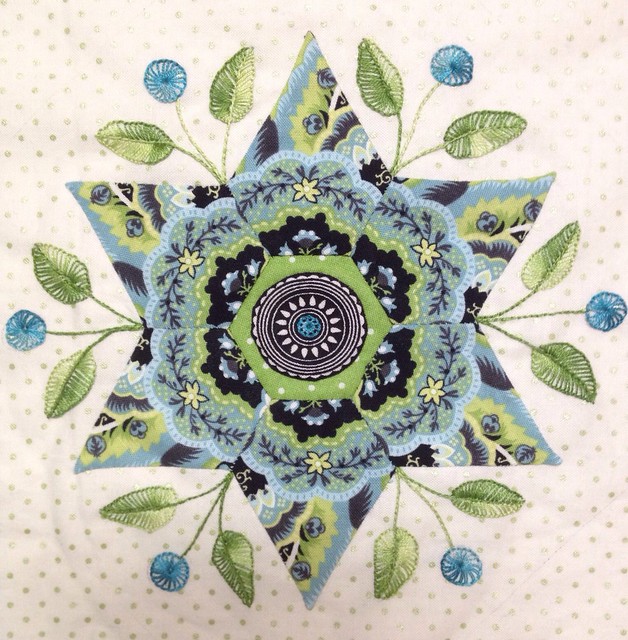
Selected a fabric for the center and basted it to the paper hexagon for the center.I stitched the hexagons with the star points together but did not stitch them closed. I like to leave one side open. To stitch in the center hexagon I begin where the center hexagon touches the hexagon with the star base. I stitch all around the center hexagon and when I've gone all the way around I stitch the opening closed.

Before you know it you have the finished star!

UPDATE July 2015: Since I wrote this post I have switched to basting from the back. You will find a tutorial on this method here. I also wrote a tutorial specifically for basting "made" fabric from the back and you will find it here.
Provided you shortened the stitch on your sewing machine when piecing the star point hexagons, the papers should come out easily. If you used too much glue the star point paper might be a little stuck. To release the paper you can give the block a hit of steam and press it (on the right side) or you could give it a little spritz of starch and press it (again on the right side). That should break the glue bond. If you REALLY used a lot of glue and you end up with a bit of paper and glue stuck to the fabric, you need a little bit of every mother's secret weapon.....spit! Just a little spit will soften the glue and paper and it can be scraped off the fabric easily!
I've got loads of interesting stars so let me know if you would like me to demonstrate some more! I worked with a 1" hexagon for this tutorial but I would be more than happy to demonstrate a 3/4" hexagon or even a 1/2" hexagon. They are surprisingly simple! I would love top hear from you.
Until I post tomorrow, happy hexagoning!
Karen H
Oh my this star hexagon looks so pretty but scary to make. I think I may have to give it a try!
ReplyDeleteIt looks scary but it is SO easy! Do let me know how you fare with the block.
DeleteAnd when I've tried this one, I'd like to learn more! You're fantastic!
ReplyDeleteYour wish is my command! I would be more than happy to share more!
Deletethis is my favourite of your hexys, as I love stars! Great tutorial -)
ReplyDeleteThanks and thanks! These stars are so fun to make! I've got more stars so I'll be sharing more for sure!
DeleteVery original this star hexagon ! Thanks for sharing your tutorials !
ReplyDeleteYou are very welcome. I'm looking forward to seeing what people do with it!
DeleteKaren, thank you for featuring the week 2 work on my Soupcon hexagon. It's been quite awhile since I've embroidered (used to do a lot as a long time Embroidery Guild of America member). I'm having fun and have completed yet another which will be posted on my blog tomorrow.
ReplyDeleteIt's beautiful!
DeleteWhat you are doing with your blocks is so interesting and exciting! Thanks for sharing the pictures!
DeleteThe new soupçon blocks are gorgeous! And I love the star hexie so too. I will try this and would love to see more.
ReplyDeleteSo glad you like the hexagons blocks. I will definitely post more tutorials!
DeleteSo lovely! :)
ReplyDeleteGreetings from Finland!
Hugs, Ulla
Hello Ulla! Thank you for visiting and commenting! I hope you will try to make one of my hexagons. They are so much fun!
DeleteWonderful embellishment to the hexiegons. I am trying to get mine done.
ReplyDeleteBunny
Isn't it amazing how a little bit of embroidery can change a block? Love it!
Deletethis is so cool. yes, more demos!
ReplyDeleteYour wish is my command! More tutorials are coming your way!
DeleteYes! I would love see more of your clever hexes! Thank you!
ReplyDeleteOh absolutely, I need to start here. I've done some small hexie projects and do enjoy them, they are actually addicting, but its perfect for my springtime portable fishing trip projects if I ever saw one!
ReplyDeleteThankkks for sharinng!!
You are a genius!
ReplyDelete