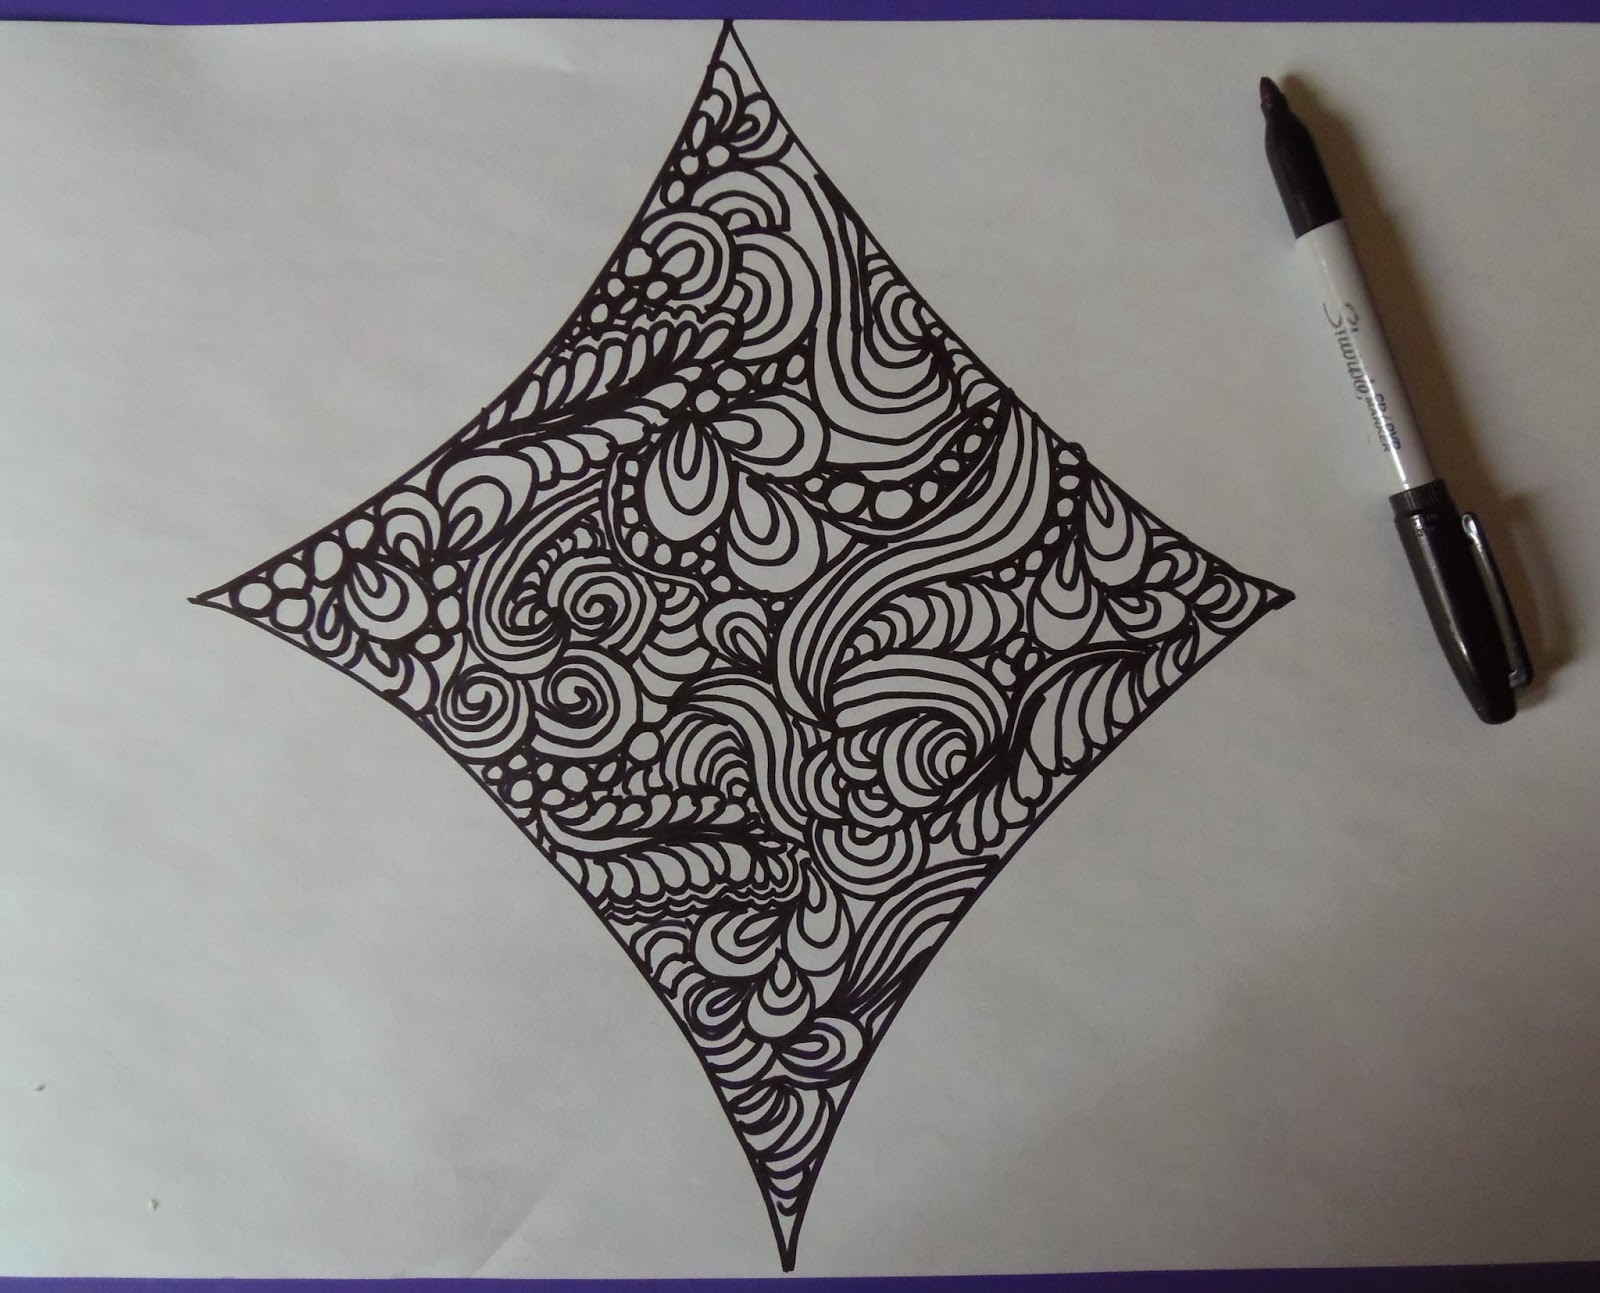
Mistakes are less visible when there are a variety of motifs and you can adjust the size or change the motif to fill small spaces or odd shaped spaces. The first time I tried this was on my Lazy Girl quilt.
The entire quilt was ditch quilted to anchor everything and then I went back and quilted the open spaces. The trick was to pick a corner and work out from there. I chose to work with shapes that were comfortable and familiar. I first wrote about how I do it here. If you want to give it a go I recommend that use a light weight thread on top (at least 50 wt or greater) and use a colour that matches the area that will be quilted.
Angie asked how I quilted the straight lines in the border. This is a picture of the quilting from the back. Ignore the line of sewing along the bottom edge; I had already attached the binding when the picture was taken.
I quilted to the outside edge of the quilt, stitch over a couple of stitches and then quilted back up until I hit the edge of the diamond applique on the front. I would take a couple of stitches along the edge of the diamond applique and then head back down to the outside edge of the quilt. I used the edge of my free motion foot as my guide. The lines are not perfectly spaced nor perfectly straight but on a large quilt it doesn't really matter because once you it doesn't show. If you do want to keep them straight you can mark guide lines on the front of the quilt and make them about 3/4" to 1" apart. It gives you a visual guide so you can keep the in between lines reasonably straight. This technique was so fast and easy!
There is a corner square and I wanted radiating lines. The first thing I did was quilt the swag which is the stop for the radiating lines. I marked my sewing lines before quilting. I next made marks along the outside edge of the quilt and I spaced them 1/2" apart. I placed my ruler on the quilt and lined it up with the inside corner of the corner square and a 1/2" mark. I drew a line. I repeated this for every 1/2" mark. I then quilted it going back and forth (or up and down actually) the same way that I did on the border.
This is a fun way to quilt and it looks great even when it isn't perfect! And I assure you that mine is not perfect but that's perfectly fine with me! You should give it a try - I think you might just impress yourself with how good it looks!
I've attached the binding to the quilt and started to stitch it down. I used the scraps of the backing fabric and the colour is subtly different from the border fabric. Love that look!
I also love the look of a nice sharp bound corner! Can you see my pretty little scissor pouch and scissor fob? They are so beautiful and I just love them. I won them in a giveaway earlier this year. They were made by Sheryl of Sewing After Seven. She does absolutely gorgeous, incredible handwork!
Well I would love to write more but as you know I've got some binding and quilting to do! So until I post again, happy sewing!
Karen H


.jpg)
.jpg)
Wow! This quilt is just stunning in every way...
ReplyDeleteFantastic quilting! I wish I can do that!
ReplyDeleteFantastic quilting!
ReplyDeleteI wish I can do that.
Beautiful, Karen - your quilting is very inspiring!!
ReplyDeleteThanks so much for the explanations. I have been playing with paper and pencil, not to get a quilt basted so I can try some of these ideas!
ReplyDeleteMy last comment stands....I'm completely and absolutely blown away!
ReplyDeleteAll your work is amazing. I love your quilting and all your work. You give so much inspiration.
ReplyDeleteGrit from Germany