Showing posts with label applique. Show all posts

Thursday, November 6, 2014

TUTORIAL: Back basting applique

I am not an expert when it comes to applique but I enjoy doing it and I think that sometimes just a little bit of applique can add so much to a quilt. There are lots of different ways of doing applique and each has its own place. One of the methods I like is back basting applique. There are small applique blocks in Gardens of a King quilt that lend themselves perfectly to back basting applique.

So what is back basting applique? Simply put you baste your applique fabric to the background but you baste it from the wrong side. Once it is basted you do needle turn applique that is surprisingly easy!

The first step is to draw the shape on the wrong side of your background fabric. I will use a fleur de lis shape. I place my design on a light box or tape it to a window. I place my fabric over the pattern  with the wrong facing side up and I trace the shape with a fabric safe marker that makes a fine line. I like to use a mechanical pencil or a Frixion pen.


Cut a piece of applique fabric that is large enough to cover the entire shape.


I place the the applique fabric on the right side of my background fabric and hold it up to the light to make sure that it is correctly positioned which means that the applique fabric extends beyond my drawing on all sides. Depending on the size of the applique I may place a few pins to hold it in place. I then take a needle and thread and run basting stitches on the lines.


I turn the fabric over and on the right side I draw on the lines of the basting thread with a fabric safe marking tool. I like to use my mechanical pencil or a Frixion pen. If you use a pencil be sure that you can see the line but you don't want it do dark that it will show after the applique is finished. A chalk pencil would work equally well. Use the marking tool you have in your tool box that you like and that works for you!


Trim the excess fabric leaving a narrow seam allowance. I like to leave somewhere between 1/8" and 1/4". If there are inner points or curves you will need to clip them to make it easy to turn the seam allowance. In fact I like to clip all the way around the shape. I find that it makes turning the seam allowance much easier. I do not clip right to the line; I stop a few threads short of the line because I can always clip more but I can't clip less!


Now it is time to applique. Remove a few basting stitches and tuck the seam allowance under on the drawn line with the tip of your needle. Stitch until you reach the point where you need to remove another couple of basting stitches. Continue in this manner until the applique is completed removing only a basting stitch or two at a time. I like to use Superior's The Bottom Line thread for my applique. A soft taupe colour seems to work on virtually all colours!


This is the fleur de lis from the front.


This is the fleur de lis from the wrong side. When I press the piece all of the Frixion pen marks will disappear!


This method works well for simple shapes like the fleur de lis but it is even better for more complex, layered designs and small pieces! As with any applique work you have to give thought to the order of sewing pieces. For example in the picture below I stitched cherries before the stems because the stems sit on top of the cherries. The leaves were stitched before the branches. I'll often write the order of sewing pieces on the wrong side of the fabric so I know what to do next. I marked all of the leaves and most of the cherries as "1" because there were stems and branches that had to go on top of them. I back basted all of the pieces marked "1" at the same time and then I appliqued them in place. At the bottom of the picture you can see there is a cherry that is on top of another so the top cherry was marked "2". I continue numbering all of the shapes in this way. The back basted piece in the picture is the last stem that I need to applique and then the piece will be finished.


HELPFUL TIP: One of the tools I keep in my sewing kit is an orange stick (just below the scissors in the picture). It is great for turning applique edges especially if there is an inner point or inner curve to be turned. The wood just grabs the fabric and tucks it neatly into place! And it does it the first time so if the seam allowance is narrow there is little or no fraying. A needle is slippery so if I have to poke the fabric a few times it might start to fray and that will make the applique more difficult!

An important consideration is if your pattern is oriented the way it should look when it's finished your will need to create a reverse image for tracing on the wrong side of the background fabric. If you just trace it onto the wrong side of your fabric the final applique will be a mirror image of the pattern. To eliminate this problem I trace my pattern on the wrong side of the pattern with a fine Sharpie marker and that is what I use to trace the design on the wrong side of my fabric. Problem solved! Another option is to use your printer to print a mirror image.

I hope you enjoyed this little tutorial! Until I post again, happy sewing!
Karen H

Thursday, November 7, 2013

Making circles to applique and Love Entwined - The Compass is finished!

Work continues on Love Entwined! The tiny 1/4" circles are appliquéd in place on the ring that circles the compass.


The excess fabric on the outside edge of the ring was trimmed away and the raw edge turned under. I've pinned the centre circle in place because I'm not yet sure that this is what I want to use.


The compass itself is still a little too bland for my liking. I went through my fabric and found this fabric that I bought when I went on a field trip with friends this summer. It is the perfect solution to my problem! I cut out some circles and prepared them to be appliquéd to the compass. Before I show you what I did I'll show you how I did it!


Although I described my method for making circles yesterday I thought I would demonstrate it with pictures. I have Mylar which is a heat resistant plastic template material but I'm always reluctant to use plastic if there is another more environmentally friendly alternative. For me that alternative is light weight cardboard. I save cardboard from cereal boxes and use it to make templates. So step one is to cut a circle from my cardboard that is the size of the finished circle. I make sure that the edges are smooth so you need sharp scissors and rather than chopping with the scissors I guide the cardboard through the scissor at the inner edge of the blades rather than at the point of the blades. The white circles in the  picture below are my cardboard templates.


I cut my fabric making sure to add a seam allowance. For tiny circles I add slightly less than a quarter of an inch. For larger circles like those in my Lazy Punk blocks I generally cut a seam allowance that is a little more generous than a quarter of an inch.

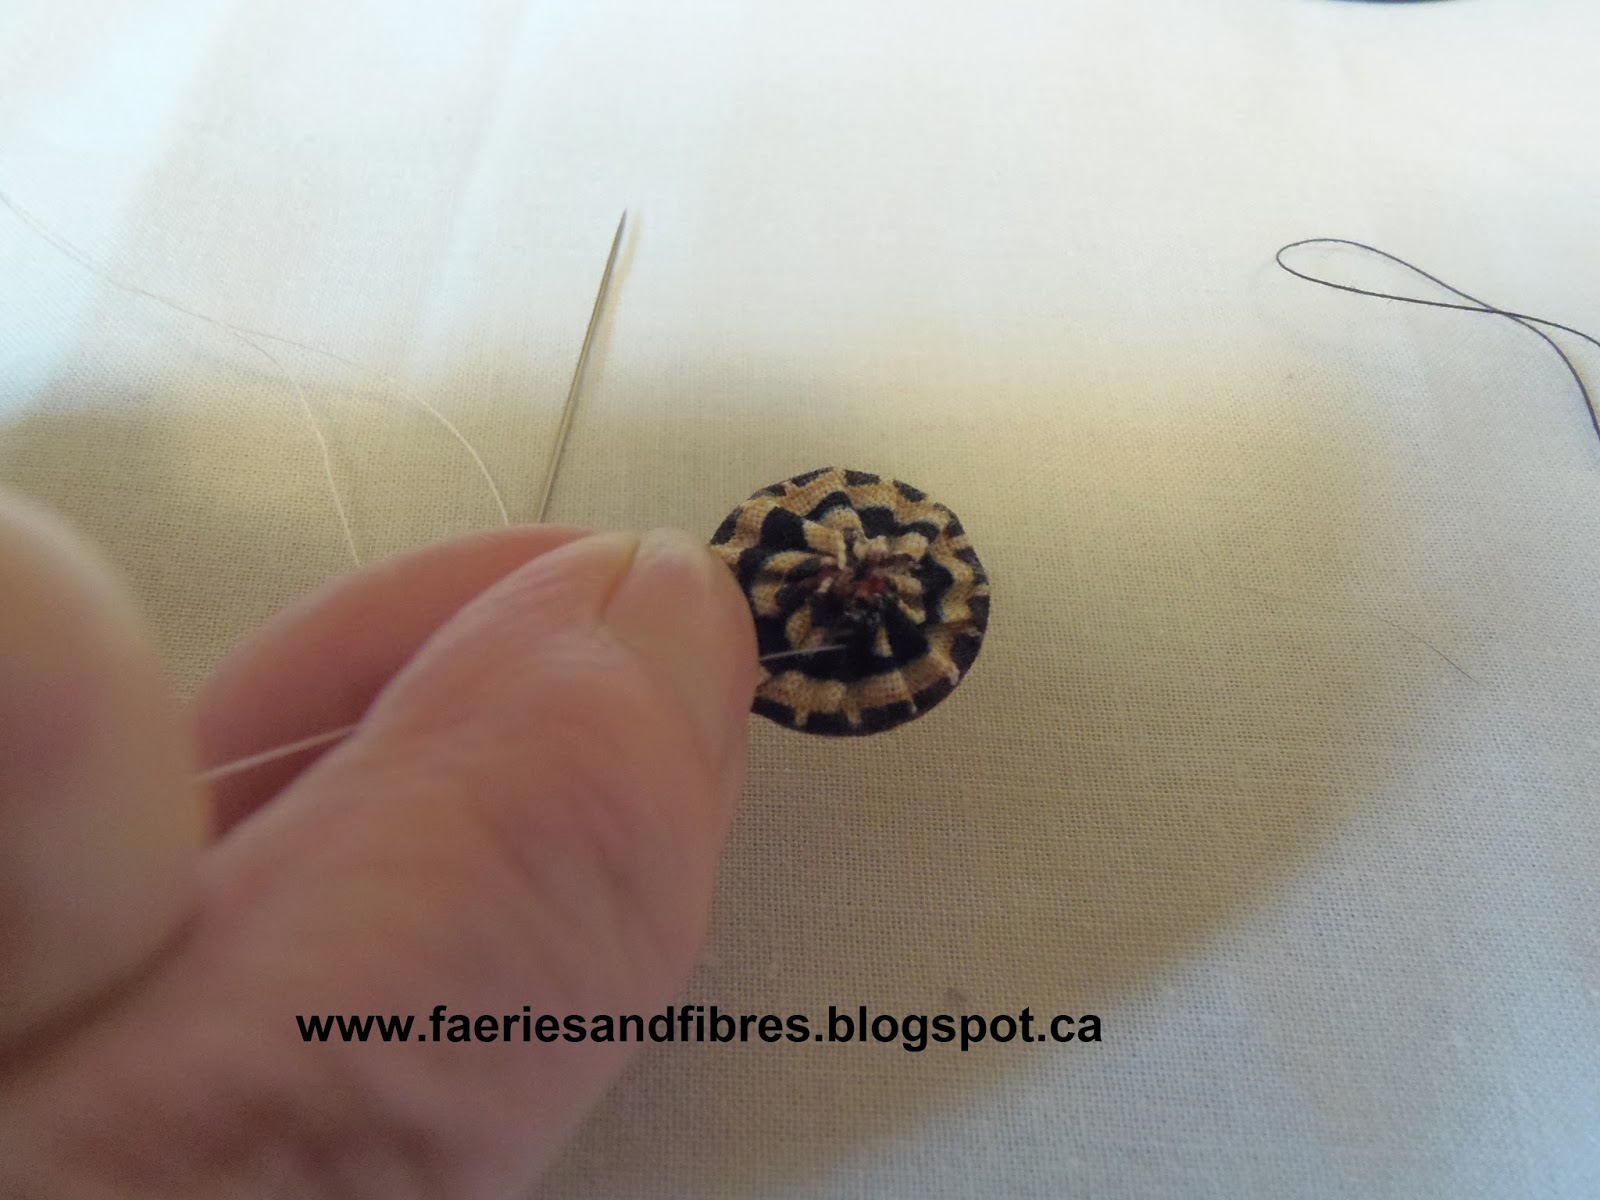
I thread a needle and take small basting stitches all around the outside edge of the circle. It is important to take small stitches so that the gathers will be small and the edge will turn under smoothly. Do not tie off the thread because it will be used to gather up the fabric.


I place the cardboard template in the centre of my fabric and I pinch the two together with my thumb and index finger.


With my other hand I gently draw up the thread to gather the fabric snugly over the cardboard. I leave the threaded needle attached.


I take the circle to my ironing board and press the right side and the back side. I then spray a little starch on the right side and press once again making sure to keep the heat on the piece until the starch is dry.


I gently loosen the gathers and remove the cardboard template.


I gently draw up the gathering thread to bring the gathers back in place.


I take a couple of tacking stitches through one of the gathers and then clip the thread.


There you have it! A 5/8" circle and a 2' circle with the same method. I used this same technique to make the 1/4" circles in the ring that circled the compass block in Love Entwined!

If I have a lot of circles to make I will cut out multiple cardboard templates and thread an equal number of needles. I'll do all of the gathering, pressing starching and stitching off. In no time at all I have a pile of circles all set to be appliquéd in place! I get dozens of uses out of each cardboard circle and when then are worn out, into the recycling box they go!


 So I made a bunch of circles from the fabric I showed you at the beginning of this post and I appliquéd then on the pink compass points. I am very happy with the effect!


I still think that this block needs an little something extra and I might just appliqué a little 1/4" circle in the middle. I've pinned one in place to give you an idea of the effect I am going for.

 The whole thing needs a good pressing before I stitch it in place so that will be on my to do list tomorrow.

Hope you enjoyed seeing how I make my circles. Until I post again, have fun making circles!

Saturday, April 20, 2013

Flora and Fauna, Parts of the Garden - the reveal!

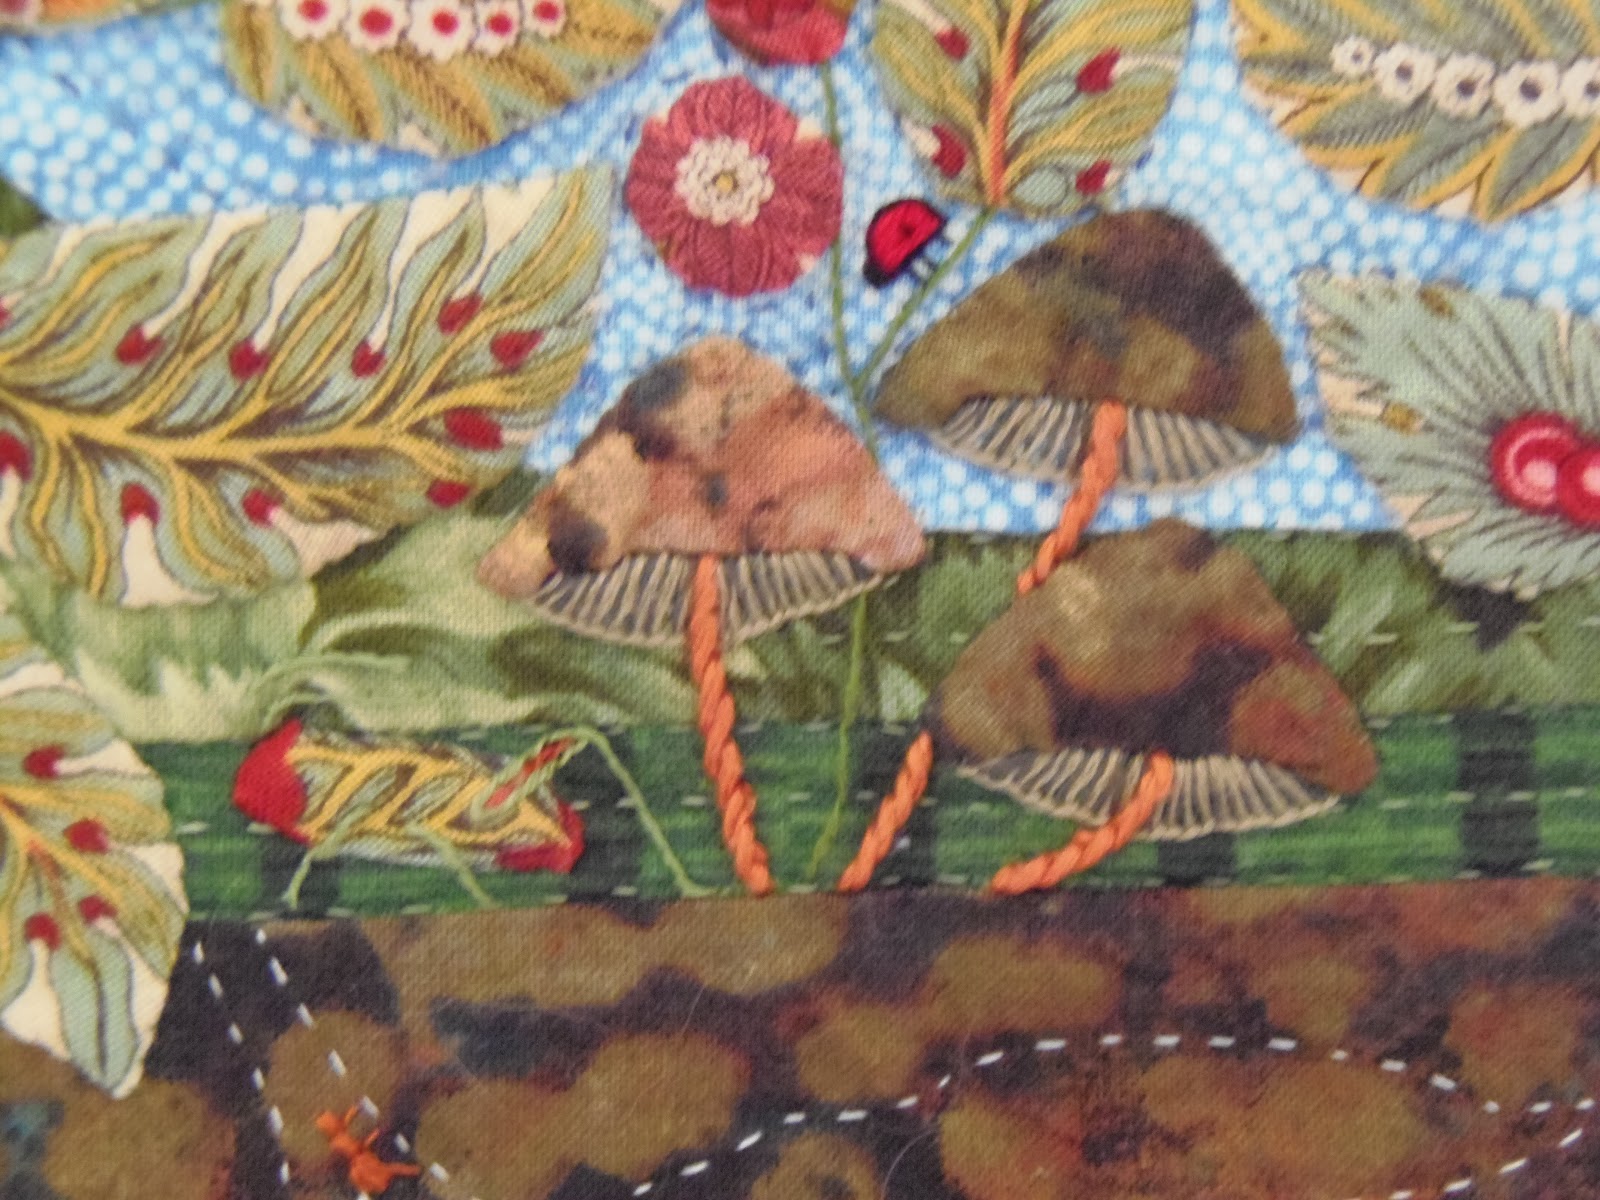
I hope you enjoyed the close-up shots of my quilt “Flora and Fauna, Parts of the Garden”. I did it this way because there is so much to see in the quilt and one picture of the whole just wouldn’t allow you to see the many details. Revealing the quilt in this way was also a journey of discovery for me ; I completely forgot that I embroidered one lonely snail in the garden! I’d been photographing the quilt for a week and only discovered the snail yesterday! All of the applique work was needle turn and many of the leaves were fussy cut from one of the six fabrics that I added to the three challenge fabrics. Did you figure out what the quilt might look like? Yes? No? Well here we go – but I can’t resist one more tease so I’ll start from the centre of the quilt and work my way out! Drum roll please…………
 
The centre.....

and a little further out....
 

and a little further out.......
 

Flora and Fauna, Parts of the Garden, 2008   28 ½” X 28 ½”

And there you have it – the finished quilt! I hope you enjoyed the picture I posted this week. I would love to hear what you thing so feel free to comment!


If you would like to try something similar here is my advice. Enjoy the creative process and the rhythm of handwork and focus on the thing you are doing at that moment. If you are appliqueing a leaf, focus on that, not the other 20 that have to be stitched. And it bears repeating, enjoy the process every stitch of the way! Oh, and it isn't a race so make it in your own time!

The Quilting Gallery Show and Tell quilts theme this weekend is squares and rectangles. Pop on over and vote for your favourite before Monday at 6:00pm (EDT)! I am a guest judge so I’ll be casting my votes as well. Next week’s Show and Tell theme is wall hangings and the following week is applique. I think will enter quilts in both. When I make my decision about which quilts to enter I’ll let you know and I’ll post some pictures! 

Tomorrow I will have a new tutorial for you so be sure to come back for a visit! Until I post again, happy sewing!

Monday, April 8, 2013

Applique tools I like to use


This is a sneak peak of an appliqued quilt border I am working on. I just love the striped fabric from French General's La Petitie Ecole for Moda! I like doing applique because it is very portable and I can use lots of different techniques. Also I can fussy bits of fabric to make the applique look more detailed and complex. There are loads of butterflies on this one and they are all done using a broderie perse technique.

There are some tools that I would not be without because they make the job so much easier. My three favourites are Roxanne Glue-Baste It, Roxanne applique needles and applique pins.


I believe the packaing has changed for the Roxanne Glue-Baste It. It is about $9 for a 2 oz. bottle but it lasts a really long time! Use the little needle top to apply tiny dots of glue 1/4 to 1/2" apart. It holds the applique pieces in place indefinitely. This means you can prepare all of your pieces, glue them in position and then applique at your leisure - the project is portable and there are no pins or basting thread to deal with. The little applique pins are 1/2" from end to tip (you can see a large pin in the picture to give you an idea of size). They are great for stems because I can reposition them as I work. The Roxanne applique needles come in a 50 pack for about $8. They have a gentle taper and a long, large eye making threading easier. I even like to use them for embroidery!

There are a lot of tools on the market that don't really make much of a difference but in my opinion these tools really deliver and are well worth the investment!

Thanks for dropping by for a visit. Until I post again, happy sewing!