Showing posts with label embroidery. Show all posts

Saturday, January 18, 2014

Tutorial: embroidering berries on my Soupcon Quilt Along quilt

As promised I will show you how I embroidered the berries on my Soupcon quilt. There are also some HELFPUL TIPS from readers. These tips will help you with your embroidery and help you plan your embellishments for your Soupcon block. You will find them a after the tutorial.


To begin draw your design on your fabric using a fabric safe marker (I used a Frixion pen). I draw a line for the stem and a circle on top for the berry. You can see that the berry on the left wasn't right so I redrew it. When I've finished the embroidery I'll take a warm iron to the fabric and the marks will disappear. To start put your fabric in an embroidery hoop making sure that the fabric is smooth and taught. I worked with two strands of DMC floss. I make a knot at one end and trim the excess floss close to the knot.


I bring the needle up at the base of the stem and work an outline stitch up to the berry. This is how I work the outline stitch. I make sure to take very small stitches because if they are too big they flop forward. If you can't get small stitches you might do better to try a back stitch. Use the stitch that is most comfortable for you and that gives you the look that you are going for. I take a tiny stitch that is a few threads in length.


The first stitch completed. 


I draw my floss up and then take another little stitch. It helps if I have my finger underneath and I push up the fabric just a little where the stitch will go. It makes it easier to pick up a little bit of fabric for the stitch.


I continue in this manner until I get to where the stem plugs into the berry I take my needle and thread through to the back and bring it up on the outside edge of the berry a few threads over from the stem.


I place my floss in a loop over the top of the berry, take my needle down through the center of the berry and bring it up a few threads over on the outside edge. I slowly draw my floss up. If you pull it too quickly you run the risk of a tangle.

I loop my floss once again over the top of the berry, take my needle down through the center of the berry and again bring the point up a few threads over on the outside edge.

I continue in this way all around the circle.


When I've completed the berry I take the floss through to the back.


I take my floss throught to the back and weave it through the outline stitches on the back.


Once I've woven through six stitches or so I clip my floss.

Voila - a berry! If your first berry isn't perfect don't worry. With a little bit of practice they will be perfect!

Here are a bunch of berries in the border of my quilt There's A Snail in Grandma's Flower Garden. I had a bunch of similar colours of floss so I threaded up a bunch of needles, each with two strands of floss. I used a different colour for each berry. The same stitch was used to work the body of the snail. I drew a spiral for the shell and worked from the center of the spiral out to the outer edge of the shell.


If you want to make French knots Judy Dietrich had a great HELPFUL TIP. She wrote "when I make one lone French knot - I have learnted to come up fromt he back and take a small stitch across the top of the fabric where the French knot goes. Then I go back down with that stitch - come back up and make the French knot. Then you have an anchor stitch that makes the French knot more secure. If I make a knot here - I go through the anchor stitch on the backside and knot on that. It really makes a nicer knot." Thanks for that tip Judy. It will also prevent the French knot from popping through the fabric to the wrong side!

Skootchover also had a fab HELPFUL TIP! She wrote "I use a sheet of transparency film for overhead projectors (or any transparent piece of clear plastic) and an erasable marker to audition designs for FMQ and I think it will work perfectly for trying different embroidery designs. Just place it on top of the square and doodle away. Just be careful not to smudge the ink on your square". That's a great idea! I have some plastic template material and it has a bit of a frosty finish but you can see through it and you can draw on it with a pencil which can be erased if you don't like what you see. You could also scan/copy your block and print paper copies for doodling! 

I hope you have fun embroidering berries or leaves or whatever on your Soupcon block(s). I'm really looking forward to seeing some wonderful creations!

There are some more blocks posted on the Soupcon FLICKR Group so it is time for another little trunk show! The first block is from Patchplay. I think she will have great fun embellishing it. I think some beads would be a great addition to the embroidery!
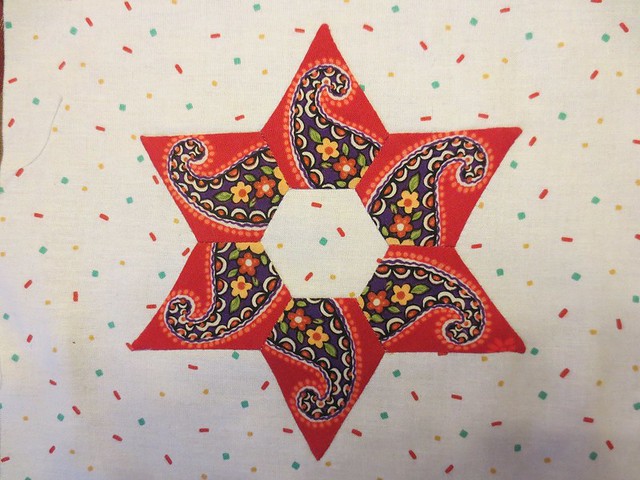

Cissa K made this elegant block. I wonder if this is a Liberty print. It sure has that kind of feel about it.
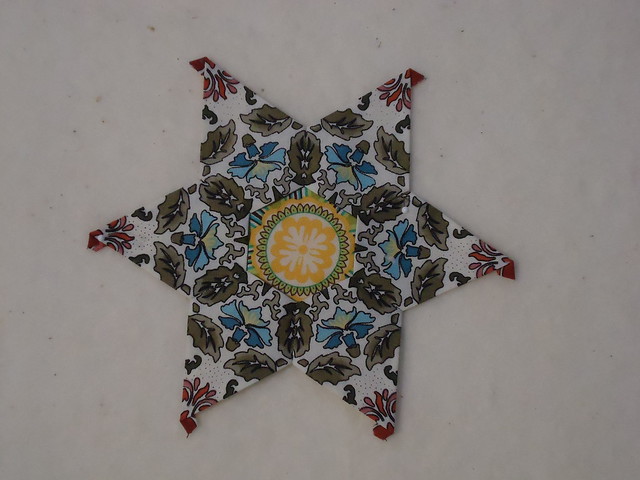

Talb9999 made this floral masterpiece. The pink center is very pretty. Wouldn't some deep yellow French knots look great in the middle? I would love to embroider or applique little green leaves at the inner corners of the hexagons.


The next two are from tucum58quilts. This one reminds me of lotus flower floating on a pond!  It really is mesmerizing!
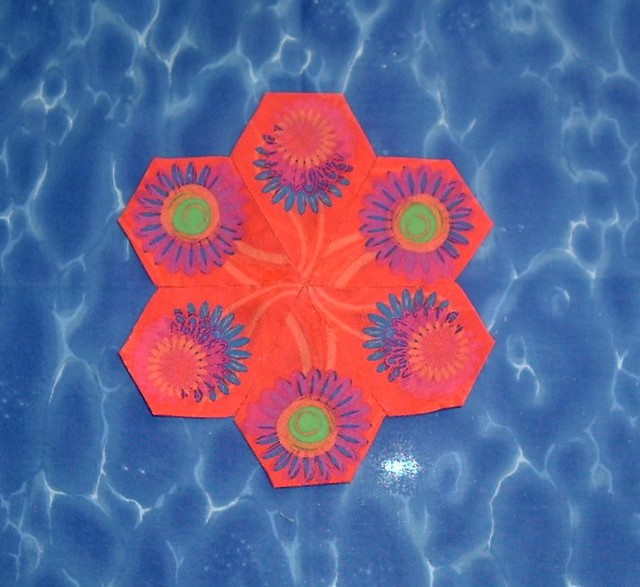
Her second block has a lovely old fashioned feeling about it. I can see visualize this one with some lovely green leafs and peach flowers embroidered at the inner corners of the hexagons. And she just has to put something special in the center hexagon because it is a lovely space to embellish!


And finally this humdinger is from GracieER. She has been very busy! For sure this has to have a bunch of leaves in all sorts of green. It will make the hummingbirds look like they are in the trees!


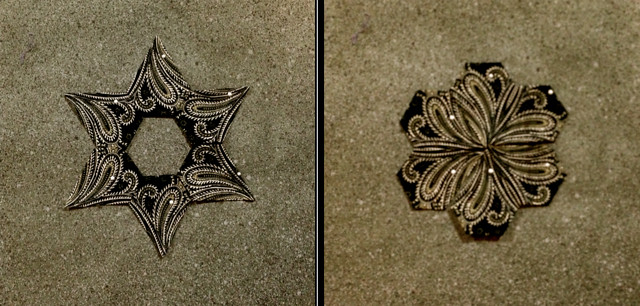
Nelliedurand has also been very busy! She posted pictures of the same modified hexagons arranged in two ways. It is so interesting to see how different the blocks look depending on whether the points are in the center to make a flower or pointing out to make a star!
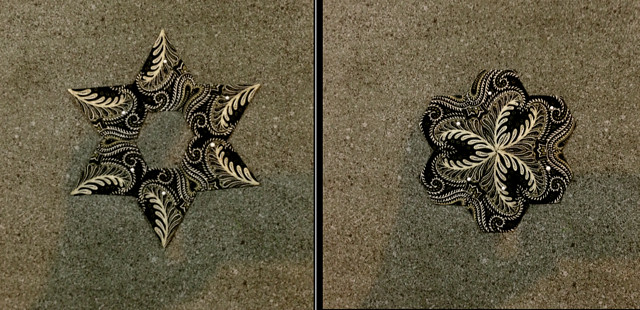
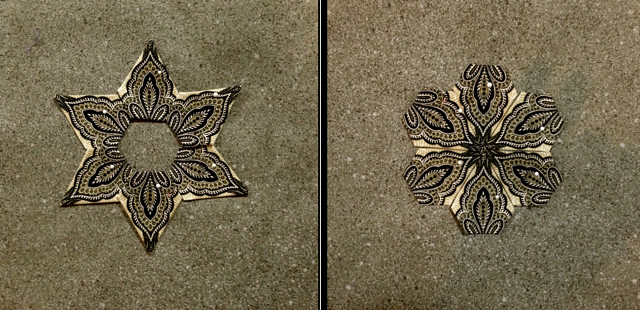
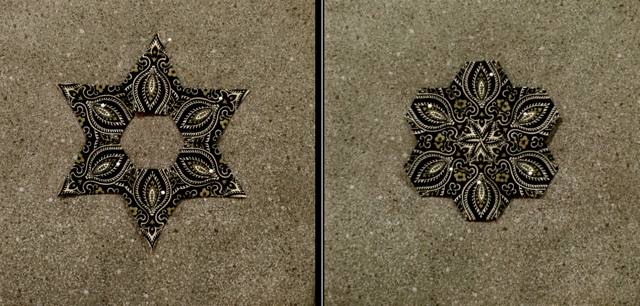

For those of you who love hexagons and felines don't forget to see what's new at Sarah's Help for Hexi-alholics.

I hope you are all fired up and ready to create something wonderful. Until I post again, happy sewing!

Karen H

Friday, January 17, 2014

Soupcon Hexagon Quilt Along - Part 2

Soupcon Quilt Along
by Faeries and Fibres
Part 2 of 6

Hello and welcome to Part 2 of  my Soupcon Hexagon Quilt Along (QAL)! If you missed Part 1 you will find it here. In Part 2 we are going to jazz up our blocks with embellishments and solve "problems".

Take your time with Step 2. Don't rush and if you aren't sure about what to do ask a question in the comment form! This is a medallion quilt so the attention will be focused on your star or flower; a few added details will make the hexagon center look even more amazing. I'll provide you with some design ideas but please feel free to use them, edit them or do your own thing. This is an opportunity to personalize your block and make it truly unique! If you are stuck and don't know what to do, post your block on the Soupcon FLICKR Group (if it isn't already there) and leave a comment below and I would be happy to give you some suggestions to get the creative juices flowing! The advice is free and yours to do with as you please. If you chose to ignore it I won't be offended! I'm also sure that the other QAL members and would also be happy to chime in!

I love applique circles and  embroidery so those are the embellishments I will focus on. As far as the applique method use any technique including fusible applique however if at the end you plan to turn your wall hanging into a quilt then you might want to consider stitching down the fusible applique. If you don't like applique you can use fabric markers such as Sakura Pens, Sharpies or fabric paints to create the embellishment. Or maybe beads and buttons are your thing (if you want to add beads or buttons it might be best to add them after the quilt is quilted)! It is up to you.

The first step is to prepare the block for embellishing. Mark an 8" square (with a fabric safe marking tool). I used the horizontal seam lines and the vertical star points to make sure the star or flower is centered. If the block is slightly off center this isn't a problem. It will be "fixed" in Part 3. Make a small mark 2 1/2" out from each corner and connect the marks to create an octagon. When embellishing your block please stay 1/4" within these boundaries. If you go beyond this measurement it will interfere with Step 3.


Adding Embroidered Details
I use two strands of DMC variegated floss for my embroidery. I find that the embroidery goes much smoother if you separate the strands and them bring them back together. DMC has some lovely luscious colours available - here are some gorgeous variegated reds! Yesterday I posted some basic rules for embroidery. You can read them here.


HELPFUL TIP: This helpful and brilliant tip comes from reader Clare. She wrote that her using variegated floss is that when the colour change is two fast or too dramatic she separates the strands of floss, flips one on end and then puts them back together so that the colour change is out of sinc. She says you get a beautiful effect with two tones but a more subtle look overall! Thanks Clare - you are so smart and I can't wait to try out this tip!

Another way to get some interest is to combine a single strand of floss from two different colours. Experiment and have fun! If you aren't sure if something will work, do a test on a scrap of fabric.

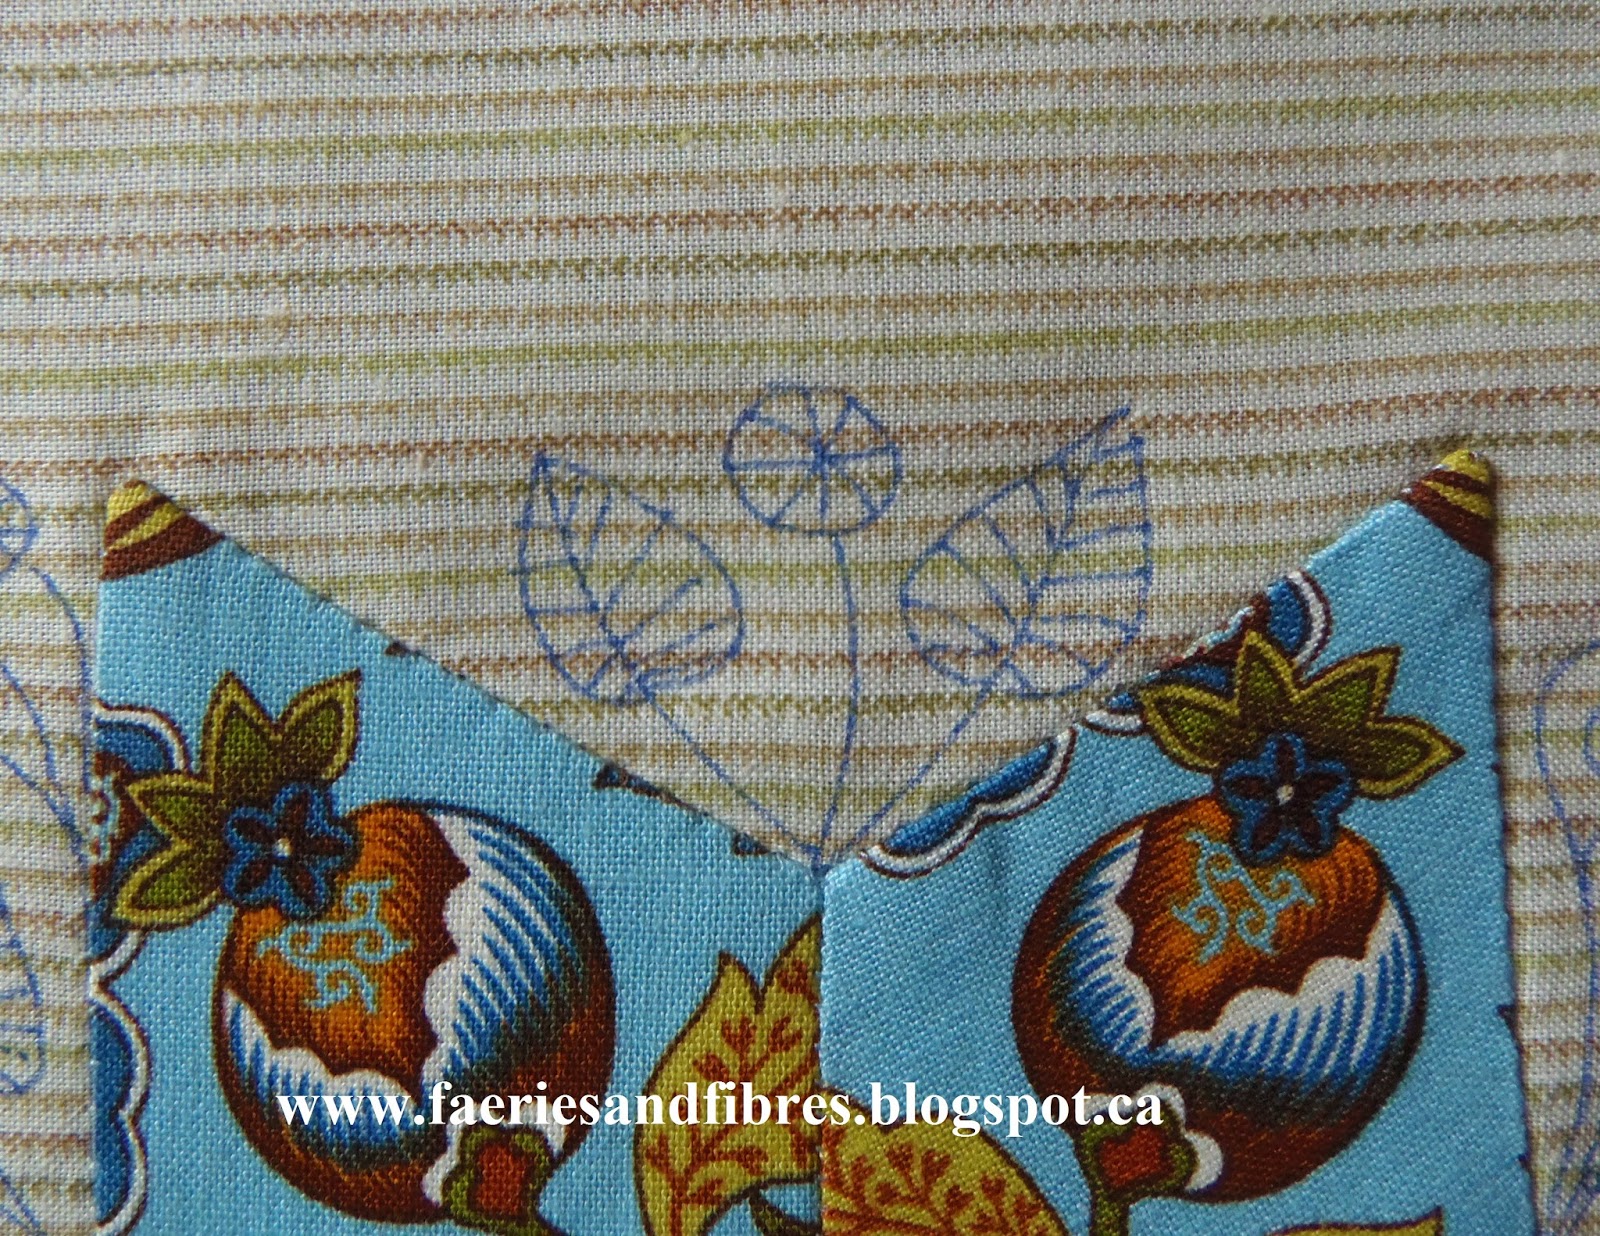
So let's start with a look at how I embroidered my blocks. Here is my blue Soupcon. I used DMC #4126 for the embroidery. I started by marking my design with a Frixion pen on the background and then I embroidered the leafs using the method I wrote about here. The markings were a guideline only and I made adjustments as I went. Sometimes the leaf needed to be a little larger or smaller or I had to adjust the position of the leaf so that it would fit.Tomorrow I will do a demonstration on embroidering berries.


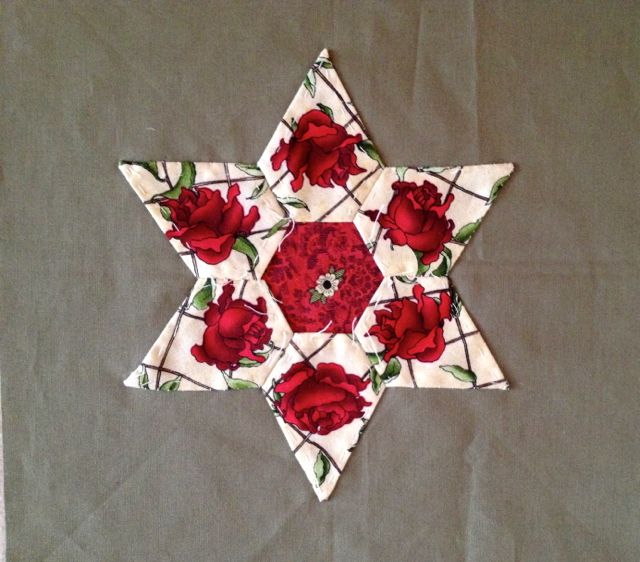
For my red Soupcon I decided to use DMC #1316 and I did more embroidery because the flower arrangement is a little smaller than the star arrangement. I think the variegated thread creates the impression of a silky sheen in the embroidery and while there is a slight sheen, it is in fact the colour change in the floss that creates the illusion.


While I used a single colour of DMC floss in both blocks there is no reason why you couldn't use multiple colours. I could have done the little leafs in different shades of green and the berries in different shades of another colour. Here is a close-up of leafs that I embroidered on another quilt using different greens. I threaded six to eight needles and each had two strands of DMC floss in a different green. I used the same green for the stems and vines but each leave was worked with a different green.


If I ran out of green half way through a leaf I would knot off my floss and start with another green. It makes for some impressive embroidery when all I was doing was being frugal and using the floss up rather than discard it! Here is an example of what I've just described. Wouldn't it be fun to embroider some lady bugs on your block? If you are interested in a demo let me know and I'll prepare one for you in the next couple of days.

You don't have to embroider leafs and berries. They just happen to be what I did. You should feel free to embroider whatever you like. Consider using the print from your hexagon fabric as your embroidery motif.

I like to use Frixion pens to draw my design because if I don't like what I've done I just touch it with a warm iron and it disappears. You should use whatever marking tool you like best. I start out by drawing my designs that I will embroider. If I want to embroider three leafs (or berries) I draw the outer leafs first and fill in the with center leaf. I NEVER work without a hoop and my preferred size is 4".


The demo for embroidering the leafs is here. I'll demonstrate the berry tomorrow.

How about a few little stems with French knots at the tip of your star points?


You don't have to limit your embroidery embellishment to the background. You could also embellish the star or flower or the center if it is open!


I've sketched out a variety of design possibilities for you to embroider or draw with pens and you will find them here. You can use them as they are edit, rearrange or come up with your own design.

If embroidery isn't your thing consider embellishing with pens such as the Sakura Pigma Micron pens or brushes. Even Sharpies will work however you must be cautious not to let the tip of the pen sit on the fabric or it will slurp up the ink and spread.

Applique Embellishments
Applique can be used to embellish the block but it can also be used to mask problems. For example, if you made a flower with your hexagons and the center is a little lack luster or the points don't match up, why not prepare a circle to be appliqued in place.


I described how I make my circles here. I filled the center of my blue Soupcon with a gold hexagon but decided it needed some pizzazz so I appliqued a circle in the middle. Circles don't have to be used to hide problems, they can also be used to embellish! I might go back and add some embroidery in the center at a later date.


Bees would be fun a fun embellishment and I've already done a demo which you could read about here. I used Sakura pens to draw the wings but you could embroider them if you prefer.There's also a grasshopper demo here.

Jean had mentioned that her fussy cut center was off-center. From the original fabric I would cut a circle with the flower motif in the center (or close to it) and make a circle to be appliqued. It will need to be large enough so that the off center flower is covered.


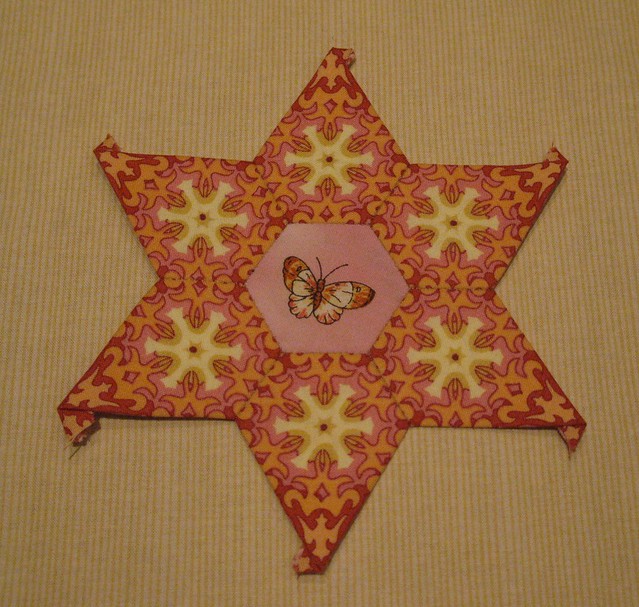
Kath has a butterfly in the center of her block.If she has more of this fabric she could applique them between the star points. Or she could trace the outline of the butterfly and embroider them or draw them on the background fabric with fabric pens!


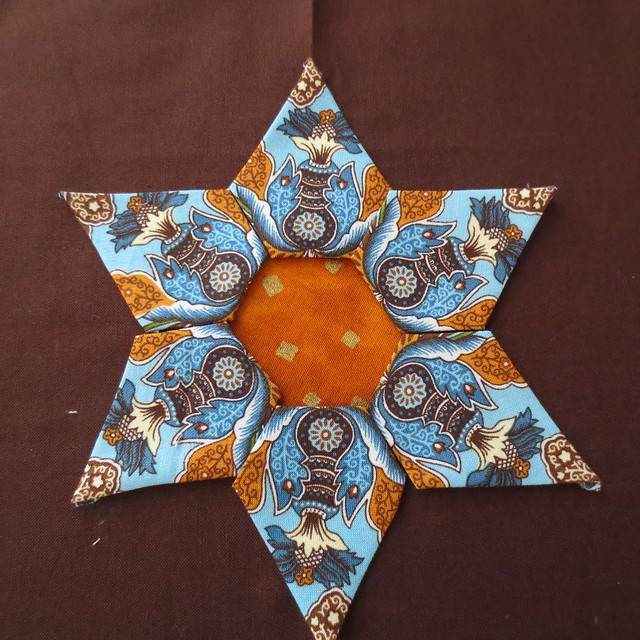
The fabric Bunny used has all sorts of interesting bits that would be perfect for applique. The six little blue flowers near the center would make great little circles that could be used as berry appliques. If she left some of the navy border around the blue flower it would be perfect in the center hexagon.


I could really have fun with this block by ABrandieCreation because of it's simplicity. Details could be outlined with embroidery and those brown teardrops are just screaming "embellish me" with some applique circles! I


There are all sorts of stitches you can use to embellish: back-stitch, running stitch, French knots, lazy daisy, buttonhole and so on. There are loads of videos available on YouTube and in other places so explore the interweb!

If you made a star and the points aren't quite perfect, consider adding some applique to change them up a little.

Combine applique and embroidery for fun! HELPFUL TIP: When I have a fabric that has motifs I like, if there is a motif that is so close to the edge of the fabric that it won't be useable I cut it so I can audition it on my block.


I left the center of this star open because I wasn't sure what I want to put in it. If I want to fill it I can slide the fabric inside and reverse applique it in place. But before doing that I thought I would audition some circles.


DESIGN OPTIONS: You can just use your block as is. Add multiple rounds of borders to make a quilt. How about making nine blocks using the same background fabric for each. Stitch them together for a center panel of a quilt. Add borders and you are done. A third option is to make more blocks and alternate them with 10 1/2" squares of a print fabric that compliments the blocks. There are lots of design possibilities but I hope that before you make a decision you'll stay tuned for Step 3.

FINAL BITS OF ADVICE: Firstly, if I've described something you've never tried (like circles for applique) why not give it a go? One circle doesn't take long and if you don't like it you can do smoething else! Secondly, please don't rush; focus on working only one detail at a time and enjoy what your are doing. Thirrdly, if you aren't sure you want to do something, don't! You can always go back later and add to your block. Finally, if you don't get Step 2 finished in two weeks, it won't affect Step 3. You'll still be able to move on to Step 3 and continue to work on Step 2!

Well I sure hope the creative juices are flowing! I would love to hear from you if you have a comment or a question. As always if you need help, I am only a few clicks away! And don't forget to post pictures on the Soupcon FLICKR Group. I can't wait to see what you do!

Until the berry tutorial tomorrow, happy embellishing!

Karen H

Thursday, January 16, 2014

Tips for embroidering details on a quilt

I like to embellish with embroidery whether it is a little bit like a lone grasshopper (I've posted a tutorial here),


or oodles of embroidery like that in the border of my quilt There's a Snail in Grandma's Flower Garden.


I've posted a tutorial for embroidering all of these little leafs here.


To start you need supplies:

  • embroidery floss (I like DMC floss, especially the variegated colours),
  • sharp embroidery needles,
  • scissors with a nice sharp point and blades and
  • an embroidery hoop (my preferred size is 4").

When I add embroidery details there are some things I do that guarantee that my work will be successful.

  • I always works with a hoop,
  • I never carry my thread across any distance because it can distort the fabric and the thread will often show through on the front,
  • I never leave the hoop in my work if when I'm not sewing,
  • I don't rush and
  • I make every effort to have the back of my work look as neat as the front.
This is my favourite hoop - it is 4". It keeps my work nice and taught and the size is just right for my hand. Any larger and I have difficulty reaching areas and any smaller and I'm constantly having to repositioning the hoop.

Here is an example of the back and the front. I can now see areas where the floss could use a little trimming close to the knots (this is a piece I started back in 1996 so it is old) but nonetheless it is reasonably neat.

The Back

The Front

Most often I work with two strands of floss. I cut a length of floss and select two strands.  I gently blow at the point where the two strands are separating from the others. I tie a tight double knot at the end and I trim the excess floss as close to the knot as possible without actually cutting the knot.

When I've finished my embroidery I knot off the thread and again trim the floss close to the knot. If however I embroidered a running stitch or a back-stitch I will weave my floss through five or six stitches on the back. Then I tie it off with a single knot and trim the floss.

If I need to travel I can sometimes weave the floss back so I can move from one spot to the next. This leaf is an example; my stitches are shown from the back side.  I started the spine at 1 and stitched to 2. I wove my floss through the stitches as indicated by 3. I embroidered the vein at 4 and then wove my floss back through those stitches as indicated at 5. I repeated the same steps for 6 and 7 and continued on until all of the veins were embroidered.

If I am making French knots and there is space between them, as in the example below, I do not carry my floss from one to the next. Instead I tie off the floss at each French knot. It takes a little more time but the finished product is much nicer. Here are French knots from the back 


and  from the front.

I hope these tips are helpful. I'm not a professional embroiderer but I've learned from mistakes and wanted to share with you what I've figured out on my own. Just a little bit of embroidery can make a quilt special so don't rush it! Just take your time and enjoy watching the design develop under your fingers! I think you might find this post helpful when I release Part 2 of my Soupcon QAL tomorrow! And if you haven't started but are thinking about it, check out Nellie's latest hexagons. If they don't tempt you, nothing will!

Until I post again, happy embroidering!
Karen H