We've had more house problems. In the most recent heavy rain the roof started leaking so getting that addressed has been my priority. We now have a new roof (I would rather have had new fabric) and the next step is to have someone go up into the attic to check the state of the wood, the insulation and the ventilation. There is some damage to the ceiling in one room so it will have to be repaired so I think that when that happens the entire room will get a fresh coat of paint. I see more dollars being spent in the near future and they won't be spent on sewing stuff.
I finished Block 1 of the Rowdy Flat Library Quilt designed by Susan Smith.
The block measures 22" finished. Some of the pieces, like the butterfly bodies are quite tiny but I simply focused on the one I was working on rather than think about the entire quilt. It is a little mind game that I play with myself but it makes the project less daunting!
This is the fabric I used for the body.
I drew the body with a fabric safe marking tool.
I cut out the body leaving a 1/8" seam allowance and on the sides and bottom I left a generous seam allowance.
I carefully needle-turn appliqued the top edge of the butterfly's body and then trimmed down the rest of the fabric and finished the needle-turn applique. It made it possible to use a pin to hold the body in place while I appliqued the top edge.
Work is now underway on Block 2. The toile skeleton fabric is tinted with my markers and embroidered details added. This is one of the blocks that I first saw that REALLY appealed to me because it had oodles of bees, one large and 18 small! Here is the large bee.
And here is the block with the toile and the big bee.
Next step is the wreath with lots of green leafs. There are flowers in the corners and the last step with be the 18 little bees! I will use the same gold and brown striped fabric for all of the bee bodies.
I have been working on the pattern for The Empire Quilt. It is taking much longer than expected but I'm hoping to get it to you soon.
Until I post again, happy sewing!
Karen H
Showing posts with label bee. Show all posts
Friday, September 9, 2016
Sunday, December 8, 2013
Fiddleheads and a fiddle without its head
I've been busy working away on needle books and Tiny World pincushions which means I've had little time for quilting. So I thought I would share some pictures of another of my quilts.
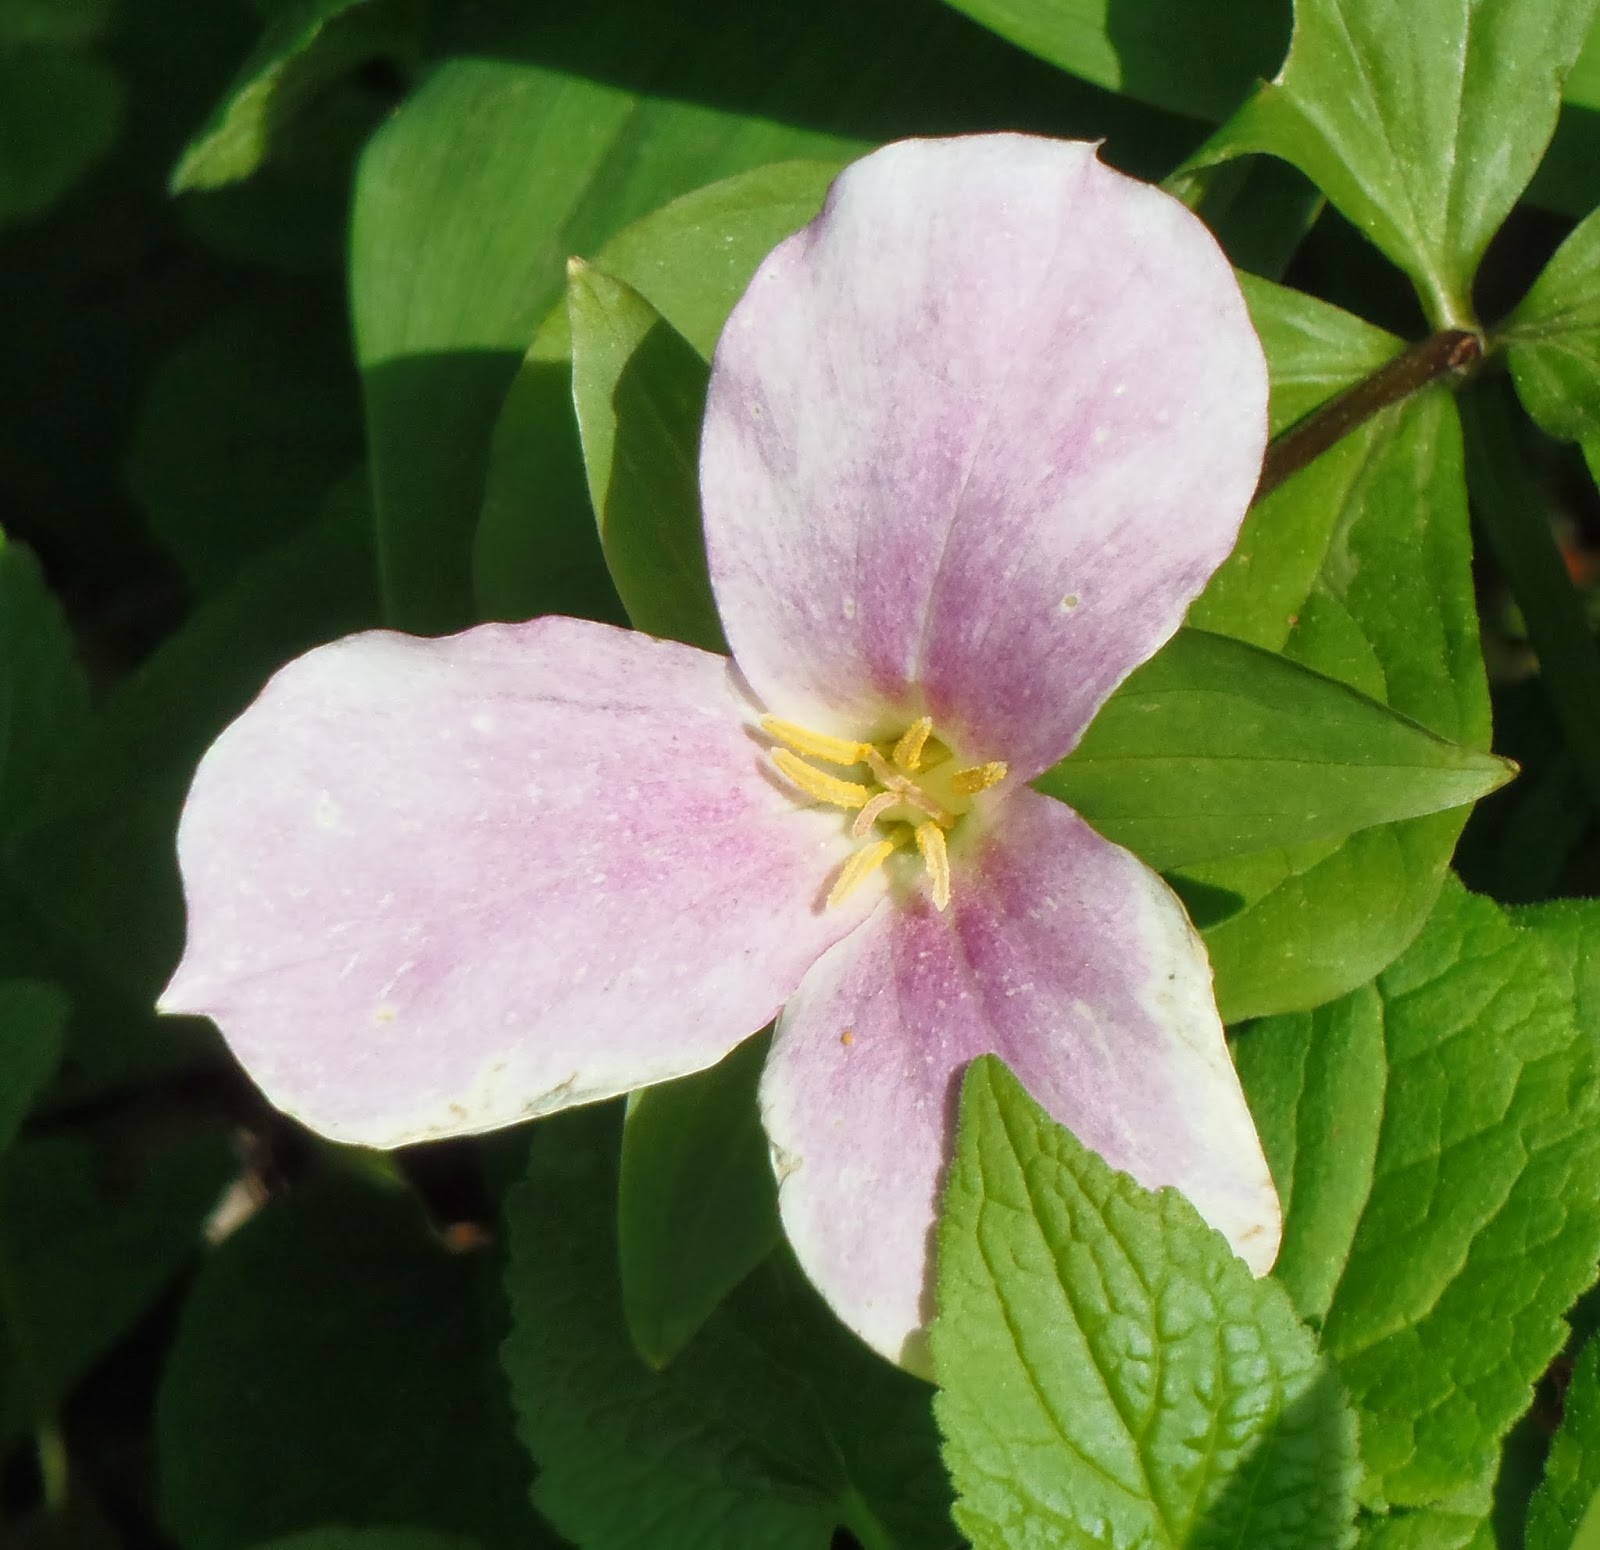
The picture above is a trillium and I took the picture this past spring. It is the provincial flower in Ontario, Canada. This pretty flower blooms in the early Spring. It grows on the forest floor and it is most often a bright snowy white and less often a deep burgundy. This little gem is in my Mom's garden and the pink blush is a result of a natural cross pollination between the white and burgundy trilliums.
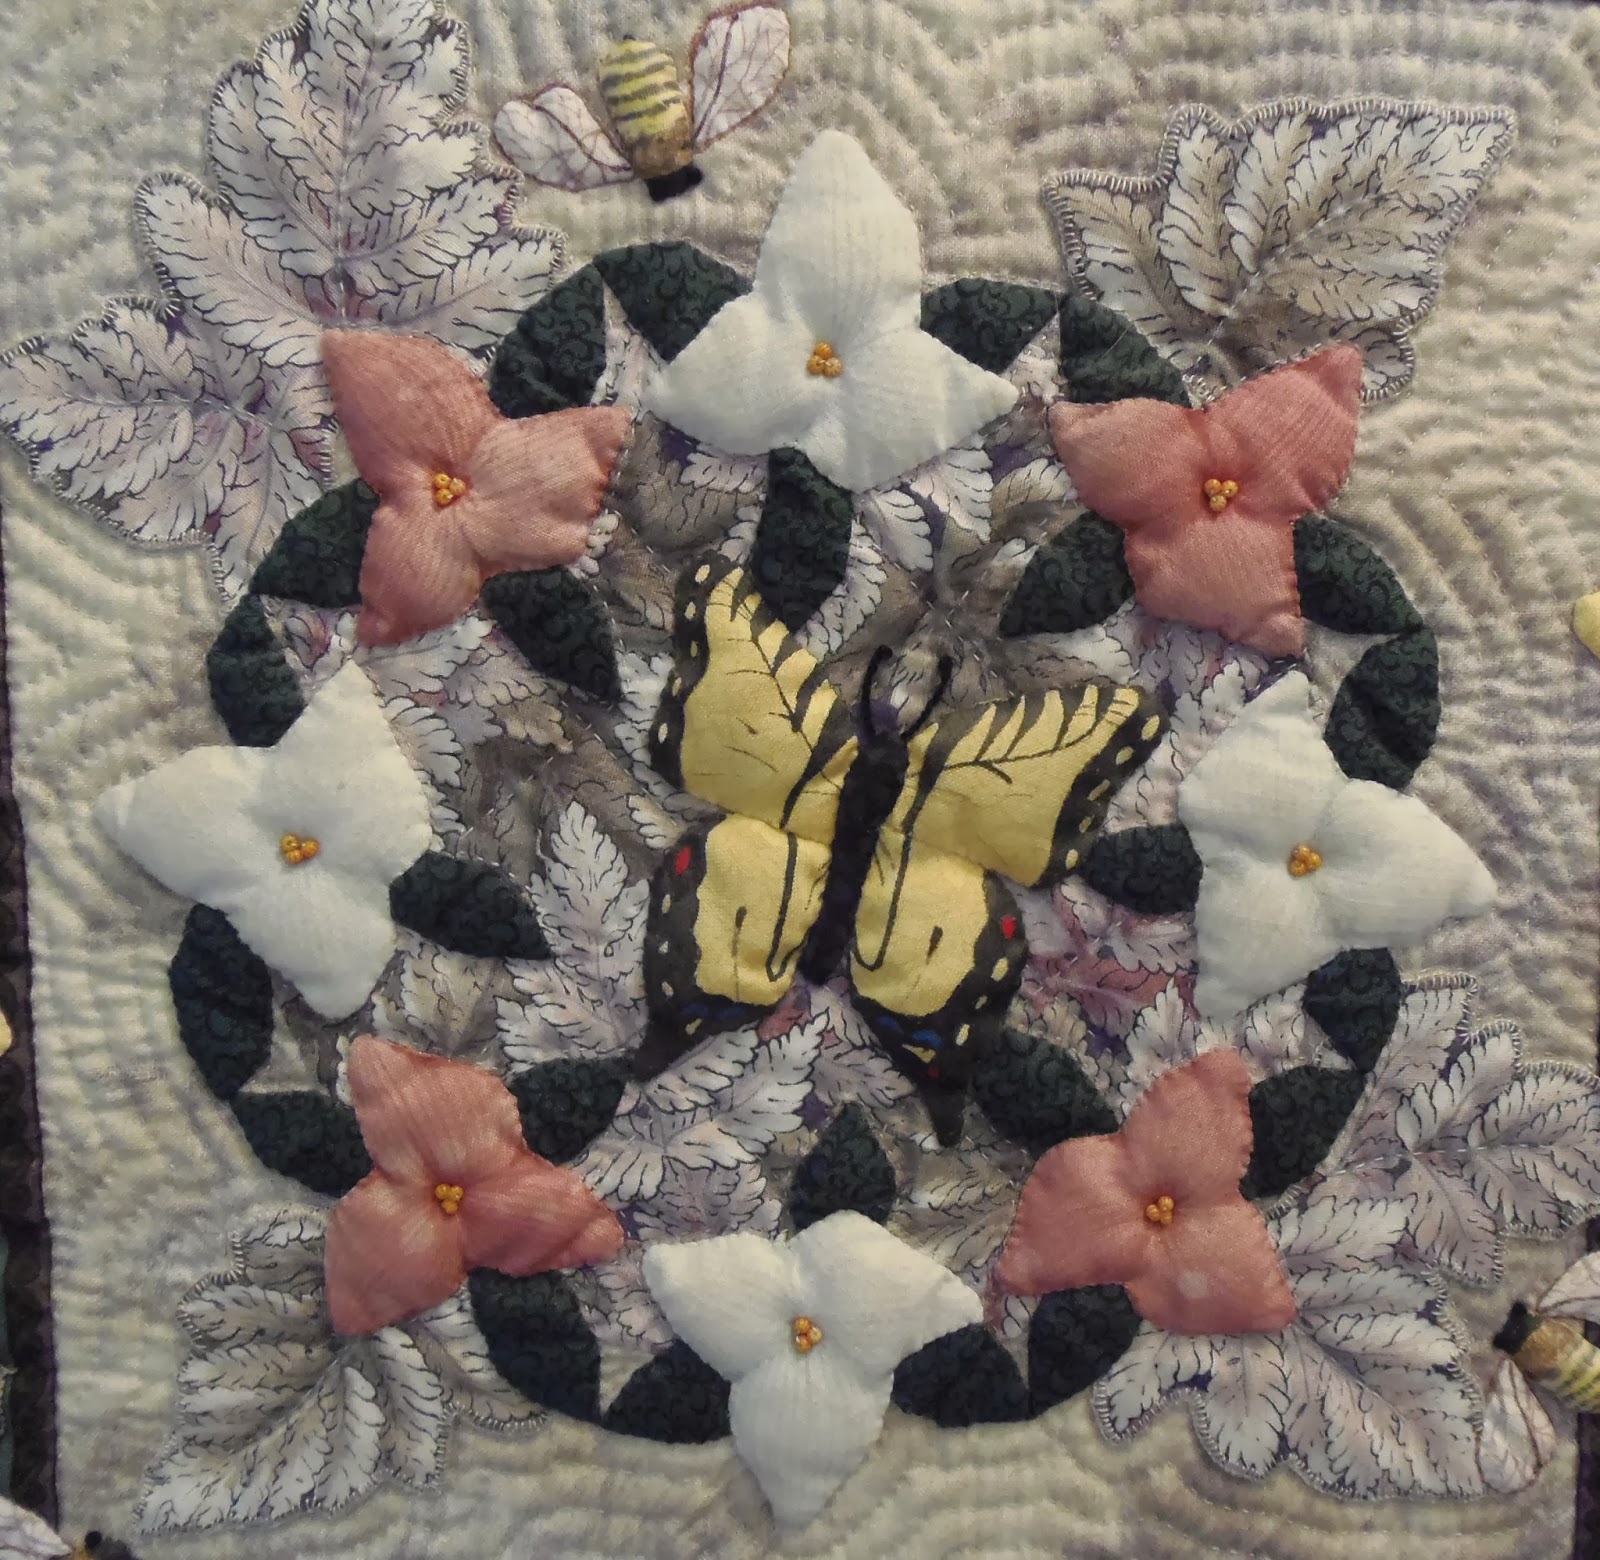
The trillium was my inspiration for the first challenge quilt that I ever made. The challenge included several fabrics some of which were a tan and mauve print of ferns, a white ground with mauve and deep rose trees and branches and a mottled leaf print that was deep mauve, taupe, black and jade green (ick - not at all my cup of tea). I was allowed to add my own fabrics.
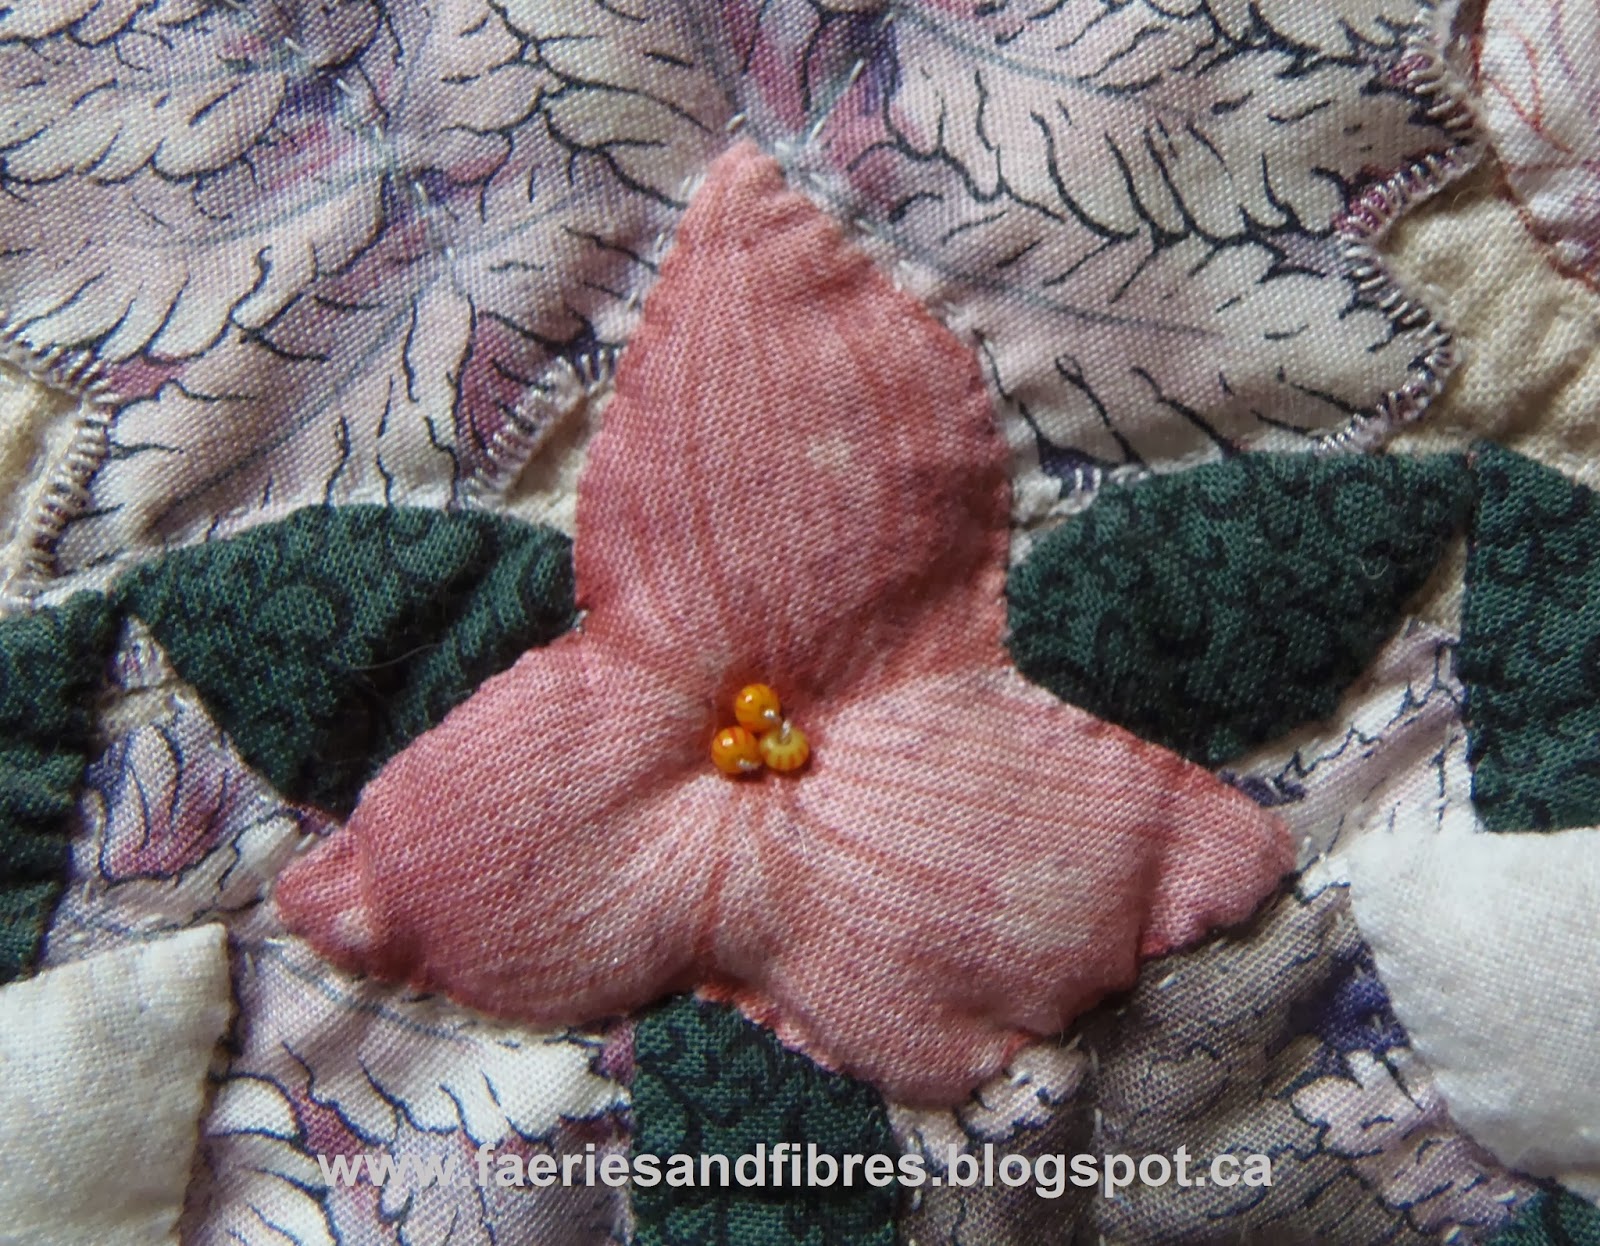
Ferns grown near trilliums so the fern print made a perfect base for trilliums. Here you can see the ferns in the background and the first three of my fabric additions, the pink, the dark green leaves and bits of the white trillium. I used watercolour paints and textile medium to paint the veins on the petals. I used the broderie perse method of applique to stitch down the ferns.
When ferns come up in the spring they look like the head of a violin.... a stem with a curled head and we call them fiddleheads. They are delicious steamed and dressed with a little olive oil, salt and pepper!
Here is a close-up of a white trillium with the veins painted on the fabric.
While making this quilt I began to wonder "what pollinates the trillium" because it blooms so early in the Spring and there aren't many bugs out at that point. I called a botanist at one of the local universities and was told that it all happens on one warm Spring day. Once the temperature reaches 68F the bees take flight and in the process pollinate the trilliums!
I used paint and fabric markers to colour the bee's body and I fussy cut the tree branches from one of the challenge fabrics to make the wings. If you would like to make your own bees check out my tutorial here.
I love tiger swallowtail butterflies and they too show up in the spring so I made one of yellow fabric and used acrylic paints to add the colour details to the wings!
For good measure I threw in some dragonflies and sulfur butterflies! Again I used the tree fabric to make the wings on the dragonfly! The head and body were all cut from a single fabric. Even the two dots that look like eyes were part of the print...I didn't add them. I should add some large iridescent beads on the side of the head for the eyes! I'll add that to my to do list!
Here is a sulfur butterfly embellished with inks from Sakura Pigma pens and some embroidery details.
I added two tiny hand-pieced borders. I had never tried anything like that before. That's the beauty of a challenge....you have to get creative and it is a great way to try out new methods or techniques. The spikey border was made with the challenge fabric of mottled leaves in shades of taupe, black, deep mauve and jade.
The final border was a deep brown Jinny Beyer border print that echoed all the colours in the challenge fabrics. And here is the finished quilt which measures 30" square.
And what do I call the quilt? Where Fiddleheads Grow.
Work continues on another fiddle which doesn't yet have its head....yet! My brother continues to apply layers of French polish to his violin.
The inlay work he has done is called purfling. Isn't it beautiful?
I continue to work on Love Entwined and time permitting I'll get back to it today. Once I've got something to share, rest assured I will!
Until I post again, happy sewing!
Sunday, June 9, 2013
A tip for making the Block of the Month, more insects and a honey of a demo!
I do the Block of the Month patterns for my Guild. They are
posted on this blog under “Block of the Month”. All of the blocks are inspired
by a piece of Canadian art. This month the painting is a Cornelius Krieghoff
painting titled River Gorge, Autumn.
The block is rail fence and it measures 5” finished. The block is VERY easy but if you would like to make some I have a little tip. The pattern calls for five strips that measure 1 ½” by 5 ½”. I suggest cutting four strips at 1 ½" by 6" and cut the fifth at 2" by 6". Sew them all together as per the instructions making sure that the 2" strip is on an outside edge. Give the block a nice press with a little spray starch and then trim it to 5 ½" square making sure that the excess fabric is trimmed from side with the 2" strip. If the seam allowances aren't precise the 2" strip provides a little wiggle room. Also the extra ½” of length provides a little wiggle room so that the block, when trimmed, will measure a precise 5 ½” square! This is a great block to use up those scraps that are sitting in a basket somewhere just waiting to become a quilt!
I’ve added some more insects to
the tote bag for the swap I joined. I’ve added some dragonflies and bees.
I might embellish the dragonflies
a little more with some coloured metallic threads in their bodies. This would
make them pop! I also added several bees!
I use the tip of my needle to tuck under the raw edge of the bee and stitch it down. I like to start near the head so that once stitched down I will be close to where the eyes will go.
I hope you’ve enjoyed my "how to make a bee" demo! You can use
this method to make any kind of insect that tickles your fancy!
Until I post again, happy sewing!
River Gorge, Autumn, 1854
Cornelius David Krieghoff
I make ten sample blocks to show the members and then the
following month members bring the blocks they made to the meeting and we have a
draw. The winner gets all of the blocks turned in plus the ten that I made! One
of the Guild members sent me ten blocks that she made so I thought I would take
a picture of the twenty blocks to give you a look at a small sample of what the
winner will receive.
The block is rail fence and it measures 5” finished. The block is VERY easy but if you would like to make some I have a little tip. The pattern calls for five strips that measure 1 ½” by 5 ½”. I suggest cutting four strips at 1 ½" by 6" and cut the fifth at 2" by 6". Sew them all together as per the instructions making sure that the 2" strip is on an outside edge. Give the block a nice press with a little spray starch and then trim it to 5 ½" square making sure that the excess fabric is trimmed from side with the 2" strip. If the seam allowances aren't precise the 2" strip provides a little wiggle room. Also the extra ½” of length provides a little wiggle room so that the block, when trimmed, will measure a precise 5 ½” square! This is a great block to use up those scraps that are sitting in a basket somewhere just waiting to become a quilt!
These bees are so cute and so fast and
easy to make. I start with a 1” scrap of yellow or gold fabric. I use a black Pigma Micron pen to draw an
oval. Then I draw little lines to resemble the bee’s head and business end and
then a couple of rows of stripes in between. I make the lines closer and darker
at the outer edges of the body and more spaced in the centre. This creates the
illusion of roundness. I trim the excess fabric away and the bee is ready to
applique.
The bee is pinned in place on the
fabric. I would normally have used an applique pin which is much shorter and
doesn’t get in the way but the long pin was what was at hand.
I use the tip of my needle to tuck under the raw edge of the bee and stitch it down. I like to start near the head so that once stitched down I will be close to where the eyes will go.
Once stitched down I take one tiny
extra stitch where the bead for the eye will go. I slide the bead on my needle
and stitch the bead in place. I go through the bead twice to make sure it is
secure. I then stitch the eye on the other side again making sure to stich
through the bead twice.
The last step is to add the wings
and any additional shading on the body that might be required. The wings can be
stitched with a single strand of thread or floss OR you can just use the Pigma
pen to draw them on. In this instance I decided to draw them on because this is
a tote bag that will be used and if embroidered the wings may snag.
Until I post again, happy sewing!
Subscribe to:
Posts (Atom)