Showing posts with label giveaway. Show all posts

Sunday, February 7, 2016

And the winners are.....

Thanks to everyone who left a comment about my Easier Than Pie & Beyond booklets each of which contained seven hexagon designs. You can see them here. I'm working on more designs so stay tuned for updates. I am giving away one booklet (of the winners' choice) to five lucky people who left comments. Unfortunately there were several no-reply bloggers which means I was unable to enter them in the draw.

And now the moment you've been waiting for....the names of the winners!

Karen in Breezy Point
Cathy
Carole-Wheels on the Warrandyte Bus
Jo Ferguson
Quiltsmiles


Karen in Breezy Point wrote "I think I would start with Book 1 since the hexies don't look Easier Than Pie--lol!". Karen, you will be surprised at how easy the hexies and you'll be sewing up a masterpiece of a quilt in no time flat!

Cathy wrote "What to do, what to choose...... If you pick my number, book five please. They are so unique." Cathy is a fellow Canadian quilter and she recently attended one of my workshops. She is an avid EPPer so I hope she has lots of fun with my designs!

Carole-Wheels on the Warrandyte Bus wrote "Karen you're hexagons are always so amazing, congratulations on the publication of these 5 booklets. I'm still sewing your Value Proposition Quilt which has taught me a lot about values, Such a hard choice I would be thrilled to win any of the booklets but if I had to choose any it would be #5. Thanks for the opportunity!".  I can't wait to see what Carole does with her Easier Than Pie & Beyond patterns. She does beautiful work and so I'm expecting some really beautiful hexagons!

Jo Ferguson wrote "If I have to make a choice, I'd pick book 4....or 5. They all look amazing." Well Jo, it looks like you will have to choose because you are a winner!

Quiltsmiles wrote "Great idea publishing you tips and tidbits as you've have kindly shared all the while through your blogging. If I was chosen a winner of this giveaway, I think Booklet #3 would be very helpful with my EPP." I've said it before and will say it again, one of the things about quilting that is the most satisfying is sharing with others!

I'll leave you with a picture of one of the hexagon designs from booklet 3; I call it Butterfly Wings and it is in Book 3.  It is surrounded with the two fabrics I wrote about yesterday. I think it is so pretty and I love the movement created by the striped fabric in the outer donut (ring or round if you prefer) of hexagons!


Congratulations to the winners and thank you to EVERYONE for the lovely comments. You make me blush! Until I post again, happy sewing!

Karen H

Wednesday, February 3, 2016

Introducing Easier Than Pie & Beyond PLUS a giveaway!

I am so excited to introduce you to my five  Easier Than Pie & Beyond booklets each of which includes seven designs for English paper piecing. I developed my methods that combine English paper piecing, foundation piecing and made fabric in the late 1990s and have used them to make quilts that look complex but in fact are very easy to make! The rosettes can be combined in a variety of ways to create truly beautiful and unique quilts. If you can sew a simple whip stitch or a ladder stitch you can make these fabulous designs quickly and easily! I've assembled some of my designs into five booklets each of which includes 7 designs! The booklets are available in my Craftsy Store.


You may have noticed that I've used the same fabric for the centre hexagon in each rosette. I did that because I wanted to ensure that the blocks had a cohesive look and feel. The rosettes were made from all my leftover scraps and I didn't give much thought to how these rosettes would look when they were put together to make a quilt top but I knew that if I repeated the fabric in the middle of each rosette that they would look like they belonged together. I will share what I did with all these rosettes and how I did it in the days to come.

And now for the giveaway! Five lucky winners will each receive a pdf  copy of the Easier Than Pie & Beyond booklet of their choice! To enter simply leave a comment telling me which booklet(s) you would chose! That's it! It order to win I need to be able to contact you so if you are a no-reply blogger your name won't go in the draw. You'll know you are a no reply blogger because you will not receive an email from me confirming that you have been entered in the draw. To get around this leave a comment and send me a private email with your address (be sure to include your blogger name so I know who you are) and I’ll enter you in the draw. That way your personal information is kept private but you’ll still have a chance to win! The deadline to enter is Sunday, February 7 at 09:00 EST (9:00 a.m EST). Good luck and I hope you've enjoyed seeing my designs! If you just can't wait and want your own copies of the the patterns now they are available now in my Craftsty Store.
*** NOTE: THE GIVEAWAY HAS NOW ENDED. THE WINNERS
WERE ANNOUNCDED IN THIS POST ***

Karen H

Tuesday, February 2, 2016

Making stars in hexagons with diamonds

How about just a little more hexagon fun? I wrote about breaking down a hexagon into three diamonds,

and six triangles.


Triangles and diamonds made from the same size hexagons that are used to make rosettes can be used to join those rosettes. If you missed that lesson you will find it here. My Road 66 quilt is made with hexagons that are 1 1/4". The rosettes are joined with triangles and diamonds that were made from the 1 1/4" hexagons that were subdivided.


For even more fun try enlarging a hexagon using the copy feature on your printer. The larger the hexagon the easier it is to subdivide into even more shapes. The hexagons in my Hexagreens quilt were 2 3/4" in size.


To make the math easier let's enlarge the hexagon to 3". You can easily break down this larger hexagon into twelve diamonds to create a star inside a hexagon.

So how did I break it down? I started by creating a master template - I started with a 1" hexagon and enlarged it using the copy feature on my printer until I had a hexagon that measured 3". I should be able to fit several of these 3" hexagons on a single sheet of paper. This now becomes my master template (I mark it so that I know it is a master template) and I will use this master template to make copies of my paper hexagons. I never cut up the original, only the copies.

I start by making a copy of my master template but I don't cut it out. I draw lines from corner to corner on a hexagon.

The next step is to mark the midpoint on each of the six sides of the hexagon. The hexagon measures 3" on each side so the midpoint will be 1 1/2". Draw lines from midpoint on the side to the opposite midpoint. I do three sides to create a triangle (green in the diagram).
I then draw lines from midpoint to midpoint on the remaining three sides (blue in the diagran). The lines should intersect perfectly. Please excuse my sloppy computer drawing skills; the lines do not intersect perfectly in the diagram but they will on the template provided the midpoint is correctly marked on each of the six sides.
At this point it is made up of 24 triangles which you could use to create an interesting design but we want to make a star in a hexagon so the final step is to remove the lines that dissect the diamonds so that what we are left with is twelve diamonds! Again please excuse the sloppy drawing but you get the general idea.
If you remember my lesson from January 28th you will be able to figure out that the diamonds above have four sides of equal length and it is one half the length of the hexagon. This means that if you are working with a 3" hexagon the diamonds will be 1 1/2" long on each side.

You can fussy cut six diamonds to make a lovely star and then use a plain print for the remaining six diamonds that turn the star into a hexagon.


I like the star shown below because it is made from two simple tone-on-tone prints and it is the filler diamonds that turn the star into a hexagon that are fussy cut. I had originally planned to sew them together to make a star but it just didn't work so I though why not use them as the filler diamonds and they worked beautifully!


If you have any questions please feel free to ask. If I can answer the question I am always happy to do so!

Tomorrow I'll be publishing my new English paper piecing patterns in my Craftsy Store. And there will be a give away too! I have five booklets titled Easier Than Pie & Beyond and five lucky readers will have the chance to win an Easier Than Pie & Beyond booklet of their choice! So come back tomorrow to see my hexagon designs enter the giveaway. Until tomorrow, happy sewing!

Karen H

Sunday, January 31, 2016

A student's work and new patterns are coming

As many of you may know I've started teaching English paper piecing (EPP). My workshop is called Easier Than Pie & Beyond because my methods and techniques make EPP easier than pie! It is fun and exciting for me to see others get excited about the possibilities using my basic techniques combined with "made" fabric methods. It takes EPP beyond the basics and launches it to the next level. I've been using EPP to make quilts for 35+ years and developed my "beyond" methods in the late 1990s.  These are my class samples that demonstrate the techniques that I teach.


At the workshops I also sell booklets which each contain seven designs for English paper piecing. They are a big hit with students and I will soon be selling them in my Craftsy Store! I recently heard from one of my students, Lorna. She had made a medallion based on my class samples and then she applied what she learned along with some of my patterns that I sell at workshops and created her own masterpiece. Lorna tells me that she used some Christmas fabric that she had on hand to make this medallion. She plans to turn it into a wall hanging. Well done Lorna - I can't tell you how impressed I am and my hope is that you are as thrilled with what you've done as I am!


I hope to launch my patterns early next week and to kick it off I'll have a giveaway. There are five books, each of which includes seven designs so how about five giveaways? Check back next week to see my designs and to get details of my giveaway!

Until I post again, happy sewing!
Karen H

Saturday, January 24, 2015

GROW YOUR BLOG & a Giveaway!!!!


January 25 is GROW YOUR BLOG day. A big thanks to Vicki of 2 Bags Full (and her band of volunteers) for organizing the event. You will find a complete listing of participating blogs in Vicki's January 25 post. It is a wonderful way to meet new people and to discover new and interesting blogs many of which have giveaways. I have a giveaway so keep reading to find out more!

My name is Karen H and I am a Canadian quilt maker. I blog because I want to share what I do an how I do it. I try to keep my blog posts informative and have set up several pages that contain tutorials, instructions on English paper piecing and free patterns! One of the patterns is Cherry Blossom!


Cherry Blossom by Karen H 2013

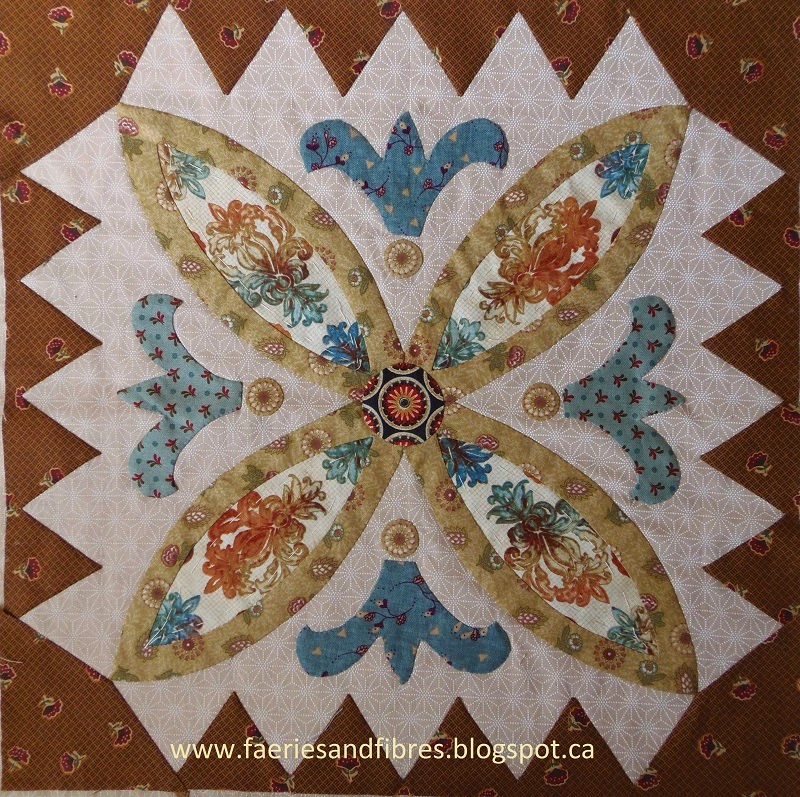
I love all sorts of quilting styles and techniques. I've made traditional, applique,modern and improv quilts. To get an idea of what I do you can visit my Quilt Gallery to see some of my quilts. I think what makes my quilts different is that I like to add little details. For example a little bit of fussy cutting goes a long way! Take this block ....it is very pretty but it needs a little something just to spice it up a little!


I cut some circles from a print and appliqued them to the bases of the fleurs de lis and while it is a small thing I think it has a big impact!


Here's a close-up!


My quilt Flora and Fauna, Parts of The Garden is another example of what I do! I've combined broderie perse with embroidery to create one of my favourite small quilts. It was made during a Guild Challenge; I was given three fabrics and I was permitted to add another six. You can read about my quilt and see more close-ups here.

Flora and Fauna Parts of The Garden by Karen H 2008


The technique that I keep coming back to over and over again is English paper piecing and my favourite shape to work with is a hexagon. If you love hexagons you've come to the right place! You will find complete instructions under the tab English Paper Piecing Instructions and Hexagon Fun at the top of the page. You will also find tutorials for a technique I developed more than 15 years ago. It is a fast and easy way to make spectacular hexagon blocks. I've published many posts and tutorials about this technique and you will find them under the tab English Paper Piecing Instructions and Hexagon Fun.


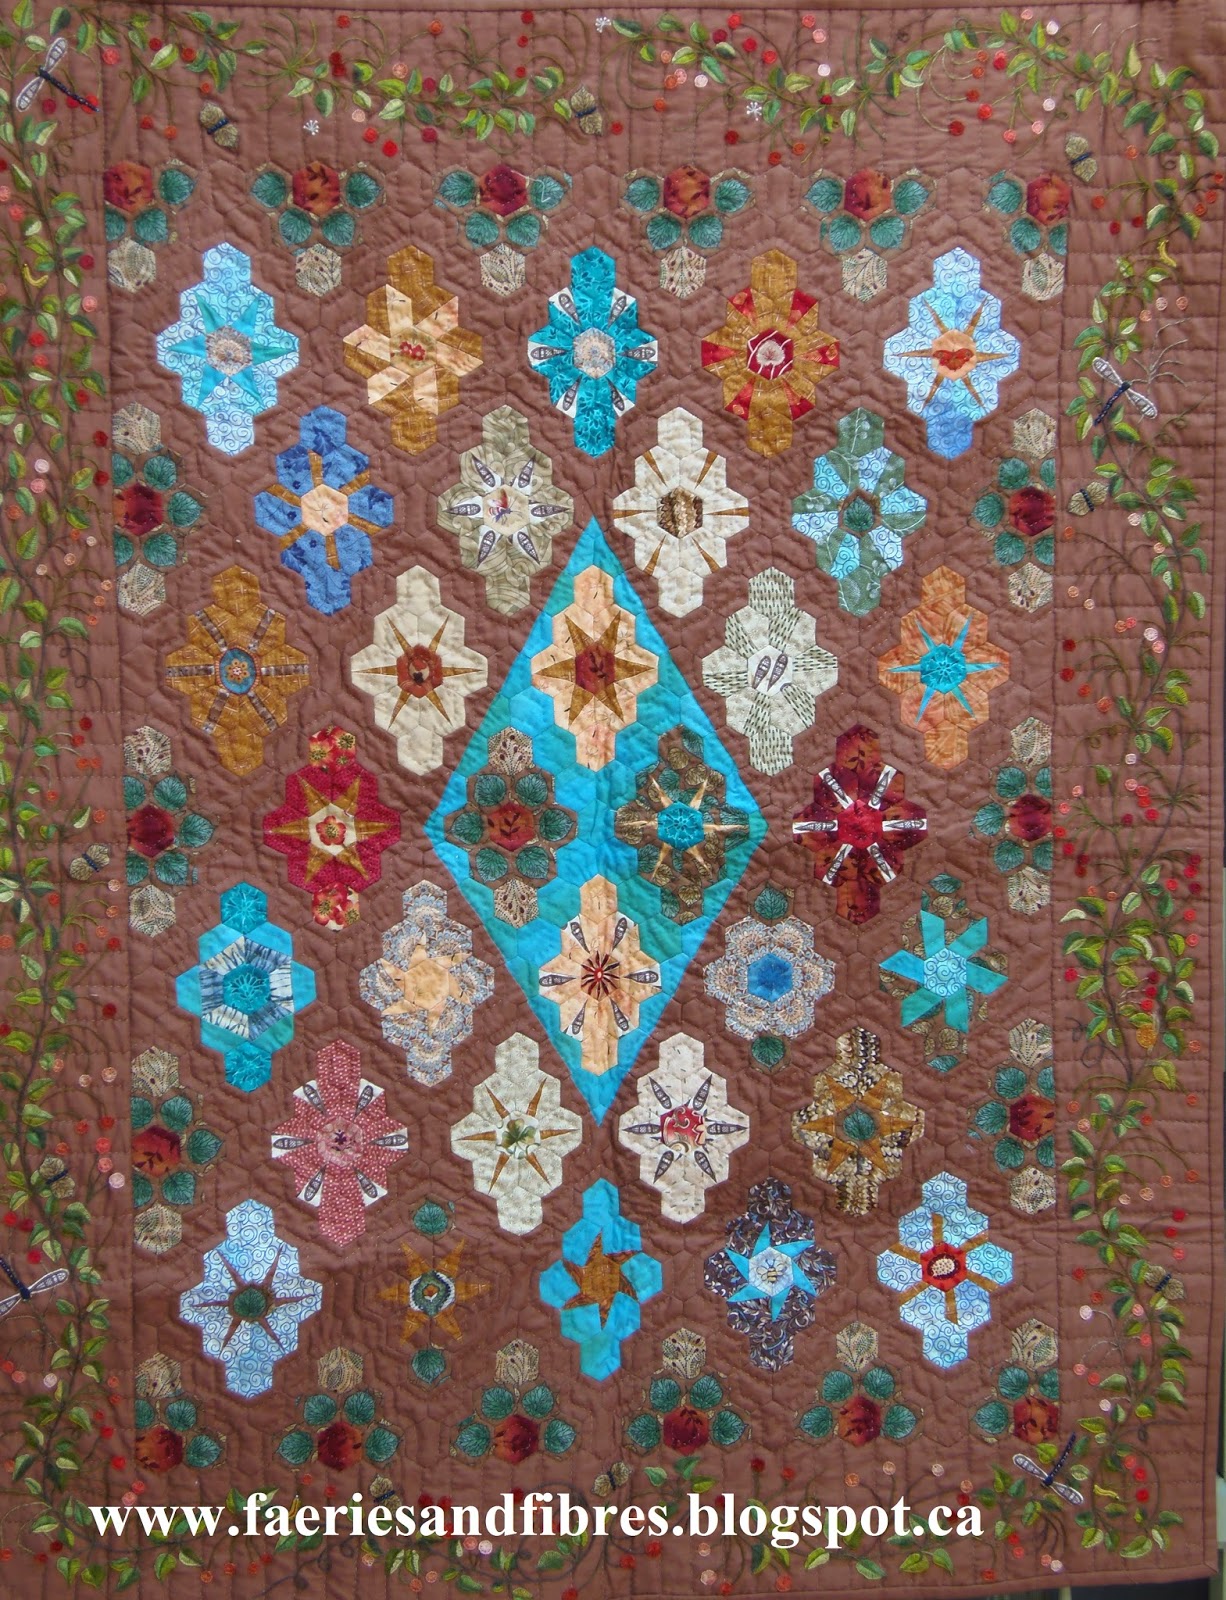
My quilt There's a Snail in Grandma's Flower Garden combines my love of hexagons and fussy cutting with embroidered details!


There's a Snail in Grandma's Flower Garden by Karen H 2004

In the past year I've worked on and completed several projects including my Value Proposition Quilt Along. The focus was on value (the relative lightness or darkness of a fabric when compare to another). The quilt is made of 18 full blocks and 4 half blocks. You will find links to all of the free patterns under the tab Quilt Alongs by Karen H. This quilt is still needing its border so that project is on my "to do" list!


Value Proposition by Karen H 2014


I recently finished piecing my quilt Lozagons. It is a reproduction of an antique quilt that I saw on a Lorraine's blog Granny Loz. You can see the original quilt here. I ran out of turquoise fabric and that colour was discontinued so I had to use a second which is slightly different. You can see it in the middle of the top and bottom edges of the quilt. I've ordered more of the darker blue and plan to add a nice wide border all around the quilt.


Lozagons by Karen H 2015

I was asked to test a pattern for Missie Carpenter of Traditional Primitives. It is her interpretation of the King George II coverlet. Missie's pattern is called Gardens of a King and it is now available for sale on her site. It was a very interesting experience testing the pattern. This is my version of her pattern.


Gardens of a King by Karen H 2014

The 6" blocks are made using English paper piecing. It makes for perfect points on even the tiniest of pieces!


I also enjoy other techniques including traditional piecing. I've posted pictures of some of my finished quilts in my Gallery of Completed Quilts. You will also find some free patterns under the tab Patterns by Karen H. One of the free patterns is for this quilt which I call 81 The Giant Monstrosity (it turned out much bigger than I had expected)!

81 The Giant Monstrosity by Karen H 2014

And now for the giveaway! This pile of goodies will go to one lucky person. The package includes 3 fat quarters, 3 spools of cotton thread in neutral colours, marking tape and a scissor fob pincushion made by yours truly!


To enter the draw simply leave a comment. I reply to every comment so if you don't hear back from me it means you are a no-reply blogger and I cannot enter you in the draw because I have no way to contact you (unless you provide your email address in the comment). I will draw the name of the lucky winner on February 15! Good luck people!

Thanks for dropping by for a visit! Until I post again, happy sewing!
Karen H

Wednesday, October 1, 2014

Stilettos - Your opinion is invited and a giveaway

My brother is a woodworker and over the years he has made an assortment of treasures for sewists. For Christmas last year he made seam rippers for Mom and me.


I love my seam ripper and when I saw him making a scratch awl for cabinet making it reminded me of a sewing stiletto so I suggested he consider making me a stiletto! Well really I did ask him to consider it - I asked him to make one for me! He has made two stilettos and as you can see in the picture above he likes to use exotic burls for the handles so in addition to being functional they are also very beautiful.

These are the first two stilettos he has made and he is asking for my input and in turn I'm asking you for your input! To make it exciting, if you provide input you'll be entered in a draw for a giveaway (keep reading to find out what it is)!


The stiletto on the left is very much like a sgraffito or a scratch awl. The wood handle measures 2 1/4" from the base to the base of the needle at the brass ferule. The needle also measures 2 1/4" so the total length of the stiletto is 4 1/2". The stiletto on the right measures 5 1/2". The needle is 1 1/4" from its base to the tip. This stiletto is convertible so the needle can be removed and inserted into the wooden handle when not in use.


I also wanted to share a comparison of the needle tips. The stiletto on the left has a rounded blunted point whereas the stiletto on the right has a sharp needle point.


So here is where your opinion is needed: what features do you think are the most appealing? Do you like the longer stiletto or shorter? Do you prefer a convertible stiletto where the point can be tucked inside or do you prefer the non convertible model. And what about the point - blunted or sharp?

If you leave a comment you'll be entered in a draw for one of my pincushion scissor fobs! I'll custom make the fob for the winner! This is a picture of some scissor fob pincushions I made to sell at my Guild's quilt show. I'll announce the winner at 9:00 am October 8th. Please be sure that you are not a no-reply blogger because if you are I have no way of contacting you. I reply to every comment so if you don't get an email from me in response to you comment then you are a no reply blogger.


I'll be off tomorrow but Friday morning will post Block 13 in my Value Proposition Hexagon Quilt Along. Until then, happy sewing!
Karen H

Friday, April 4, 2014

The Winners of my Anniversary Giveaways and my second Godstone Grannies (GG) block

It is time to announce the winners of  giveaways. The prizes are a $30 gift certificate from Superior Threads and 2 yards of fabric from me!

I want to once again thank Bob Purcell and Superior Threads for very generously donating this gift certificate. I love and use Superior products, threads and needles, because I get good results and in my opinion they are very good value for the money spent. I don't have any paid advertising on my blog and I don't get paid to promote products so when I blog about a product it is because I like it and use it.

So here we go.....INSERT DRUM ROLL PLEASE!!!!!

The winner of the $30 Superior gift certificate is Lorraine. She wrote "Congratulations Karen on your one year anniversary. Judging from your photos it ha been a busy and productive one. Looking forward to seeing what the next year brings".  Congratulations Lorriane!

The winner of 2 yards of fabric is Donna W. She wrote "Happy Anniversary!!! Thanks for your wonderful blog. I enjoy reading it". Congratulations Donna W.

I finished my second block for Godstone Grannies (GG) and I love it! Wouldn't an entire quilt made of this block be fabulous? It would be great made in bright prints. If a 1" hexagon were used you would need less blocks to make a quilt. There will be 31 diamonds in my quit which used 3/4" hexagons. No doubt as I go along I will fall in love with other blocks in my GG quilt but for now, this is my favourite child! Also I'm linking up with Angie's A Quilting Readers Garden for Hexie Weekend where you can find oodles of hexie inspiration!


I wanted to respond to a question posed in one of the comments. Penny asked me to recommend what size of stencil would be the most useful and what would I recommend. What I told her was that I've purchased some stencils but I rarely use them because I dislike having to mark the entire quilt. However the stencils that I have purchase are usually a wreath design and they are generally about 8" square. The size you will need really depends on the size of block that you want to fill. I purchased a book Dream Feathers by Peggy Holt and it opened my eyes to a whole new world of possibilities.


The book is on my Cherry Blossom quilt and the feathers were constructed using many of the techniques discussed in that book.  I also use them to quilt Nine Patches and Baskets.


I used Superior's The Bottom Line to quilt. The colour Statue was used throughout with the exception of the pebbles which were quilted with Gold which I wrote about in the past. It was a colour recommended by Cindy Needham in her Craftsy class. It is a neutral with a little pizzazz and I love it! You can see that a different colour thread has been used but it is subtle and elegant! It really adds some richness to the quliting.


So I've been using what I learned in large part from Dream Feathers and have combined it with my practice doodles and that is how I ended up with quilting designs like those in my Lazy Girl quilt.  I used Superior Monopoly to stitch in the ditch first and then the feather and background fill were worked with Superior So Fine!


So Penny my advice is that if you want to buy stencils by all means do so. Buy designs that are versatile so that you can use the entire design or just parts of the design. But also try experimenting with your own designs. Feathers look difficult but honestly with a little practice you will be amazed at how easy they are and best of all, each plume does not have to be identical. The eye sees the whole an not the individual components. Echo the feathers and then fill in the background with any kind of craziness and you'll have something special. The secret is to use a good thread that is fine and that blends so that what you see is the quilting design rather than the stitches.

Thanks to each and every one of you for reading my blog and to those of you who were able to find the time to comment, an extra big thanks! Right, gotta run! I've got stuff to do today!


Until I post again, happy sewing!
Karen H