Showing posts with label needle book. Show all posts

Wednesday, September 3, 2014

Another 241 Tote Bag with hexagons

I signed up for another one of Lia's Handmades Secret Tote Bag Swaps. This time everyone is making the Noodlehead 241 Tote. It is a great pattern that is fast, fun and easy to make! My partner wrote in her profile that she loves hexagons but has never made a hexagon quilt! I decided to make her a bag that is embellished with hexagons. I started with a dark taupe fabric that has a linen look about it; I rough cut it larger than the pattern piece, layered it on t80/20 batting and quilted with free form quilting.

Side A

Side B

My next step was to trace the  pattern on the front of my quilted panels so that I could accurately place my hexagons. They were hand appliqued in place. Once the applique was completed I trimmed the panel to the correct size. I did it this way because the dense quilting may have reduced the size of the panel so the bag wouldn't go together properly. Also I wanted to minimize fraying from handling whilst doing the applique.


And here's the finished bag. I lined it with a happy lime green and added a pocket that was fussy cut from a Kaffe print.

The bag has a magnetic closure.


These are the goodies I tucked inside. In the centre is a little zippered pouch and then from the top working clockwise are yellow bee note cards, a little olive green silk notebook, 100 1" hexagon papers, a Prym Needle Twister, a scissor fob/pincushion, Schmetz topstich needles and a hardcover needle book made from the lining fabric.


I made the pouch from a pattern I found here. The hardcover needle books make terrific gifts even for friends who don't sew because they still need a place to store needles and pins. The pattern can be found here. The scissor fob/pincushion is my own design and you can  read my tutorial so you can make your own!


My partner has now received her bag and she is very happy with everything! There's a knock at the door - I wonder who it is? Go grab yourself a cuppa - I'll be right back!

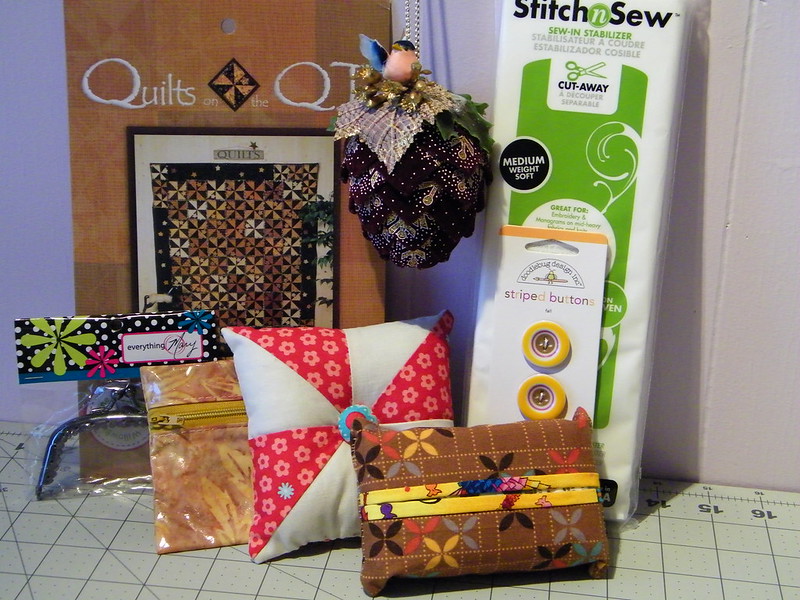
It was the letter carrier with a package. What was inside you ask? A gorgeous tote bag from my secret partner, CeLynn in Colorado. She was worried that she didn't get the colours right but she sure did! But first look at all the lovely goodies she tucked inside the bag! There was a quilt pattern, pincushion, purse frame, buttons, zippered pouch, tissue holder, stabilizer and an lovely little fabric pine cone ornament. Who's a lucky swapper? Me of course. But the best part is yet to come... the bag is STUNNING!

These are pictures taken by CeLynn. I had to share this one because I love seeing the grey guy lurking in the background. Now tell me, isn't this bag fabulous? I think it is perfect for the Autumn!
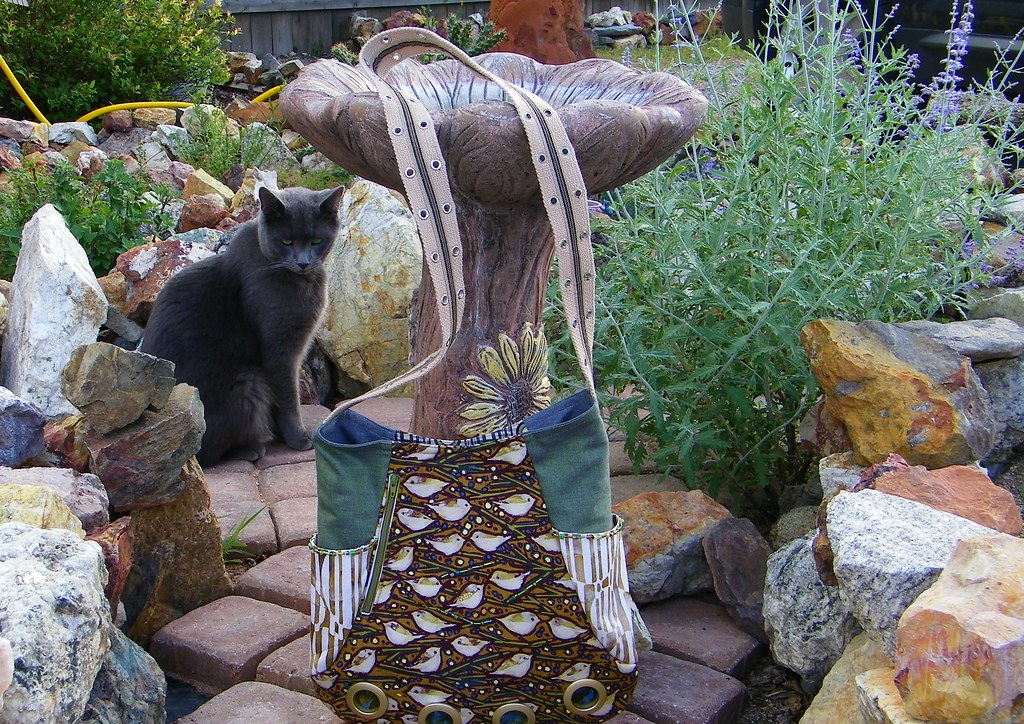

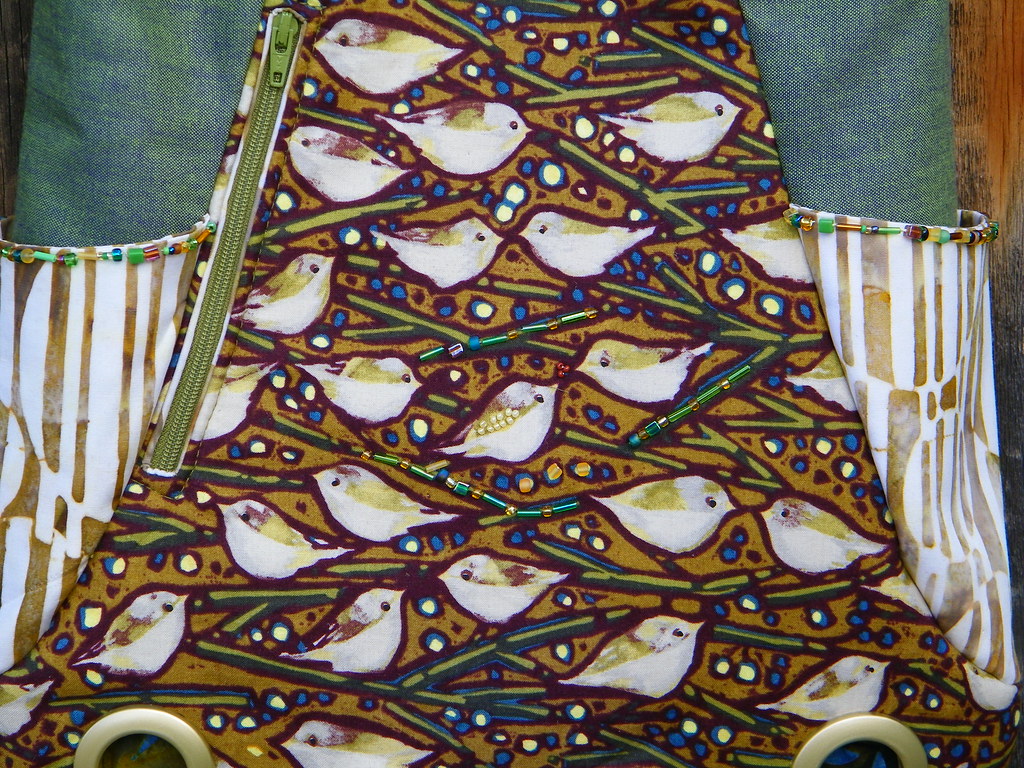
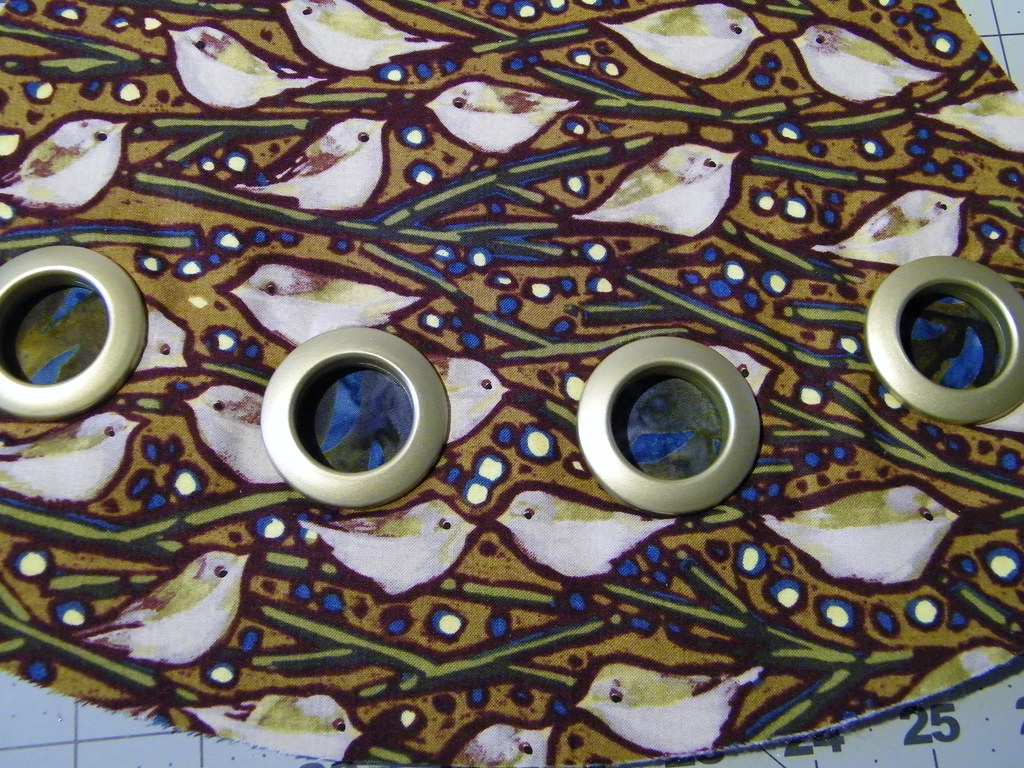
She added a zipper on the left, beaded the front panel and side pockets, added grommets with batik inserts at the bottom and the strap is a hemp like fabric with grommets. Lots of attention to detail!


Here's a close-up of the bead work and zipper.

Look at the grommets with the batik inserts! Love them!

I'm off tomorrow to prepare the instructions for Block 11 of my Value Proposition Hexagon Quilt Along. I'll have the instructions available for you early Friday morning. We are going to try something new with this block and I hope you'll find it fun and maybe use the idea for other quilts!

Until I post again, happy sewing!
Karen H

Monday, December 9, 2013

Snow and hardcover needle books!


It snowed during the night so the birds are in the feeders munching on the seeds! What falls on the ground is being picked up by chubby little guys like this one!

I've been busy working on my hardcover needle books which are based upon a free pattern by The Studiolo.  These are going to be gifts for my sewing friends!


I've got a few more needle books to finish (I've got lots of sewing friends....lucky me)! These hardcover needle books are so easy to make. In a nutshell you stitch a rectangle which is left open along one short end. You slide in a small piece of cardboard for the cover and on the inside you place your felt for the needle holder. The instructions then have you stitch the spine of the book, slide in the cardboard for the back cover and then hand stitch the opening closed. I had difficulty making sure the spine was stitched in the centre so what I did was slide in both pieces of cardboard and then hand stitch the opening closed. I then folded the book in half marking the spine with a pin at the top and bottom and stitched the spine on the machine. It worked like a charm and once the spine was stitched the book was done!

I love these two! Blue with a bit of orange or coral is a great colour combination. Something to keep in mind when making a quilt!


And variegated embroidery floss makes the little leaf look much more interesting. I used variegated floss for the buttonhole stitch, the French knots and the running stitch.


Making little pieces like this is a great way to learn about colour and what works with what!

If you visit The Studiolo be sure to check out her free pattern for a Ginormous Quilter's Tote. It is a beauty and would make a lovely gift for a quilting friend! I am tempted to make one for me to take to workshops!


Before I go I thought I would finally introduce you to another of my little friends who was waiting for the snow before visiting! Penguins live together in large colonies so I think I should make a few more to keep this one company!


Now that's a happy penguin face!


Until I post again, happy sewing!

Friday, December 6, 2013

Hardcover Needle Books

I came across a nice little tutorial for hardcover needle books and thought they would make lovely gifts for sewing friends. You will find the tutorial here.

I have a solid green fabric that I like to use for my Tiny World Pincushions and thought it would also be nice as the base fabric for a needle book cover. Olive green is a great neutral in my opinion! But it is a plain fabric so I cut some leaves from felt. I just use the acrylic craft felt. I also pulled out some of my beads and variegated cotton threads for embellishments.


I started by blanket stitching the small leaf to the larger leaf with two strands of DMC variegated embroidery floss. I then added some French knots to the tips of the blanket stitch. Again I used two strands of DMC variegated floss. I finished the leaf with a small running stitch around the outside edge of the leaf with you guessed it, two strands of DMC variegated floss. The leaf was then hand stitched to the green fabric with regular cotton sewing thread and I added a little green stem with a chain stitch (once again, two strands of floss). The final touch was a couple of beads stitched to the centre of the leaf to add a little sparkle but it would be just as nice with a lazy daisy flower or a little sequin with a bead centre. You could also embroider a herringbone stitch or any other stitch that tickles your fancy!


This is the finished needle book and I think it is very pretty!


When opened up you can see it is lined with a subtle green striped fabric. There are two pockets on the inside cover. I trimmed the edge of the pocket with green ribbon. I think my sewing machine needle is dull so there is a little puckering that just wouldn't press out. Also the lining fabric is a fairly tight weave so that may be part of the problem. I'll change out the needle and try it again.


The pages in the needle book are also made of felt.


The pattern calls for two pockets in the back of the needle book however since the left side is hand stitched closed I found that it made two pockets a little too snug even though I trimmed the cardboard down so that it was a little less wide than the pattern called for. As a result I removed the stitching that made the divided the pockets on the back so there now a single pocket. The needle book ties shut with two ribbons.


Wouldn't one of these hardcover needle books make a nice gift for a quilting friend? Put it in a fabric bowl with a spool of thread, a fat quarter of matching fabric, and a package of needles or pins and wrap it up with cellophane and some pretty curly ribbons! You will find the free pattern for the bowl on Brigitte Giblin's blog.


Until I post again, have fun making hardcover needle books!