


I now need some pieces cut out for half blocks that will fit in the setting triangles. I could make whole blocks and cut them in half but that is such a waste. I have a plan for making the partial wedges and arcs. For each setting triangle I will need one wedge and arc (the one in the centre) made in the same way that they were made for the whole blocks and I can use my existing templates to make that unit. The wedges and arcs along the top edge will be half the size so I'll make new templates for them.

My plan is to create one wedge template and one arc template that will be used to cut the fabrics. The pieces of fabric will then be cut in half to create the partial units on the top edge in the picture above. I start with the wedge template with seam allowances. I mark the centre at the top and bottom edge.

On a piece of cardboard I trace around the left side of the template starting at the arrow at the top and ending at the arrow at the bottom.

I draw a line to connect the top and bottom.

I make a registration marks at the top and bottom that are about 3/8" beyond the line. I make another set of registration marks that are another 3/8" over and then I draw a line to connect the registration marks. I do this because I will need two seam allowances in the centre. As I explained in the past the seam allowances can be generous.


This is what it will look like. I can now cut it out, label it and it is ready to use!

I will also need an arc template without seam allowances so I place the arc I had previously made on my cardboard. I find the centre of that template and trace around it from the centre, around the left side and along the bottom to the centre mark. I make little registration marks at the centre points.

To add the centre seam allowances to my arc I use the wedge template that I just made and line up the registration marks.

I place my arc on the cardboard lining up the middle with the registration mark on the right and draw the rest of the arc on the right side. The template can be cut out and labelled.

These are the templates I will use to cut my fabric. I'll cut on piece of fabric with each template for each block.

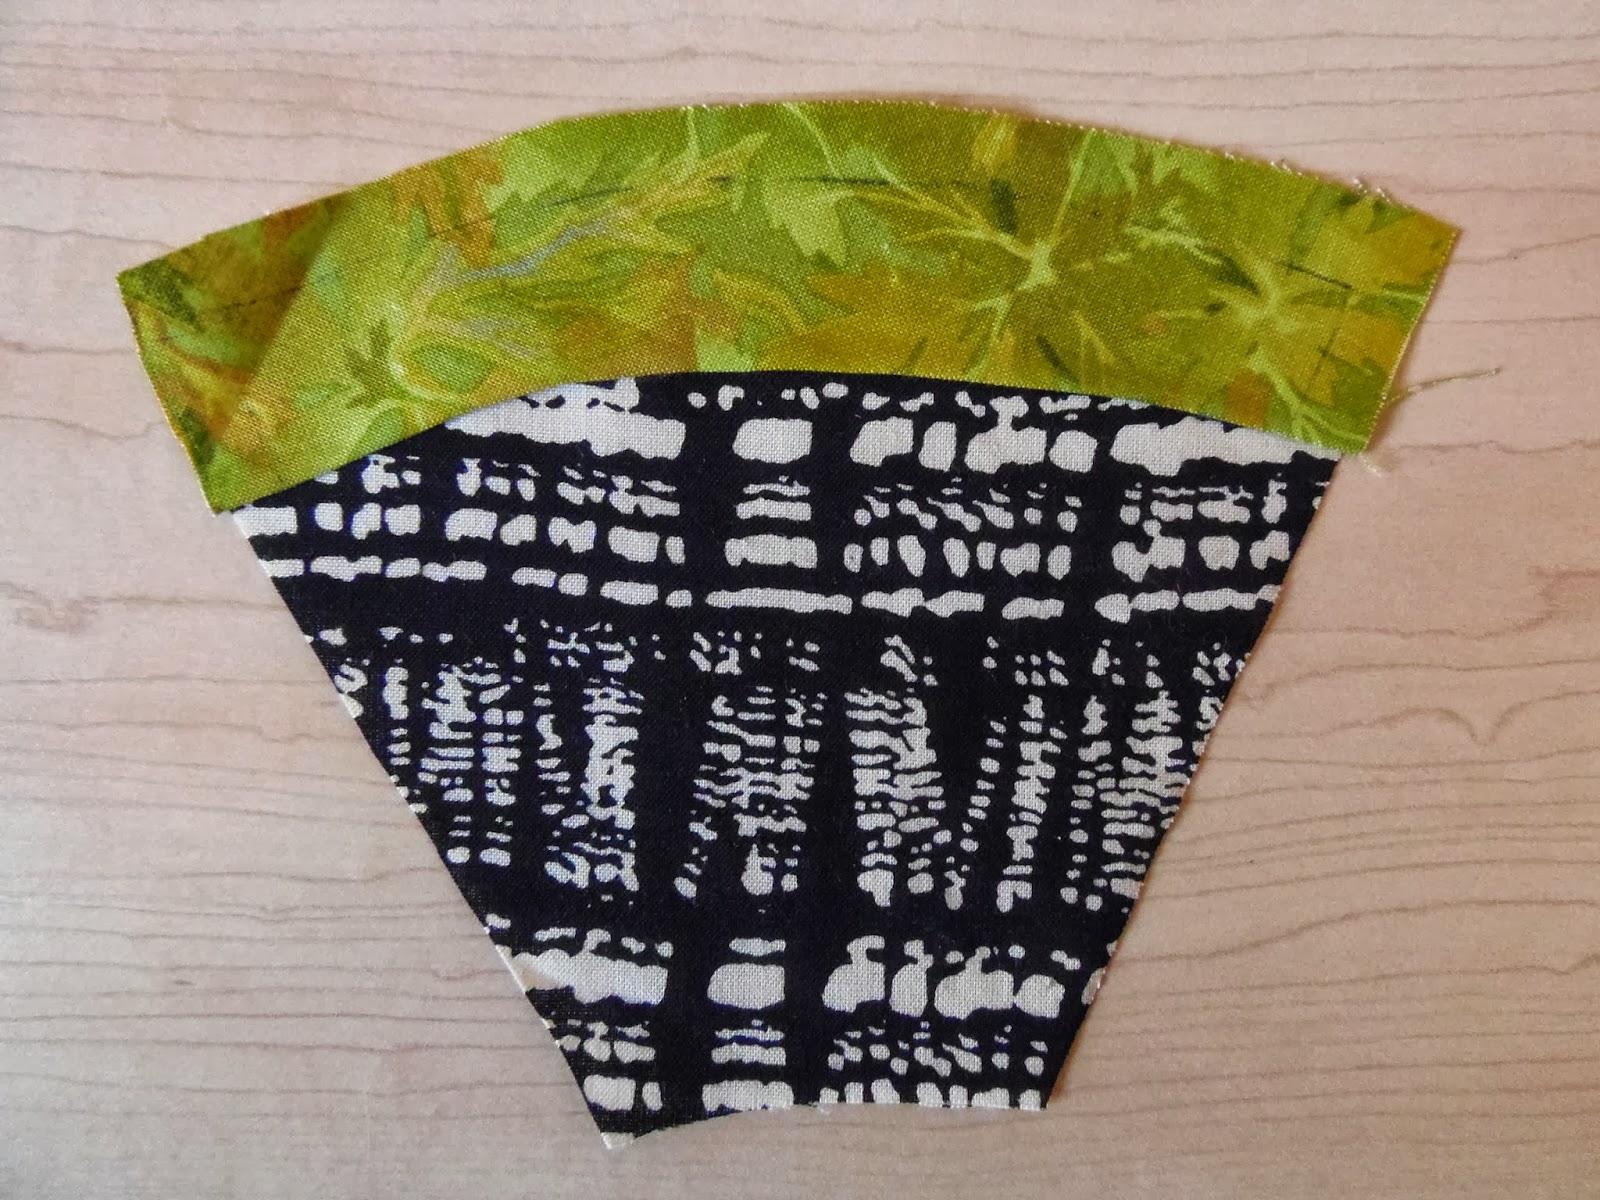
These are the fabrics cut out. To make the arcs it is important to trace around the template on the right side of the fabric and then when cutting add the seam allowances. For detailed instructions refer to this post.

Let's make the large wedges and arcs that will be cut in half. I clip the inner curve on the arc. I apply a little glue with my glue stick and fold the seam allowance to the wrong side.

I apply a little glue to the top edge of the wedge and glue the arc to the wedge.
I continue to glue baste the top edge of the arc and then the sides. A press with a hot dry iron will dry the glue.

I can now cut the large wedge in half.

The last step to prepare these pieces is to applique the arc to the wedges.

Tomorrow I'll cut the setting triangles and glue baste the wedges so that they are ready for hand or machine applique. Not much longer and the quilt top will be done!
I am almost finished my tote bag for the secret tote bag swap. I thought I would make a little roll-up sewing kit for my partner. I used the scraps of lining fabric and osnaburg to make this little case. I cut out one of the motifs in the lining and appliquéd it to the osnabug. I then quilted the outside edge.

There are little pockets on the inside and a pincushion complete with its own little pocket. The whole thing sewed up very quickly and it was fun to make!

Until I post again, happy sewing!
You have the coolest background fabrics! I need to start collecting stuff like that.
ReplyDeleteThank you! I try to collect interesting background fabrics. For this quilt I collected lots of fat quarters but I also dipped into my stash of existing fabrics. It takes time to build a stash but once you do it makes for lots of fun quilt making!
Delete