


There's often a bee in Mom's quilts!


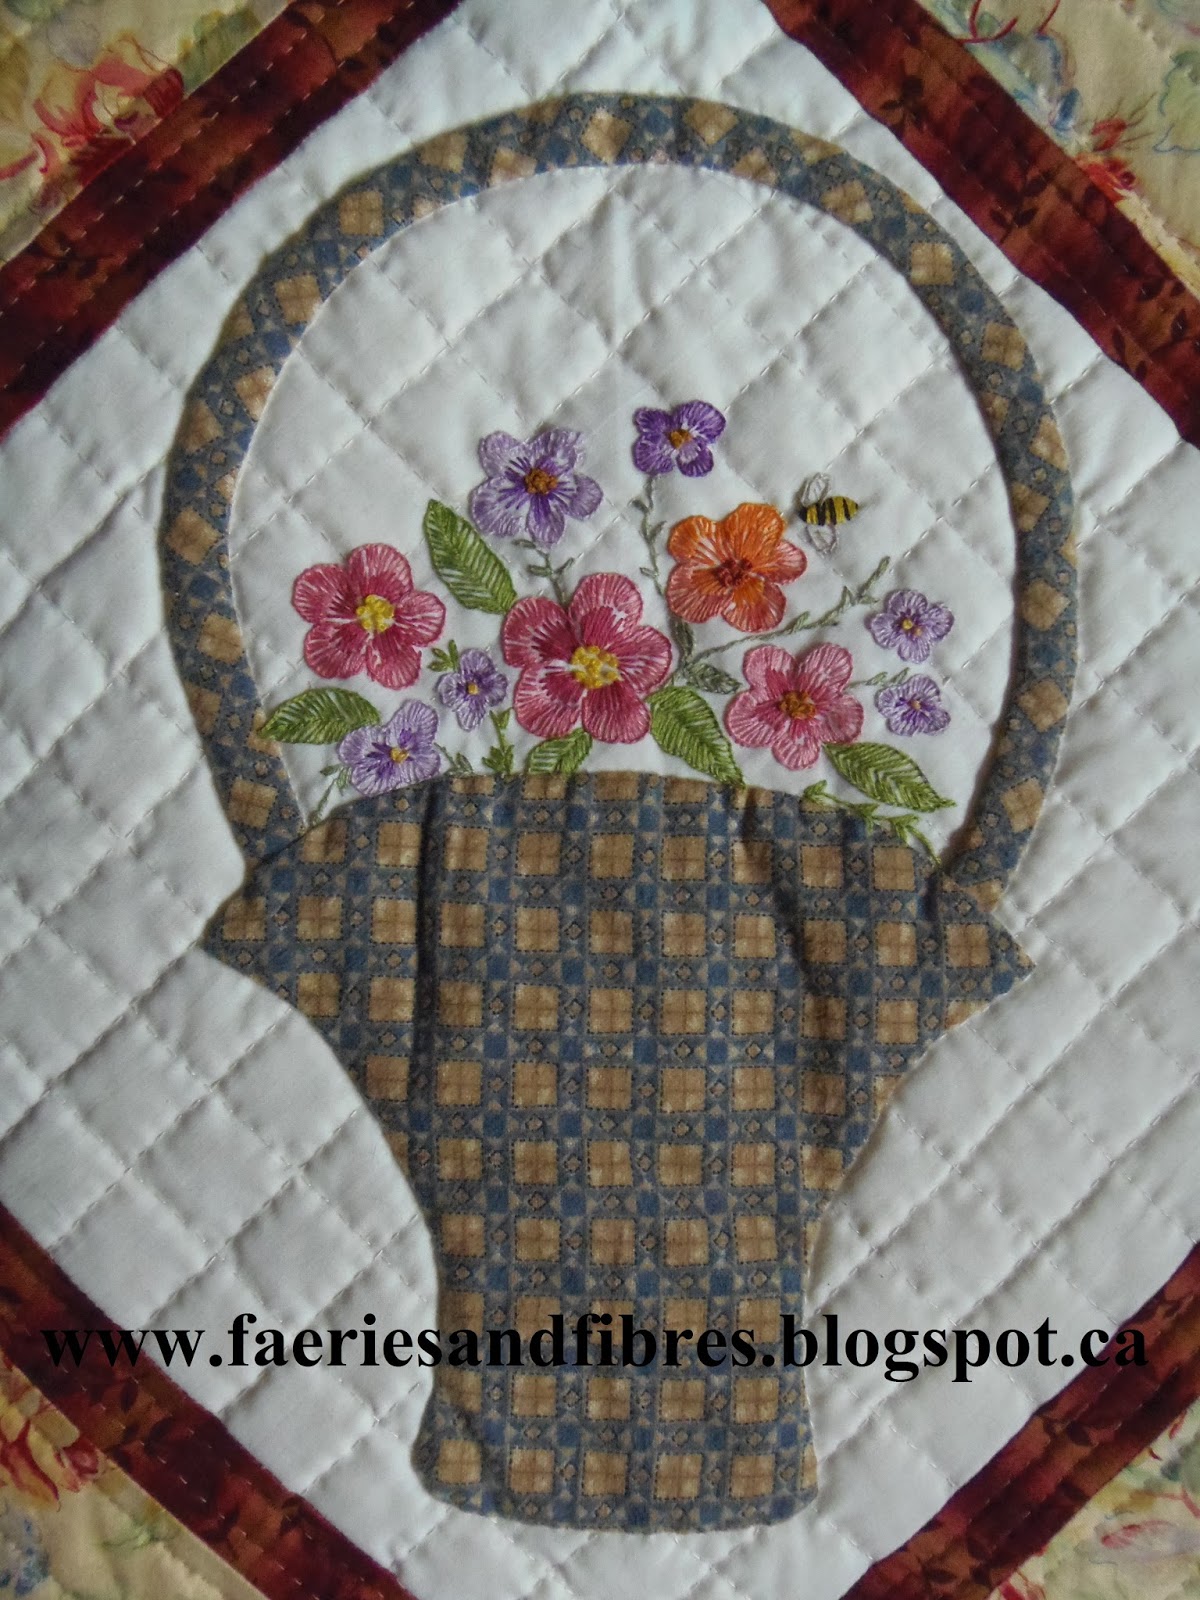
And there's a bee in this one too!

Back to Lazy Punk! The cutting was so fast and fun I ended up with many more than I need for a quilt! So now that I've cut my fabric I want to prepare it to be to be appliqued to the background.

Before doing so I want to talk for a moment about the appliqué . The arc will have to be stitched to the inner wedge. There are three points at which this can be done. I'll identify all three, and the one I am using, in the following instructions. I want a project that involves hand work so I have something to do when I am out and about so I am appliquéing the arcs by hand. However if this wasn't the case I would do all of the appliqué with invisible thread and a small zig zag stitch. So let's start glue stick basting!
To prepare the arcs, place the arc with no seam allowance template on the right side of your fabric making sure that there is about 1/4" below the inner curve of the template. Trace around the template. Clip the inner curve making sure to stop about 1/8" from the line.

With your glue stick run a line of glue on the wrong side of the fabric. Finger press the seam allowance to the wrong slide along the line.

You should have a nice neat edge like this. Once all four are glued in this way you can press with a hot, dry iron to dry the glue.

Now take the four inner wedges and run a line of glue along the edge on the right side of the fabric.

Place an arc on the glue and lightly press with your fingers. You can lay your clear template on the piece to make sure that the position looks good. It doesn't have to be perfect, just close. These wedges will not be touching one another so nothing has to line up and if they are slightly different it won't show. If you are happy with the position, press down the arc with your fingers and then a hot, dry iron to dry the glue. You can appliqué the arc to the wedge at this point. This is the point where I am stitching them together (with a thread that matches the arc) however there are two other possibilities.

To finish the wedge, position the clear template on the wedge. Trace around the sides and top. Don't worry about the bottom edge. If there is a lot of extra fabric on the arc trim it down to about 1/4". I don't bother trimming the sides. Run a line of glue on the wrong side of the top of the arc and finger press along the line.

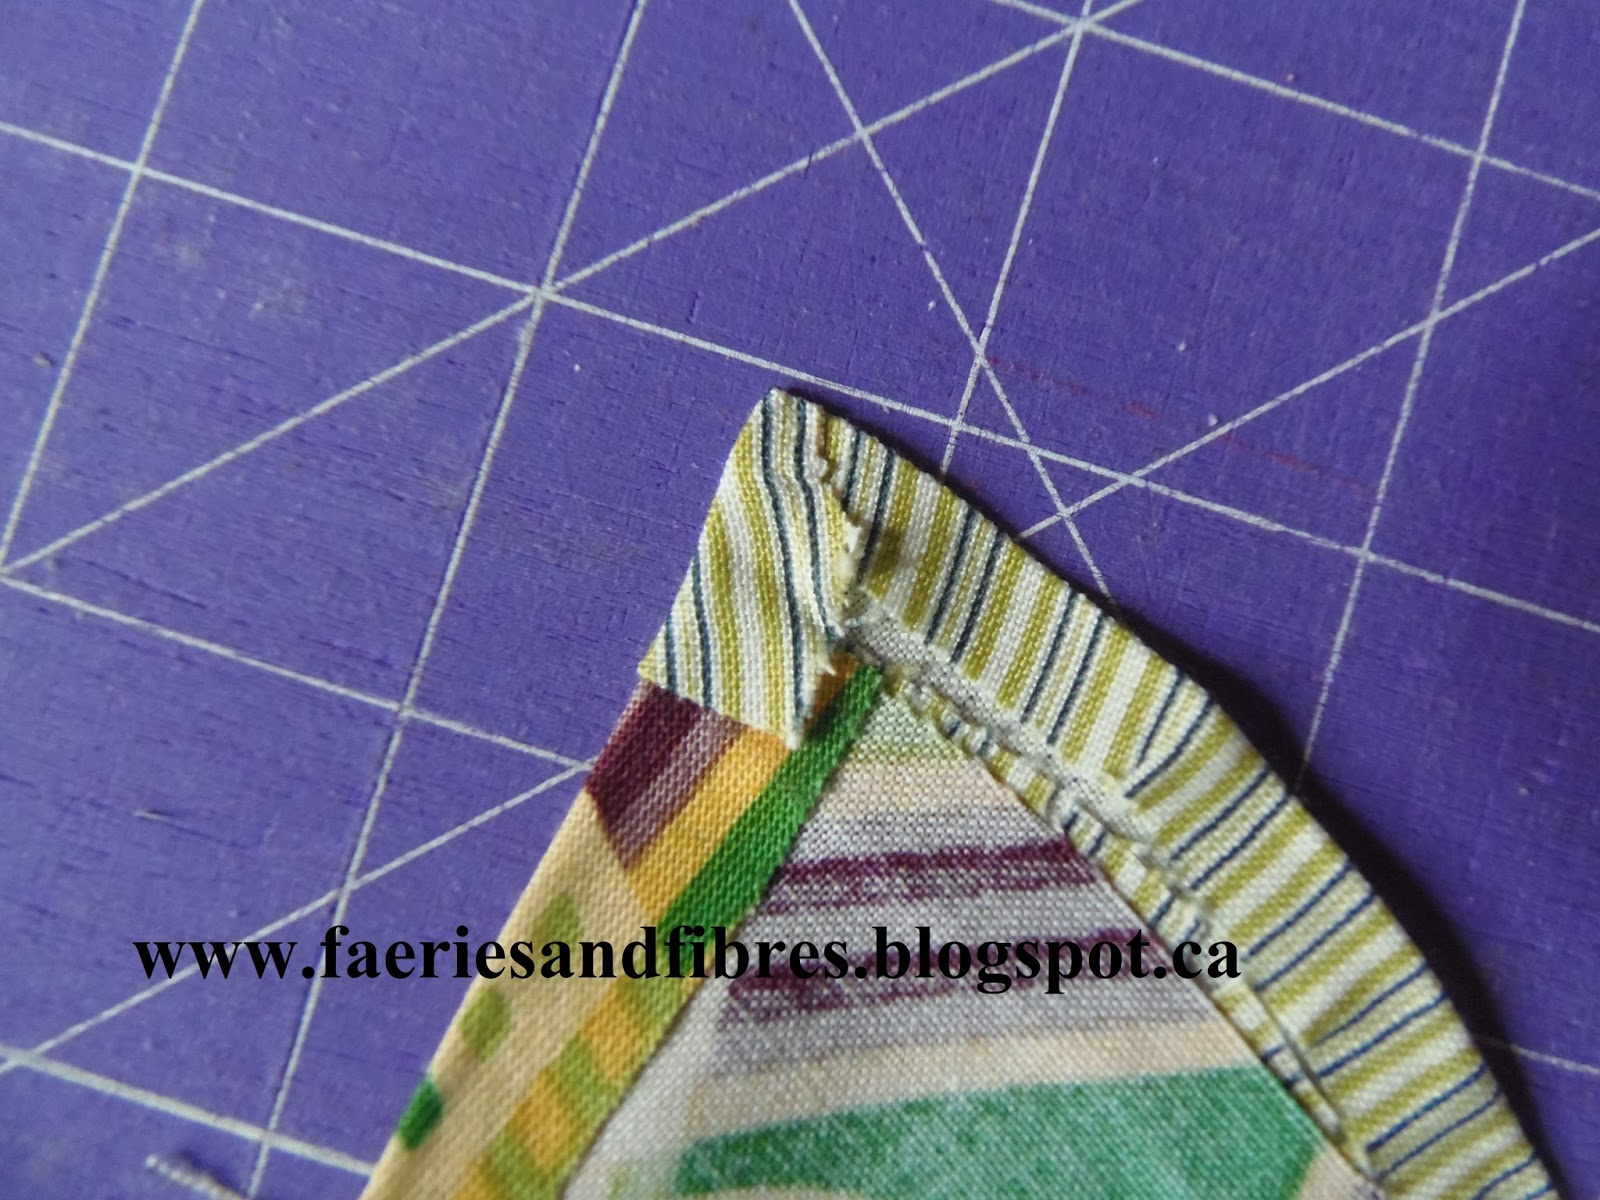
Clip the corners at the top edge of the arc.


This is what the corner will look like on the back. Once both sides are glue basted press with a hot dry iron
And this is the wedge from the front. This is the second point at which you can appliqué the arc to the wedge. I find it can be a challenge to make sure the knot of the thread isn't too close to the edge so this isn't my preferred method. There will be one more point where the arc can be appliqué to the wedge and that is when all four wedges are glue basted to the background fabric. This is my least preferred option for hand work because I want to handle the background fabric as little as possible.

One final tip. I am quite comfortable placing the glue and then folding the fabric but if you are new to this method you may find it easier to finger press all of the folding lines before you do any gluing at all. It does make the process much easier. You can also finger press the arc before you apply the glue to the inner curve.

Once all of your wedges are prepped they can be glue basted to the background. My block will be 9" finished so I an rough cutting backgrounds that are 10" square. Once the appliqué is completed I'll press the block with a hot dry iron and trim the block to 9 1/2".
Tomorrow we'll glue baste the wedges to the background and make the hub caps for the centre. I've got two blocks with wedges appliquéd to the background and here they are!

I've made a test hub cap and pinned it in the centre. I might make it a little larger. Not quite sure yet but I'll make the decision soon!

Until I post again, happy basting and appliquéing!
No comments:
Post a Comment