Showing posts with label Nellie. Show all posts

Sunday, February 16, 2014

Tutorial: Twinkle, twinkle little star!

I thought today I would demonstrate how I made a little star using my technique for foundation pieced English paper pieced hexagons. I worked with 1/2" hexagons! You can find a master template for the hexagons here.

The first step is to draft the star points. I make marks at the top and bottom edge of a pair of hexagons. These marks will be the width of the base of the star point. You can make the base of the star points as wide or narrow as you want however I would not make it as wide as the hexagon itself because there is just too much seam allowance for a little piece. It is much easier to baste with a narrower base.


 I connect the marks on the diagonal.

I repeat on the other diagonal.

I make two more pairs and then cut them out.

If you are new here my foundation piecing method is explained in my January 19, 2014 post. It is really important to shorten your stitch length! The basting is explained in my January 20, 2014 post.

Here you see a foundation pieced star point on the hexagon. When trimming the excess be sure to leave at least 1/4" seam allowance but 3/8" is even better. I just trim with my scissors. If the seam allowance is too large when I come to baste it I can trim a little bit.

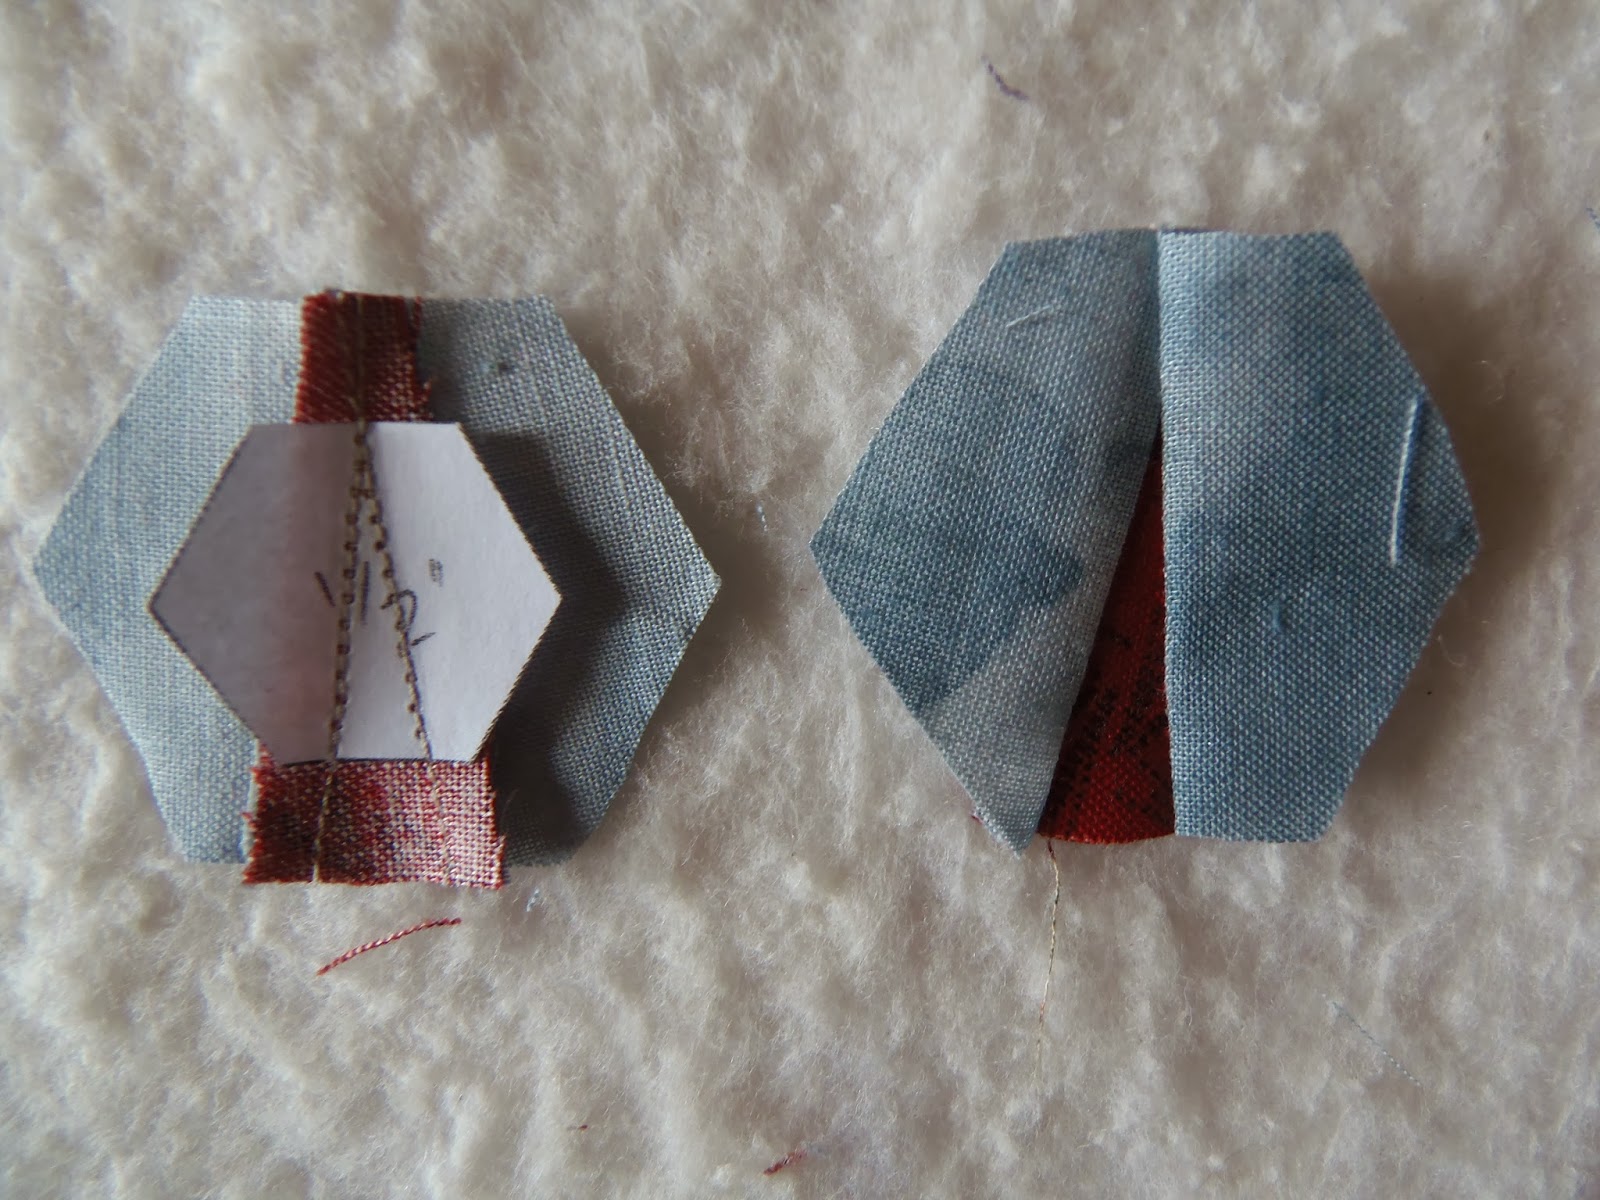
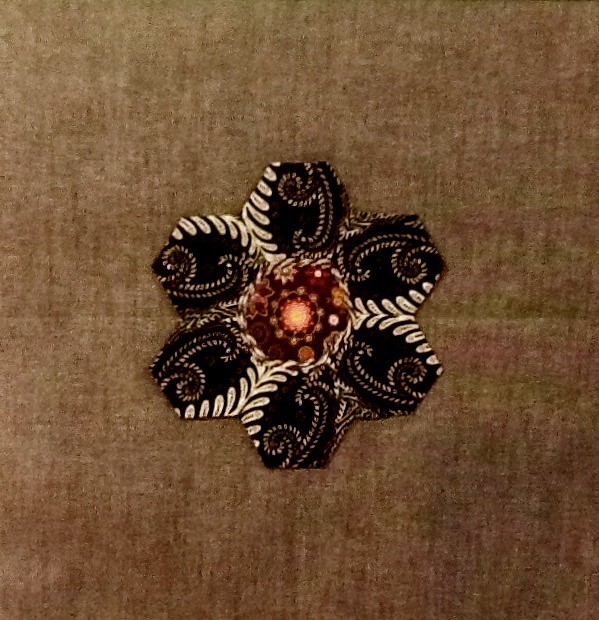
 Here you can see a basted hexagon from the front and the back. The paper is still in place. Notice how the fabric is folded and basted at the base of the star point. Normally the folds would all be in the same direction but in this instance the fold in the lower right corner has changed direction. It makes for a sharp corner.


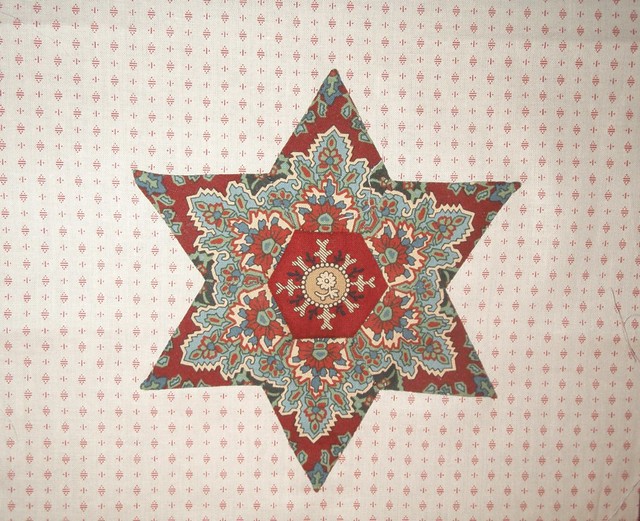
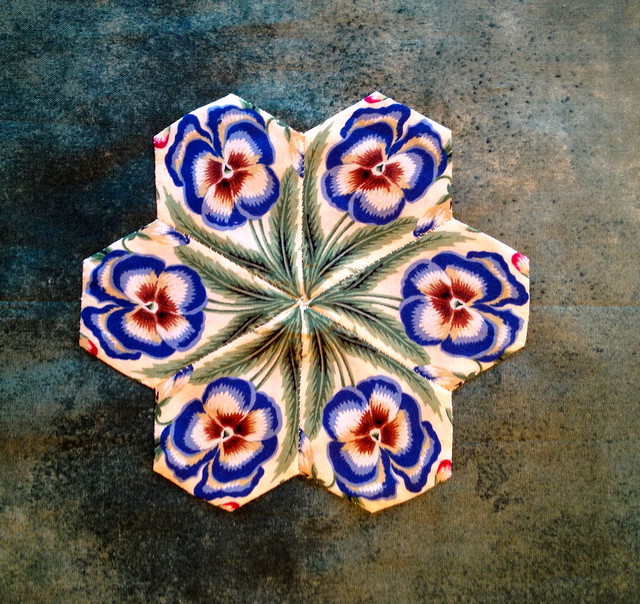
The basted hexagons are arranged and ready to be stitched together.


Once basted they can be stitched together and a center is added. I'll do a little video in the near future to show you how I set in the center hexagon.

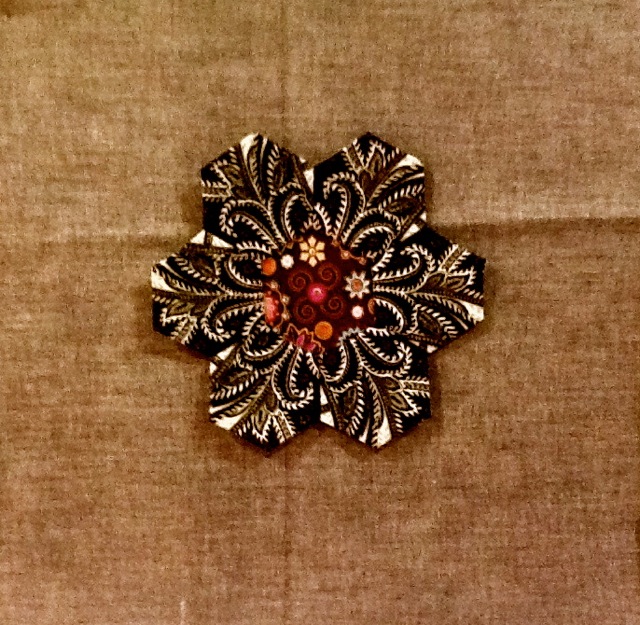
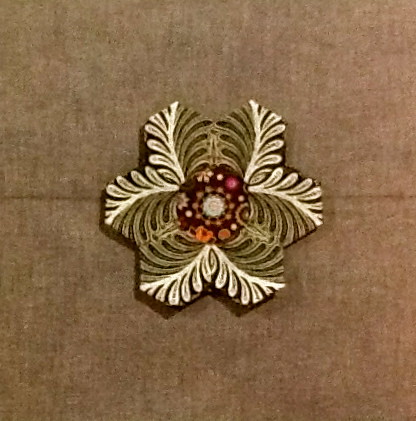
The little star is complete and it measures a dainty 2 1/2" square.


 I used one of these stars to make my miniature quilt Bony Fingers.


I plan to use the star I made in this tutorial as an embellishment on another quilt so it will be appliqued in place. I gave the star a good press with a hot iron and spray starch. I pressed the front and the back. The basting threads were removed and then the paper was removed. To remove the papers I gently opened the seam allowances that were basted under.


I remove the papers from the sides of the star point. My stitch length was shorted so the paper comes out effortlessly.


The last step is to remove  the paper that was the star point from the center. I neatly folded the seam allowances back into place.


And here you see the finished star ready to be appliqued to my quilt!


While this small star looks difficult it is actually quite easy. Just take your time and have fun! If it doesn't turn out it doesn't take much fabric so it isn't a huge loss! If you do make a little star I would love to hear how you made out!

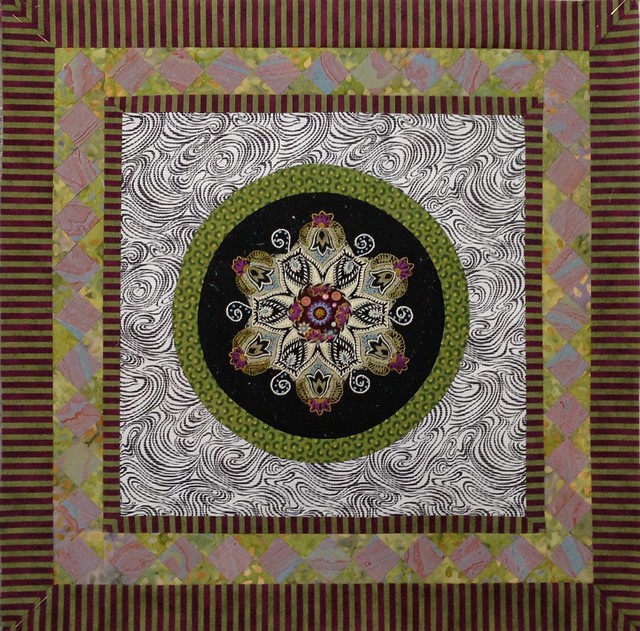
And speaking of stars, Nellie of Nellie's Needles has finished Step 4 of her Soupcon QAL quilt. She wrote "It was a surprise to see how the set in squares border glowed when it was all constructed. I didn't see that effect until it was all sewn together. I'm in love with this piece". She took the words right out of my mouth! That is the very reason I love this border....it really does glow! Nellie's use of the striped fabric just adds a soupcon of excitement! Nellie is working on a second quilt using the basics of my Soupcon QAL pattern and she is creating something really wonderful. You can see it and read about it here.


That's it for today! Until I post again happy sewing!
Karen H

Tuesday, January 14, 2014

A Trunk Show of Soupcon Blocks

For those on you who aren't in the FLICKR Group for my Soupcon Quilt Along I thought I would share a few more blocks that others have made.  They are all stunning and I really can't pick a favourite!

Before the trunk show begins I want to say thanks to all who posted pictures so far. It is so exciting for me to see them. The second thing I want to say is that all of the blocks are beautiful and each is unique. As quilters we look at our work very closely and we tend to be critical because something is not "perfect". What I say is that things don't have to be perfect and in fact I like them better when then aren't perfect because I can see the hand of the maker. And I guarantee that a non quilter (and most quilters) will look at them and be amazed at the intricacy of these blocks. And I think as we move through the QAL and build on these blocks you'll see only the beauty in what you have made!

Sheila in Australia made this lovely little star. I have to say that red and dusty robin's egg blue is one of my favourite colour combinations. Isn't this pretty?


How about this one from the Happy Appliquer? Another stunner! The fussy cut centre is so perfect for the block. It actually looks like it is part of the fabric!


Linda has created a star that I think has a very Gothic feel to it! I can see flocked wallpaper and wrought iron. What an exciting start! Very moody!


Jean C is a rock star and she has been busy making blocks - she has already made four that I showed previously. Now she has made another four! That's eight blocks in total! I think someone is hooked on hexagons! I love the little yellow pinwheel in the centre!


How pretty is this? I love the tomato soup colours. Very old fashioned looking. I could have a lot of fun with this block!


Yet another block with a Gothic feel, a girly Gothic feel! I like that she has left the centre open.....for now!


Jean mentioned that she had a little difficulty with the bias edges when she tried my paperless English paper piecing method to make her beautiful pansy block. HELPFUL TIP: When finger pressing gently fold on the line and give a good hard pinch with your thumb and index finger. Move your fingers over a little and pinch again. Do not slide your fingers as this may distort the fabric. Another thing that will help is a quick spritz of starch and a press with a hot iron before cutting the patches. The starch helps stabilized the fabric to reduce stretching.


Nellie started with a single fabric and from there has created a constellation of stars and flowers. This is the starter fabric. You won't believe what she has created with this fabric. Nellie is yet another rock star.


Check out the beauties she has created! This block reminds me of the single cell creature, the hydra! It also has a real African flavour to it!


This one is floating on the background it looks so lacy and transparent!


Gorgeous! It looks like it is beaded with tiny white beads and one nice shiny red bead in the center.


I often name my blocks to help me remember them when I go looking for them. All I could think of when I saw this one was elephant tusks. I love it!


And this one just screams ostrich plumes to me!


Are you tempted to get started on my Soupcon QAL? All you need to get started is one hexagon/star. It is a six part pattern for a largish wall hanging that can be turned into a quilt. You'll find Part 1 here.

Until I post again, happy sewing!