Showing posts with label finger press. Show all posts

Monday, September 1, 2014

More about basting hexagons and more about quilting Good Golly Miss Mollie

Chantal left a comment in which she asked if the basting method I wrote about yesterday would work with 2" hexagons. I think that it would provided that the seam allowances were turned and finger pressed before basting but I'm just guessing as I've never worked with 2" hexagons. What would work is Missie Carpenter's method which uses freezer paper and starch. You can read about it here. I've tried it and it works beautifully so be sure to check it out!


James P left a comment and asked "when you're turning over your fabric edge to baste, how can you tell you are against the paper piece? Using normal paper I would think it is too thin to feel an edge". I'm answering the question here because James is a no-reply blogger. I reply to every comment so if you don't hear from me that would be the reason. Now as for the paper I use regular 20lb bond printer paper and I can feel the edge. If I am unsure I will pinch the fabric between my fingers to press in the fold and then lift the seam allowance to ensure that the fold is against the paper. Sometimes however the weight or texture of the fabric is more challenging so what I'll do is finger press all of the seam allowances before I baste. This is what it looks like once it has been finger pressed.  The basting goes easily and smoothly when the fabric is prepared in this way.


When I finger press I work in a counter clockwise position. For demonstration purposes I`ve pressed the seam allowances with my Dritz Petite Press so that there will be a nice sharp fold for the pictures but it isn't necessary to do this - a good pinch with your fingers is sufficient. To start I fold down the top seam allowance and finger press.


Working counterclockwise I'll turn over the seam allowance to the left and I'll finger press.


It will look like the hexagon in FIG 1. I turn the seam allowance at the bottom left (FIG 2) and finger press. I repeat these steps as shown in FIG 3 and FIG 4. At this point there is only one seam allowance to turn.


I fold the last seam allowance tucking it under the top edge and finger press.


Eventually you will get to know the feel of the fabric against the paper and you'll likely just skip the finger pressing!

I continue to machine quilt Good Golly Miss Mollie (my version of the Godstone Grannies coverlet) on my domestic sewing machine. There have been several comments about the small feathers in the 3/4" hexagons. I find the smaller shapes less challenging than the larger feathers. Try drawing a perfect circle that is 8" in diameter. Tough, isn't it? Now try drawing a circle that is the size of a small coin. Much easier! A wobble in a big circle is much more noticeable than a wobble in a small circle whether it is drawn or quilted. When quilting small I don't have to reposition my hands when I'm in the middle of quilting a shape makes for smoother quilting lines. Enough about this - how about some of the quilting in the hexagons?

I filled the following block with feathers, figure 8s, melon wedges and teardrops. To quilt the feathers in the pale yellow and those above and below the centre cross I drew lines for the spine.


In the following picture you can see a teardrop, melon wedges, figure 8 quilting and the feathers. The lines I drew for the spine have not yet been removed.


I prefer not to do any marking so I gave some thought to quilting designs that would not require marking. If the spine of the feather was going to be straight I would need a line but if I went for a curvy spine I could use the shape of my hexagons as a guide. So I quilted a curvy spine in the white round of hexagons and added the feathers. I start at the top of the spine and quilt down to the base. When I get to the base I quilted the plumes all the way back to the top. When I get there I come back down parallel to the spine to create a vein. I think it adds depth and dimension. I then started again at the top and quilted the feathers on the opposite side.


Here is a close-up of how I filled the centre four hexagons! I really like the texture that is created with this simple motif!


I used this same approach to quilt the odd shape in the taupe hexagons in this block.


Here's another example of an odd shape filled with feathers. I didn't quilt the other side of the spine and I think that it is needed so I will go back and add it to the quilting.


Phew! Lots of words and lots of pictures. Time for me to do some sewing so until I post again, happy sewing!
Karen H

Tuesday, January 14, 2014

A Trunk Show of Soupcon Blocks

For those on you who aren't in the FLICKR Group for my Soupcon Quilt Along I thought I would share a few more blocks that others have made.  They are all stunning and I really can't pick a favourite!

Before the trunk show begins I want to say thanks to all who posted pictures so far. It is so exciting for me to see them. The second thing I want to say is that all of the blocks are beautiful and each is unique. As quilters we look at our work very closely and we tend to be critical because something is not "perfect". What I say is that things don't have to be perfect and in fact I like them better when then aren't perfect because I can see the hand of the maker. And I guarantee that a non quilter (and most quilters) will look at them and be amazed at the intricacy of these blocks. And I think as we move through the QAL and build on these blocks you'll see only the beauty in what you have made!

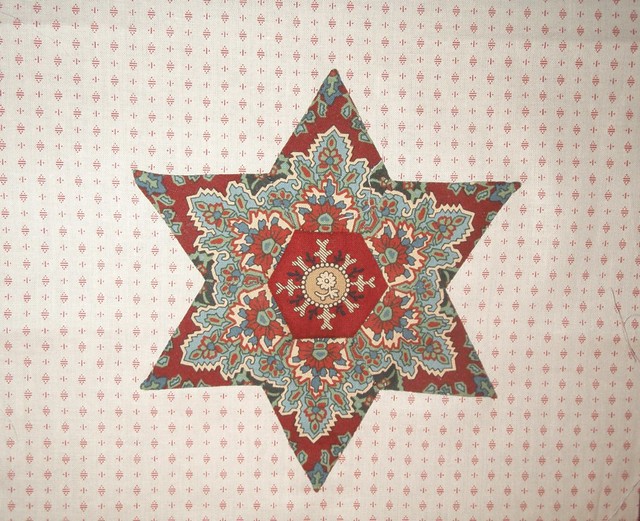
Sheila in Australia made this lovely little star. I have to say that red and dusty robin's egg blue is one of my favourite colour combinations. Isn't this pretty?


How about this one from the Happy Appliquer? Another stunner! The fussy cut centre is so perfect for the block. It actually looks like it is part of the fabric!


Linda has created a star that I think has a very Gothic feel to it! I can see flocked wallpaper and wrought iron. What an exciting start! Very moody!


Jean C is a rock star and she has been busy making blocks - she has already made four that I showed previously. Now she has made another four! That's eight blocks in total! I think someone is hooked on hexagons! I love the little yellow pinwheel in the centre!


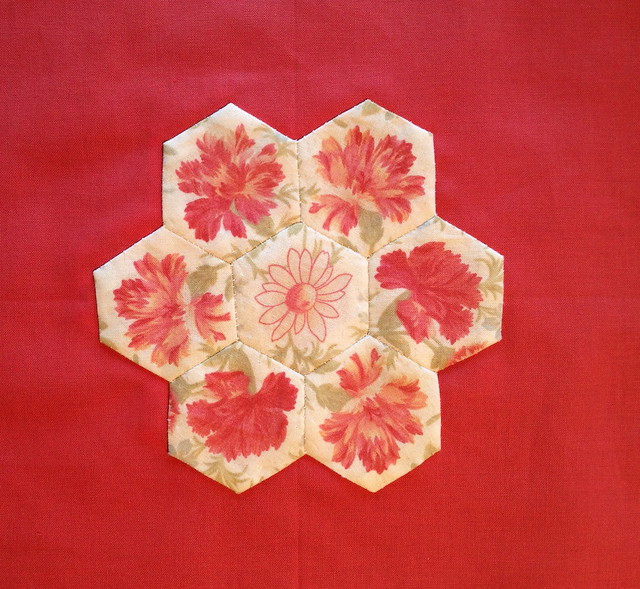
How pretty is this? I love the tomato soup colours. Very old fashioned looking. I could have a lot of fun with this block!


Yet another block with a Gothic feel, a girly Gothic feel! I like that she has left the centre open.....for now!


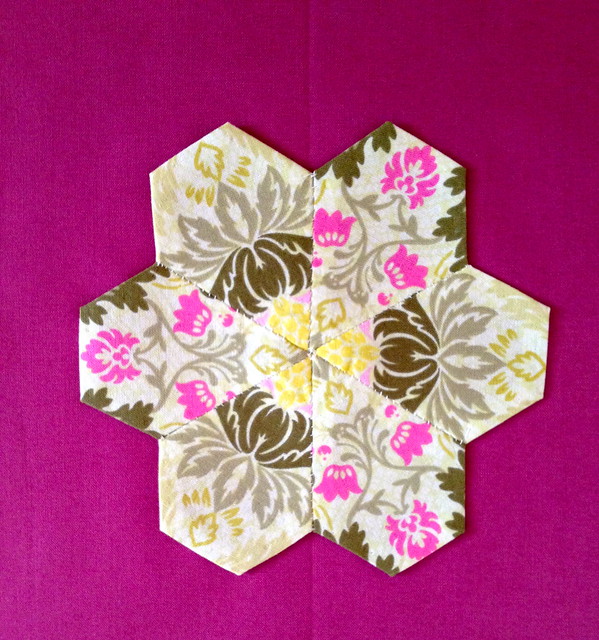
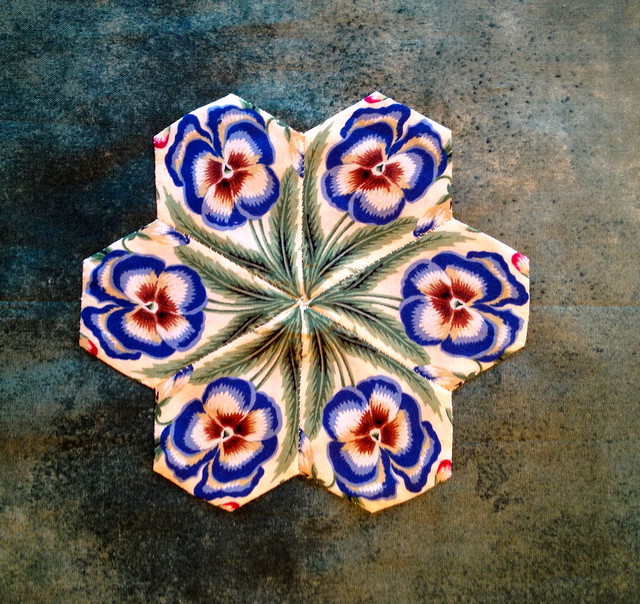
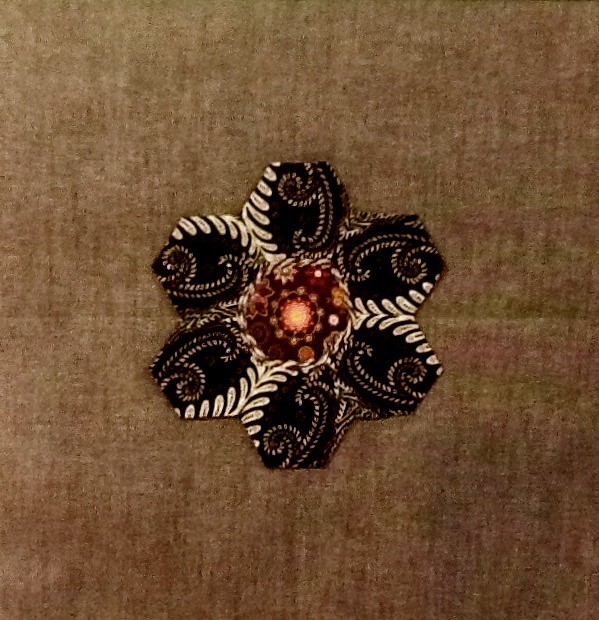
Jean mentioned that she had a little difficulty with the bias edges when she tried my paperless English paper piecing method to make her beautiful pansy block. HELPFUL TIP: When finger pressing gently fold on the line and give a good hard pinch with your thumb and index finger. Move your fingers over a little and pinch again. Do not slide your fingers as this may distort the fabric. Another thing that will help is a quick spritz of starch and a press with a hot iron before cutting the patches. The starch helps stabilized the fabric to reduce stretching.


Nellie started with a single fabric and from there has created a constellation of stars and flowers. This is the starter fabric. You won't believe what she has created with this fabric. Nellie is yet another rock star.


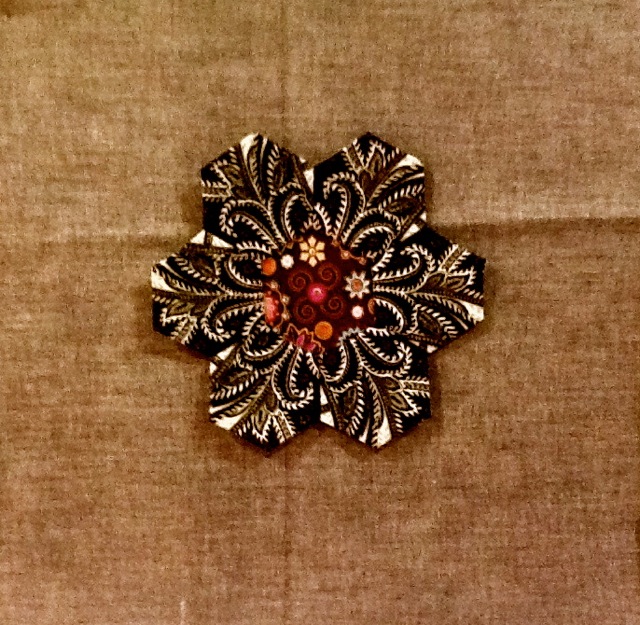
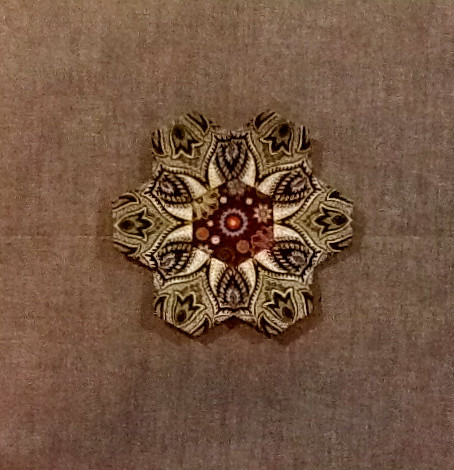
Check out the beauties she has created! This block reminds me of the single cell creature, the hydra! It also has a real African flavour to it!


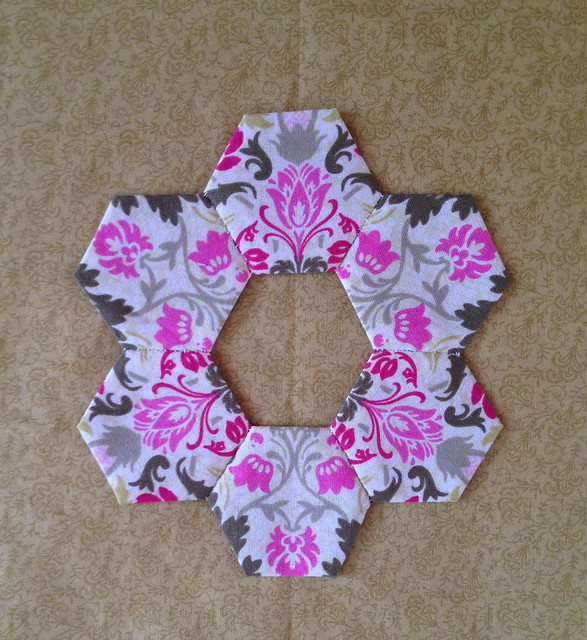
This one is floating on the background it looks so lacy and transparent!


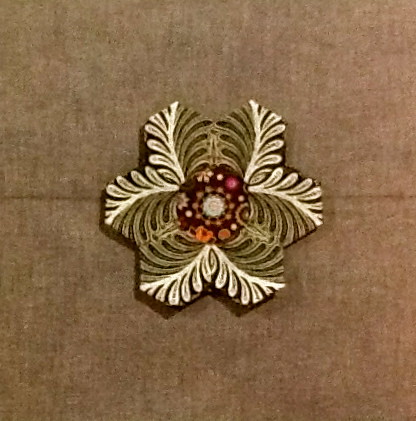
Gorgeous! It looks like it is beaded with tiny white beads and one nice shiny red bead in the center.


I often name my blocks to help me remember them when I go looking for them. All I could think of when I saw this one was elephant tusks. I love it!


And this one just screams ostrich plumes to me!


Are you tempted to get started on my Soupcon QAL? All you need to get started is one hexagon/star. It is a six part pattern for a largish wall hanging that can be turned into a quilt. You'll find Part 1 here.

Until I post again, happy sewing!

Sunday, December 29, 2013

Tutorial: Paperless English Paper Piecing

Paperless English paper piecing? What the heck is that? Well grab a cuppa, settle back and I'll tell you all about it!

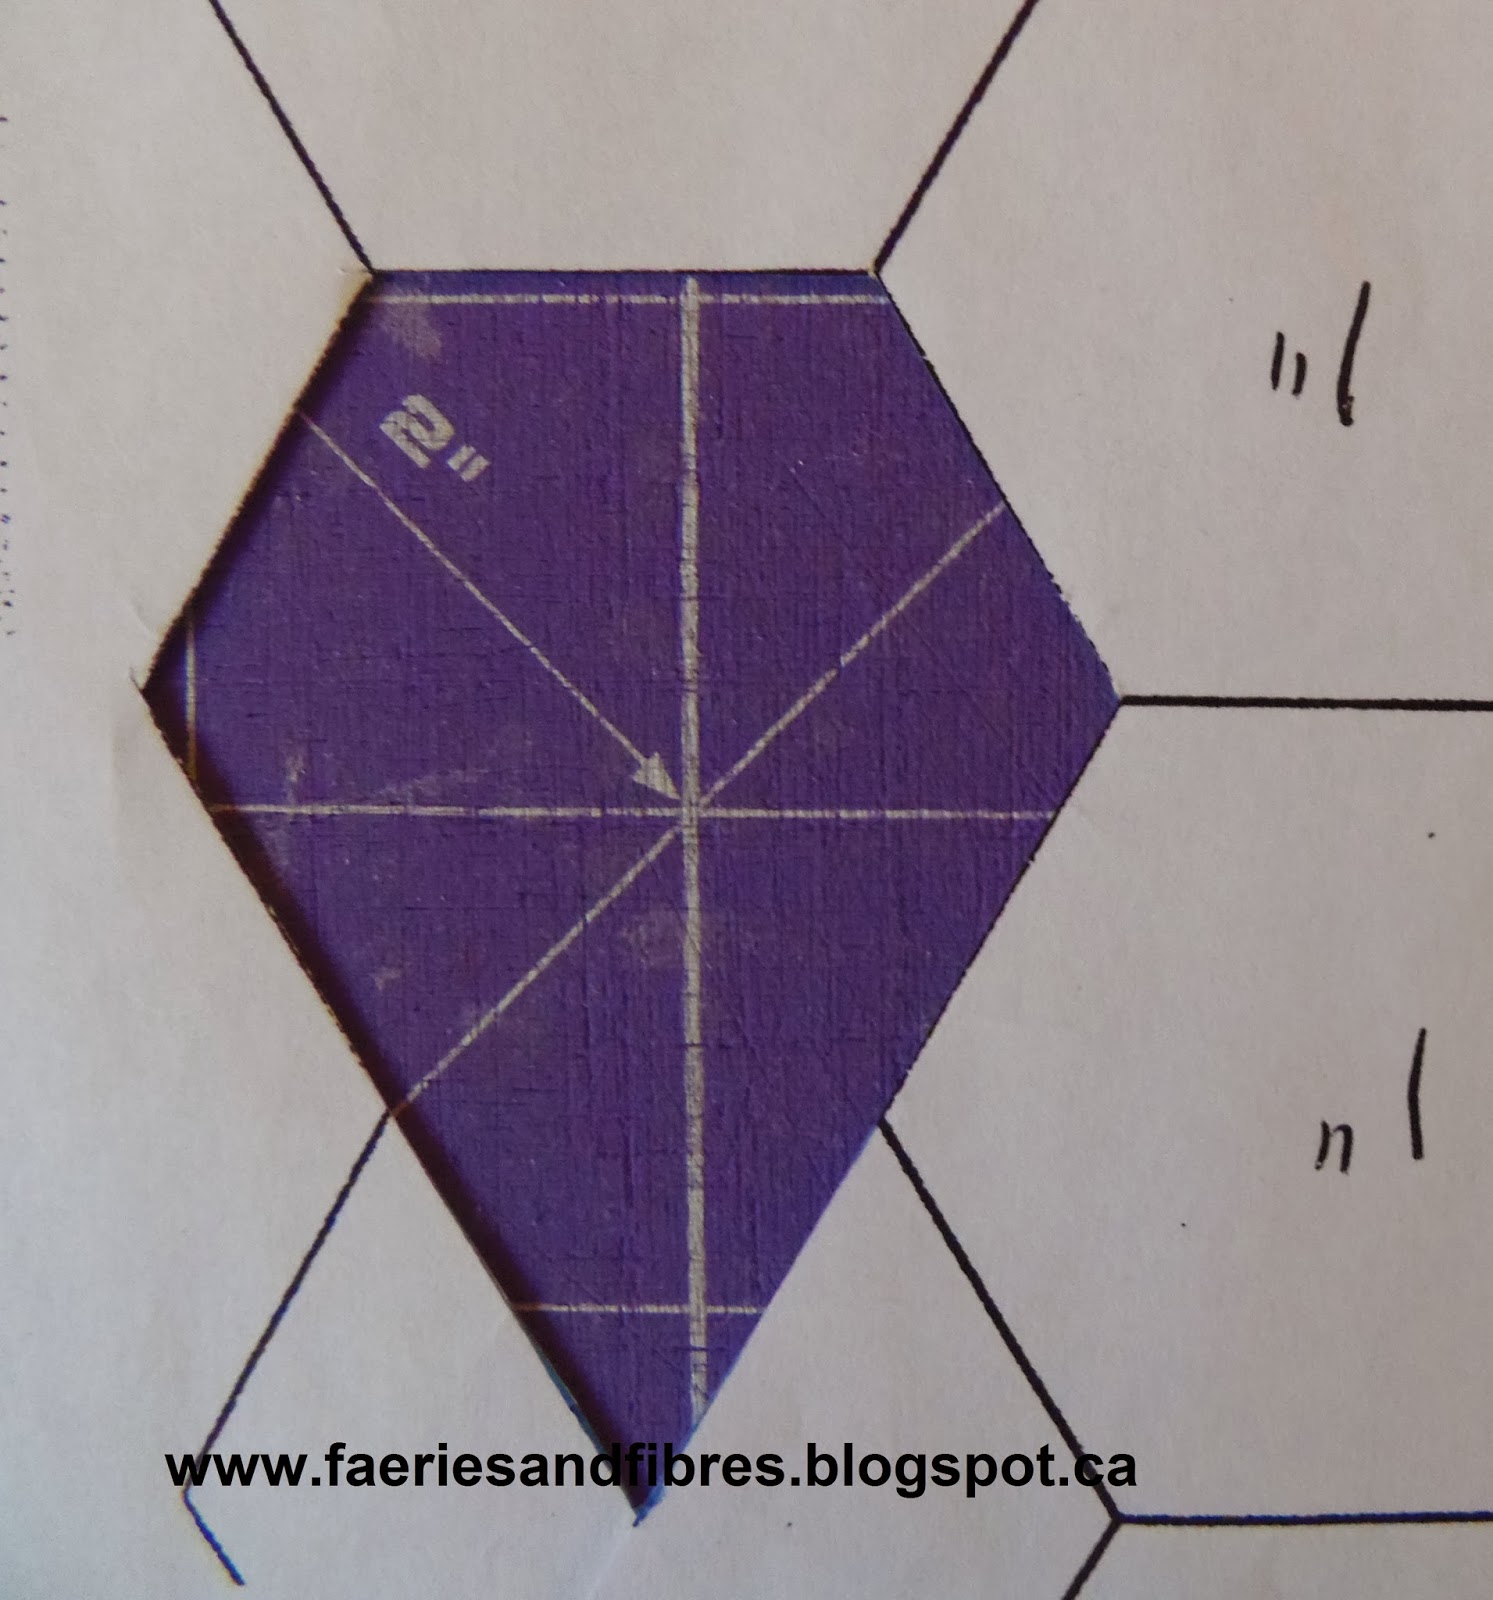
Yesterday I was playing around in my sewing room doing nothing in particular. I decided to fussy cut some shapes for English paper piecing. My plan was to create a motif that would be appliquéd to a background. To start I created a window template in a modified hexagon shape. I wrote about the modified hexagon on December 11, 2013. This template represents the finished size of the shape.


I sorted through some fabric and decided that this one had lots of curly queues which are a great option for fussy cutting and I wanted to do something red so this fabric ticked all boxes! 


I placed the window template on my fabric and moved it around until I liked what I saw.  I made some registration marks on the window template to identify landmarks in the print so that I would be able to line the template up on my fabric for the next motif. I decided to use my Frixion pen to trace inside the window template but you could use whatever fabric safe non permanent marker you choose.


I then moved my window template to the next motif, lined up the registration marks with the landmarks on the fabric and traced inside the window motif. I repeated this until I had  traced six modified hexagons. I was careful to make sure there was enough fabric between each motif for the seam allowances.

Next I cut out the motifs with scissors adding at least a 1/4" seam allowance all around. It didn't have to be precise. You can see the line I drew and the seam allowances. I clipped the point at the bottom of the shape so that it was blunt.

To baste the modified hexagons I started by folding down the tip at the point and I gave it a good finger press. I pinch it nice and firm so that there is a good crease.

HELPFUL TIP: When you finger press give a good pinch. Release and move your fingers over a little and pinch again. Do not slide your fingers because this can distort the fabric along the bias edges.


I didn't use an iron because it would make my pen marks disappear. In addition if I had used an iron it would make a hard crease and there would have been no wiggle room when it came time to stitch the patches together (I love having a little wiggle room).

I next folded over the right side on the line and gave it a good finger press.


The left side is then folder over on the line and again it gets a good finger press.


I start basting from the right hand side just down from the point. I take my needle down through the fabric and bring it up through the folds at the point. I find that if I do it this way the thread on the back keeps the fold nice and flat.


I baste the left side that was finger pressed but stop short of the next side which I will fold and finger press. I baste that side again stopping short of the next corner so I can fold it on the line and finger press.


I continue in this manner folding and basting, until the entire piece is basted.


I repeated these steps with the five remaining modified hexagons. Once they were basted I tried out two arrangements before stitching. I like this modified hexagon (technically I suppose it is a pentagon since it has only five sides).  This is the first arrangement. I like the open centre so that the background fabric shows through. I could always appliqué or embroider a little detail there to add some zip!

Arranged with the points facing out

This is the second arrangement.

Arranged with the points facing in

I liked the first arrangement best and so I stitched it together in the normal English paper piecing method. Now it is time for a press with a hot dry iron and voila! A paperless English paper pieced hexagon ready to be appliquéd to a background fabric!


Here is another one made using the same method, paperless English paper piecing!


This nice thing about this method is that there is no paper to remove so it can appliquéd to a background as is and once it is stitched down all that needs to be done is to remove the basting stitches!

Was that fun, fast and easy or what? Until I post again, happy paperless English paper piecing!

Karen H

p.s.  If you are a hexagon lover be sure to check out Angie's Hexie Friday Link-up party for more inspiration!