Showing posts with label Susan Smith. Show all posts

Tuesday, August 1, 2017

Rowdy Flat Library Quilt and Tiny Stems Tutorial

Again I apologize for the silence but it doesn't mean I don't think about you! I have recently started posting pictures on Instagram so if you are interested you can pop on over and have a look. My address there is @faeriesandfibres.

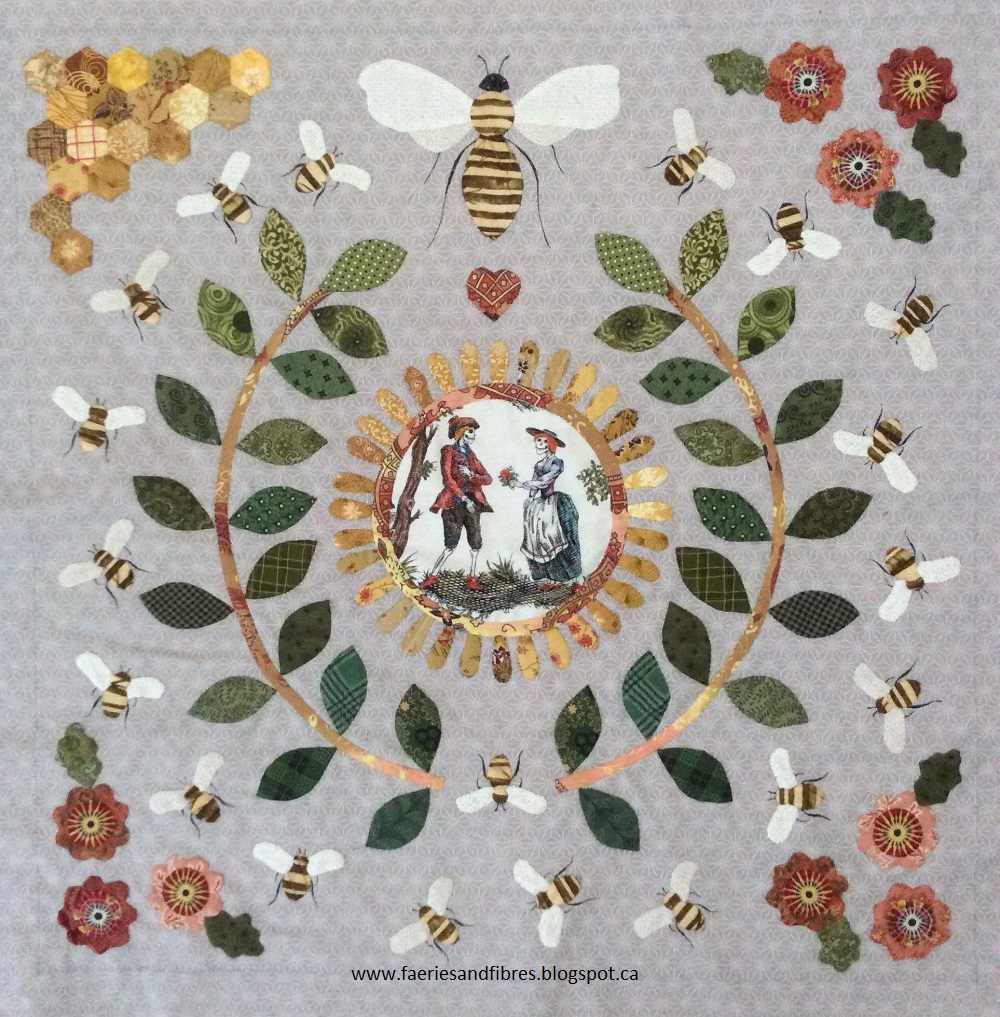
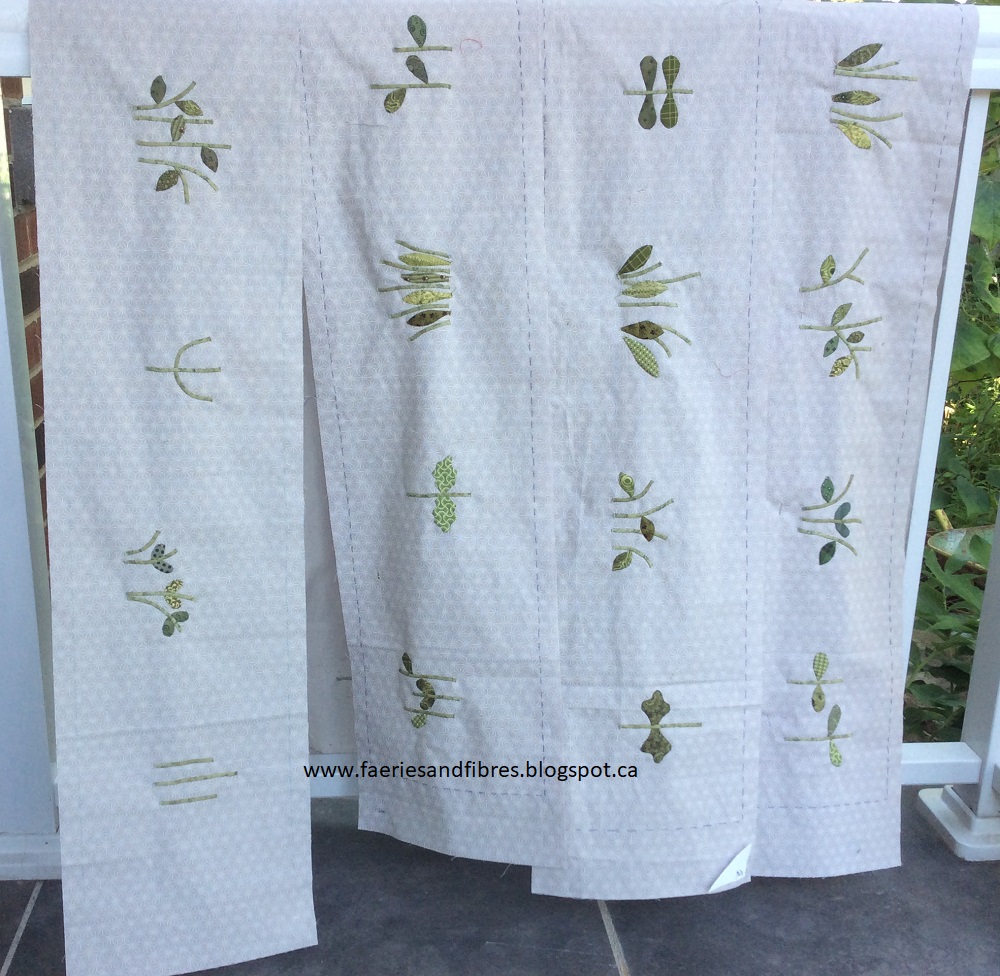
I've been working away on my Rowdy Flat Library Quilt designed by Susan Smith of Patchwork On Stoneleigh.  There are lots of stems to be appliqued and for the most part they are a mere 1/8" in width. There are eight pots of flowers on each of the four borders and most of them have more than one stem. That's a lot of little stems! UPDATE:Eloidastitches left a comment and she described another lovely method for making the tiny stems. I've added it to the end of this post so do read on!


Now I know that there are tools for making bias strips but the 1/8" size is so difficult if not impossible to find (not to mention expensive if you do find it). There are tutorials on how to make bias makers with cardstock and I tried them but had varying degrees of success. They seemed to work fine for bias strips of 1/4" or larger but the 1/8" size was next to impossible. So here's what I came up with and it works like a charm.

I cut bias strips that are 3/8". For tiny stems I could have worked with strips cut on the grain but when it frays, long threads come loose and it makes it difficult to turn under the raw edges when stitching so bias strips work better.


I fold under one edge by 1/8" and press with a hot, dry iron. Steam can distort the fabric and you are working with such a tiny seam allowance that there will be problems if you use steam. An alternative is to spray your fabric with a little starch and press it before you cut your bias strips. The little 1/8" seam allowance will fold and press much easier than it would without the starch.


Folding and pressing can be a little tricky so an alternative is to fold and thread baste as you fold. I baste only a half inch or so at a time. This is my preferred method because the fold doesn't open up at all. I can baste a longer strip, cut off what I need for a stem and applique it. The remainder of the strip is basted so the fold stays nice and crisp.


You may find it difficult to fold under  1/8" so there is another method. Cut  a 1/2" bias strip. Fold the strip in half and press with a hot, dry iron.


Trim down one side leaving a 1/8" seam allowance.


To applique the stems I place a stem on the fabric. I generally pin the stem to my fabric with tiny applique pins. I stitch down the folded edge first. In the pictures I've used white thread however I would normally use a colour to match the fabric that is being appliqued which in this case is green.


I tuck under the raw edge of the bias strip with the tip of my needle and stitch it down.


I only tuck under enough fabric to take a couple of stitches. This helps to minimize or eliminate any fraying.

The result is nice, tiny little stems!


I'm often asked what thread I use and there are a couple that I like. Gutermann 100% cotton thread is lightweight, very inexpensive and it comes in a wide variety of colours. My favourite thread is DMC machine embroidery thread. It was recommended by my friend Paula and it works beautifully. It has a soft sheen and although it is the same weight as the Gutermann if feels so much finer. It virtually disappears. It comes in the same colours as DMC embroider floss. 

UPDATE: As promised above I am adding the comment from Eloidastitches in which she describes another method for making tiny stems. A quilt maker can never have too may tips, techniques and skills in her tool box! Here is the comment: 

Those tiny stems are quite the trick Karen. I would like to share a method I read in a book by Jane Townswick (Artful Apllique, the Easy Way). In this book she shares her method of marking seam lines on skinny bias stems using a Hera marker (page 109). Before she cuts the strips, using a quilting ruler, she lines up the 1/8th inch mark along the cut edge on the back of the fabric, and then scores along the edge of the ruler at the 1/8th inch mark. Then she moves the ruler to the 1/4" mark, for the second score. After that you can cut it at the 3/8" mark (or like I do, I cut it at the 1/2" mark to give myself some wiggle room - and I actually do make another score line at the 3/8" mark as well then, which makes it easy for trimming off later). I finger press the first score line before I pin it down on my background fabric, and find this method works quite nicely, the seam allowance just nicely rolls over. The score line for the other edge can also be finger pressed before stitching down. If I have cut the strip at 1/2", then I trim it after the first edge is stitched down. I think I have gained enough confidence now, that I may cut my strips at 3/8" next time.

I hope you enjoyed this little tutorial. Until I post again happy sewing and I hope to see you all over at Instagram!

Karen


Saturday, September 24, 2016

Rowdy Flat Library Quilt Block 2 (The Beekeeper) and a reader makes a quilt from one of my patterns

I'm sick of renovations because one thing just leads to another. The attic space has been cleaned, repaired and new insulation installed. In the process some electrical work was done up there and as a result it was necessary to knock two holes in my bedroom wall to run electrical cable. That would not have been so bad but for the fact that there is wallpaper on the walls so this means I have to pack up my bedroom, strip the wallpaper, repair the walls, repaint and so on. I had planned on putting my sewing room back together and will do so but once that is done, all of the bedroom stuff including furniture will have to be packed up and stored in my sewing room. Oh well, I had best stop my moaning and just get on with it!

During all of the commotion I've finished block 2 of the Rowdy Flat Library Quilt designed by Susan Smith. She calls this block "The Beekeeper" because as you will see it is loaded with bees! Here is my start.


At the base of the wreath the pattern called for the quilt maker's initial but I just loved the bees sooooo much that I added a bee instead.


Susan's quilt design calls for a variety of fabrics for the bee bodies but I plan to use the same fabric for all of my bees. I like the warm honey colour and think it works well. All the little details such as the legs and antennae are done with a pen.


The flowers in the three corners were appliqued in place. The pattern calls for flower centres made up of two circles with one being smaller than the other.


I have this fabric in my stash and thought it would make perfect centres for the flowers so I cut them out and positioned them on my flowers. They really sparkled so I didn't need to go the two circle route.


I love the effect of this fabric. for the flower centres!


Finally, here is my finished block....The Beekeeper! Notice the honeycomb in the upper left corner.


I recently heard from a reader, Gretchen, that she had made a quilt from one of my patterns, Cherry Blossom. The pattern is available in my Craftsy store.


Gretchen made her Cherry Blossom quilt larger than the pattern and she added a pieced border. All I can say is WOWIE! Cherry Blossom is one of my favourite quilts and I love her version. Isn't it interesting to see how a border can change the look of a quilt? You can read about Gretchen's quilt on her blog Gretchen's Little Corner.


Gretchen added her own personal touch (I love doing that myself and am really pleased to know that Gretchen did her own thing too) by adding the pieced border!


I've procrastinated long enough. Time for me to start packing up the bedroom and think about stripping wallpaper. Until I post again, happy sewing.

Karen H

Friday, August 26, 2016

Block 1 of the Rowdy Flat Library Quilt and Barbara Brackman

My quilt Stars in The Loft was recently shown on Barbara Brackman's blog Material Culture. You can read the post here.  What an honour and a thrill that was! This quilt remains one of my favourites!


I continue to work on my Rowdy Flat Library Quilt designed by Susan Smith. The yellow petals are stitched down and the raw edges covered with bias binding. I used a very lightweight cotton. It is like a lawn or a batiste and it was very easy to work with.


I used the same fabric for the next component which is four bows and a small heart.


Once the bows were stitched down I was able to proceed to the next step which was to add a wreath. The stem is made of bias tape and once again I chose to use my lightweight cotton. The pattern calls for scraps of all colours for the leafs but as much as I like scrap quilts I found it difficult to use random scraps so I chose to make the leafs with green fabrics. The lighter greens are at the top and the darker greens toward the bottom.


There are flower pots in each corner. The pot in the lower right is stitched down as are the little stems which are 1/8"! I thought that they would be difficult but in the end they were so fast and easy to do. I had considered using different fabrics for each pot so you can see that the pot on the left is a different fabric. In the end I decided to use a single print but cut out the pot from different parts of the print. The flowers will all be cut from different parts of the same fabric. The method I used to make the circles is not unique but it works for me. You can read my tutorial here.  I like to cut out all of my circles at once. In this case I needed 20 of them. In the evening I basted them so the edges could be gathered and I just left a long tail of thread so that I could draw it up when I pressed the circles.  There are butterflies to be added to this block and their bodies are small and I thought they would be REALLY difficult but I had an idea about a method that might made it easier so I tried it out and it worked like a charm. I plan on showing you what I did in an upcoming post.

I'll leave you with a close-up of the ink and embroidery details in the toile fabric.


Until I post again, happy sewing!
Karen H


Monday, July 25, 2016

Rowdy Flat Library Quilt and a Tutorial for straightening the edge of a hexagon quilt top

Once again I'm sorry for the silence. All is well but I've been distracted by a variety of happy events and captivating projects. I recently saw some blocks that really caught my attention. There were made by an Australian quilt maker, Susan Smith of Patchwork on Stoneleigh and she is offering the patterns as a block of the month. The blocks will be made into a quilt (which is yet to be revealed). The name of the quilt is the Rowdy Flat Library Quilt and when I saw the bees I was hooked.

The pattern calls for toile and I have been saving some scraps of a toile that I used to make my Lazy Punk quilt.

Lazy Punk

The toile looks like a typical toile until you have an up close look. It is skeletons! I've been saving this scrap waiting for the perfect opportunity to use it and this is just the quilt! But my plan was to transform the fabric to add my personal touch and transform it I did. More to come on the transformation in the coming days.


For now I thought I would do a little mini tutorial about another way to finish the edge of a hexagon quilt. There are so many ways to finish the edge of an English paper pieced hexagon quilt top and today I thought I would share one of the methods that I like to use to create a straight edge.

There are two different edges on a hexagon quilt top. The first is an edge of "Vs".


This one is easy to straighten because you just trim the points with a rotary cutter and ruler and the result will be a nice straight edge. The other important factor is that in trimming this edge you will not be cutting through your stitching so the seams will be intact. I leave the papers in my quilt top until I am ready to trim the points. This prevents stretching.


The other edge looks like dentil molding.


You could simply trim the hexagons 1/4" beyond the mid-point (the red circles) to give you a nice straight edge.


When you open up the seam of the lower hexagon the problem is that the 1/4" seam allowance area is not stitched closed (see inside the red circle). I like my seams stitched right to the end of the seam because I know it will be secure. If it is not stitched to the end my fear is that eventually the seam may open.

A second option is to open the seam allowance at the top of the innermost hexagons (at the red arrows) and then trim the them on the red dashed line. What I don't like about this method is that when you add a border or binding the seam will be 1/4" in from the edge (the black line) and so the outermost hexagon will be less than a half hexagon. This just looks wrong to my eye.


My preferred approach is to add half hexagons to fill the space. Normally I baste my hexagons from the back so that the basting will remain in the quilt however when I make half hexagons to fill the dentil edge I prefer to baste through the paper.


I like to work with a larger seam allowance because it makes the basting process so much easier. I dislike cutting fabric slowly, especially if I need to cut lots of fabric for the path between the hexagon rosettes. I wrote about my rapid fire cutting method here. When making half hexagons I will trim the raw edge after I've basted it to the paper. There is a precise 1/4" seam allowance that will allow all raw edges to line up.

My next step is to clip the basting basting threads at the top edge of the outermost hexagons and trim the outer edge so that there is a precise 1/4" seam allowance.


Once the outermost edge is trimmed I can set in the half hexagons.Notice that I've used some tiny applique pins to hold the papers in position. This is optional but I find that retaining the papers helps maintain nice, crisp edges for sewing.


The finished product is a nice straight edge that makes it easy to add borders or binding.


Until I post again, happy sewing!
Karen H