
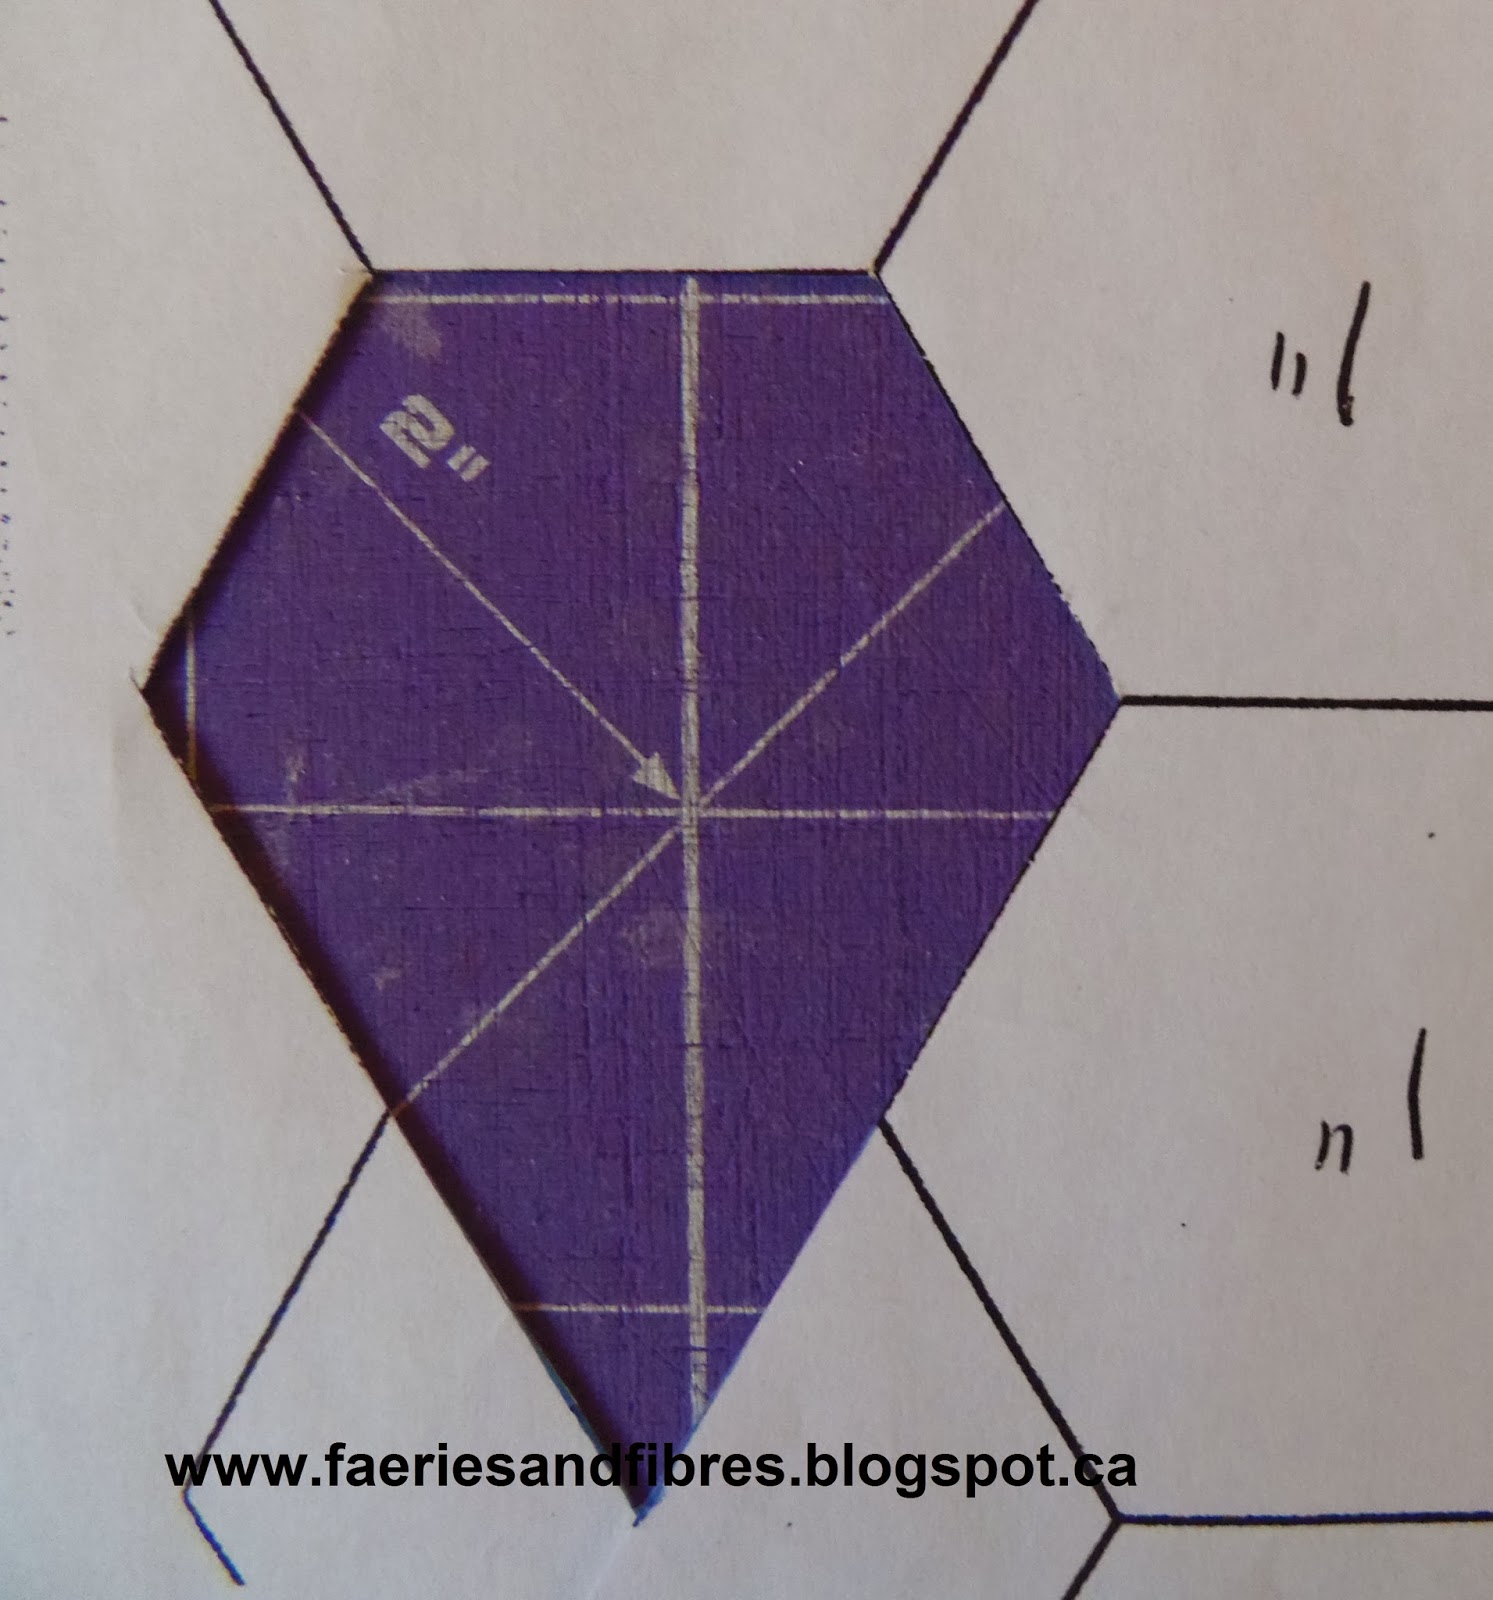
Yesterday I was playing around in my sewing room doing nothing in particular. I decided to fussy cut some shapes for English paper piecing. My plan was to create a motif that would be appliquéd to a background. To start I created a window template in a modified hexagon shape. I wrote about the modified hexagon on December 11, 2013. This template represents the finished size of the shape.
I sorted through some fabric and decided that this one had lots of curly queues which are a great option for fussy cutting and I wanted to do something red so this fabric ticked all boxes!


I then moved my window template to the next motif, lined up the registration marks with the landmarks on the fabric and traced inside the window motif. I repeated this until I had traced six modified hexagons. I was careful to make sure there was enough fabric between each motif for the seam allowances.
Next I cut out the motifs with scissors adding at least a 1/4" seam allowance all around. It didn't have to be precise. You can see the line I drew and the seam allowances. I clipped the point at the bottom of the shape so that it was blunt.

HELPFUL TIP: When you finger press give a good pinch. Release and move your fingers over a little and pinch again. Do not slide your fingers because this can distort the fabric along the bias edges.

I didn't use an iron because it would make my pen marks disappear. In addition if I had used an iron it would make a hard crease and there would have been no wiggle room when it came time to stitch the patches together (I love having a little wiggle room).
I next folded over the right side on the line and gave it a good finger press.

The left side is then folder over on the line and again it gets a good finger press.

I start basting from the right hand side just down from the point. I take my needle down through the fabric and bring it up through the folds at the point. I find that if I do it this way the thread on the back keeps the fold nice and flat.

I baste the left side that was finger pressed but stop short of the next side which I will fold and finger press. I baste that side again stopping short of the next corner so I can fold it on the line and finger press.
I continue in this manner folding and basting, until the entire piece is basted.

I repeated these steps with the five remaining modified hexagons. Once they were basted I tried out two arrangements before stitching. I like this modified hexagon (technically I suppose it is a pentagon since it has only five sides). This is the first arrangement. I like the open centre so that the background fabric shows through. I could always appliqué or embroider a little detail there to add some zip!

Arranged with the points facing out
This is the second arrangement.

Arranged with the points facing in
I liked the first arrangement best and so I stitched it together in the normal English paper piecing method. Now it is time for a press with a hot dry iron and voila! A paperless English paper pieced hexagon ready to be appliquéd to a background fabric!

Here is another one made using the same method, paperless English paper piecing!

Was that fun, fast and easy or what? Until I post again, happy paperless English paper piecing!
Karen H
p.s. If you are a hexagon lover be sure to check out Angie's Hexie Friday Link-up party for more inspiration!
