Showing posts with label modified hexagon. Show all posts

Sunday, February 23, 2014

Still playing around with hexagons and look what happened

I'm still playing around with hexagons and having fun and coming up with new ideas!

By now you are all quite familiar with my blue version of my Soupcon Quilt Along (QAL). I started with a modified hexagon, added embroidery,  some applique and a background and ring to frame the whole thing. The modified hexagons are one inch. I really like this piece and it all started with playing around with hexagons.


I was also playing around with 3/4" hexies using my paperless English paper piecing method that I wrote about on December 29, 2013. Here is one of the modified hexagons that I made this way.


I was playing around auditioning different centers and backgrounds. Just for fun I tossed it on my Soupcon quilt and look what happened! Magic! It isn't stitched down and I won't be stitching it down but I now have another idea for making an interesting block for a future quilt!


Is this fun or what? My message to you today is don't feel constrained by how things are "supposed" to be done. Play around and have fun. If it doesn't work out it will be our secret however in the process you will have learned something about what doesn't work for you. While you are experimenting you will learn about what does work for you whether it is colour combinations, scale, value or techniques/methods and you might just stumble across a really great idea! That is usually how I come up with new ideas!

That's it for today. Until I post again, happy experimenting!
Karen H

Friday, January 3, 2014

Soupçon Hexagon Quilt Along - Part 1


Soupçon Quilt
Faeries and Fibres 2014 QAL
Part 1 of 6

Welcome to my Soupçon Hexagon Quilt Along (QAL)! Soupçon is a medallion style quilt that I designed at the request of one of my blog readers, Kathy at Hillside House Blog The finished size of the quilt  somewhere in the area of 33” square. At the end I will discuss options for adding to it so that it can become a larger wall hanging or even a quilt.

We'll be using a variety of techniques including patchwork piecing, foundation paper piecing, English paper piecing, applique and embroidery. Since this isn't a large quilt you won’t have to spend inordinate amounts of time on each pattern installment! Where possible I will try to provide you with alternatives so that if what I've designed isn't your cup of tea, you will have options.

This is a scrap quilt so there are no fabric requirements provided. Try to work with what you have in your stash. If you bought fabric because you love it I’ll bet that there are other fabrics in your stash that will work with it! If you feel the urge to buy new fabric for this project by all means do so! There are no quilt police here so have fun!

So let’s get started! In this installment you will start work on the center of the medallion which is based on a modified hexagon motif appliqued to a background fabric. If hexagons aren't your thing, please read my ALTERNATIVE DESIGN SUGGESTION below. For this installment you will need the following supplies:
  • a feature fabric for the centerpiece of the medallion,
  • a 10 1/2" square of fabric for the background,
  • spray starch (highly recommended),
  • one sheet of 1" hexagons available here and
  •  usual hand sewing necessaries.
I made two Soupçon quilts. My feature fabrics are this blue print for my first Soupçon Quilt and a red print for the second which is a simplified version.


You can make your hexagon using the paperless English paper piecing method I wrote about here or you can do traditional English paper piecing. For the traditional method you will need to print a sheet of 1” hexagons (there is a link to a hexagon template under the supply list above) . If your printer doesn't print the hexagons at exactly 1” don’t worry! It won’t be a problem because the pieces will still fit together. Create six modified hexagons by drawing lines in a hexagon in the center of the page of hexagons as indicated by the pink lines. 


Cut out six modified hexagons. The pink lines indicate the cutting lines.


The modified hexagon is in fact a pentagon because it has five sides but I'm calling it a modified hexagon because it helps me keep it clear in my mind!

DECISION #1: To fussy cut or not  This is a great way to try out fussy cutting since you only need six modified hexagons. Yesterday I wrote about fussy cutting options. If you need a little inspiration check it out!

If you need simple instructions on fussy cutting please refer to my post from December 13, 2013. There are also more detailed methods explained here. The easiest way is to select and cut out one modified hexagon from your fabric (remember to add seam allowances because the paper doesn't have any).

I like to use a little glue stick to tack my papers to my fabric. I lay out all six patches and glue the first paper to the wrong side of the fabric. I look for landmarks to line up the papers on the fabric so that they match the first one. You can see in this picture that I've used the upper left corner and the point at the bottom as my reference points.


If you are new to English paper piecing instructions are available under my tab English Paper Piecing & Hexagon Fun. Refer to my booklet EasierThan Pie - English Paper Piecing for Beginners. If you know what you are doing thread baste the fabric to the paper with large stitches.


DECISION #2: Sew your modified hexagons together to form a star or a flower  You can arrange the modified hexagons into a star or a flower. I chose the star arrangement on the right for my blue fabric. If you are a beginner I think you will find that the star is a little easier to make.


I chose to make a flower with the red fabric for the simplified version of the quilt.


Stitch you modified hexagons together using a thread that matches the fabric. If you choose to make the flower and the center is less than perfect don't worry because we'll deal with it in the next pattern installment! The flower has six points that meet in the center and you can get all of the points to match with a few simple step. With right sides together, sew to together from the outside edge to the center point.


Open up these two patches and place the third modified hexagon on the hexagon on the left (if you are left handed place it on the hexagon on the right).


Put your needle through the point of the third hexagon and then through the hexagon on the far right (if you are left handed it will be the far left) and draw the thread through.

Now put the needle through the point of the third hexagon and through the point of the second (middle) hexagon. Draw up the thread. Continue sewing to the outside edge.


Sew the remaining three modified hexagons in the same manner. 

When you sew them together you want the points in the center to match. To do this I sew the first two points on the right (if you are left handed they will be the first two points on the left).


I next sew the two points on the left (on the right if you are left handed).


I again sew the two points on the right (on the left if you are left handed). This will keep the points lined up snugly. From there I just continue sewing out to the edge.


This is what the center will look like. If yours isn't perfect please don't worry! I'll have some ideas for you in the next installment!

HELPFUL TIP: When I sew my hexagons together I never start sewing right at the corner. I start one stitch in from the edge and sew out to where I would have started at the edge. When I get there I start sewing my seam as usual. When I get to the end of the seam I sew back the way I came for one or two stitches and then knot off the thread. I do this so that there are no knots right at the corners.

If you decided to go with the star, there is one more DECISION and that is whether or not to fill the center with a 1” hexagon or leave it open. I chose to fill it with a hexagon. You can paper piece a 1" hexagon and stitch it in the star center as in the photograph below. You could also just leave the star center open so that the background fabric shows. There is another way to fill the center that is super easy! It a good method if you aren't sure what you want to do. Just leave the center open and do not stitch it to the background until we get to installment #2. If you don't like what I have planned you can still tuck a fabric in the opening and then stitch it in place.


So to do the easy method I mentioned select the fabric that will be used as the middle hexagon. I just place my star on a fabric and move it around until I like what I see. I might try several fabrics until I find the right one. One I have it I trace around the inside edge of the star on the fabric with a fabric safe marker. I cut out the motif adding a generous seam allowance of almost 1/2" all around.


I put a little glue on the seam allowances the hexagon opening.


I lightly place the star on the motif and when I like what I see I give it a gentle press with my fingers.


This is what it will look like from the wrong side.


The center will look like it has been reverse appliqued in place. I stitch the center after the entire star has been appliqued to the background fabric.


Once your modified hexagons are stitched together give them a good spritz with spray starch and press with a hot dry iron. At this point the basting threads and papers can be removed. The piece is now ready to be appliqued to your background fabric.


Take your 10 ½” square of background fabric and give it a liberal spraying with starch and press, not iron, with a hot dry iron. Fold the square in half and then in half once again so that it is divided into four equal squares. For my red quilt I chose an off-white and red print and for the blue quilt I chose a dark background.


Place your star or flower on the background square using the fold lines to center it. Pin it to the background and baste it in place with thread or basting glue. Make sure everything is nice an flat before you do your applique work!


DECISION #3: Which method of applique will you use? I chose to do hand applique with a blind stitch however you could applique with a decorative machine embroidery stitch, invisible machine applique or hand appliqué with a buttonhole stitch. Go with whatever tickles your fancy! Heck, you could even top stitch by hand or by machine with a pretty thread!

ALTERNATIVE DESIGN SUGGESTION: If hexagons aren't your thing, you can substitute a square of a large print such as this one.


Just make sure that the portion of the print that you will feature is no larger than 6 ½” square. From this feature fabric you will cut a 10 ½” square making sure that your motif is centered in the square. You may want to hold off making the decision about what fabric you will use until Installment #3.

OPTIONS FOR A QUILT: If you were to make a pile of appliqued hexagon blocks in this way they could be sewn together, with or without sashing, into a quilt! Twenty blocks stitched together with a nice border would make a lovely lap quilt! 


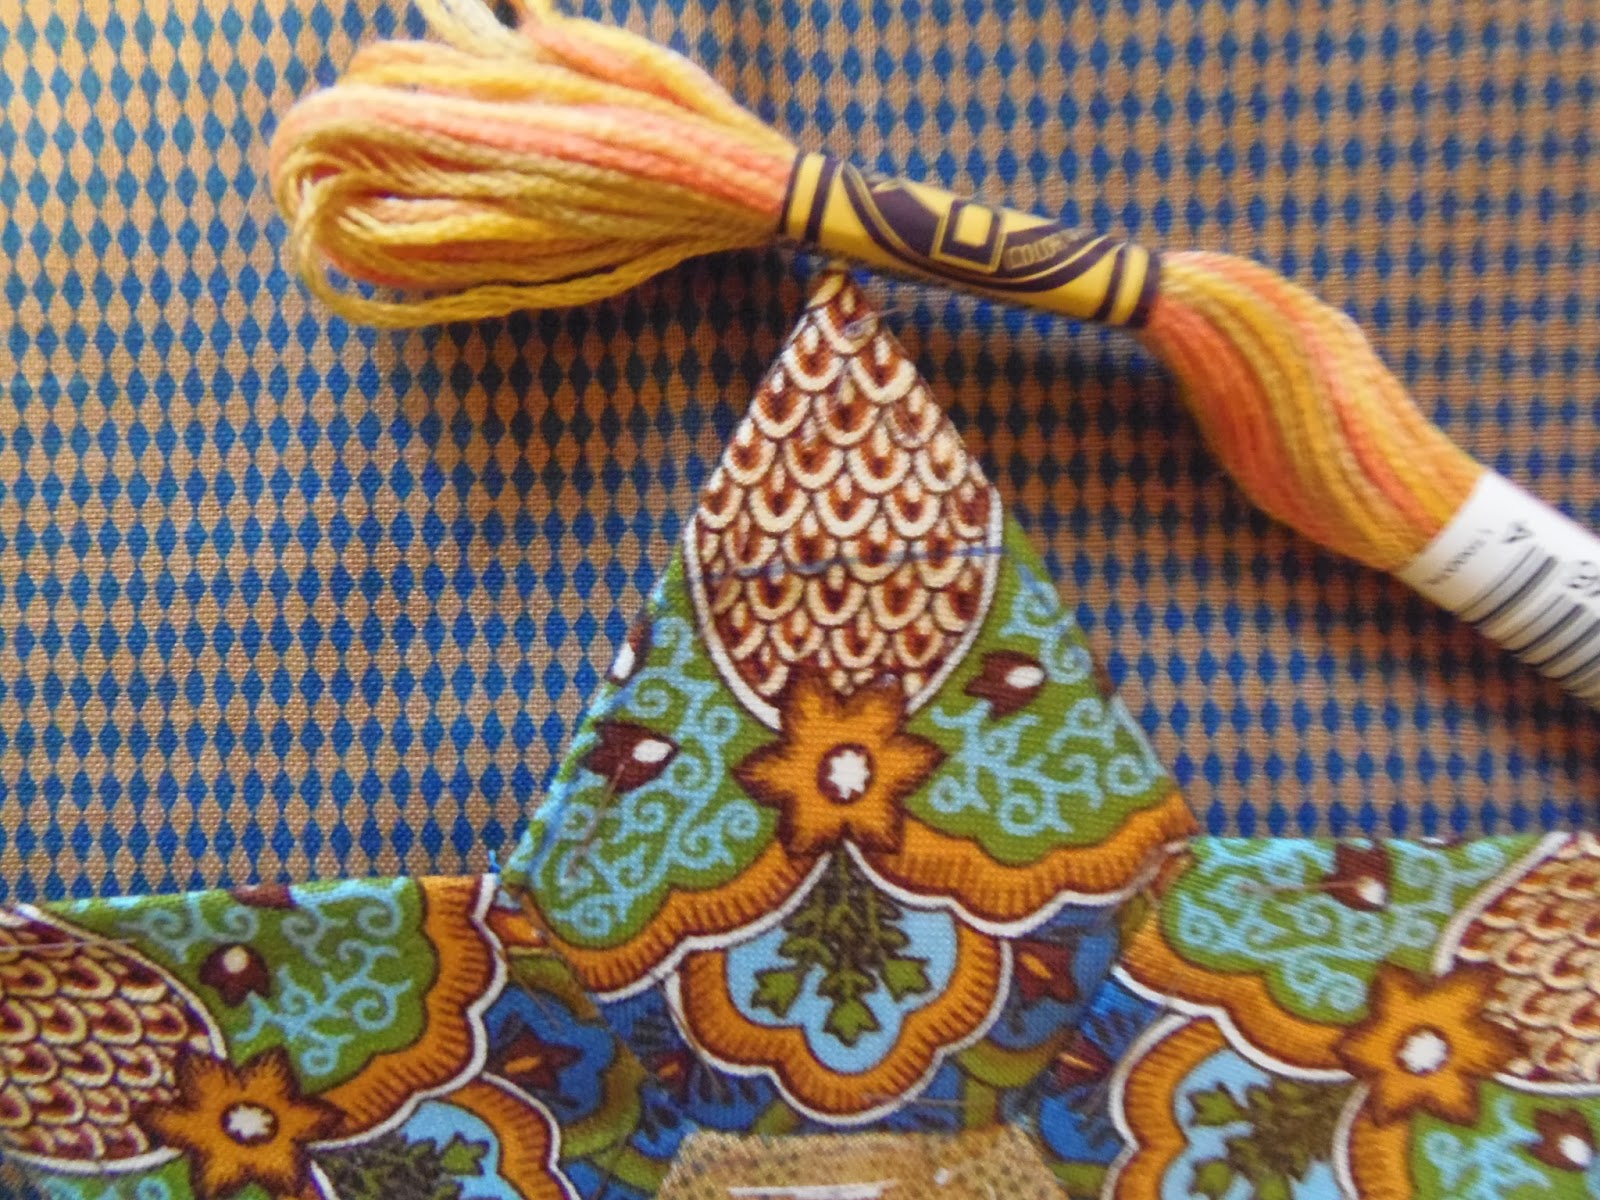
This is the end of the first installment! In two weeks I’ll publish the next installment; we will continue to work on our center medallion. We are going to kick it up a notch and turn it into something spectacular! This will be a chance to try out some embroidery but it it isn't your thing I've got other ideas for you! The floss in this picture is DMC's variegated floss # 4126. I love the lemony, golden, peachy tones!


I've set up a FLICKR group for the Soupçon Hexagon Quilt Along. I hope you will post pictures of you quilt as you go along because I want to see what you are doing! You can see what everyone is doing and post your own pictures at  http://www.flickr.com/groups/soupconqal/

I hope you've had fun. Take your time making this piece and make it something really special! And do save your scraps. You might want to use them in an upcoming installment!

Until I post again, happy sewing!


Karen H

Sunday, December 29, 2013

Tutorial: Paperless English Paper Piecing

Paperless English paper piecing? What the heck is that? Well grab a cuppa, settle back and I'll tell you all about it!

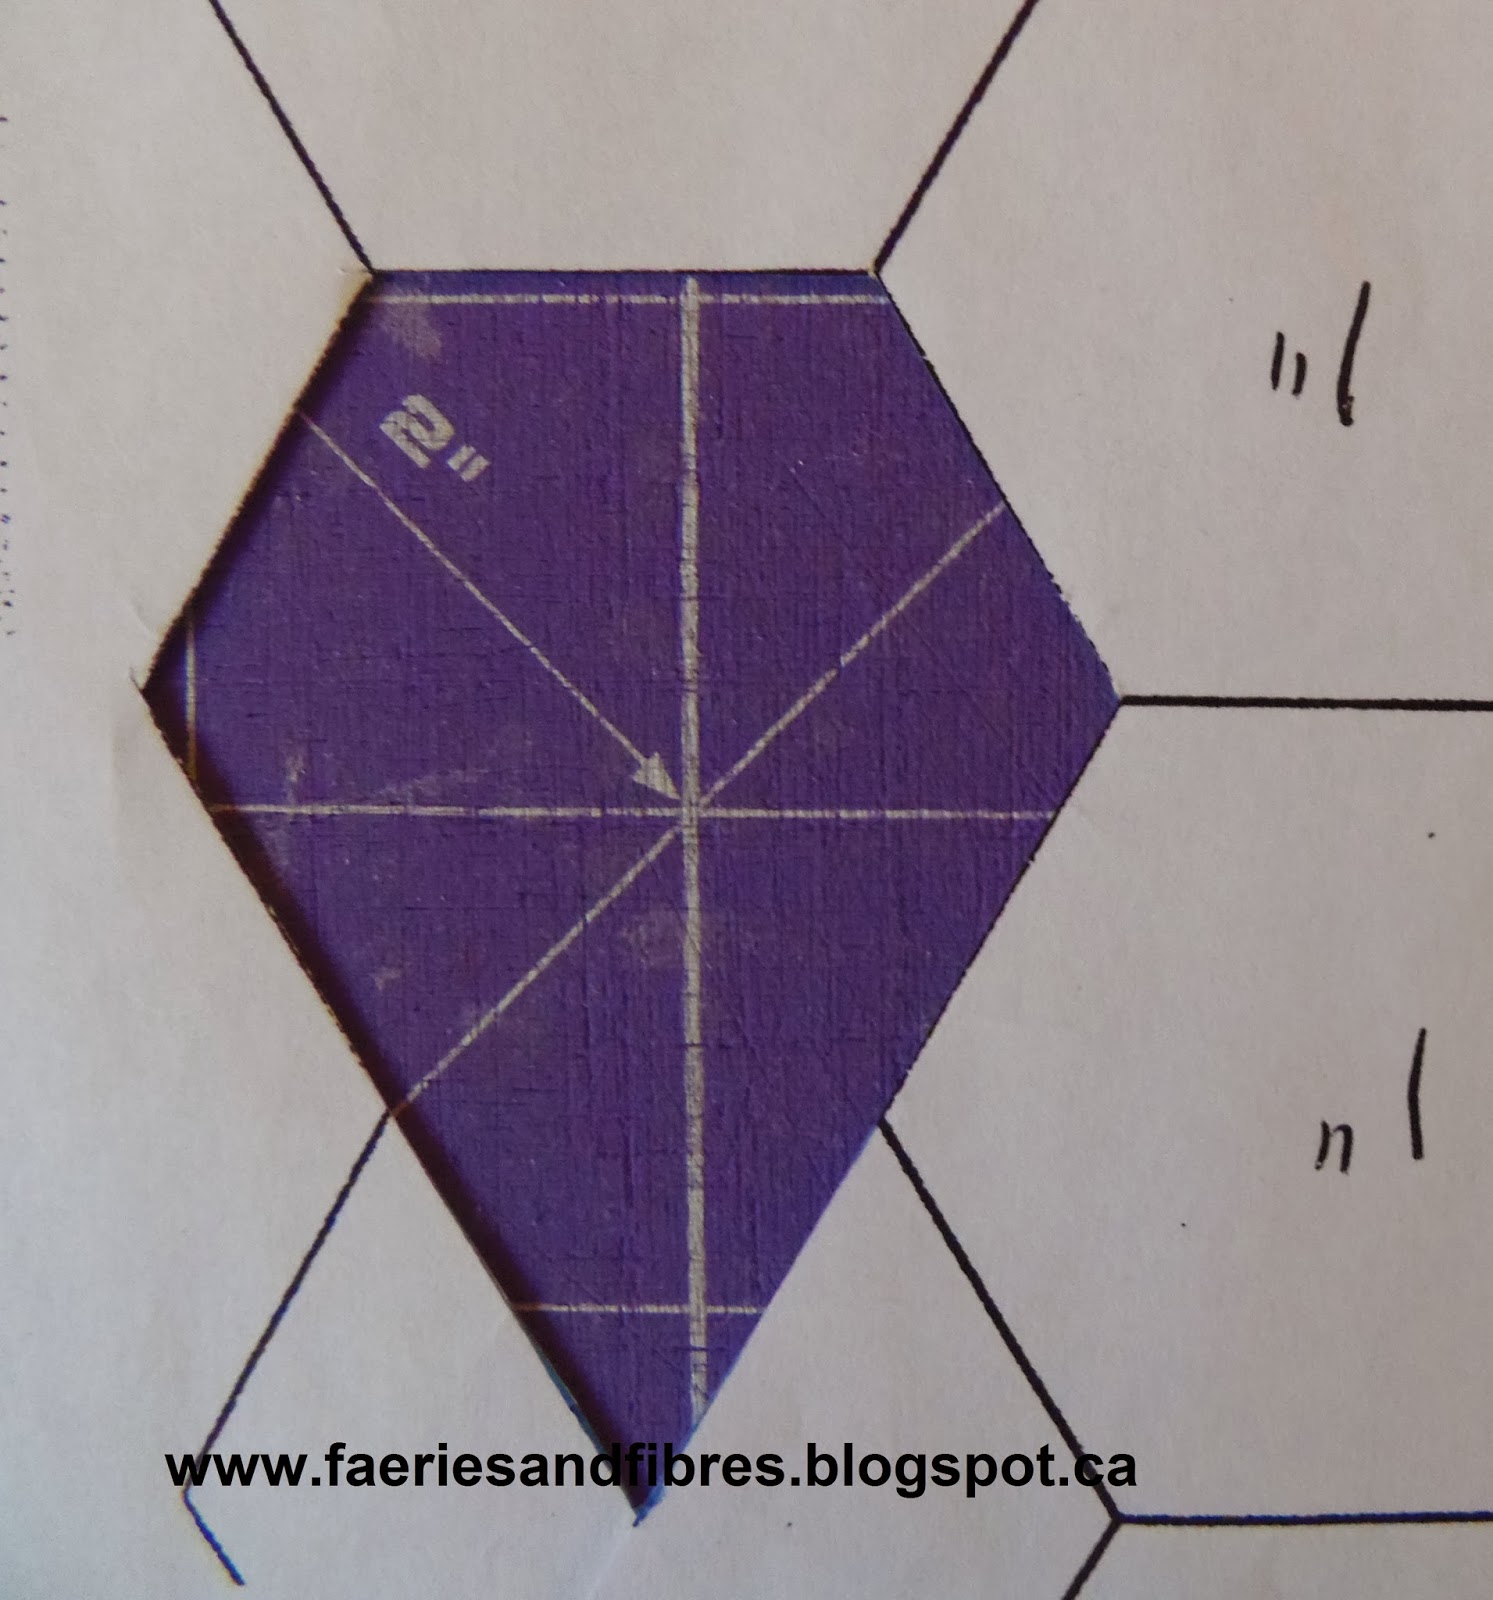
Yesterday I was playing around in my sewing room doing nothing in particular. I decided to fussy cut some shapes for English paper piecing. My plan was to create a motif that would be appliquéd to a background. To start I created a window template in a modified hexagon shape. I wrote about the modified hexagon on December 11, 2013. This template represents the finished size of the shape.


I sorted through some fabric and decided that this one had lots of curly queues which are a great option for fussy cutting and I wanted to do something red so this fabric ticked all boxes! 


I placed the window template on my fabric and moved it around until I liked what I saw.  I made some registration marks on the window template to identify landmarks in the print so that I would be able to line the template up on my fabric for the next motif. I decided to use my Frixion pen to trace inside the window template but you could use whatever fabric safe non permanent marker you choose.


I then moved my window template to the next motif, lined up the registration marks with the landmarks on the fabric and traced inside the window motif. I repeated this until I had  traced six modified hexagons. I was careful to make sure there was enough fabric between each motif for the seam allowances.

Next I cut out the motifs with scissors adding at least a 1/4" seam allowance all around. It didn't have to be precise. You can see the line I drew and the seam allowances. I clipped the point at the bottom of the shape so that it was blunt.

To baste the modified hexagons I started by folding down the tip at the point and I gave it a good finger press. I pinch it nice and firm so that there is a good crease.

HELPFUL TIP: When you finger press give a good pinch. Release and move your fingers over a little and pinch again. Do not slide your fingers because this can distort the fabric along the bias edges.


I didn't use an iron because it would make my pen marks disappear. In addition if I had used an iron it would make a hard crease and there would have been no wiggle room when it came time to stitch the patches together (I love having a little wiggle room).

I next folded over the right side on the line and gave it a good finger press.


The left side is then folder over on the line and again it gets a good finger press.


I start basting from the right hand side just down from the point. I take my needle down through the fabric and bring it up through the folds at the point. I find that if I do it this way the thread on the back keeps the fold nice and flat.


I baste the left side that was finger pressed but stop short of the next side which I will fold and finger press. I baste that side again stopping short of the next corner so I can fold it on the line and finger press.


I continue in this manner folding and basting, until the entire piece is basted.


I repeated these steps with the five remaining modified hexagons. Once they were basted I tried out two arrangements before stitching. I like this modified hexagon (technically I suppose it is a pentagon since it has only five sides).  This is the first arrangement. I like the open centre so that the background fabric shows through. I could always appliqué or embroider a little detail there to add some zip!

Arranged with the points facing out

This is the second arrangement.

Arranged with the points facing in

I liked the first arrangement best and so I stitched it together in the normal English paper piecing method. Now it is time for a press with a hot dry iron and voila! A paperless English paper pieced hexagon ready to be appliquéd to a background fabric!


Here is another one made using the same method, paperless English paper piecing!


This nice thing about this method is that there is no paper to remove so it can appliquéd to a background as is and once it is stitched down all that needs to be done is to remove the basting stitches!

Was that fun, fast and easy or what? Until I post again, happy paperless English paper piecing!

Karen H

p.s.  If you are a hexagon lover be sure to check out Angie's Hexie Friday Link-up party for more inspiration!