Bunny asked me if I baste through the paper when I make foundation pieced hexagons and my answer is "yes". In fact I generally baste through the paper whether or not the hexagon is foundation pieced because I get nice sharp corners. When the hexagon is foundation pieced it also helps keep the bulk of the seams nice and flat. Tomorrow I'll do a demonstration of how I baste my hexagons.
UPDATE June 2016: Since I wrote this post I've switched to basting from the back. It is fast, easy and it protects the paper hexagons so that I can get multiple uses from each one. An added plus is that the seam allowances are kept flat and smooth! I wrote a tutorial on basting from the back and you will find it here.
Many of you read about the making of my quilt Stars in the Loft in May 2013. I had found a quilt book in a hayloft in an old barn in the later 1990s.
There was a black and white picture of a beautiful quilt and knew I had to make the quilt. There was no information about the history of the quilt, the maker nor was there a pattern. It was simply described as a "mosaic quilt" and the pattern was called "honeycomb". Drafting a pattern was fairly straight forward. I loved the center medallion, especially the dark fabric with light coloured stripes but had no idea where I could find fabric to achieve that effect so that was the genesis of my foundation pieced English paper piecing technique.
I liked the idea that the picture was black & white because I wasn't influenced by the colours of the original. So here is my version of the quilt. I also took some liberties and put my own touches on the quilt one of which was the stars in the border.
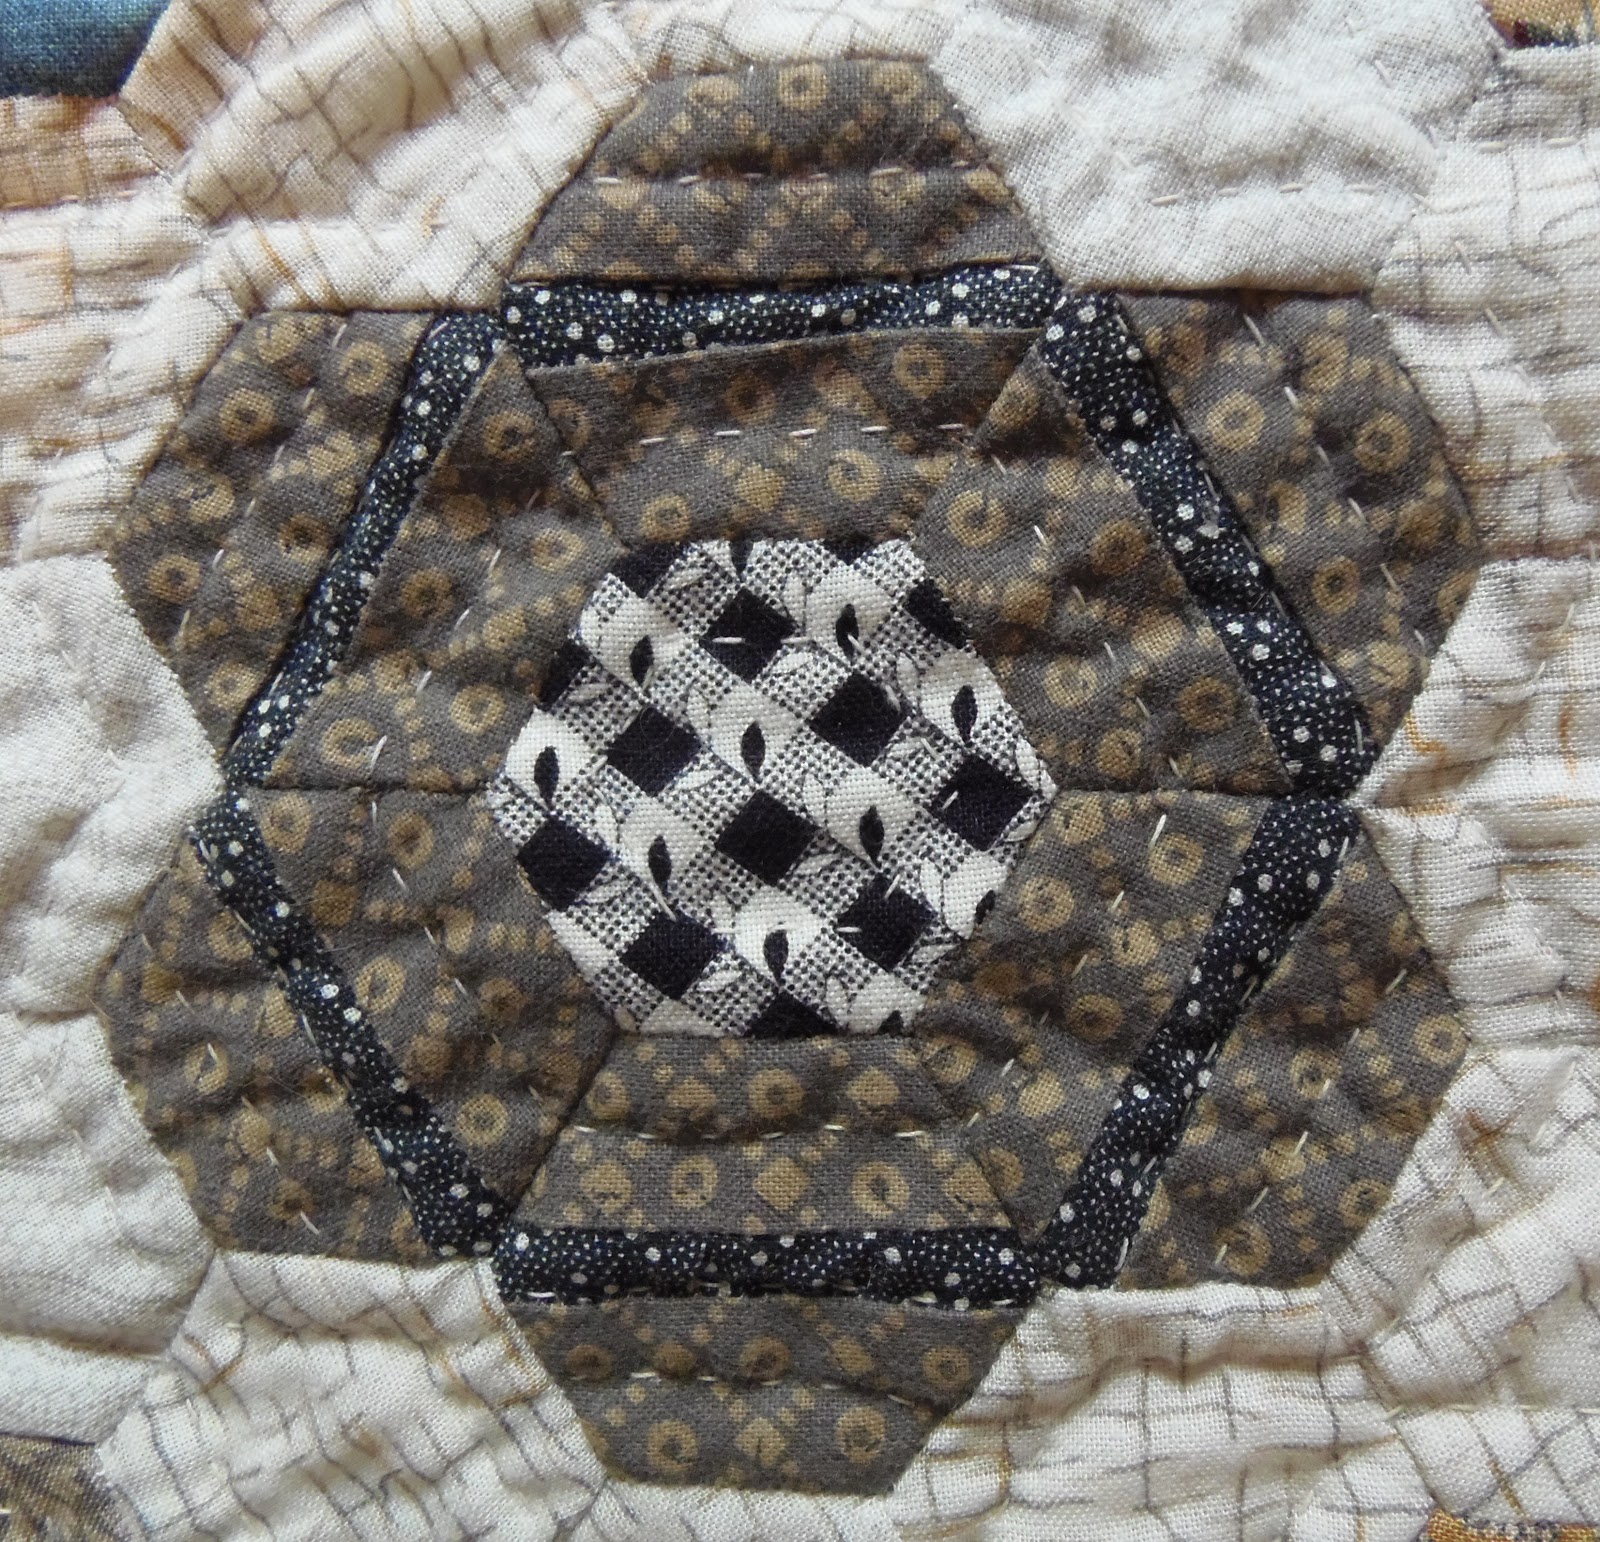
This is a close-up of the center medallion.
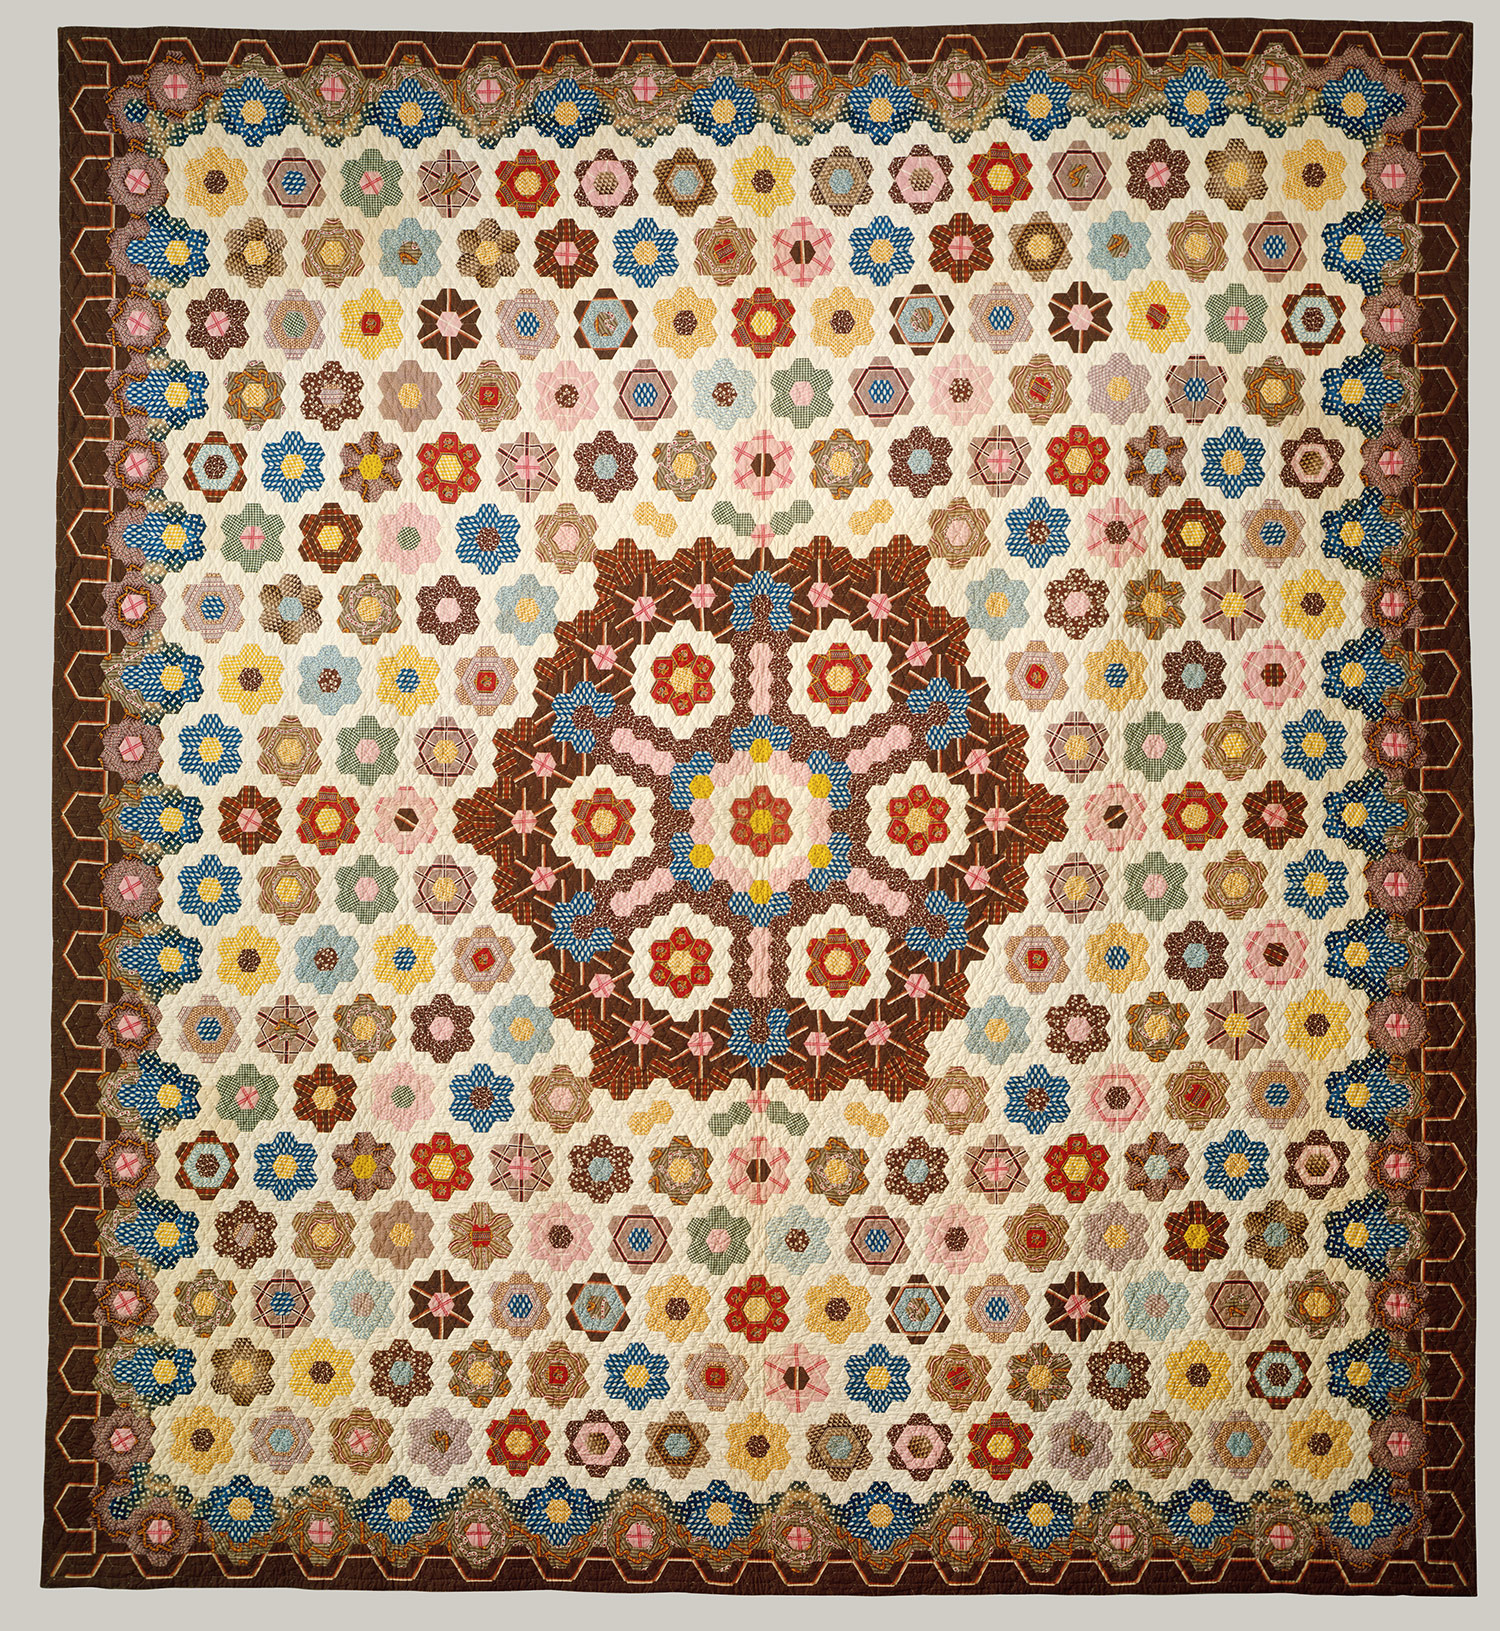
I frequently searched for the original quilt and in 2013 I found it in the Metropolitan Museum of Art. It was made by Elizabeth Van Horne Clarkson around 1830! a very different colour scheme from the one that I made.
When it rains it pours and I subsequently found another quilt, this one made in 1945 by Bertha Sheramsky Stenge (1891-1957). Bertha's quilt now resides is the Illinois State Museum. When I first found Bertha's quilt there was no information about her or the making of this quilt but I recently visited the Museum site and I was pleased to learn that the story about the making of this quilt parallel's my own story. In addition her biography is now available. You can read about Bertha here. In 1929 Ruth Finley published a book Old Patchwork Quilts and it included a picture of the original quilt from the Metropolitan! Bertha replicated the original including the use of striped fabric in the medallion and the meandering border whereas I made my own striped fabric by piecing my hexagons! This led to a variety of other designs using the technique that I developed, foundation pieced English paper piecing.
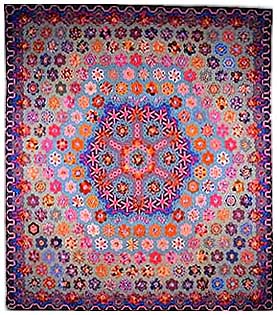
So why am I telling you all of this? Well I recently came across yet another version of this quilt on The Quilt Index. This one is a smaller simpler version but the medallion is every bit as exciting. There is no information about the maker but the quilt is dated 1930-1949 and the record comes from the West Virginia Department of Archives and History.
I imagine there are more quilts out there that were inspired by the original made by Elizabeth Van Horne Clarkson. If you come across them I would appreciate hearing where you saw them so I can add the details to my history file!
Until I post tomorrow, happy sewing!
Karen H
Showing posts with label Bertha Stenge. Show all posts
Sunday, February 9, 2014
Saturday, June 1, 2013
Stars in the Loft, the story continues yet again!
Time to share a few more hexagon how tos with you! All of these blocks are in my quilt Stars in the Loft that was completed in 2002. If you have been following my blog you will know that I my quilt is my interpretation of an antique quilt that I saw in a book. It was a black and white photograph. I was unable to find out anything about this quilt; who made it, when was it made, why was it made and what colours were used. You can read the story here. Then earlier this year I stumbled acorss the original quilt and was able to see a colour photo and I found information about the maker, Elizabeth Van Horne Clarkson. I was so excited. I didn't expect to see another but earlier this week I stumbled across the same quilt made in 1945 by Bertha Stenge! Three very different quilts. Elizabeth's is a quilt made to resemble chintz, Bertha's is a riot of colour and the navy and white stripes on mine just sparkle! At least that's what I think each time I look at it! Isn't this exciting? If you should come across other variations of this quilt please let me know!
I entered my quilt in Quilting Gallery's Show and Tell. If you would like to vote for it you can do so here! Thank you for your support!
Now back to how I made my quilt. The first two quilts were fussy cut from fabrics whereas mine were pieced. The blocks I call "firecracker" were foundation pieced on the paper hexagon before I did the English Paper Piecing. The other two used striped fabric. I decided to piece mine because it would use less fabric and I could use what was on hand rather than shop for a very specific fabric that I wasn't sure I would find.
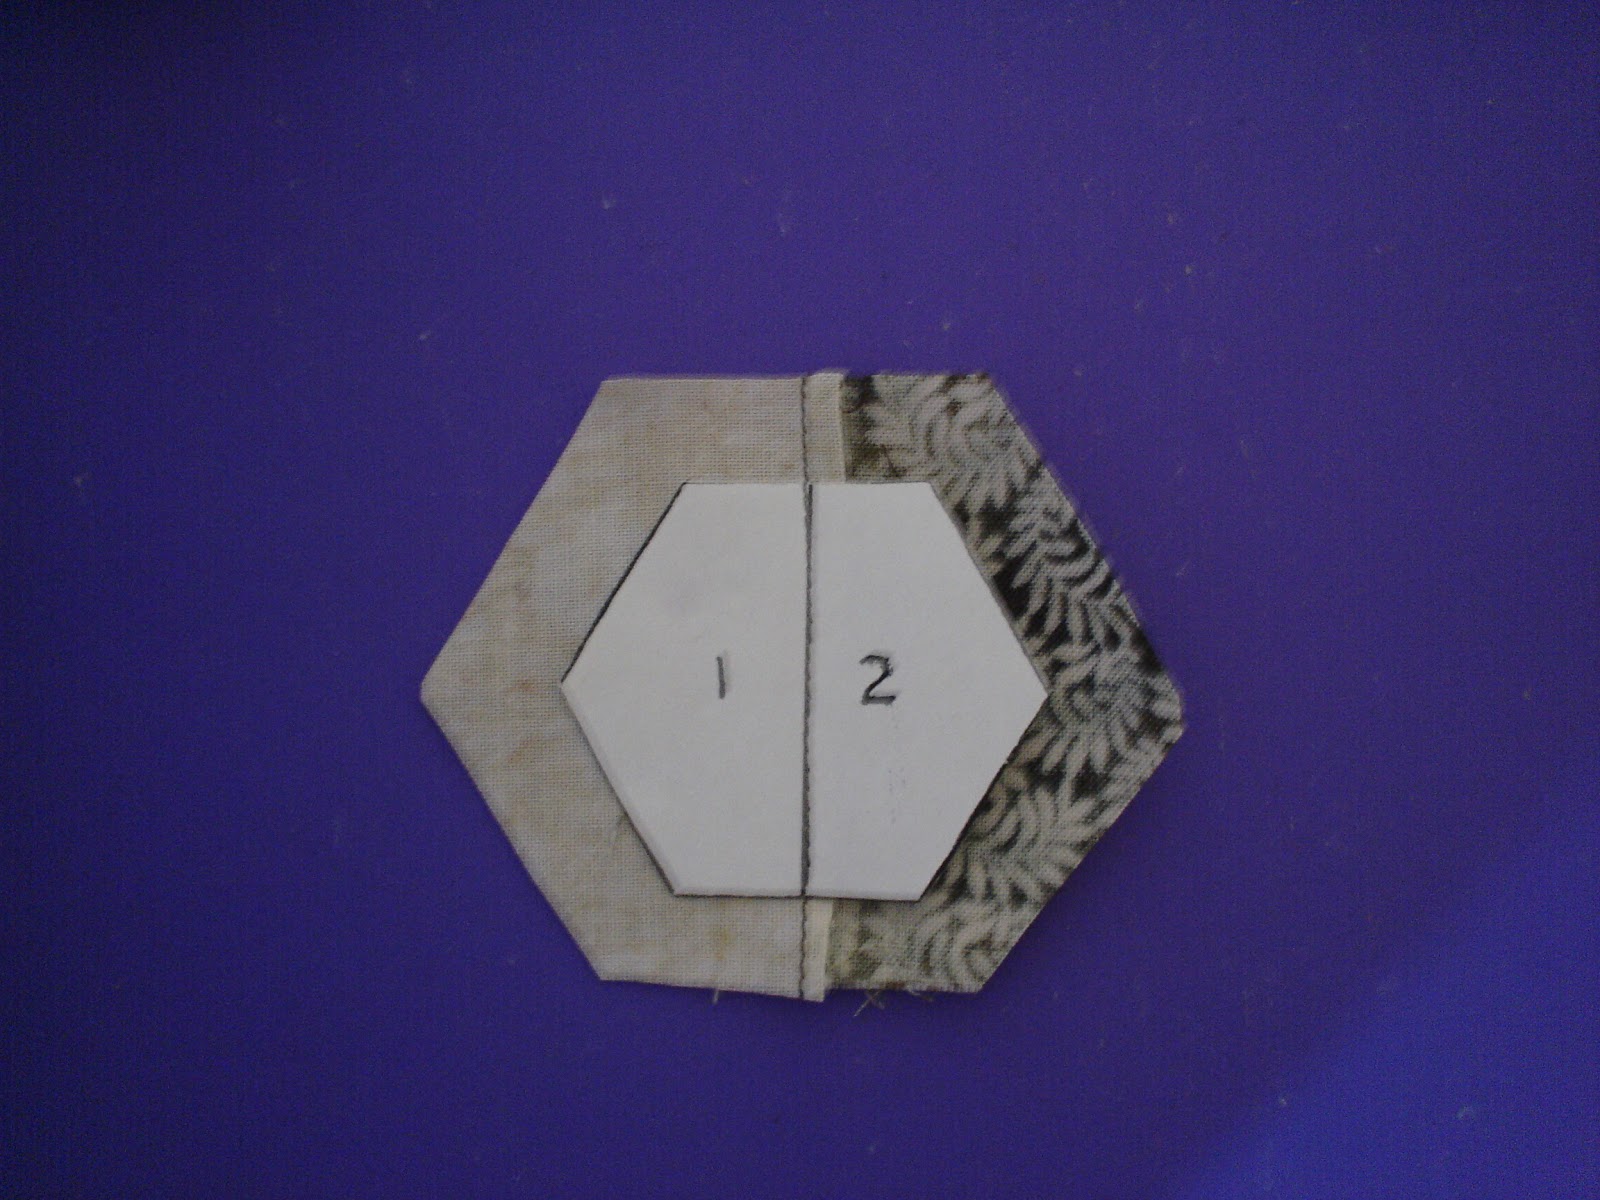
When I paper foundation piece on my hexagons I cut the fabric larger than I need. I Although it isn't necessary for the hexagon I am about to show you, I like to number the sections so that I know what fabric goes where. It is important for blocks with more than two pieces. This is how I made Half and Half. I selected two fabrics and I place them right sides together. The hexagon is placed on the fabric making sure that there is at least 3/8" fabric beyond the paper. I shorted my stitch length and sew on the line.
You can see that this technique is perfect for chain piecing. One the hexagon is foundation pieced I fold back the hexagon (the side marked 2) and I trim the seam allowance to somewhere between 1/8" and 1/4".
Then the paper hexagon is unfolded and I trim the excess fabric from around the hexagon.
From here it is English Paper Piecing as usual!
This next hexagon is a little more complex because of the intersection in the centre. What I do is foundation piece the two sections on the right and then the long half hexagon on the left is the last piece to be stitched down. Sorry I didn't write the numbers on the hexagon to give the order of piecing but I think you probably get the idea!
The next two motifs are the same but in the second example I've made the stripe wider!
And now some pix from out in the garden (and two from across the road)!
Elizabeth Van Horne Clarkson, Honeycomb Quilt c. 1830
Bertha Stenge, Mosaic Quilt c. 1945
Karen Howes, Stars in the Loft c. 2002
I entered my quilt in Quilting Gallery's Show and Tell. If you would like to vote for it you can do so here! Thank you for your support!
Now back to how I made my quilt. The first two quilts were fussy cut from fabrics whereas mine were pieced. The blocks I call "firecracker" were foundation pieced on the paper hexagon before I did the English Paper Piecing. The other two used striped fabric. I decided to piece mine because it would use less fabric and I could use what was on hand rather than shop for a very specific fabric that I wasn't sure I would find.
When I paper foundation piece on my hexagons I cut the fabric larger than I need. I Although it isn't necessary for the hexagon I am about to show you, I like to number the sections so that I know what fabric goes where. It is important for blocks with more than two pieces. This is how I made Half and Half. I selected two fabrics and I place them right sides together. The hexagon is placed on the fabric making sure that there is at least 3/8" fabric beyond the paper. I shorted my stitch length and sew on the line.
You can see that this technique is perfect for chain piecing. One the hexagon is foundation pieced I fold back the hexagon (the side marked 2) and I trim the seam allowance to somewhere between 1/8" and 1/4".
Then the paper hexagon is unfolded and I trim the excess fabric from around the hexagon.
From here it is English Paper Piecing as usual!
And this is the lovely block that results!
This next hexagon is a little more complex because of the intersection in the centre. What I do is foundation piece the two sections on the right and then the long half hexagon on the left is the last piece to be stitched down. Sorry I didn't write the numbers on the hexagon to give the order of piecing but I think you probably get the idea!
Running a stripe horizontally will produce another interesting hexagon and depending on the width and position of the stripe and the colours used there are lots of possibilities!
And now some pix from out in the garden (and two from across the road)!
Big fat bee at the weigela!
Purple Lupines
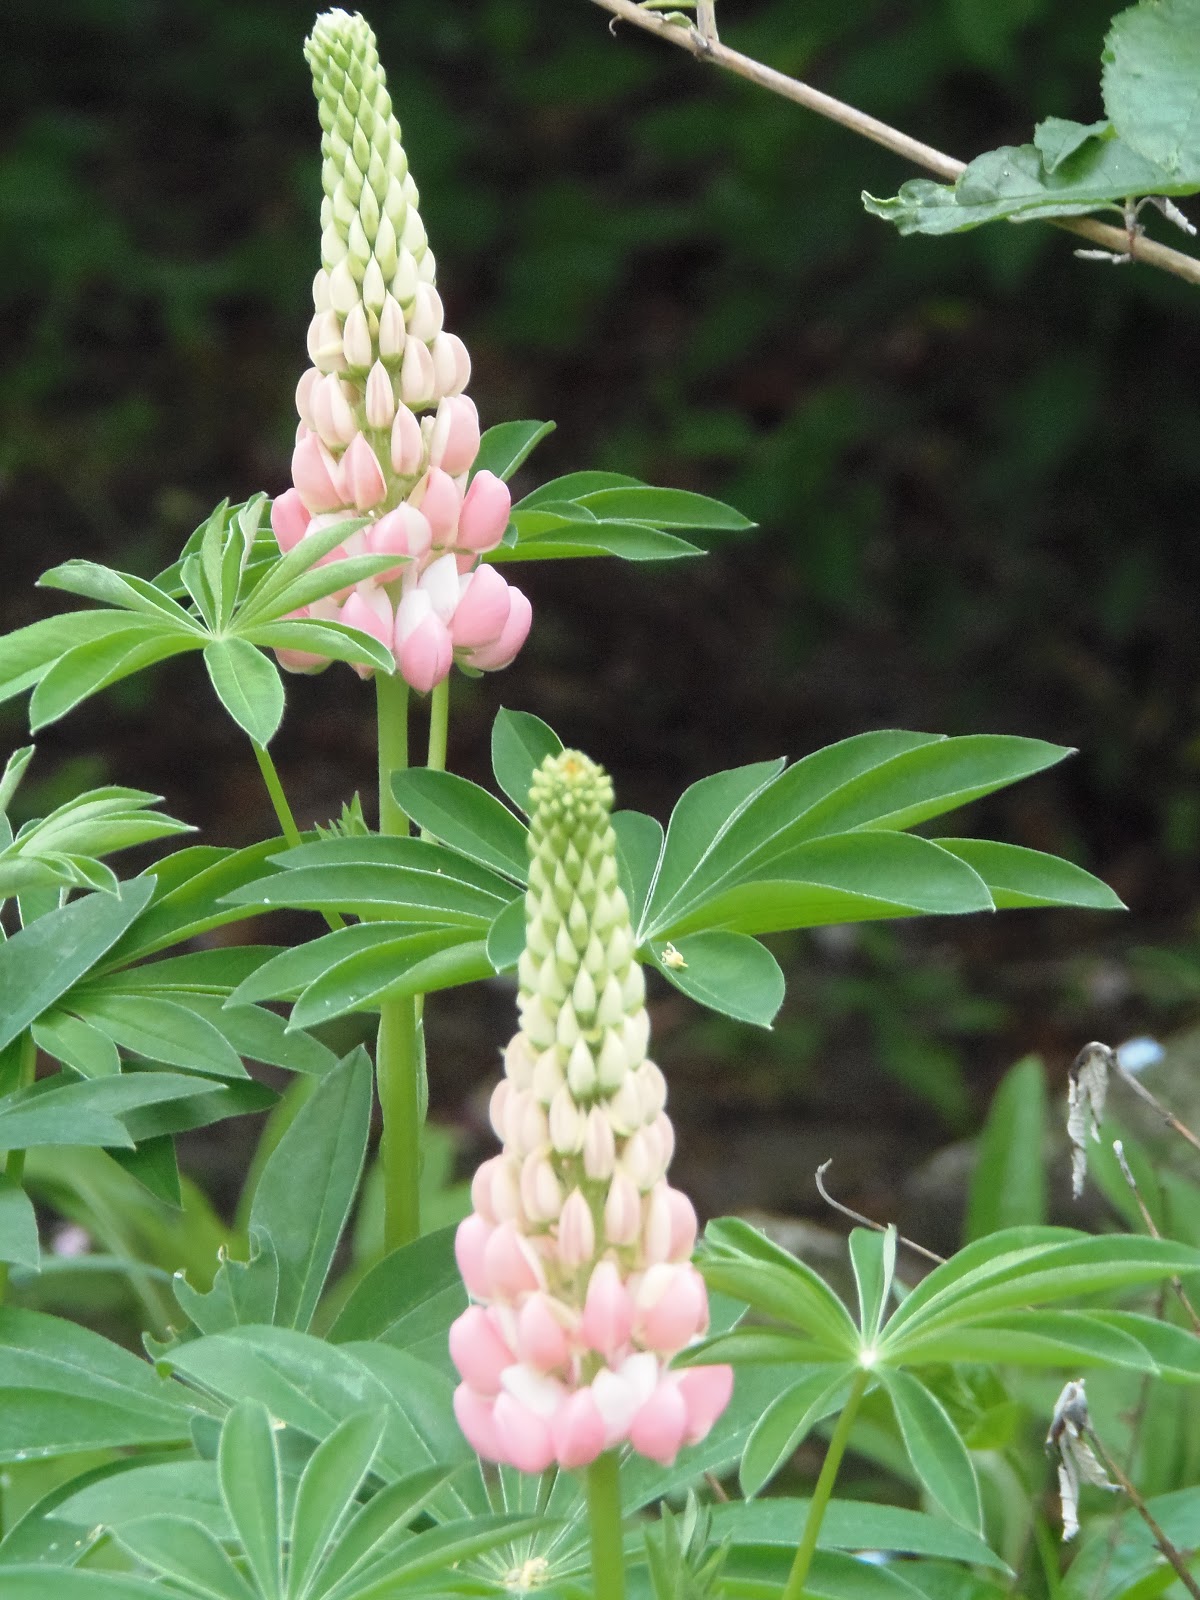
Pink Lupines
Pink Columbines
White Columbines and indigenous Red Columbines
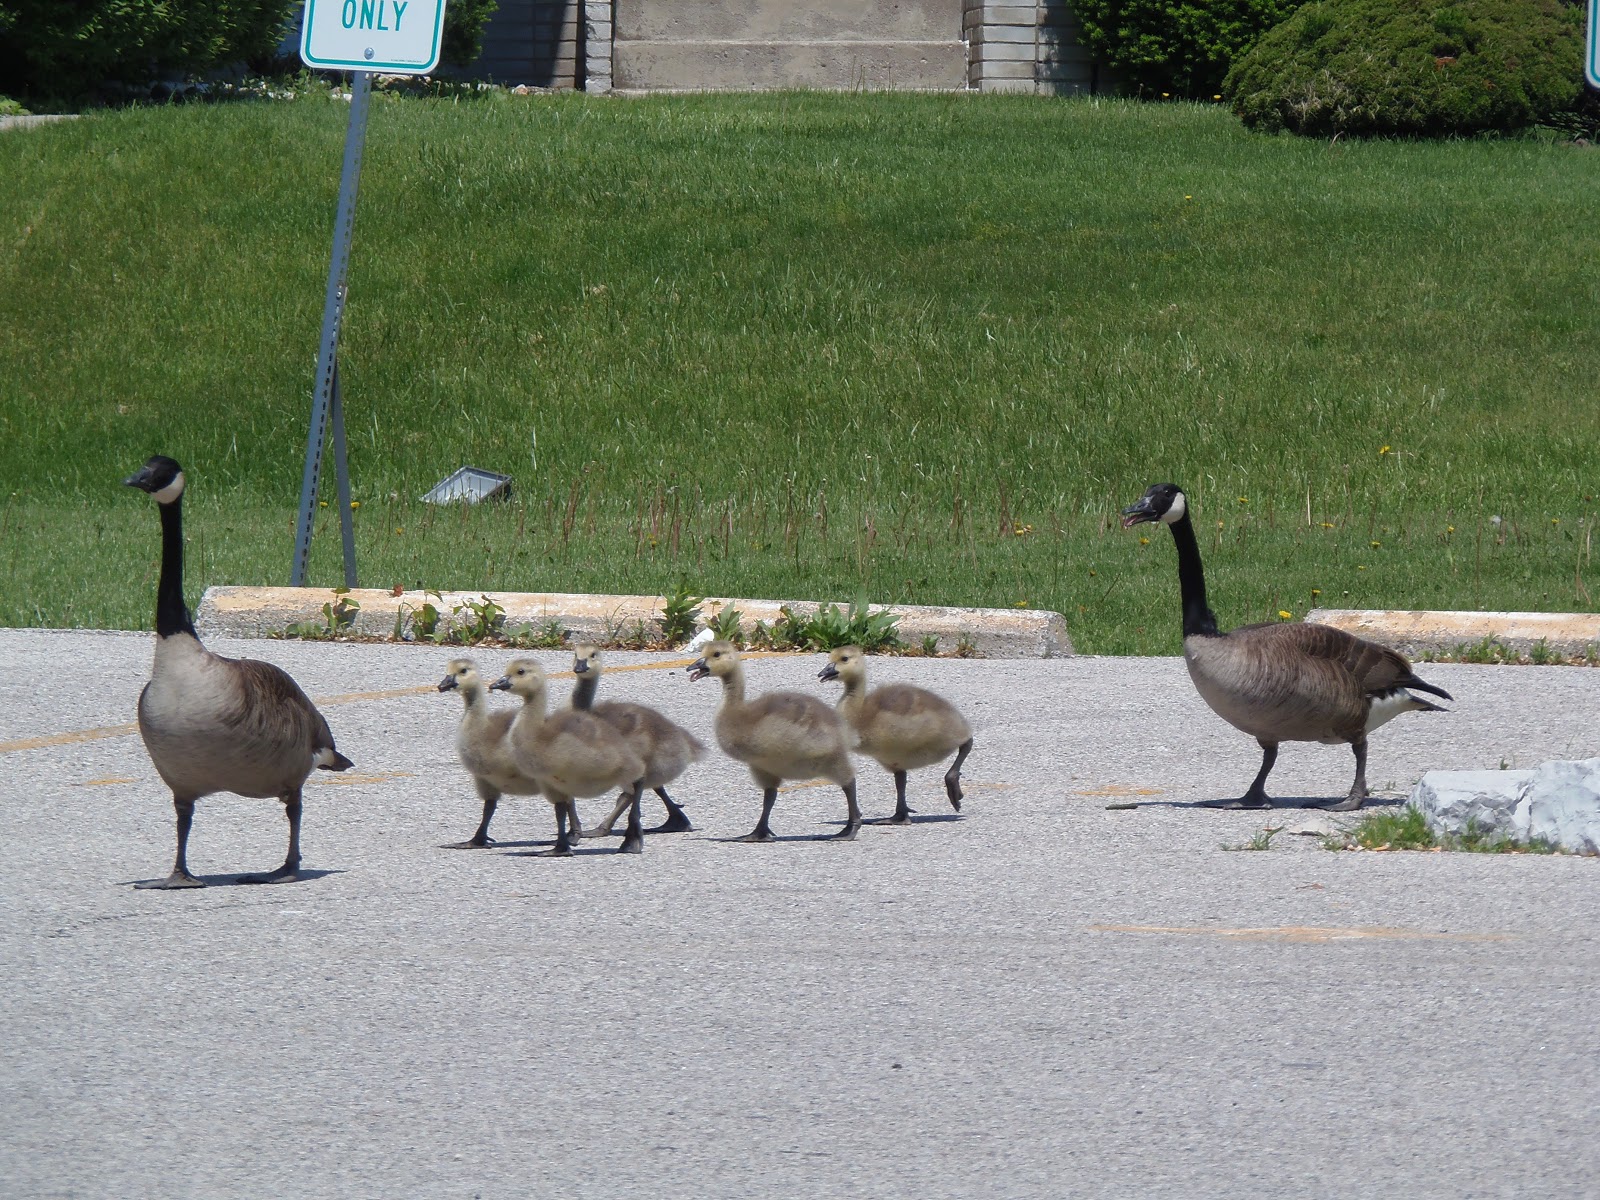
And from across the road, Mom, Dad and five babies! Dad was not pleased with me so I took a few quick pictures and then left them to relax in the shade.
Until I post again, happy sewing!
Subscribe to:
Posts (Atom)