Showing posts with label Lazy Punk. Show all posts

Thursday, June 19, 2014

The First Quilt Top on the Juki TL2010Q

I've put together the first quilt top on my Juki and the love affair continues. One of the drawbacks on my Janome 7700 is that the presser foot lever is large and low so when I feed a lot of fabric under the machine I find that the lever catches the fabric. This doesn't happen on the Juki! The sewing area is wide open, front and back, so I have an excellent view of my quilt in front of the needle and behind! So far I am more than happy with my Juki TL2010Q.

I also mentioned in a previous post that the 1/4" foot is narrower than the Janome foot so it doesn't catch my pins.

Angie noticed that I pin parallel to the edge rather than perpendicular and she ask me why I pin in this way. I thought that everyone pins this way!


When I first learned to sew I learned to construct garments and that's how I was taught to pin. I simply transferred those skills to quilting. I can sew a seam without removing pins until I've sewn the entire seam. Pinning this way prevents fabric shifting and I don't have to worry about sewing over pins. In this picture you can see how I pin at the end of the seam. I pin parallel to the seam but at the very end I place one pin perpendicular to the seam because it prevents fabric shifting.


My Mom has been making these Lazy Punk blocks like crazy. I've already quilted one quilt for her and she has made enough blocks for two more quilt tops! This is her second Lazy Punk quilt top that I pieced for her on the Juki. The light is shining though the quilt top so it looks like stained glass! Next time I show it to you it will be sandwiched and ready for some Juki love in the form of quilting!


This is the fabric used in the side setting triangles and that will also be used for the backing.

Mom found it at our local fabric store for $3/m! What a bargain!  It gives the quilt a very fresh, summery look. I think it will be very pretty when quilted!

The inspiration for my Lazy Punk quilt was Jen Kingwell's Steam Punk quilt. The block is based on a pattern that was published in the Kansas City Star (KCS) in 1938. The name of the original block is Air Ship Propeller. There is also another version of this quilt shown in the book Cotton Candy Quilts and it it the block is also named Wagon Wheel. Whether it is Air Ship Propeller, Wagon Wheel or Steam Punk, all are pieced blocks but I decided that it would be much easier to applique the propeller blades and hub cap. I figured out a fast, easy way to make the blades with no thread basting required!


A little bit of glue stick is all it takes to make the blades. I then glued them to the background so that they could be hand or machine appliqued . Because it is so fast, easy and a lazy way to make the blocks I called my quilt Lazy Punk! You can find all of the links about how I made my Lazy Punk quilt under the tab Tips and Tutorials. This is the quilt top I made.


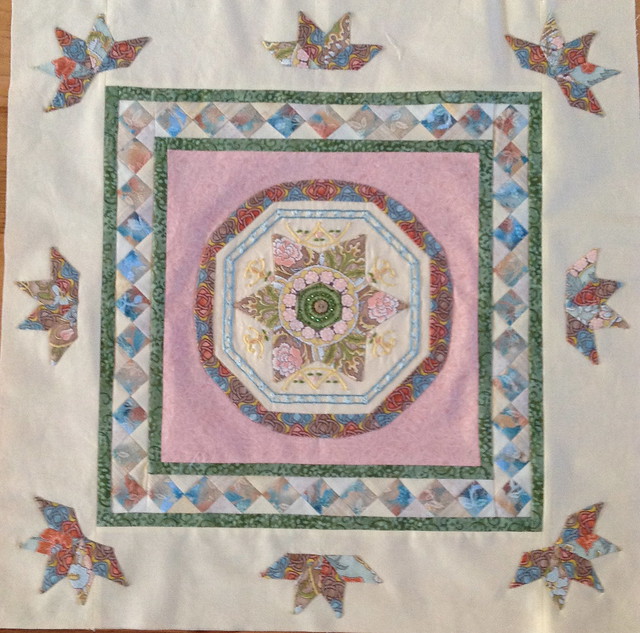
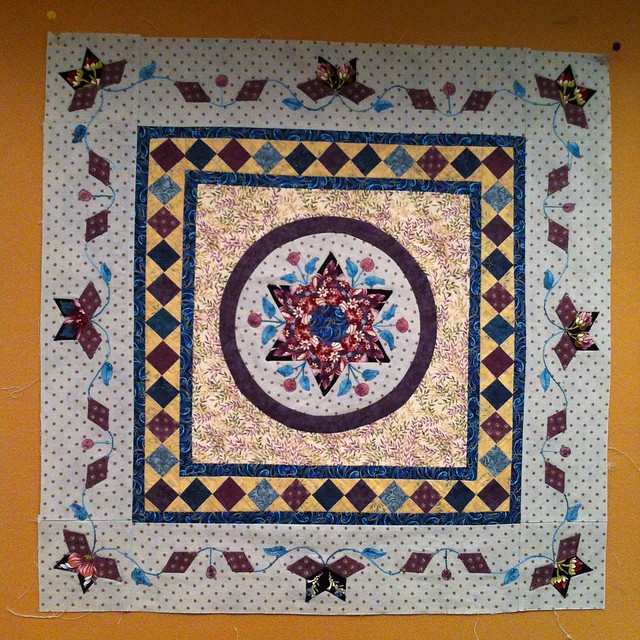
I am eager to try quilting my Mom's quilt on my Juki but I'm not sure what I will do. I'm thinking about a simple allover meander. I've never done that before but one of the quilt shops in the Merchant's Mall at Quilt Canada had this quilt on display.


The shop is called Stitch and the owners describe it as "a sanctuary for knitters, quilters and needle artists".  The shop had a gorgeous display of all sorts of treasures big and small including a Steam Punk quilt shown above. It was quilted with an allover meander design and it looked like a well washed, well loved quilt! Maybe I'll quilt some feathers in the side setting triangles as I did with Mom's last Lazy Punk quilt and then just meander quilt the rest of it! I'll make the decision when I put the quilt under the needle! Before I do that I'll sew together the rest of Mom's blocks. She would like the next quilt top to be a straight set rather than on point. That will be a fast, fun and easy bit of piecing!

Until I post again, happy sewing!
Karen H

Monday, March 24, 2014

Lazy Bones - a quilt top (not mine)

Several friends have made Lazy Punk quilts and one of them made hers from an assortment of skeleton fabrics. What do you call  quilt like that?  That's easy ..... Lazy Bones! I showed you pictures of her blocks; you can see them here.

She now has assembled her blocks into a quilt top and it is now basted and being hand quilted. I thought I would share pictures of her Lazy Bones quilt with you today! She made 13 blocks, set them on point and then added borders. Here is the quilt on the table having just been pin basted.


This is the center panel with the blocks set on point. The center circle in each block is made from the same fabric, a glow in the dark skull. She tested the fabric and confirms that it does indeed glow in the dark! I'm off on a tangent for a moment: I took an Open Thread Bar workshop from Anita at Cotton Mills Thread Works and it occurred to me that Superior makes a glow in the dark thread. I think that thread would be great a great addition to this quilt! If you every have a chance to take Superior's Open Thread Bar Workshop you won't regret it. For me it was money very well spent. I learned so much about thread and using different threads to the best advantage in my quilts! Now back to Lazy Bones!


She had fun shopping for the fabrics. All of the blocks are appliqued to a grey Stonehenge fabric from Northcott. It looks like stone and the bright colours in the blocks really shine. The sashing is made from a barbed wired fabric.


To complete the quilt she added a band to the top and bottom of the quilt. She fussy cut a skeleton toile fabric (the same one I used for the side setting triangles in my Lazy Punk quilt)  and she bordered it with black. Skeletons might not be your thing but you must admit that the setting idea is a good one! Some pops of a frosted red finished the quilt.


This is a close-up of the skeleton toile fabric. If you would like to see some close-ups of this fabric I posted them on my blog on September 7, 2013. You can see them here.


She has a nice ivy vine template for the border and in the vine she will quilt the names of different bones! The backing is also a skeleton fabric but the skeletons are having some "adult" fun so I won't show a picture of the fabric but you can imagine what they are doing! Hopefully I'll be able to share some pictures of her finished quilt with you in the very near future.

Now it is time for me to get back to quilting Lazy Girl. I'll post pictures tomorrow - it is featherlicious. Until I post again, happy sewing!
Karen H

Saturday, March 15, 2014

Saturday is a mish mash

UPDATE ON SOUPCON: There was a typographical error in the measurement of the narrow border in Step 6. I have corrected the error! Many apololgies.

It's a mish mash of topics today so let's get started with "who's a lucky girl?".

I've now participated in my third Secret Tote Bag Swap organized by Lia's Handmades. I showed you the Noodlehead 241 Tote that I made for my secret partner and it is in the mail so hopefully she'll have it early next week. Yesterday I received the tote bag that was made for me by Kerry at Pennydog Patchwork. I told her I liked earth tones and muddy colours but that I also loved little pops of colour. I think she got it absolutely right! She also included two fat quarters and two spools of thread. So who's the lucky girl? Me of course!


Look at the octagons connected with little squares of turquoise. There are birds in some of the squares (I love birds)!

She liked the bag with a Westminster fabric (I believe it is called Burnt Rose) and it is one of my favourite fabrics from Kaffe.

I've started working on my Mom's Lazy Punk quilt. The first thing I do is stitch in the ditch on either side of every bit of sashing. I'm using Superior Monopoly on top an The Bottom Line in the bobbin.


I like to roll my quilt on the right side so that there is less bulk in the throat of my machine but the quilt on the left is just puddled loosely on the table. I usually have a chair on my left with the back of the chair touching the table. That way none of the quilt is hanging down creating drag. I smooth out the quilt and place my hands on either side of the area I am going to quilt (I needed my right hand to take the picture) and then I stitch in the ditch. I reposition my hands and smooth the quilt every six to eight inches.


Once I've stitched in the ditch I'll stitch around all of the Lazy Punk blocks around the edge and then I'll quilt the setting triangles. Here you can see a setting triangle pinned and ready for quilting.


I drew a line that is 1/2" from the edge. I want to quilt a feather design and don't want it to go into the seam allowance of the binding so I'll keep the quilting north of that line.


And here you can see the first free form feather quilted in the setting triangle.


Once I've quilted all of the setting triangles and the lazy punk blocks around the edges I will bind the quilt. Everything was stabilized with the stitch in the ditch. Once the quilt is bound I can go back and quilt the center. I developed this method because it allows me to reduce some of the bulk that comes from the excess batting and backing. And best of all, when I finish quilting the quilt is done! I don't have to go back and bind it!

My brother has been busy turning some seam rippers on his lathe. He has been using exotic woods, many of which are burls. Here you can see the one he is working on. He has inlaid lapis lazuli in this one which is made of buckeye burl!


Aren't these beautiful?

Here are some close-ups.


He just finished turning a knitting bowl. It is a gift for someone special. Two different woods were used, one for the bowl and one for the base.


An access opening had to be created to join the base to the bowl. He inlaid turquoise to close the access opening!


Yesterday I posted Part 6 (the final part) of my Soupcon QAL. There are a couple of new pictures of quilts at Step 5 that were posted on the Soupcon FLICKR Group so I thought I would share them with you. They are very exciting!

Colleen who is Skootchover created her own design for the border and she used partial stars. I think they were the perfect choice because they mirror the angular nature of the center motif giving the quilt a very cohesive look and feel. The open spaces in the light coloured background are the perfect canvas for some fabulous quilting.


Deb Sew'n'sew who is the Toothfairy Quilter has also created her own border design of partial stars but she added embroidered details that echo the details from the modified hexagon in the center. It is exquisite and I love the fussy cut diamonds in the partial stars.


That's it for me for today. Time to get quilting and working on my next QAL. Until I post again, happy sewing!
Karen H

Wednesday, February 19, 2014

The design wall and free fabric

I just read that Keepsake Quilting has a contest. You could win fabric for life! Who doesn't need fabric for life. Well maybe need isn't the right word....but want? Definitely! You can enter once a day here. The contest is open to Canada and the US only and it closed at the end of February.

Jan from  Sew and Sow Farm has five giveaways for five days. Yesterday was day one and the prize is Aurifiil thread; you can enter here. Today is lovely Moda Mirabelle from The Fat Quarter Shop and you can enter here. There are three more days to go and I wonder what prizes will be on offer! There are lots of ways to enter so good luck!

So what's on my design wall? My Mom was really taken with the Lazy Punk quilt I made and she wanted to make one of her own. The blocks are made so I'll help her out by stitching them together and then quilt it.


She frequently asked "does this go with this" and I told her not to worry. It will all work out in the end so she relaxed and just had fun with her fabrics. When she looked at the individual blocks some of them seemed really wild but when they are put together they calm down. A neutral sashing and cornerstones will also help. She has selected a small neutral print for the side setting triangles to finish the quilt. Hopefully I can get the top together in the next couple of days!

This quilt is entirely appliqued and there's no needle turn involved. I loved this block but didn't want to piece all of those curves so I thought about how I could make it quickly and easily.  In September 2013 I drafted my pattern, cut my fabric and glued under the seam allowances and made the blocks which finish at 9". If you are interested here are the links to the different steps:

This is the Lazy Punk quilt that I made. The blocks were set on point.


My friend Babs was so inspired that she made one of her own. Rather than set her blocks on point she used a straight set. In addition she top stitched the propeller blades down so it was super fast, fabulous and fun!


That's it for today. Until I post again, happy sewing!


Karen H

Thursday, November 14, 2013

Why is there a grasshopper in Lazy Punk and four more of my favourite things

You may remember that in April 2013 I wrote about the importance of labelling a quilt. I suggested that you consider quilting your initials to help identify your quilt in the event it is stolen.

Your initials will just disappear in the quilting and no one but you will know!


Another option I wrote about in May 2013 is to add a little "secret" in the quilt. I quilted Barbara's quilt Pink Peonies and snuck a little grasshopper in the border! Can you see him? He is near the large pink peony near the mitred corner.
 
 
And here he is! He looks like he belongs there and he is a little identifying feature.


This little grasshopper is becoming a bit of a signature for me; I've snuck grasshoppers into other quilts. I decided that I should hide a little grasshopper in Lazy Punk! Here it is; it has been washed and then tossed in the dryer to give it that crinkly quilt look. And the grasshopper is appliquéd in place! Can you see him?

Lazy Punk, 2013

Here he is!


Lazy Punk is now ready for delivery! We've had our first snowfall so it will be a warm and welcome gift I'm sure!

Next I'll show you the next four blocks from A Few of My Favourite Things. These little chicks are so cute!

 
I love this lucky horseshoe but I think the pattern should have been designed so that the horseshoe is facing the other way to keep the luck from running out.


Doesn't this little fellow look like the RCA dog with the caption "His Master's Voice"? I sure think so!

 
Until I post again, happy sewing!

Wednesday, November 6, 2013

Love Entwined - day 2 of the compass and a couple of Lazy Punks

The work on Love Entwined continues today. The compass is now paper pieced. It is a little wonky and I know where the problem is but I think I can live with it. It measures only 8.5" and once the centre is stitched in place it look a little better.


In this picture you can see that I've put the centre circle in place but it isn't stitched down. This compass is a little drab so I'll have to figure out if there is a solution to bling it up a little. I may even consider making a new compass. It was a tedious job piecing this compass; it took all afternoon and as I say it is only 8.5" so the idea of making another doesn't hold much appeal.


This compass will be surrounded by a ring that is dotted with 32 little appliquéd circles that each measure a very tiny 1/4".


I've selected three different fabrics that will be used for these little circles. It seems that many quilters used needle turn appliqué but I had a hard time getting a smooth curve so I went back to my tried and true method. I cut out a little cardboard template that is the size of the finished circle. You can see it at the bottom of the photograph; it's the little white circle.


I cut out my fabric, stitched all around the outside edge with tiny stitches, placed the cardboard circle in the middle and then drew up my thread to gather it in. I place the gathered up circle on my ironing board and gave it a quilt press. I then applied a little starch and pressed it again on the right side and the wrong side. Once it cooled off I loosened the thread so I could remove the cardboard template and then gently pulled the thread taut so I could tie off the thread. In no time at all I had a pile of little circles ready to be appliquéd.


So now I've got to stitch them all down. Then I can prepare the ring to be appliquéd to the compass.

In my spare time I've worked on two more Lazy Punk blocks. The first one needs a hub cap in the centre.


I've selected the fabric for the hub cap but it needs to be turned under at the edges and stitched in place.


The pile of Lazy Punks is growing but it will not go as fast as the others until I've got myself caught up with Love Entwined and right now I'm half way through the month one installment!

Until I post again, happy sewing!