Saturday, August 31, 2013

Dolls, dolls and more dolls!

One of the blogs I follow belongs to Lurline. She has pretty little thinks posted and today she wrote about a dolly quilt she is going to make. The dolls are based on a Brandon Mably's quilt "Paper Dolls". Pop on over to Lurline's blog for a look at this adorable quilt and the block that she has made!

Over the years I've made two small doll quilts so I thought I would share them with you today. I drafted my own patterns for both. The first is called "Ragamuffins". My father had given me a book on decorating with quilts and in one of the pictures there was a lovely quilt on a bed but what caught my eye was a tiny navy and red doll quilt on the wall. I can't put my hands on my book just at this moment but when I find it I'll post a picture of the quilt that inspired this one.

Ragamuffins, 2005

The blocks are 3". I had a lot of fun pulling little scraps of old fashioned looking fabric. It is hand appliqued and hand quilted but the piecing was done by machine.

The second quilt was inspired by the Tin Man from the Wizard of Oz. I wanted a quilt made of tin women and so I made one!  I call it "Tin Ladies".

Tin Ladies, 2005

The blocks were machine pieced. I cut each patch and pieced it - these were not paper pieced! The quilting was done by hand. The cornerstones are little pink flowers that were fussy cut. The blocks measure 3 1/4" x 4 3/4". It was another fun little quilt to make and I loved sorting through some of my old Civil War prints for the girls.

I had fun with the hand quilting the girls - notice the "chesticles"!

 
And here you can see the little pink flowers in the cornerstones!


Looks like Annie is bored to tears! She should take up quilting!


Until I post again, happy sewing!

Friday, August 30, 2013

More ideas from the Edyta lecture and the latest African quilt is quilted

There were a couple of interesting ideas at the Edyta Sitar trunk show. She said she makes some quilts so that they fit the top of a bed. The length of the quilt top is the length of the mattress. She then adds side borders so that there will be drape on the sides. If the quilt is placed on a queen size bed it will cover the top of the bed with little or no drape.  This is one example and I really like it! Notice that there are setting triangles at the top and bottom and they are made of the same fabric as the side border.


I realized that as a rule this is also what I do! I like a quilt that sits on top of my bed with little or no drape. If I put effort into a border I want to see it and if it is hanging off the edge of the bed you don't get the full effect.

When looking at some of Edyta's quilts it seemed to me that the top border was small, the sides a little larger and the bottom border the largest. It may have been an optical illusion but I can tell you that it is a framing technique and if it works well for paintings it should work equally well on a quilt. So if you ever run short of border fabric consider having smaller borders on the top and sides and the largest border on the bottom!

I've finished quilting Mom's latest African quilt so she is now embellishing.


I quilted slightly irregular horizontal lines in the top and bottom panels. I snuck in a square patterned patch in the top and a leaf in the bottom.  This is the leaf from the front.


The quilting photographs much better from the back.


And these are the huts.


And the women who are just waiting for Mom to "dress them up"!


As a thank you she gave me another piece to quilt for her so that will be my job for tomorrow! And maybe if I have time left I'll put together a backing so I can quilt a bigger quilt! I'll have to decide which quilt top to work on - I've got plenty to chose from!

Until I post again, happy sewing!

Thursday, August 29, 2013

Edyta Sitar lecture and my new fabric for fussy cutting

Yesterday we went to a quilt shop to hear Edyta Sitar speak. She did a wonderful trunk show and we got so see more than 60 of her quilts, many of which are featured in her 2013 calendar. She entertained us for more than an hour with her stories and ideas! I love trunk shows and show and share at the Guild because I always come away excited, inspired and itching to create! Edyta's trunk show delivered on all counts!


Edyta has a natural colour sense and it is evidenced in her scrap quilts. I don't subscribe to the notion that all fabrics go together in a scrap quilt and sometimes there are bits that just have to be left out or altered in some way, tea staining for example. Or as Edyta said she can't help it if a patch drops in her coffee!


There are secrets to making a successful scrap quilt and one of those tips that I've blogged about in my previous posts and that Edyta talked about is the use of a single colour to "control" your quilt. Using a particular colour can tame down the scraps and add cohesiveness to anchor the quilt. Think of the many log cabin quilts we've all seen each of which has a red centre but not necessarily the same red.

Edyta talked about the five colours that she likes to use to pull together the large variety of scraps in her scrap quilts. They are navy (notice the navy flowers in the corners),


or brown (the tree trunks),


or barn red (notice how the reds are all pushed out toward the border),


or olive/drab green,


or black (the centres of the pineapples are black).


You can use a little of an anchoring colour as with the pineapple quilt above or you can use more as with the tiny baskets and the olive green. The strategic use of a single colour or colourway can make the difference between a nice scrap quilt and a spectacular scrap quilt!

After the trunk show there was a question and answer period. She was asked what type of sewing machine she has and she replied "You aren't going to like this". Of course we all figured she would say a top of the line machine that cost thousands of dollars but boy, were we wrong! She uses a $200 Kenmore machine! I assume that that was for the piecing only and that the quilts are sent out for quilting. Nonetheless it is nice to hear that you don't have to spend thousands of dollars on a machine in order to make beautiful quilts!

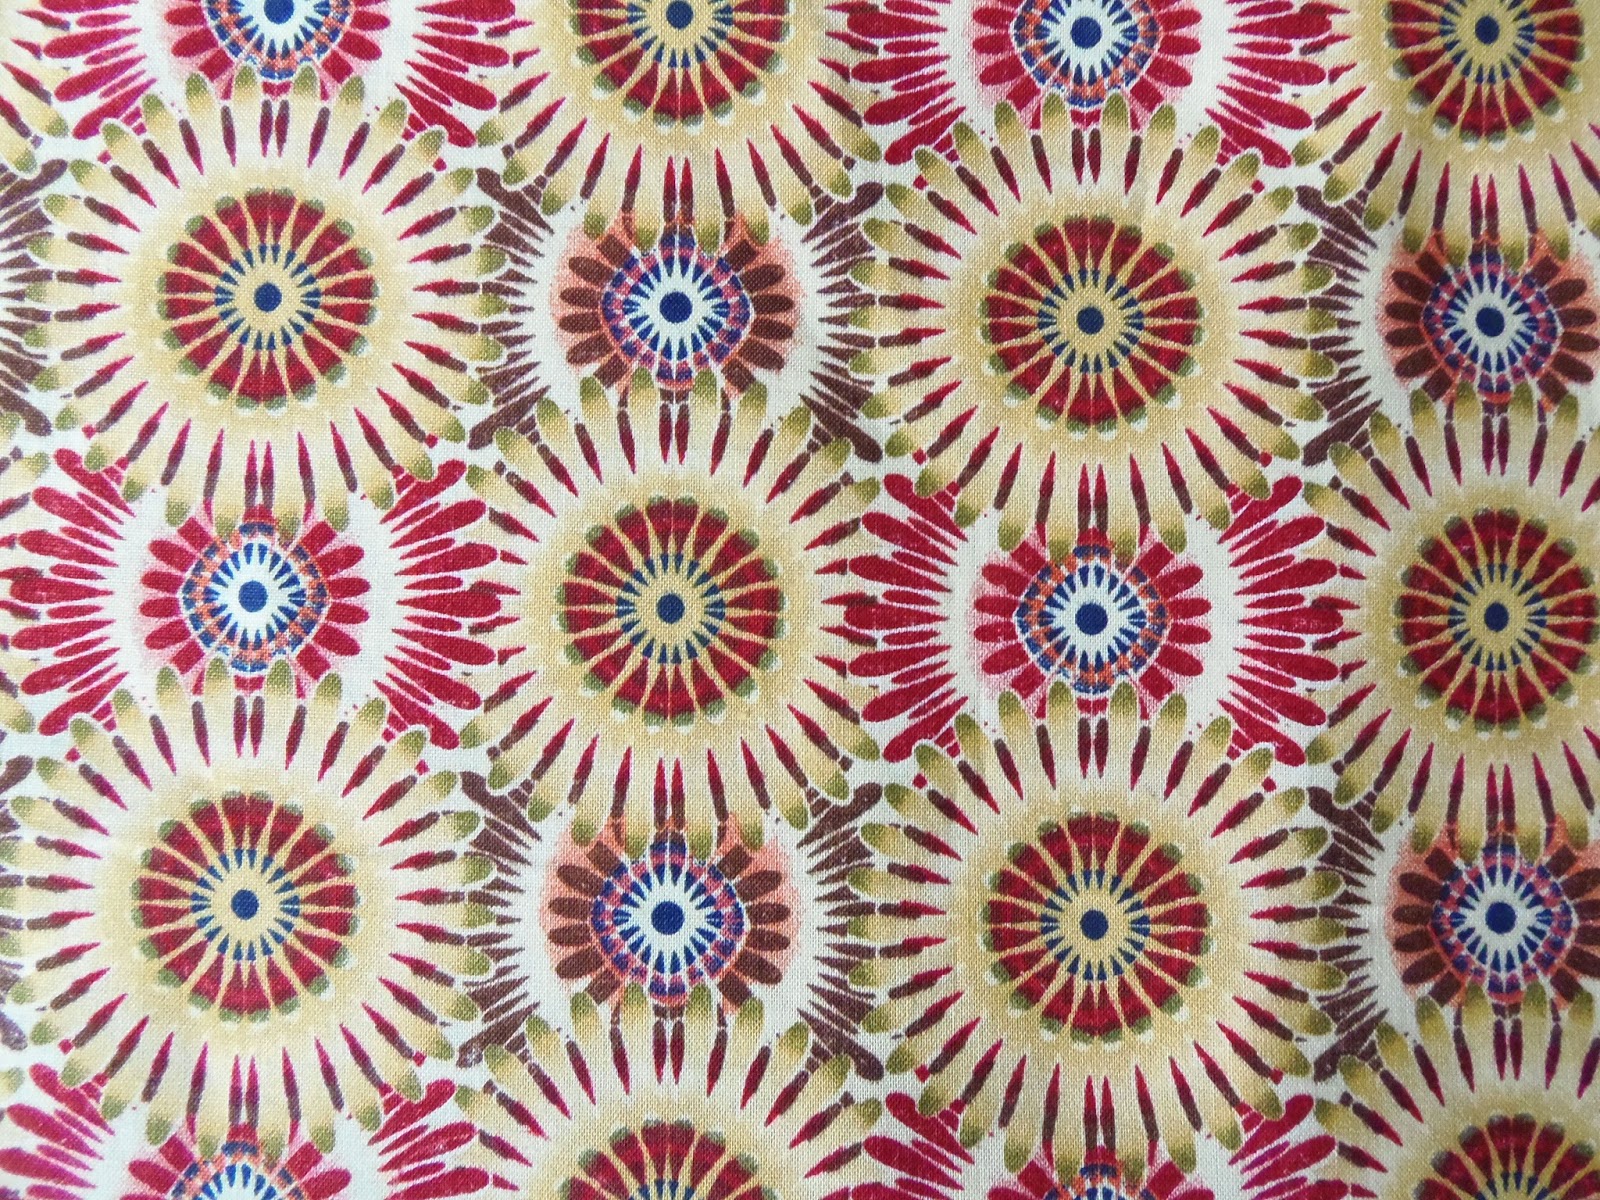
last week I found this great fabric and even better, it was on sale! I thought it would be perfect for fussy cutting diamonds and hexagons.


I placed a window template on the fabric to get an idea as to what it would look like. I prepared a tutorial to explain how I make and use window templates and clear templates. You can read it here. There are two motifs that repeat in the print.


I cut some diamonds and basted them to paper so I could include them in the diamonds for the border of my quilt "81".  And here is one of them sewn into a large diamond!

 
This is a great fabric with all kinds of possibilities. If I get back to the shop and they still have the fabric I might buy some more! And I'll be sure to take my window template with me so that I can audition other fabrics too because you just never know what surprises could be in store for you!
 
Until I post again, happy sewing! 


Tuesday, August 27, 2013

English paper pieced diamonds for "81", Flare Fabrics and Mom's Africa quilt

All of my English paper pieced diamonds are now stitched together and ready to be appliqued to the border strip. They are so bright and cheerful and will be the perfect finished for my quilt.


As I was pressing them (with a little spray starch) before removing the basting threads and paper it occurred to me that they could be assembled into some interesting larger diamonds. Here are a couple of examples. I think there are lots of possibilities for assembling these into some new and interesting designs.


For now the diamonds are going to be appliqued to the border. I've cut  4 1/4" strips of fabric for the border. The next step was to draw a line 2" from the edge of the strip that will attach to the quilt and the line is on the right side of the fabric. I'll use this mark to line up the points of the diamonds. My diamonds measure just shy of 5" from point to point and my strip measures 85" (excluding seam allowances). This means I will be able to applique 17 diamonds. I found the middle of the strip and centred the first diamond over the middle being sure the line up the points on the pencil line. The basting threads and papers have been removed. I pin with applique pins and then applique the diamond in place.


Here you can see the tip of one diamond stitched down and the pencil line extending to the left.

The next diamond is positioned and ready to be pinned in place for appliqueing.


 And here is part of the border strip with a few diamonds stitched down. I'll do this sewing in the evenings so it will take me at least a week to get it done and then I'll attach the borders to the quilt. Can't wait to see them on the quilt!


Flare Fabrics is having a sale and until September 20th you can take an extra 20% off your order. Best of all shipping is free within Canada. Great deal! A deal like this is not to be missed so I ordered a bundle of 23 fat quarters and with tax it worked out to $47! Don't know what I'll do with these but they sure are nice!


If you want more fabric (need doesn't enter into it) head on over to Flare Fabrics! There's lots there to choose from!


Work continues on Mom's African quilt. Here are some pictures of what I've done for her thus far. She'll embellish with beads and embroidery and gold hoop earrings!


There'll be no post tomorrow because I've been invited to go hear Edyta Sitar speak. Should be a fun day out! Until I post again, happy sewing!

Monday, August 26, 2013

Swaps, treasures and quilting Africa!

Well I signed up for the Secret Tote Bag Swap and one of the things you have to do is make a photo mosaic of things you like to give your partner inspiration. Lest you thing I am adept at using the computer let me set the record straight! I am a picnic when it comes to the computer (problem in chair not in computer). I've tried making a mosaic and it generally reduces me to tears in a matter of only a couple of minutes so I decided I'll just throw a bunch of things I like on the wall, take a picture and call it a mosaic. So that's what I did and it worked!


The owl is a wall hanging I made last year and I call it Owl at Night (you can see the whole quilt in my Gallery). I hung four fabrics I really like at the bottom and on the left is a bag pattern I like. So if you are thinking of signing up for the swap but the mosaic thing is holding you back, just take a photo of things you like!

There was a yard sale on the weekend and I picked up two little treasures to add to the curio cabinet! The first is a cute little wooden house. I measures a small 4" tall! This is the front door with a path leading to it.


On the back are two people chatting.


I had no idea what it was but played around with it and discovered that the house comes off the base. It is a little treasure box! Wonder what I should put in it?


The second piece I got is a little cherub riding on a shell! Cute little vase!


I continue to work on Mom's African quilt. I removed the row of stitching above the fraying and did some jagged edge quilting instead. I am much happier with the hut now. The base of the hut is quilted with straight lines going back and forth.


I've quilted a square type of motif for the ground and will now have to think about the sky. Something simple but dense. I like the quilting in the red bands. I think it fits well with the "Africa" theme!


And here is a shot from the back. I love the way it is looking!


Time to take the cats to the vet for their annual exam and jabs! Until I post again, happy sewing!

Sunday, August 25, 2013

Quilting the African Village and the last border on Picadilly!

I've pin basted Mom's African village quilt and have started the quilting. I think this one will be fun to quilt. I've stitched in the ditch along the red bands and now am going to stitch around all of the applique before quilting the background.
 

The first hut has been outlined and I've stitched along the frayed edge of the thatching and I'm not sure I like it. I might remove it and then quilt the thatched roof with jagged lines instead.

I've attached the last border to Picadilly to the Nines and it was the perfect finishing touch!


Here are a few more pictures of the border.


It frames the hourglass border an gives a more complete look to the quilt.


I think it enhances the hourglass blocks; now that they are "fenced in" with the striped border they glow like stained glass!


One thing I've found is that you can make a very simple quilt (not necessarily this one) appear more complex by adding an unexpected border. For example, my quilt Brick Bungalow is a very simple quilt but the border is made of stars and it is the an extra touch that makes the quilt more interesting.


We've been through a very dry spell so there isn't much happening in the garden. However today a bunch of red dragonflies arrive and I managed to take some pictures. They are beautiful creatures with an amazing life cycle!


I'll leave you with a picture of Lionel the Vegan. Everybody loves Lionel....even the sow bug on the bridge of his nose!

 
Until I post again, happy sewing!