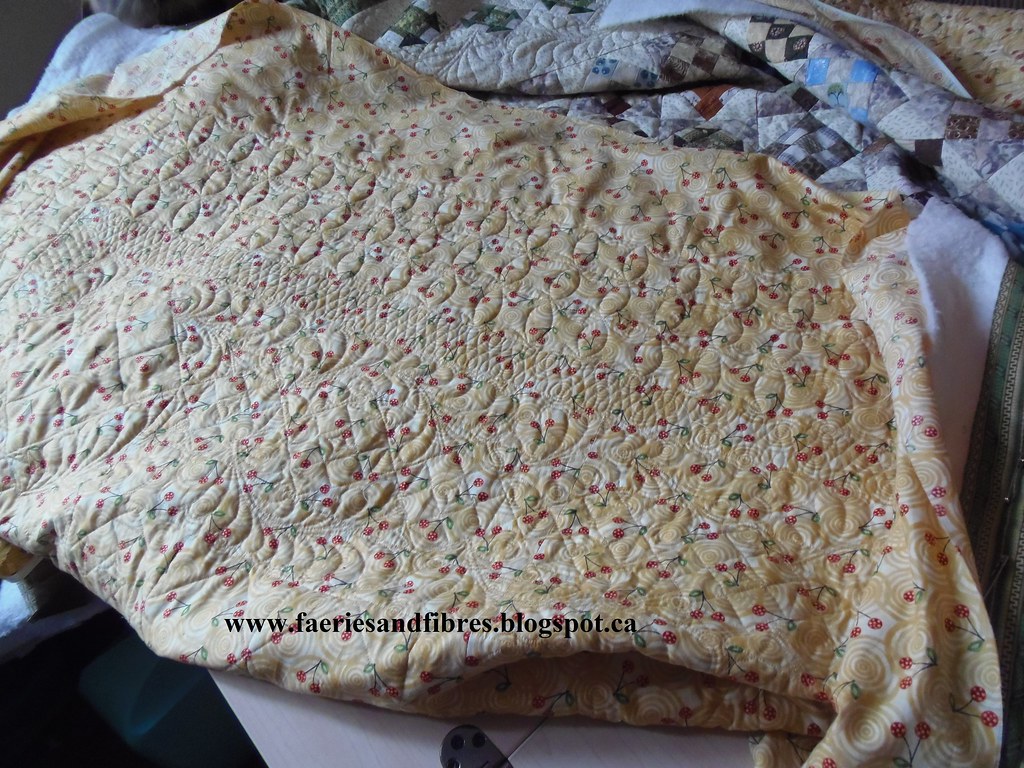
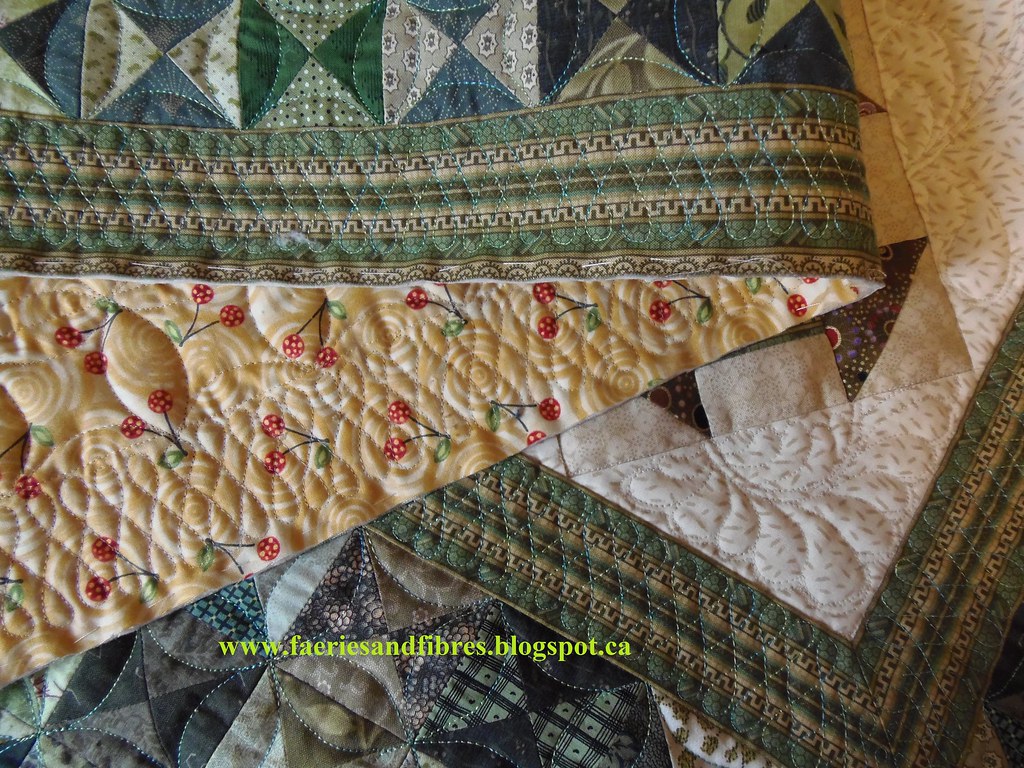
When I'm quilting up to the outermost edge of the quilt I sometimes have problems. The fabric gets pushed so ripples or pleats can happen. With a larger border it doesn't seem to be as much of a problem however the last border on my Piccadilly to the Nines is only 1 3/4" finished. The figure 8 quilting is dense and close together and I didn't want to have problems with the border not laying flat. So I had what I thought was a solution and it worked like a charm! I needed some tools: needle and basting thread, fabric safe glue stick and scissors.
I applied some of the glue stick to the wrong side of my border right down the middle of the border. I worked about 12" at time. I smoothed the quilt top making sure the border was flat,smooth and tacked to the batting. I basted close to the raw edge (less than 1/4" from the edge) and I took shorter stitches. I worked all the way around the quilt. I normally baste the edge before I apply the binding because it makes the stitching of the binding much easier so this step really wasn't extra work for me. After the border was glued and the edge basted I quilted and it went so smoothly and the quilting was stress-free! I will definitely use this technique again! I made sure the bottom edges of the figure 8's were more than 1/4" from the edge so that they wouldn't be covered when the binding is applied. I still have to go back and put some more quilting in the center panel but that will happen after the quilt is bound. Here is the edge of the quilt quilted and trimmed. Who`s a happy quilter? Me, that's who!
My next project is to quilt another one of my Mom's African banner quilts. She loves this design and I think this is her third quilt! I've ditch quilted so now I'll have to go back and put in some details.
Time for me to get sewing so until I post again, happy sewing!
Karen H


I use Flickr to host the photos on my blogs. They make it pretty easy. Your figure eight quilting is perfect.
ReplyDeleteYou always have the best ideas. I adore you quilting. With the 8s it gives the look of smocking and I love that.
ReplyDeleteKaren, the quilting is perfect for the quilt! Great job. I baste as I go on clients' quilts. They tell me it makes doing the binding a lot easier for them.
ReplyDeleteThe African panel is so cute-what does your mother use them for?
meant to say, I pay google less than £2 a month having apparently passed my 1G, though at the time I didn't think I had. Its so little I don't object to paying it but dare say, if you know how to do it, there must be cheaper ways like the Flickr method mentioned above : )
ReplyDeleteperfect timing with this idea Karen. I have been hesitant about removing my basting through the middle of my last border incase it flips out. I usually hand baste anyway, and might just do the basting around the edge right at the beginning in future.
ReplyDeleteLove your mum's African quilt. Really stunning.
ReplyDeleteYou can edit your photos in a free photo editing program like picmonkey or gimp. You can select to optimize the photo for internet. You don't need the full pixels like if you were going to print it.
I have been using Flickr for years as a place to store my photos online and link to them from my blog. I am a paid customer, but they will allow you to see up to 400 (I think) photos at a time. After that the early ones aren't visible, but are still in your account.
I always resize my pics to 35% using Paintshop. It doesn't affect what readers see. I have been blogging for about 5 years and still putting pics on without problems.
ReplyDeleteLove the figure eight quilting, and your Moms African quilt is beautiful did she design this herself. She is amazing, as you are. Bunny PS I figured out how to get the hexies together as this is different than the Soupcon blocks, they were easy. Lol
ReplyDeleteGreat quilting tips Karen!
ReplyDeleteAs far as photos, I did not know about the limit, but I do is epic only to make my pics smaller as I sometimes have trouble uploading the full size ones on my computer anyway. I reduce them to about 1/4 of their original size and they still look the same on blogger.
It helps to reduce the pixel size of your photos. I use photoshop but I noticed some free software mentioned in previous comments. This would, at least, allow you to keep your photos on the blog instead of jumping back and forth. Thanks for more great tips.
ReplyDelete